Home Articles Forums Gallery Marketplace Videos

WoodCentral Forums

Knowledge You Can Build On — Est. 1998

A natural, durable finish with minimal coats and fuss popular among woodworkers, flooring professionals, and furniture makers

The start of a new project - coopered doors

Posts

The start of a new project - coopered doors

#1

The start of a new project - coopered doors

Derek Cohen (in Perth, Australia)

Well I am not sure how much of this project I will post since it blends power and hand tools. However the work I did today may interest someone ...

The project is a very large one, both in size and expected duration. This is a sideboard-entertainment centre for the livingroom. It replaces a wall unit that was 4.0 m long. Rather than build one long and low unit (700mm low for a flatscreen TV, while the remainder is to house drinks, glasses, music and "stuff"), the plan is to build three pieces - 2 side units 900 mm long and one central unit 2200 mm long.

The design is sort of Shaker-meets-Art Deco (MY Gawd! :)), which essentially means I am including the curves from art deco and the frame-and-panel typical of Shaker furniture. I wish I could draw up realistic drawings, but what I have instead are lifesized plans on thin ply.

I am beginning with the two side (mirror-image) units. These will feature two curved doors and a set of drawers, thus ..
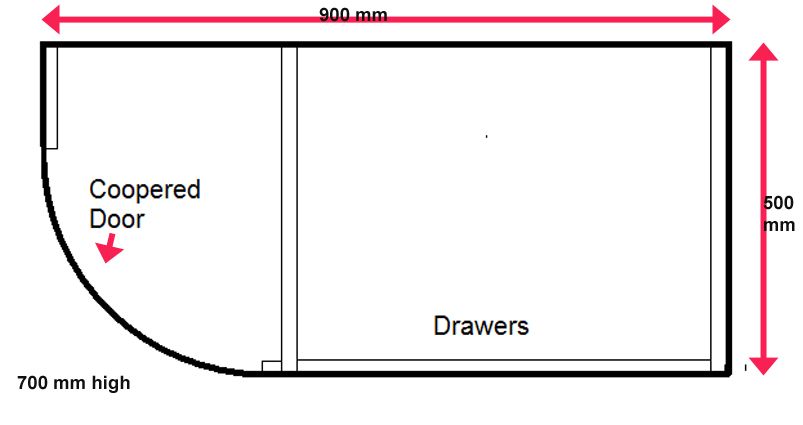

The plan is to build the coopered doors first, then construct the cabinet around them (taking a leaf out of Krenov's book).

I've built a few coopered boxes before, but these are the first coopered frame-and-panel doors. I know I will need some advice along the way.

A while ago I posted the preparation for the timber I am using. This was salvaged from roofing timbers. I thought it was Jarrah, but now I suspect it is Karri. These are very difficult to tell apart. Very similar colour and texture, but the Karri tends to be less figured and much harder. Seriously hard stuff. Ah well, it is free.
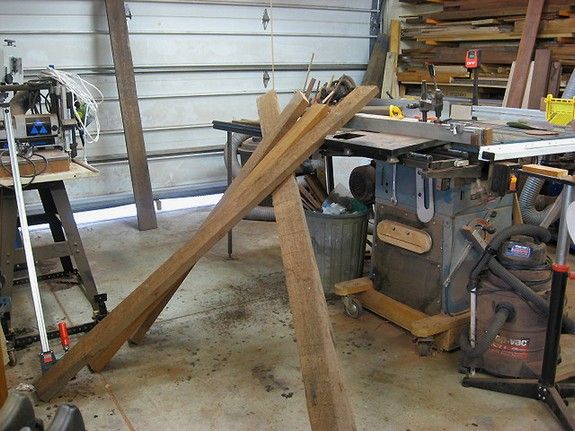
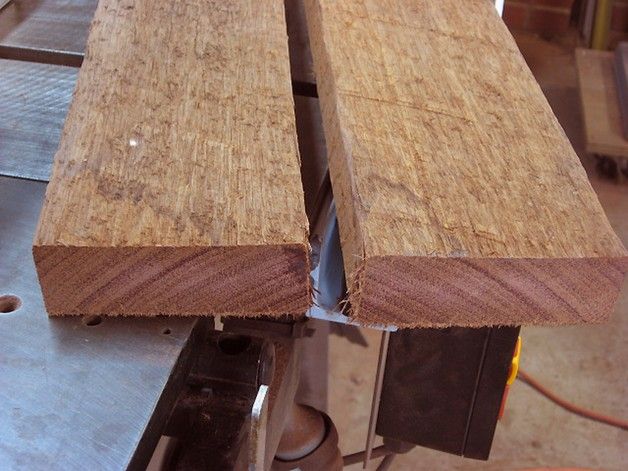
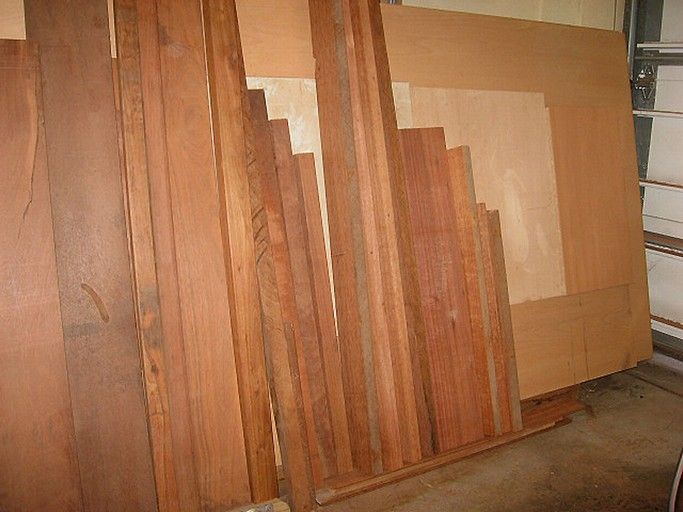

I resawed several boards on my bandsaw and thicknessed it down to 1/2", then ripped these to 2" wide. This made it possible to determine how many boards were needed for the door panel, and I calculated that they needed a 4 1/2 degree bevel on each side for the curve. This was completed on the tablesaw. (see I am not showing any of this :)).

This is where we ended (and now we can begin) ...
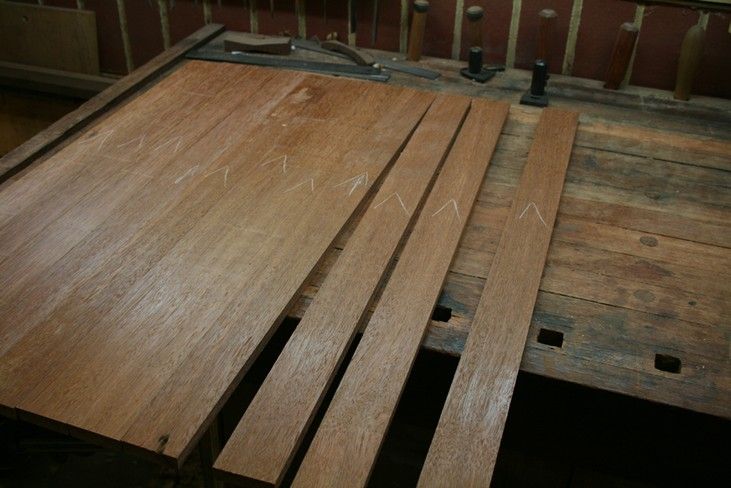

Sort the boards by figure and colour, arrange with the grain, and then number them before taping together ...
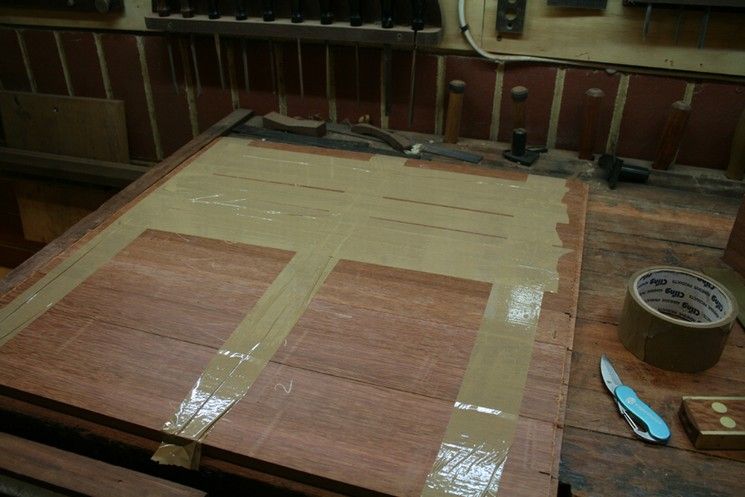

Note that I rebated the outer edges beforehand. Final shaping takes place later ..
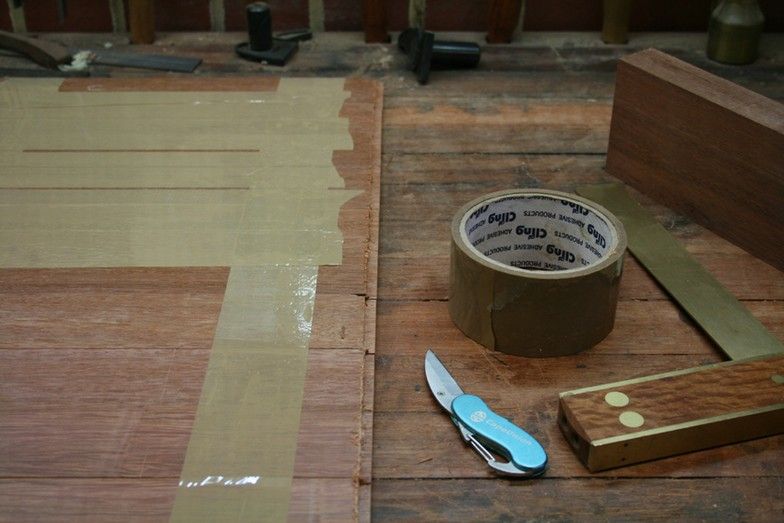

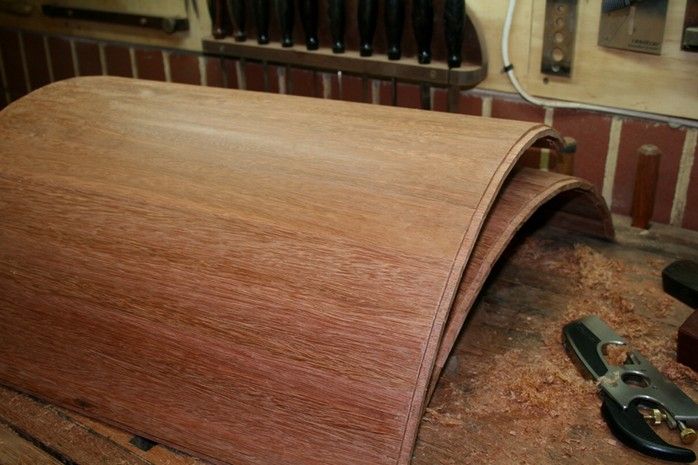
The taped rear makes it easy to fold into a curve once glued up. Remove the excess glue now. Note that the inside has been finish planed. I do not plan to shape the inside. It will be left as is.
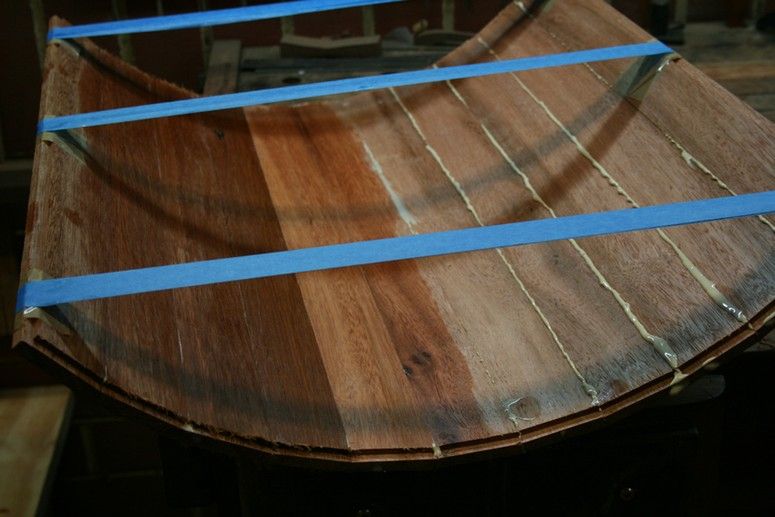

The glue-up result ...
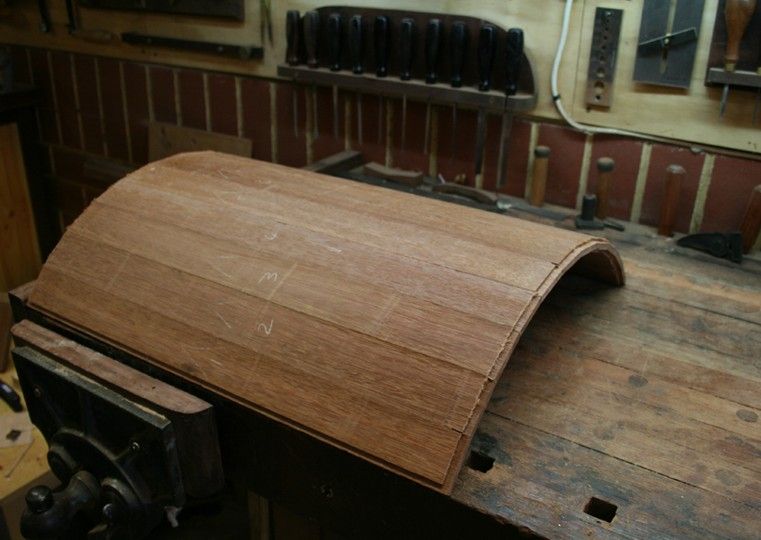

This is the stage when I desire a new bench. Mine is just 5' long. not the flatest, and has just a face vise, end stop, and an end vise that gets little use. I built it about 15 years ago and it has been modified and kept going all this time. To be fair, however, I doubt that many better-equiped benches could hold objects like the curved door panels. How could yours do better, or how would you do this?

There was enough width for the panel to lie on the bench. I needed to prevent it splaying outward, which might cause a join to come apart. So one side has a clamp as a stop and the other uses the vise.
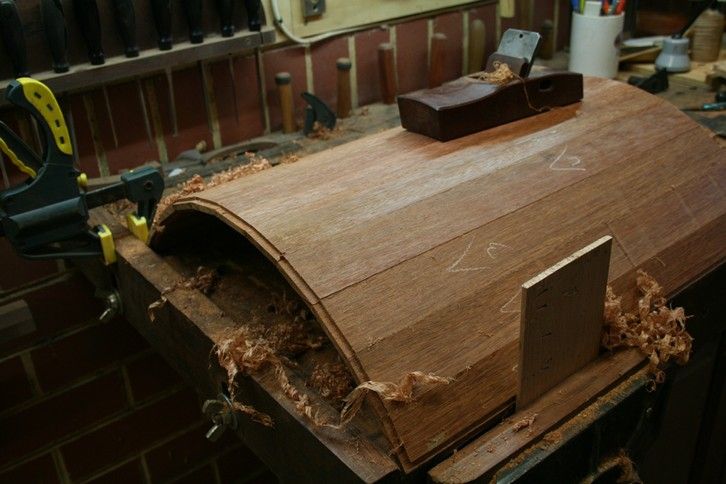

The end is help with a Veritas bench pup ..
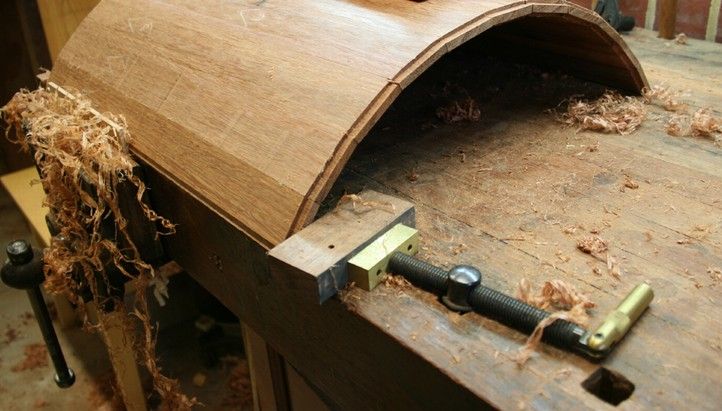

So I planed with supports ...
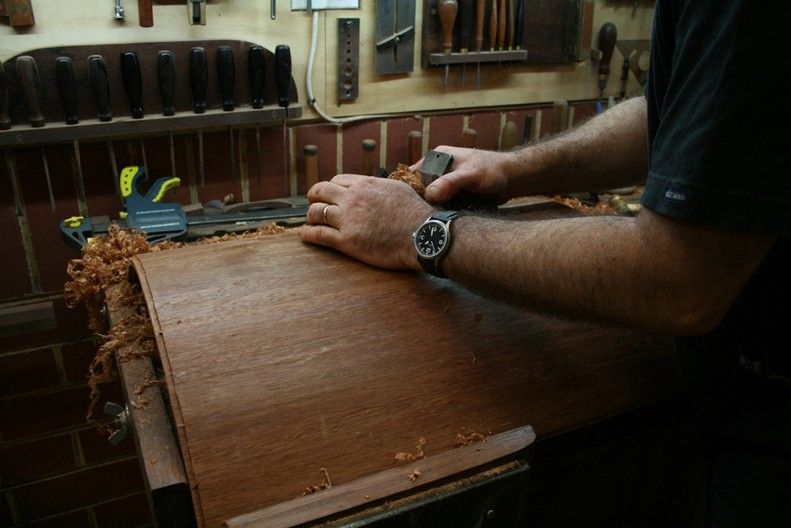

Planed without supports ...
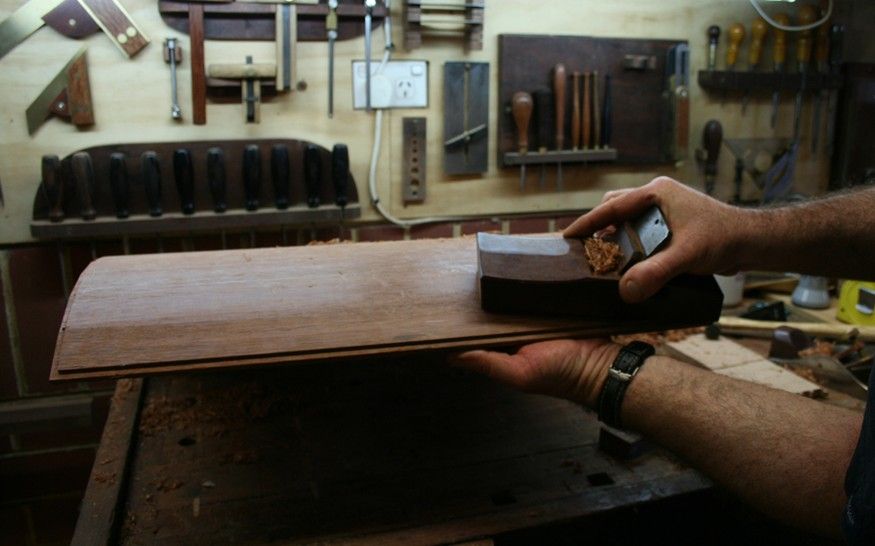

Scraped with supports ..
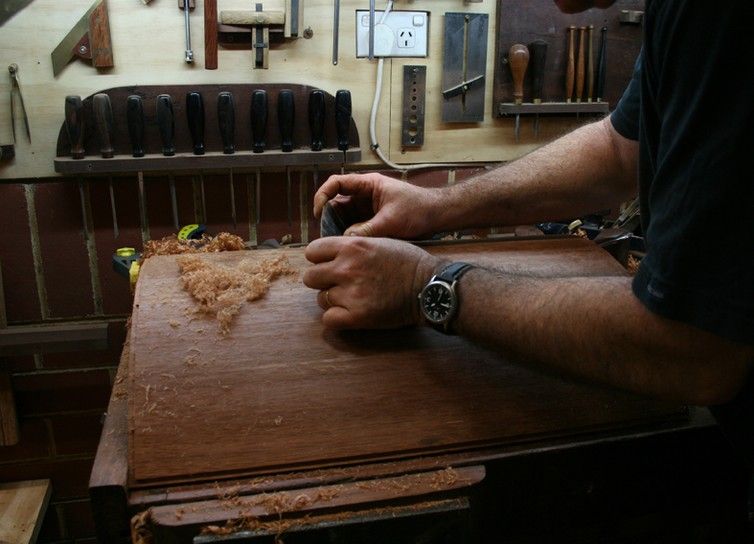

Scraped without supports ...
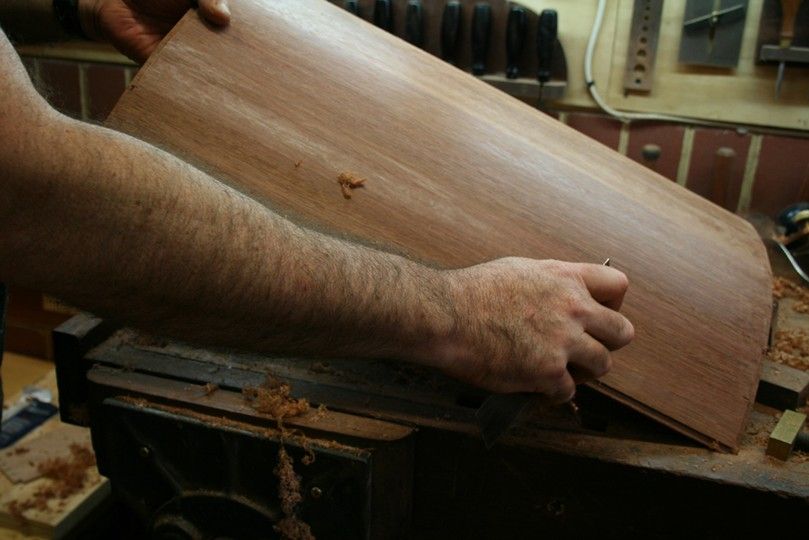

And then .. suddenly it is starting to make sense ...
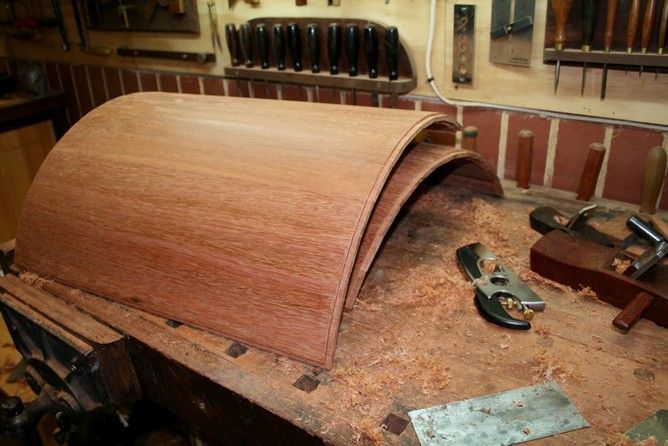


Now for the frame.

Regards from Perth

Derek
Re: The start of a new project - coopered doors

#2

Thanks for the narrative with pictures

Bill Houghton, Sebastopol, CA

You don't show any shaping of the curve on your rabbet, where the panel will fit in the frame - unless I missed something.

Is your plan to shape the rabbet into a curve, or to use a big enough groove in the frame to accommodate the segments of flat boards?

Re: The start of a new project - coopered doors

#3

Re: Thanks for the narrative with pictures

Derek Cohen (in Perth, Australia)

Hi Bill

I tuned/refined the inside face of the rebate with a shoulder plane (it's lying there on the bench somewhere). I have yet to turn the inside face. Not sure yet if I can leave it as is (semented) or whether I will need to shape it. If the latter I will build a rebate plane to match the curve. Any suggestions?

For the frame, the sides are straight, so these are easy. The top and bottom are curved and will be cut from solid rather than laminated. I've done laminated before and I cannot see it being accurate enough here (because of springback). The question is the adding of a groove to the curve. Easy enough with a power router. How would you do this with a handplane?

Regards from Perth

Derek

Re: The start of a new project - coopered doors

#4

Darrell in Oakville

Re: The start of a new project - coopered doors

Darrell in Oakville

Very Cool!!

When I built my son's sleighbed, I created some plywood forms to hold support the panels whilst they were planed and scraped. When you scrape that much surface, you quickly learn how to scrape pushing, pulling, one had, two hands. left , right... keep changing your grip to keep your hands from cramping up. I expect you know this better than I do by now.

Darrell

Wood Hoarder, Blade Sharpener, and Occasional Tool User


img

Re: The start of a new project - coopered doors

#5

Grooving the curved frame piece

Wiley Horne--So. Calif.

Hi Derek,

Great start--those coopered seams aren't showing :) . I'm eager to see the overall design and ornament, so please keep it coming.

To do that groove with handtools, knife it in deep to get started. Then mortise out most of the waste, with a chisel not quite as wide as the groove (like 1/4 or 5/16 for a 3/8 groove), proceeding in shallow lifts to honor the curve. When you get near depth use a scratch stock only slightly narrower than the groove to finish up. Might use a paring chisel right after the initial knifing, fenced with your fingers, to get the groove established before starting the mortising--kinda depends on whether the wood wants to split along grain lines under the mortise chisel.

With US domestic hardwoods, I might scratch the entire groove, but it sounds like the karri (jarrah) would make this a very lengthy approach.

I think there are special ploughs (carriagemakers?) that are built for this job, and which always run into the high hundreds on ebay. Maybe LV or LN will prototype you a carriagemakers plough ;) .

Wonderful looking project!

Wiley

Re: The start of a new project - coopered doors

#6

Cool project, please keep us informed.

Pam Niedermayer - Austin, TX