Chair leg repair - final pictures
Derek Cohen (in Perth, Australia)
The chair leg repair is complete - just a final waxing to go, once the finish is cured. I am happy with the way it has come out. In fact Lynndy said the chair looks better now than it did before.
Unfortunately - or fortunately ..  - she is correct. I need to go back in time to explain this ...
I had the chairs restored by a professional restorer 15 years ago. The upholstry was originally a woollen fabric, which had become very tatty after about 6o years. Lynndy was away visiting her mother for a couple of weeks and I decided to surprise her with a complete remake. So they went off for the springs to be retied (or whatever they do), reuphostering in leather, and the woodwork was re-finished (the years had not been kind). Of course it all looked wonderful and Lynndy was genuinely surprised and thrilled at the transformation. Finally they could be moved into the livingroom.
Fast forward to the present. It is amazing that I did not take a closer look at the finish that the restorer had given to the chairs over the years. I guess it looked fine and I had no reason to look closer.
When it came to blend in the repair with the existing finish, I could see that it would be difficult to do so seamlessly. I identified that an amber shellac had been used, but the finish was muddy. This may have represented a change in the shellac over the years. I don't think so, however, as it was even all over.
So I removed all the finish and refinished the woodwork in amber shellac. About 8 coats in all. I still need to add a wax coat, so you can see the differences in the pictures below. The wood is definitely beech.
Old on the left, new on the right ...


Here is the repair on the side where I added the insert ..
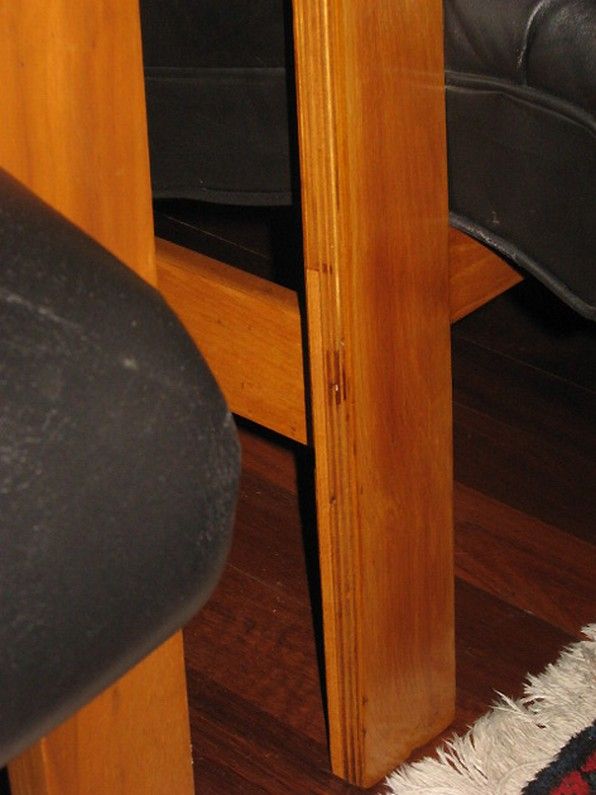
Now I was a bit concerned that the break occurred as a result of the leg delaminating. I have checked the laminations on all legs and they seem fine. Nevertheless I decided on a little "insurance". This takes the form of adding reinforcement to the underside of the legs (where it is invisible) in a way to ensure that the laminations are anchored. The "mortices" are filled with epoxy and will be covered with felt pads.

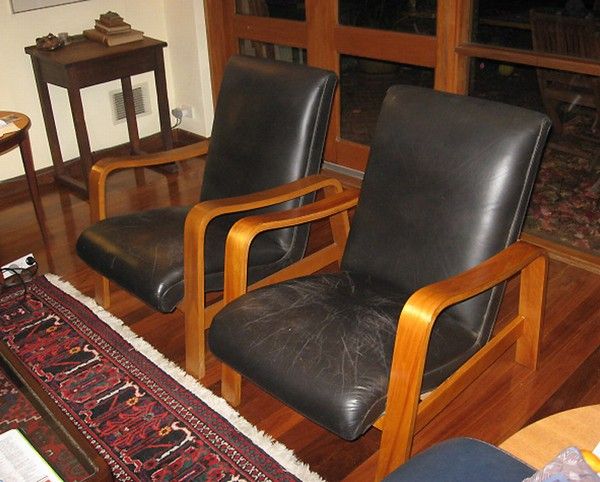
A last look ...
As always, your comments and suggestions are welcomed.
Regards from Perth
Derek


