A new angle on a scratch stock
Derek Cohen (in Perth, Australia)
>This post is a report on using a scratch stock in a new way (for me), but also serves as a way of updating the progress on a wardrobe I am building. I have previously shown the dovetailing of the carcass, particularly the sliding dovetails. I have also posted on the blind mortice and tenons for the lower divider. I will shortly post on the drawing boring that was used there.
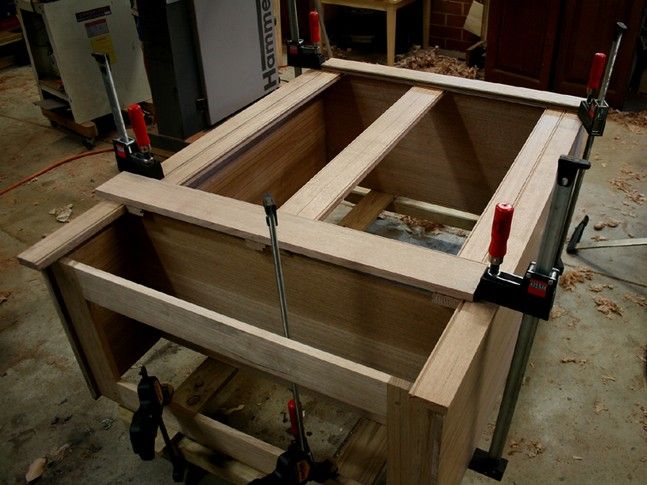
I am now at the stage of building the face frame and door frames from the wardrobe. The carcass is dovetailed at the top side, and has two dividers connected with sliding dovetails. The top divider is solid as it forms the floor of the wardrobe, while the lower divider is a mortice-and-tenoned frame (to minimise movement) that will support a large drawer.
Today I had a couple of hours free, so I concentrated on applying the beading to the frame and, especially the doors.
First I added beads to the face frame (where the side frame meets the door stile) and then the inside edges of the door frame.
I used the Stanley #45 combo plane on the face frame. This worked pretty well, but the #45 is limited to straight grained wood. It does not like any reversing grain as there is no support for the blade.
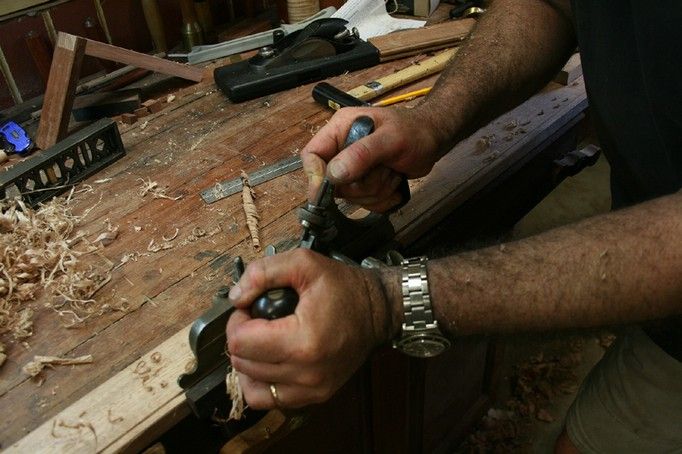
The key to successful planing with the #45 is to choose your boards carefully, and to use a very sharp blade.
Here is an up-to-date picture of the work � all pieces are loose as they have just had beads added.
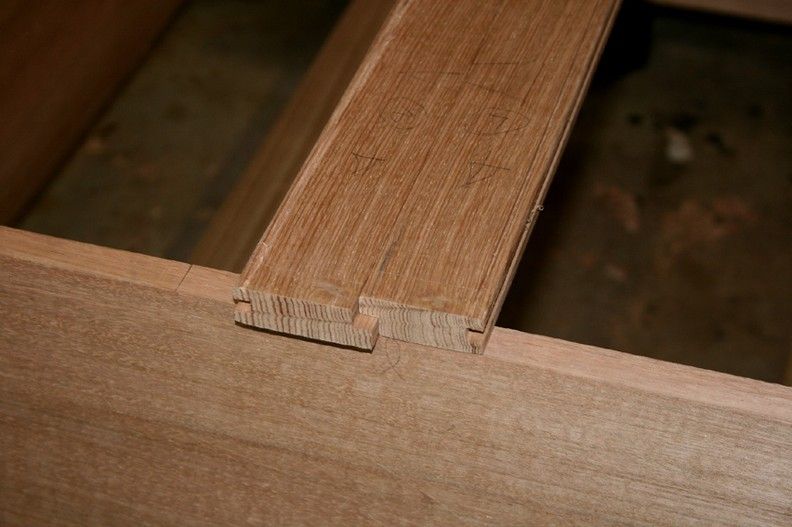
Here is the upper edge of the intersection of the doors. You can see the rebate that allows one door to lock on the other.
After using the #45 on the face frame, I realised that it would be difficult to do so on the door sections as the Tasmanian Oak had more reversing grain than I was comfortable with, and I did not want to take a chance of tearout. I had already had a little on the face frame, but managed to repair it, fortunately.
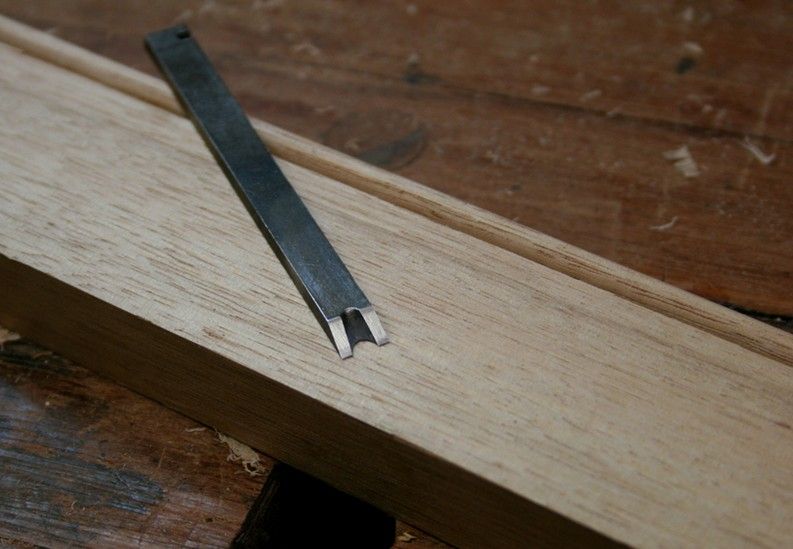
So I decided to use a beader to create the edge detail. I chose to use a scratch stocks as I needed to file a piece of bandsaw blade into the profile of the #45 beading blade. The scratch stock design I most like is that of Garrett Hack. It is simple to make � just hammer a blade into a kerf cut into a block of wood. And I like the long fence that can be created with this design.
Here is Garrett using his scratch stock ..
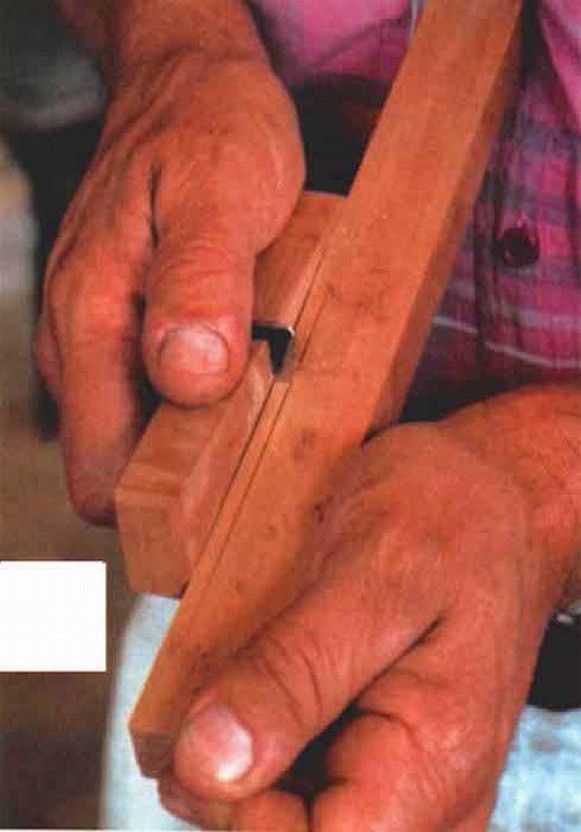
Now this is where it got interesting for me. I have used this style of scratch stock on a number occasions, and always held it � and seen it held by others � in the manner in the picture. The method is to either clamp or hold the work piece and run the scraper blade along the top, with the fence running along the side. This works quite well, but there is always a danger of digging the blade in as it is difficult to control the downforce in a sensitive manner.
I was busily trying to clamp a piece in position when it occurred to me that I could turn the board on its side and run the fence on the top and the blade on the side � effectively reversing the positions that Garret uses. The advantage here would be that pressing the fence down would be more stabile that pressing it laterally, and that then I could better control the angle at which the blade scraped.
Here is the scratch stock I started with. You can see the start of the bead along the side ..
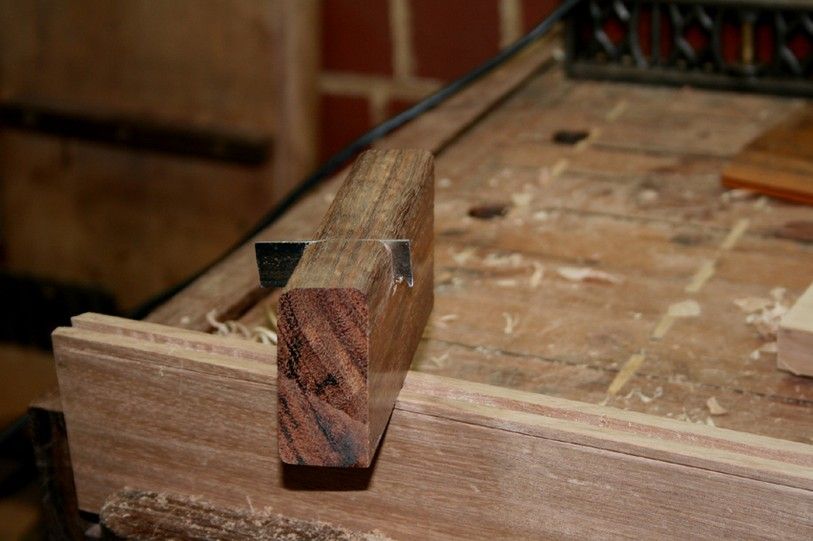
And here is being used and a more defined bead emerging ..
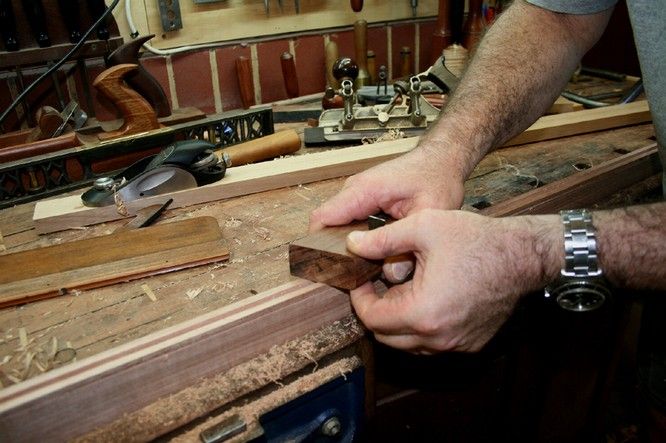
I found that there was considerably more control with the scratch stock oriented this way. It was now a simple matter to turn the blade for the optimal scraping angle. It was easier to apply light pressure, or heavy preassure .. as needed.
Two additional tasks were, firstly, to use a block plane to remove the waste at the edge (saving extra shaping with the scratch stock) ..

The original scratch stock�s blade grew blunt. It was old � had been used on several projects. I sharpened it, but it would no longer fit firmly in the kerf. I decided to build another.
I marvelled at how cleanly it cut. There is a shaving peeping down.
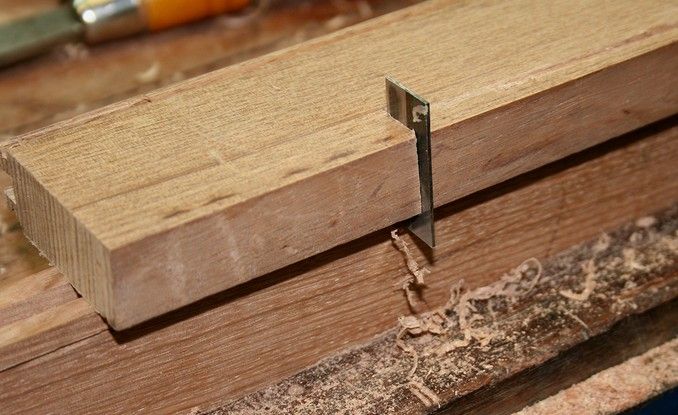
Here is another shot of the shavings .. long and stringy �
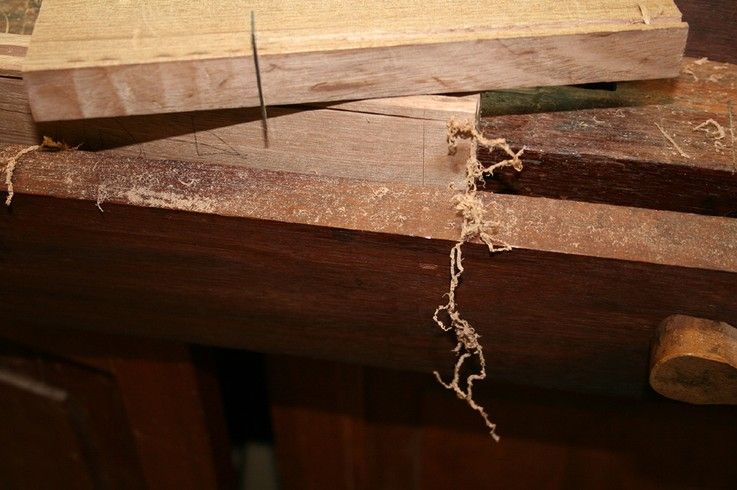
Another picture of the blade ..
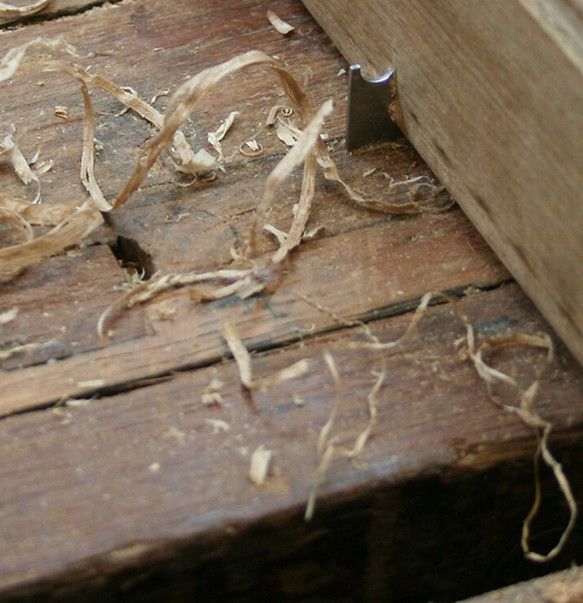
A final picture ..
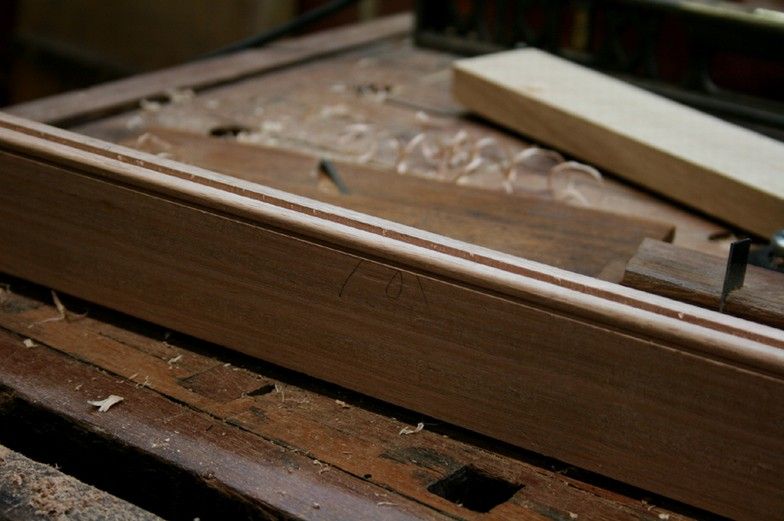
Now on to morticing and tenoning the door frames.
Regards from Perth
Derek



