Re: Wow, I was afraid of that *LINK*
Craig D
>Ellis writes:
>Knowing me, I would have probably just fit the bun perfectly then drilled a pilot hole through the shell and the bun, following up with a 3/8" bit to drill out the rod holes and a countersink to prep the shell for screws. Then I'd have drilled and tapped the ends of the rods and, if I was concerned about the wood expanding, disc-sanded the side(s) of the bun a touch to create the necessary clearance.
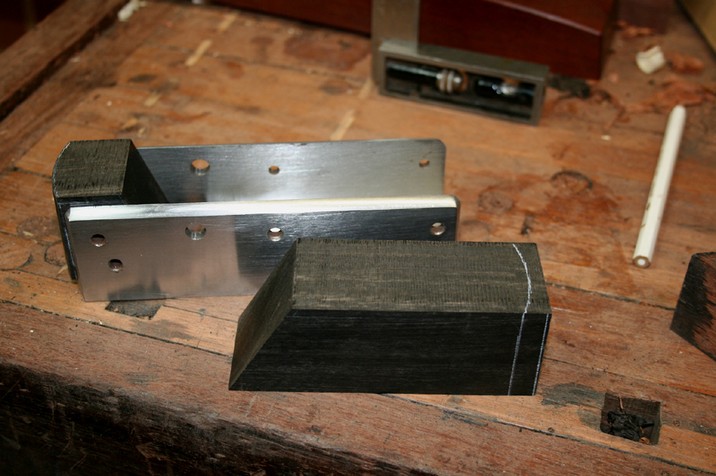
I think that would work just fine, the bigger drill (if it is a twist drill) will follow the pilot hole. I used a forstner bit because it drills a more accurate hole. However, remember that in this case, Andy's plane kit already has holes drilled in the shell.
>Your method is all custom fitting, but it gives you better control over the whole process, at the cost of more work.
Well, my methods of work are designed to allow me room to fix screw ups, which I make a lot of. This plane is very much a prototype (for me) so it is custom in that regard.
>How much expansion do the Sauers and Andersons of the world allow for, I wonder?
Good question. As far as I can tell, modern makers allow for wood shrinkage. I'm assuming that aesthetics require no gaps between the wood and metal on a new plane (it did for me). A tropical wood doesn't move much so it is very good for this application. Karl Holtey talks about this issue in one of his blog entries.
BTW, the stainless peins nicely. You may have noticed that the two rear pin holes are missing - they were filled and piened.
Craig
Holtey: A Window into my workshop 1