Cutting BIG workbench legs to length...
wilbur
>...or why I like Japanese saws.
I got the legs cut down to size last night. I took some photos showing how I did this, because it shows why I like using Japanese saws so much. This is probably old hat for a lot of you, I know, but I was having fun with this.
These legs are about 5-1/4" square, and I'm using a 270 mm single edged Japanese saw with a disposable blade. This saw is probably a bit too small for this type of cut, but it was the biggest one I had. ;)
First, mark the lines for the cut.
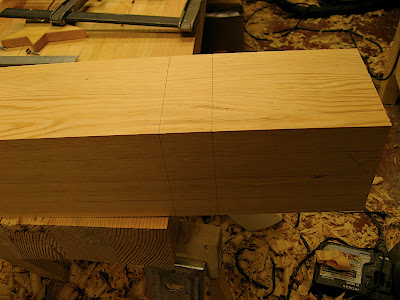
There are two ways that I've made this cut. The first way is to make a cut, going around the leg as you go. I start the cut on the near corner of the leg, and saw, trying to hit both lines at once.
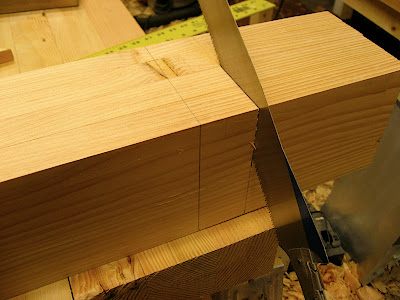
When I get about halfway down, I rotate the leg so that the part I was cutting is away from me. Then I saw along the top line, using the kerf as a guide.
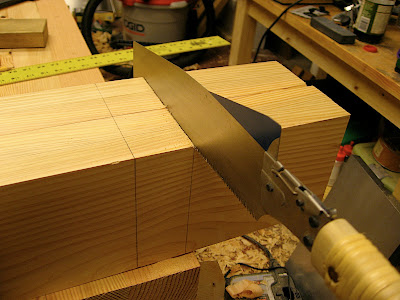
Sawing straight across is very easy, as the pull cut action automatically tenses the blade. Some people complain that the pull cut also throws sawdust on the line, obscuring it. This is true, but once the cut is started, I am no longer looking at where the saw is cutting. Instead, I'm looking at where I want to end up. Remember, the pull action will keep the saw straight.
Then, I angle down the front of the leg. Again, I am looking at where I want the cut to end.
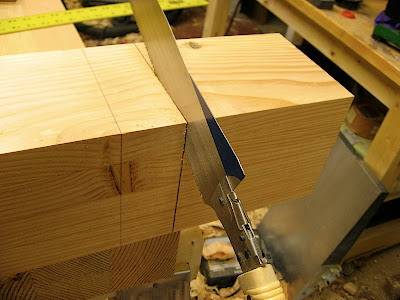
I continue this around the leg, and eventually you finish cutting through the middle.
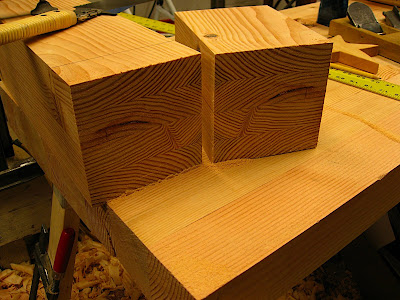
The advantage of this method is that you can completely support the piece on the table, since you aren't cutting straight through the piece. Instead, you're going around the perimeter, eventually cutting through the middle. The downside is that if you look closely at the cut surface, you can see that you came at different angles, and it's hard to leave a perfectly smooth cut surface. Since this will eventually be tenons, I don't really care. ;)
The second way is the one that I use more often. Here I start at the far side of the line, and saw across the top.
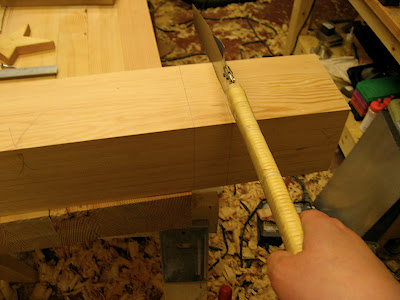
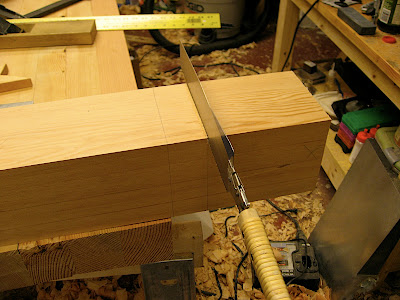
Then, I continue down the side, eventually cutting all the way through.
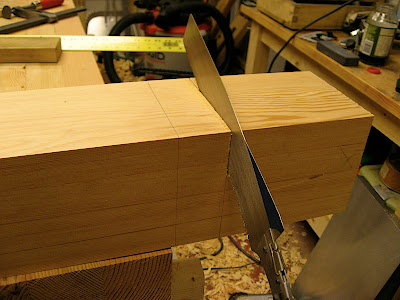
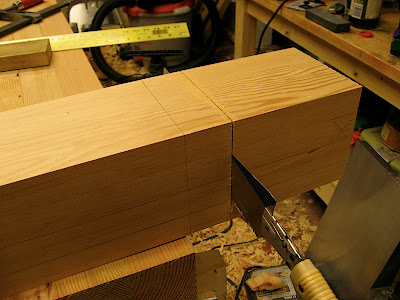
Again, I'm just looking at where the cut will end, not where the saw is actually cutting. Since the saw is under tension while cutting, it's easy to follow a straight line. Here's the back side of this cut. I didn't look at this side at all until I took this picture.
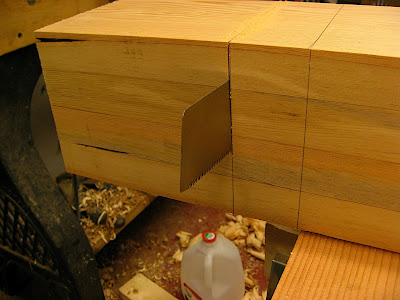
Not bad, if I do say so myself. Eventually you'll cut all the way through.
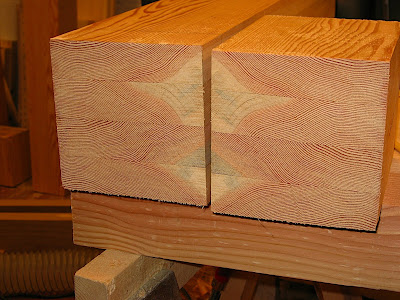
The advantage with this technique is that the sawn surface is smoother, since you're coming at it from one direction. The downside is that it takes a little practice to get the technique down. Also, since you're going straight through, the cutoff needs to be supported as you get to the end of the cut, which was a little difficult due to the size of the cutoff. But once you have the technique down, it's like riding a bike. And just to be clear, I don't think I have any particular talent at sawing. I do think using a Japanese saw is this easy.
Besides, my understanding that the real way to do this is to start at the top near corner and cut straight through. I'm not that good. :@)
Next up: cutting the tenons.


