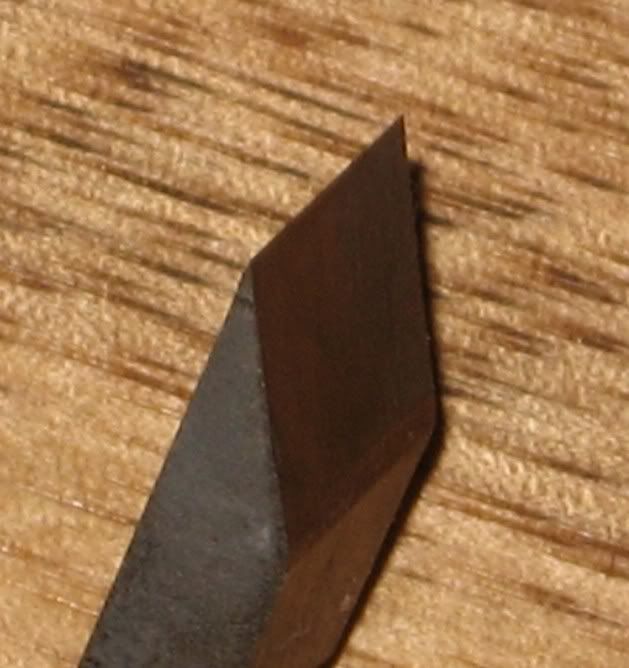
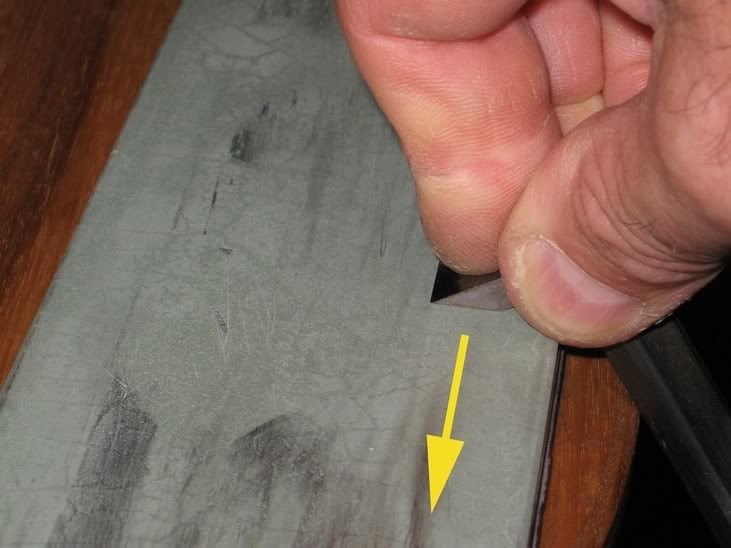
Hard to explain, without pictures, but I'll try
James Watriss
>As it was taught to me... it's intricate, so print this out to bring to the shop with you. Some of this will only make sense when you're at the bench working on this tool.
Step one: make 2 parallel cauls that sit proud of the sharpening stone, that are close enough for the sole of the plane to sit on. If the stone is too wide, lay down two wooden strips of equal thickness. The idea is to give sole a pair of surfaces that will allow it to slide in a motion that is parallel to the face of the stone. Trust me, this is actually important.
Step 2: place the plane on the cauls (or strips, if you used those), with a piece of paper underneath one side of the plane. Drop the blade to the stone, lock it into place, and remove the strip of paper. Run the plane back and forth until the stone stops taking away metal.
What this does is to tell you if the edge of the blade is, in fact, parallel to the sole of the router plane. It's very likely that it's not. What you'll get is a ground down area behind the edge. if this area is perfectly rectangular, and comes back an equal amount from the edge, then the edge is parallel to the sole.
If the ground down area is triangular, then the edge is not cutting parallel to the sole of the plane. What this means is that the plane will remove material, but you'll have a hell of a time trying to make a smooth surface with it because one side of the blade is hitting before the other one, and the point on that side will dig in.
Unfortunately, there's no simple way to build a lateral adjustment into the plane. You can't bring it back into adjustment. On the other hand, you can be assured that once you tune the blade to work with the plane, that it will ALWAYS be in adjustment.
Assuming that you're left with a ground down area that isn't parallel to the blade, you do need to make sure that it does go completely across the blade. If it doesn't, replace the piece of paper, drop the blade again, reset, and regrind. All you need is full-width surface, but don't go too crazy. If you get a triangle, that's good. You're going to grind it all away, so minimal area is better.
Step 3: Once the ground area goes all the way across the blade, it's time to hollow grind the bevel. Here's the truth: if you're left with an uneven area, you're going to have to do one of two things: completely regrind the flat of the blade, to make the necessary adjustment, OR hollow grind the bevel, and live with the fact that you'll get a skewed angle.
If you opt for the first choice, and you really want to restore the flat side, you're on your own. That's a lot of work, and you may be chasing it for days.
Because the ground area IS parallel to the stone, you need to grind all of it away. You may take my word for it (becuase I've done this a few times) that the rest of this procedure will work. Take the blade to a belt grinder or a dremel tool, to do your hollow grinding.
There are two edges to the ground area. Edge A is at the edge of the blade. Edge B is the dividing line between the ground area, and the rest of the flat of the blade. Edge B may be crooked, but because of the geometry of the stone set-up, you know that this is the angle that will allow you to cut a smooth bottom in your work. If you don't see it, trust me. Or, think of it this way. This is the angle that a smooth bottom defined on your blade.
A belt grinder or a dremel tool will have small enough diameters to handle grinding the bevel of the blade. You're going to hollow grind the bevel. You can do this in one of two ways.
-Don't joint the edge. This is the first option. Hollow grind, until that ground surface that the sharpening stone made is gone.
-Joint the edge first. I generally recommend this, despite the fact that it seems counter-intuitive if you've never done it before. It means putting the edge directly into the stone, at 90 degrees. You'll do this, and grind away any metal that was touched by the sharpening stone, all the way back to the aforementioned edge B. I know it seems wasteful. What you'll get when you're done, if you've done it right, is a facet that is thicker on one side of the blade than the other. But this is the blade geometry that will allow you to cut a smooth surface with this plane. From here, you'll hollow grind the bevel, with the grind coming down to meet this new edge. It does mean you'll have to grind more on one side of the bevel than the other. Yes, it's normal. And yes, it's important.
Once the grinding is done, you'll get a bit that is slightly skewed, but one that will meet the stone evenly... which means it will cut a surface that is parallel to the sole of the plane.
With this hollow grind, you'll be able to sharpen as normal. My recommendation in the future is to hone the bevel as well as you can, and do future sharpening on the flat of the blade, since it's easier to access.
Yes, I know this is a huge procedure. If you have a belt grinder, you can start out by practicing on an old allen wrench. Find one that's small enough to fit into your plane (The small router planes have round holes, so it should go in fine, and lock down fine) and use the flat of the belt to grind a flat bottom on the bent part of the allen wrench. Then use the stone trick to figure out how to do your hollow grind, and go from there. With this technique, you'll be able to make a set of blades of varying sizes that can be made very, very small... very useful tools for things like inlays.
Or, if you really don't like all of the above, you can spring for a new LV or LN mini... I haven't checked mine, but I'm pretty sure the blades cut parallel to the sole.