Re: Alternative method to hand cutting a big morti
ThomD
>-Thom, with your method of removing the majority of the waste, does your auger bit go all the way to the sides of the mortise, or do you leave a little bit so that the chisel has something to bite into?-
I have done it both ways. When I started out and was trying to do those rounded end mortises a la Krenov, I drilled tight to the mortise sides, and I almost always had one of say four mortises over the line, even using machines. I assume that is why Krenov didn't drill but used an end mill.
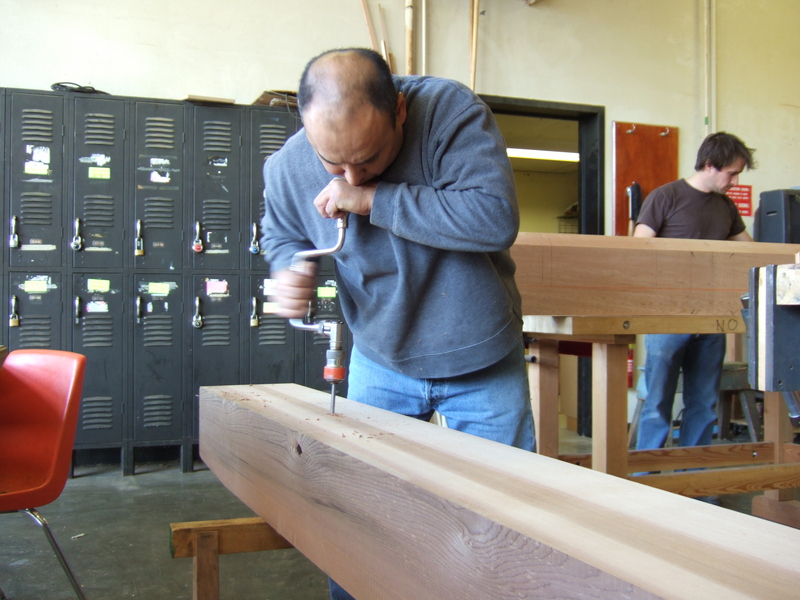
It works better for square holes to leave the hole a lot undersized, and keep it back from the ends far enough that you are able to hold the chisel in the end grain, which is just something you have to develop a feel for. There are two ways to go about the whole thing. One is to auger the holes then use a mortising chisel in exactly the same way as you would without the holes. That is the say the edge perpendicular to the long side and full width in the mortise. For the bigger stuff, normally they are laid out either to 1.5 inches or 2.0 inches in accordance with the size of your framing square, you underdrill the mortise, about on sixteenth or one eight on the sides and maybe a quarter or less on the ends, depends how tough the material is. After drilling you go around all the sides and pare them off. The framing square is excellent for ensuring you are parallel sided, square to the beam, and at correct depth, just don't use it with force or it won't be square for long.
There are a lot of ways of laying out depending on your situation. You can lay out from the sides of the piece, but this only works if your pieces are perfectly dimensioned, or at least perfectly enough. Keep in mind there may be a later stage of planing up, after assembly, take for instance joists that get planed up in place and the extra meat can be left in place for a better structure; There is laying out on a center line. This is a good method and allows the joints to be on plane, first thing, its fast since you can just snap a line, or on shorter pieces use a ruler. It's not great for dealing with wacky dimensions, the material needs to be straight, but it does get the joinery on plane; Another good method is laying out in reference to a surface. This gets done on stuff like using floors as a reference in constructio. But it's also possible to lay out from true surfaces, and this is done a lot for metalworking, where one can lay out from a granite block. It works for woodwork too an example being jigging up a chair on a flat surface and then scribing in the leg length from the surface up; or can also lay out timbers from your framing square by using a pair as winding sticks and then laying out the mortise seats from those readings. This allows one to lay out timbers than don't really sit straight, but are going to be used anyway.
- have made large mortises before by drilling out the waste and then cleaning up the sides, but I seemed to spend a lot more time with the clean up than I thought I needed to. In my case, the bit I used went all the way out to the sides of the mortise, and the side walls of the mortise were much rougher than I thought they should be.-
I think it is mostly a time saver with small projects where you can use the chisel conventionally also. You don't save much time, but you get a conventional result, so what time and effort you save is gravy. The prossess is a lot like hollow chisel mortising, with the drilling and chiseling done in sequence. In HCM the drill is quite undersized.
On the timber sized object, and the large mortisers, it's just the best method, it takes a fair amount of time to pare five sides, but unless you have a beam mortiser you don't really have a practical option.