Re: making pictures smaller
paul womack
>First up, I'm no expert, but I get by.
Second, there's a entry in the FAQ about this.
Third, if you want to check my credibility, here's my website and some photos in a gallery. If you think those photos are bad, you're welcome to ignore everything I say!
OK. Onwards. And BTW, I use Gimp, because it's free, and I work on Linux. Most of what I say should apply generally.
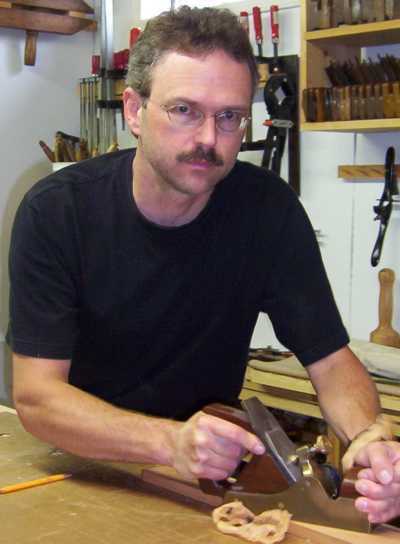
I'm talking about this image in my recent post in the "Mortise chopping query" thread.
The original photo (per my Canon a510) was 2048x1536 (AKA 3 MegaPixels), which would be around 9 megabytes without the wonders of JPEG.
The actual file was 794K (around 10 times less).
Stage 1 of reducing the image is cropping. Unless you're really good (and confident) with your camera, most photos have "extra" stuff around the subject.
Use the cropping tool to get rid of all this extra. In my case I could crop to 1566x1455 (6.8 Meg raw, down from 9)
Stage 2 (optional, fancy); make a selection of the unimportant parts of your picture (often by selecting the good bits, and inverting the selection) and then blur it. This allows JPEG to compress these unimportant areas later. It's better not to have detailed backgrounds (like carpet) for this reason.
Stage 3 lower the resolution. For on-screen viewing around 350-450 pixels is enough. Use the scaling or sampling dialogue to reduce the width to 450. The image is then 450x418 = 565K.
Stage 4 jpeg, without the trimmings. In GIMP I use "save as" jpeg, and use "advanced options" and show preview. show preview is VERY handy, because it means you're told the file size, and can see the effects of tight JPEG'ing.
In this case life was rather simple, since my image was quite small. Anyway, the options you *want* are
progressive (often makes smaller file, and a Good Thing in general).
You want to turn OFF EXIF data (fascinating stuff, but takes valuable space) and thumbnail (ditto ;-)
The remaining option is the most obvious; it's effectively "how much" quality to keep, since JPEG can throw away quality to save space. In general quality of 80 or more (in GIMP) is almost perfect; numbers below this start to gradually cause visible degradation.
If taking the quality number down makes the picture look too bad for you, your only choice is to go back to the sampling stage, and sub-sample to a smaller number of pixels (e.g. 400 instead of 450; this reduces your file size by around 25 %) and try again. You must go back; scaling 450 pixels into 400 will generate horridness.
And, yes, I can do this quicker than I can talk about it.
BugBear