made a bucket (2 long, pix)
Darrell in Oakville
>This week we took off and headed up to the cottage to play in the sun and the water (and a bit in the shop too!). The weather was amazing. Very hot (95 F) with almost no wind for most of the week. Lying in the water at the beach was the only way to beat the heat! I did manage to get a few hours in here and there over the course of the week for shop time.
This year I made a bucket. Not as useful as the benches or the trestle table from the last couple of years, but loads of fun anyways. I started with a pile of white pine offcuts (left over from when I made the window trim moldings a few years back) and some riven slabs of basswood from the Great Ice Storm of '98. The basswood was rather twisted, but it was easy to work.
I recalled seeing a couple of Roy Underhill's WoodWright Shop episodes where buckets were being made. Seemed quite straight forward. Bevel and shape a bunch of sticks to fit into a hoop, cut a croze for the bottom, and hammer it all together. Nothing measured, all done by eye. That's my kind of vacation woodworking!
I scavenged some steel strapping from a construction site dumpster for the hoops, and used a punch (backed up by an end-grain block) to make some holes in a piece of the strapping. I didn't have any steel rivets, so a common nail cut off to about 3/16 inch was substituted. I forgot to bring along an anvil to peen the rivets against, so I used a 5 pound hammer head as an anvil.
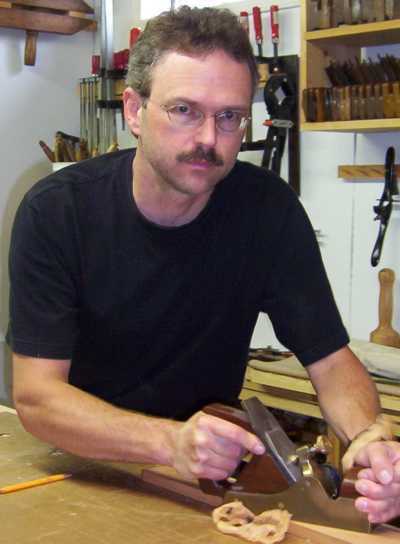
I put an old Union #5 jack plane in the leg vise of my small workbench and used that as my 'coopers jointer'. Somehow I was able to cram that workbench into the back of the car along with our food, luggage and tools for the week's vacation. The secret to efficient and effective packing is to fill ALL the gaps with stuff. My own brother is probably the second-worst car packer in the world. He just shoves everything in at random and complains that his huge monster of a van has no cargo space. But I digress...
With a sample hoop and a pile of pine & basswood shorts I started beveling the staves. I left 4 of the long for potential handles. The plan was to cut two of them off short after everything fit nicely. The plan worked, as you will see... I used a drawknife (made by Greenlee) and a spokeshave (a Lee Valley wooden shave kit) to do the rough bevels and to shape the outside curve of the staves. I kept fitting the staves into the hoop to see if they had the proper curve & bevel.


My son David (he's 10 yrs old) was my Official Photographer. He has his own ideas about what constitutes an interesting picture. Some of the operations, like cutting the croze, are not pictured, because he was otherwise occupied (like chasing his sister with a Super Soaker or jumping off the dock).
I tried using a shallow scorp to curve the inside of the staves, but alas, it did not work. This tool works very well across the grain hollowing windsor chair seats, but is pretty much uncontrollable with the grain on flat sawn white pine. So the inside of my bucket has some pretty nasty thickness differences and lots of flat facets.
Smoothing the outside of the bucket after assembly was a bit troublesome. I ended up making an extra hoop to go around the middle. This hoop, plus one of the others, would keep the bucket together whilst I smoothed out each end. I leveled the ends of the staves with a Stanley 64 spokeshave. Time to cut the croze now I guess...
I used a rasp and some coarse sandpaper to smooth the inside of the bottom rim of the bucket. I really wish I would have brought a round bottom shave with me. Once the inner rim was smooth I got out my quirk router to cut the croze. A proper cooper's croze would likely have been easier and better, but this is what I had available. And it worked! Then I cut a circle out of some 5/8 inch thick junk wood (spruce? fir? pine?) for the bottom. I tried to cut the bottom to fit the croze, but once set in place, the staves would not close up.


The trickiest part of the entire project was to remove the too-large bottom without having the entire bucket fall to little pieces. Some staves slipped, but I knocked them back in line. The bottom was trimmed and slimmed and replaced. This time the staves very nearly closed up. Close enough for swelling wood to seal off I hoped. I drove the hoops with the driver I made from a scrap of mild steel. I had filed a groove on the end, and then hammered the steel into a slight curve to fit the side of the bucket. Worked like
a charm!
Then a bit of trimming and shaping to clean the upper and lower rims, and a couple of holes for the handle. I cut a hunk of old nylon rope for the handle, not having any hemp or other natural fiber ropes around. Then it was time for the Ultimate Test: go down to the dock and fetch a pail of water. The thing leaked like a sieve for the first minute or two, and then slowed right down. I left the water in it for a couple of hours and the level only went down about 2 inches.


Everyone thinks it looks really cool, and even my brother in law was impressed that I did it all with only a few hand tools. Ah, but what do you use such a thing for? Well, it was a hot day, so the first use was obvious... a cooler for some well deserved refreshments!

--
Darrell
Wood Hoarder, Blade Sharpener, and Occasional Tool User
