WoodCentral Forums

Est. 1998 — 27 years of woodworking knowledge

It's beginning to look like a nightstand!

Posts

It's beginning to look like a nightstand!

#1

It's beginning to look like a nightstand!


The project ended last time with all the parts cut and shaped for the two bases ..
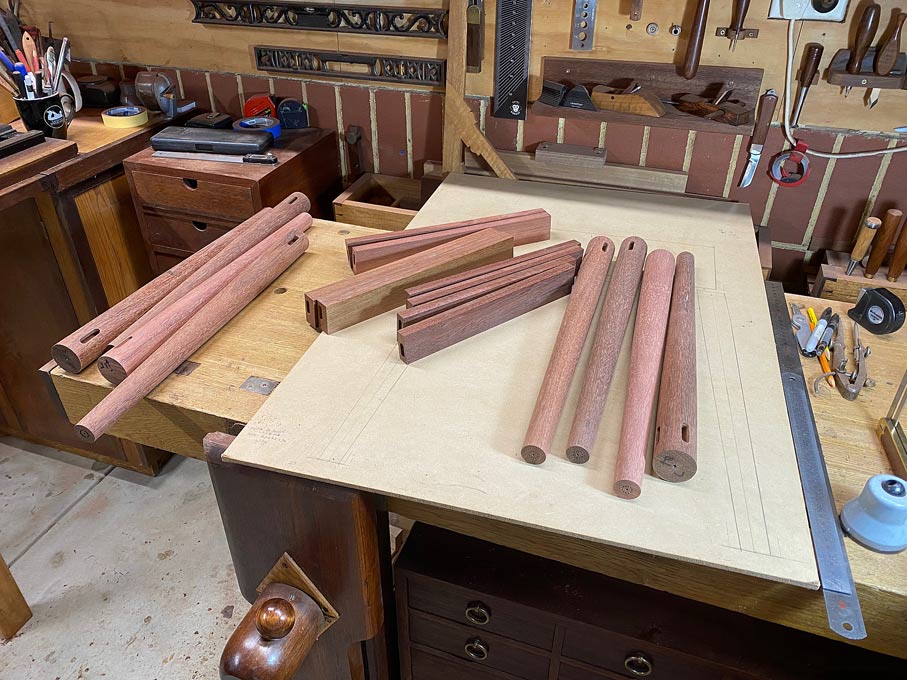


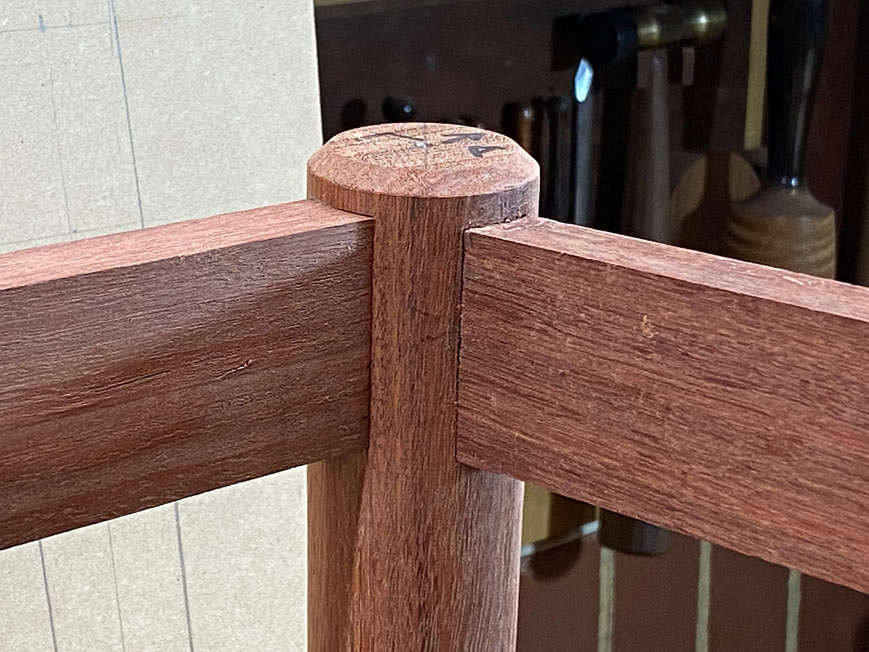
Square peg into a round hole? Not quite, but the square ends of the aprons must join flush with the round legs ...
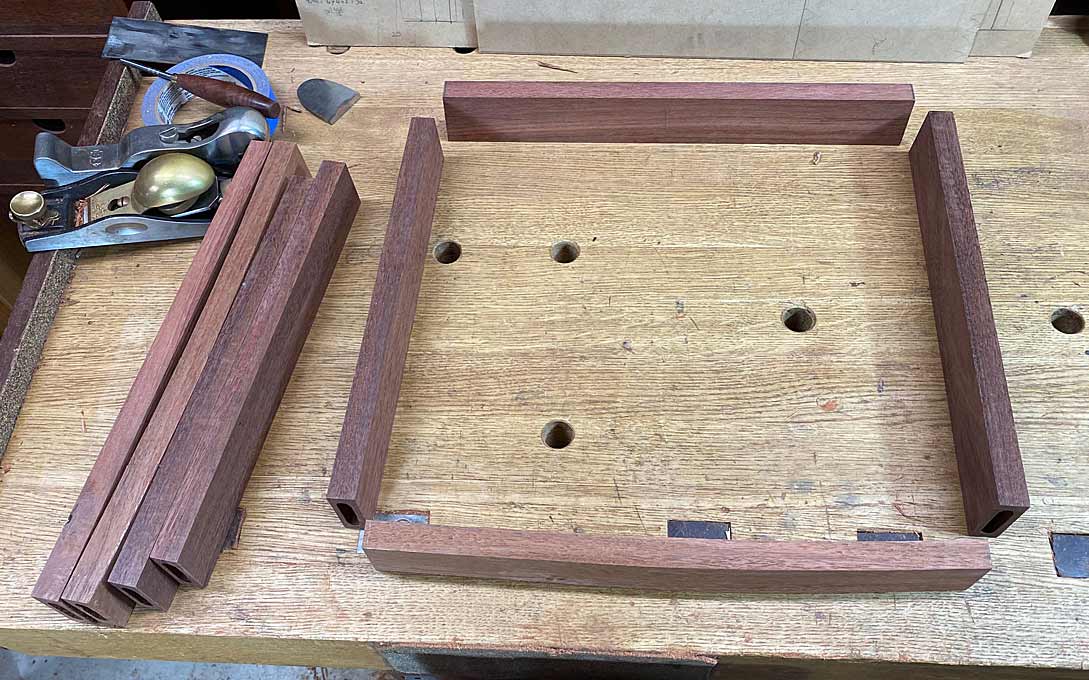
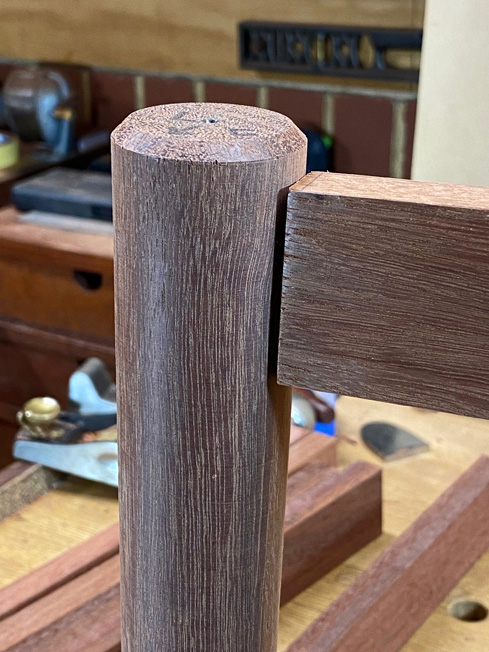


The choice was either to cope the end face of the apron to match each leg, or to shape the leg to match the end of the apron. I decided on the latter as each leg had a taper and the ends of the aprons were angled at 3 degrees. Matching the legs seemed much simpler. Still, it would prove to be a fair amount of work.


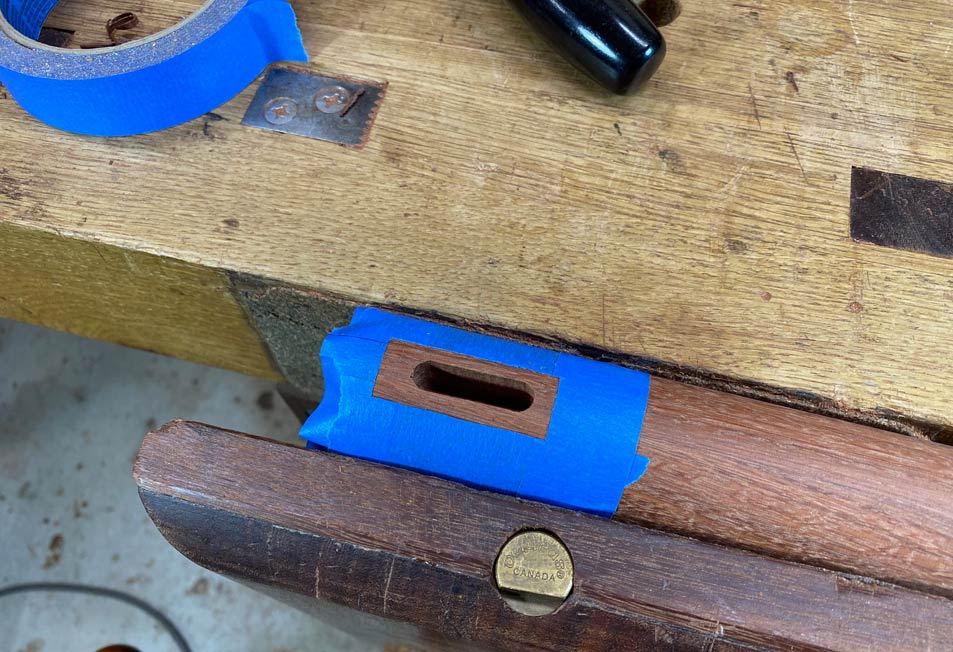
Step 1 - mark out the recess:


Step 2 - chop out the waste with a chisel:
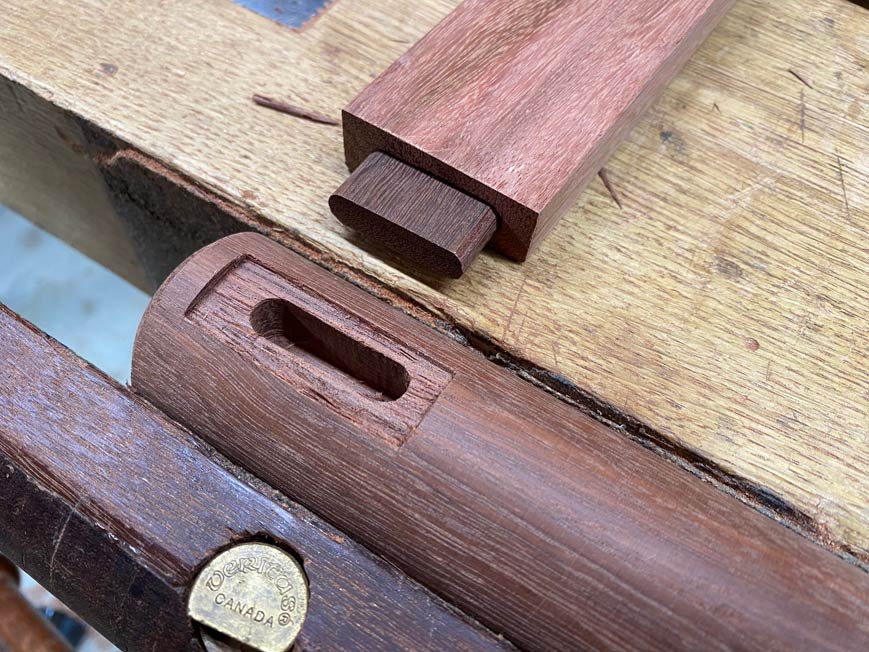


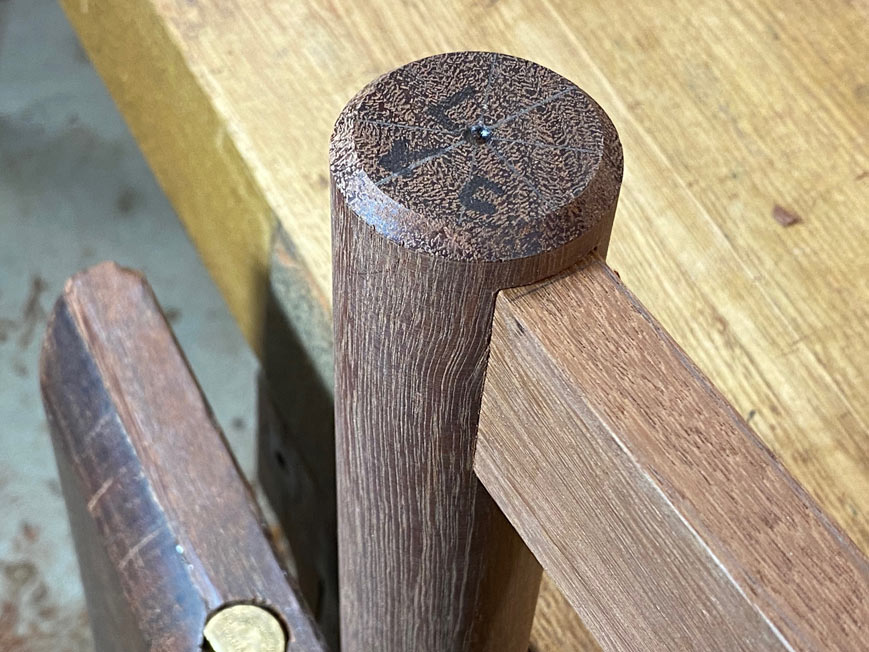
The fit is decent ...
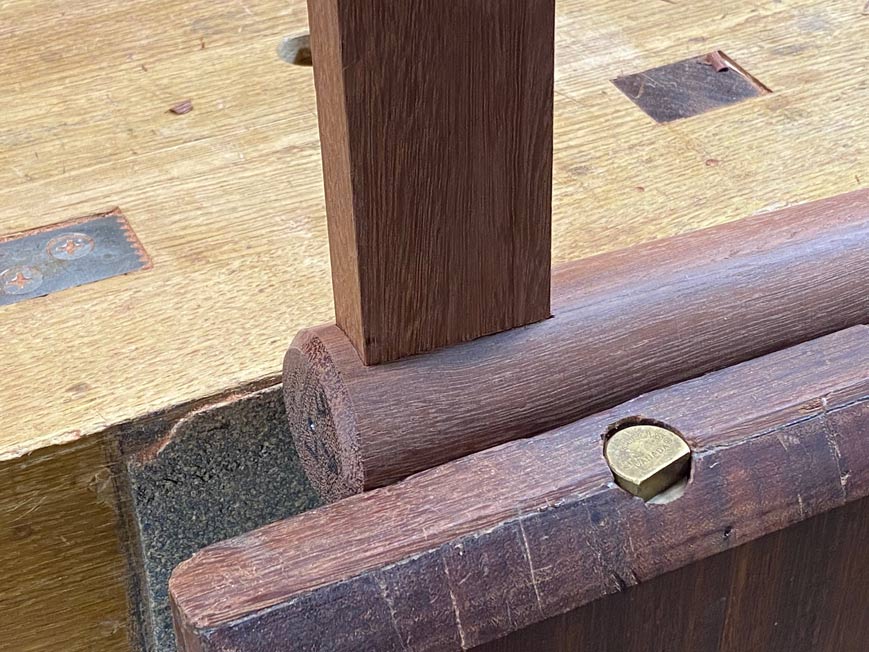


Eight joints later, and the first stage of the first base is at glue-up stage ...
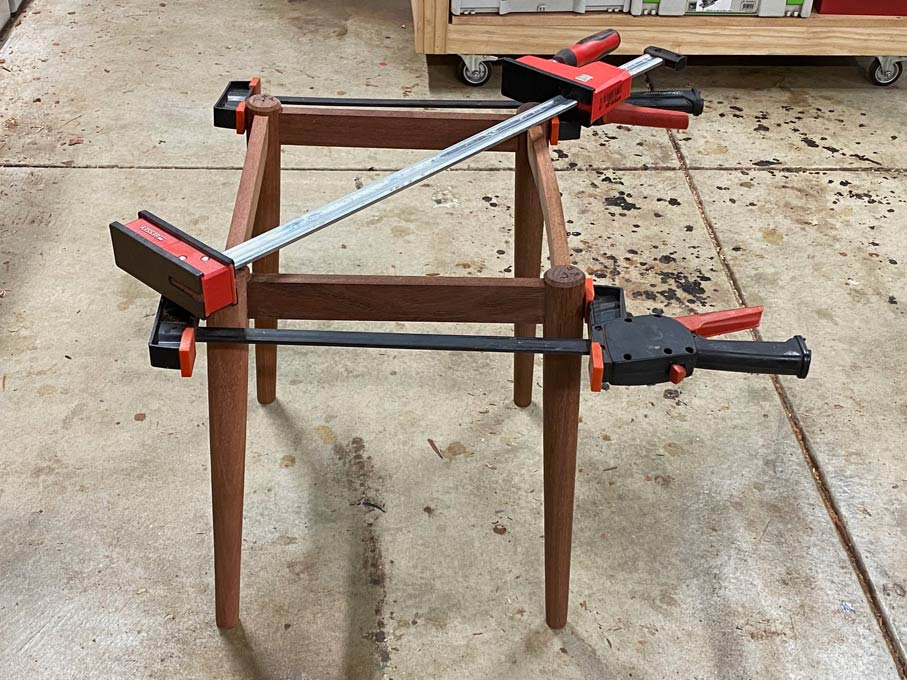


Tapers round legs splayed at 3 degrees ...
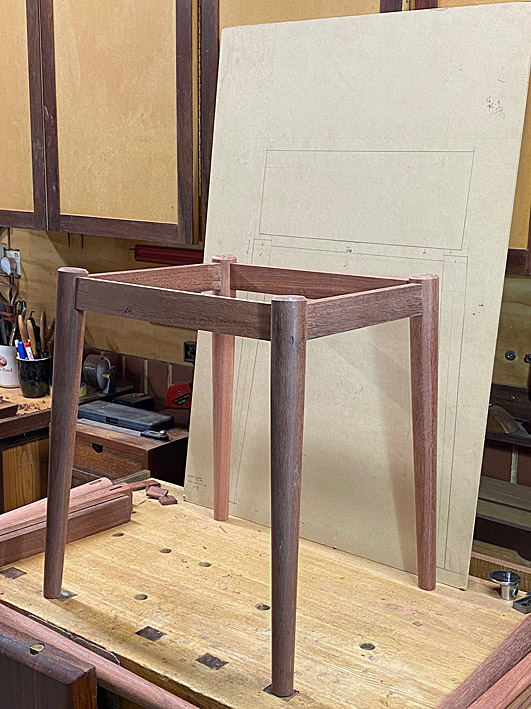


The rounded front can be seen here ...
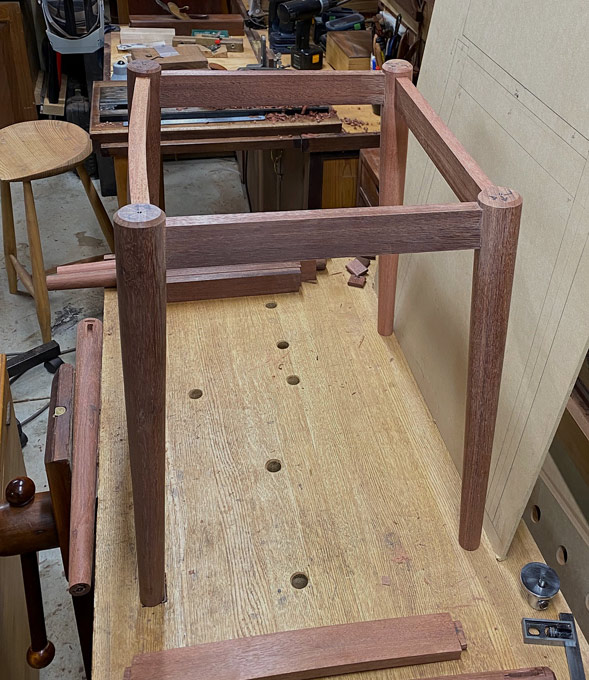


Close up off joints ...


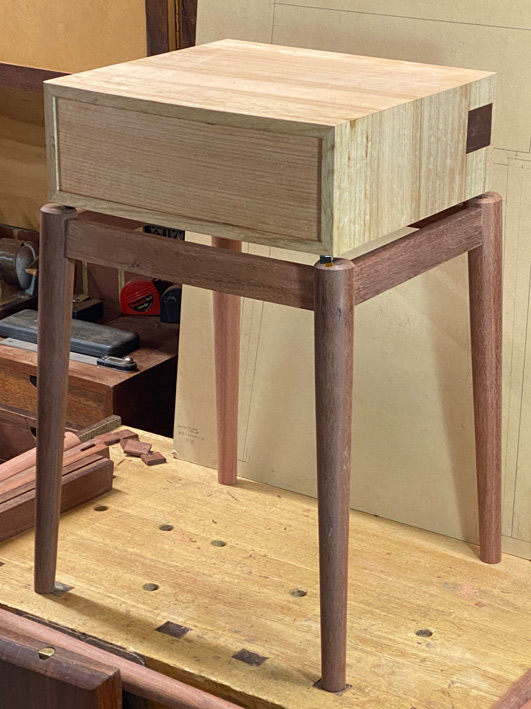
I couldn't resist a little mock-up (but lots still to do - not only that this is one of two) ...


Regards from Perth


Derek


Re: It's beginning to look like a nightstand!

#2

Ellis Walentine

Re: It's beginning to look like a nightstand!

Hello Derek,

Nice presentation as usual. I'm wondering how you dealt with the curved rail joints. If your front leg mortises are at 90* to each other, then you must have either mortised the ends of the rails at an angle to their faces -- which means you would have angled the ends slightly, too -- or filed the backside of the loose tenons, which I can't imagine. Or, did you cock the leg mortises slightly? (What does that curve amount to? A couple degrees at most?) I guess most people would just fudge this joint somehow, but I'm betting you didn't.

Just thinking aloud, if it were my project, I'd have kept the front-rail leg mortises at 90* to the side-rail mortises, and I'd have chopped those 3* angles on the front rails at 90* to the back line of the rail and cut the mortises with a Domino or horizontal mortiser perpendicular to that same back line. Also, I would have saved myself some chiseling by just filing flats on the legs.

I'm always interested to hear if people would have done anything differently in retrospect. I know I'm always doing post mortems on my projects. Rarely would I ever do anything exactly the same way again. 

Ellis


Re: It's beginning to look like a nightstand!

#3

Re: It's beginning to look like a nightstand!

Hi Ellis

I think that I did post a photo of this ??

I’ve made a fair number of similar constructions over the years, and what I do is maintain the square when creating the joint (here, the loose mortice-and-tenon), and then shape the section (here the front apron).

The photo below is of a rectangular section, wider than the side and rear aprons, where extra width is created for the curve … which will be shaped in after the mortices are made …


The blue is the front apron.

Here are two curved front aprons sandwiching a straight rear apron - all exactly the same length …


So, it’s a bit of a “cheat”, with the mortices set at the back and square to the ends.


Regards from Perth

Derek


Re: It's beginning to look like a nightstand!

#4

Ellis Walentine

Re: It's beginning to look like a nightstand!

Yeah, I seemed to recall having seen your solution, but I was too lazy to go back and look it up. Yours is a perfect solution. Thanks for reminding me. :)


Ellis


Re: It's beginning to look like a nightstand!

#5

Re: It's beginning to look like a nightstand!

Wow! Now I understand some of your building details. The end corners of that wood is splintery. Awesome double solutions.


👍 This page answered my questions

Your vote helps other woodworkers quickly find the answers and techniques that actually work in the shop.