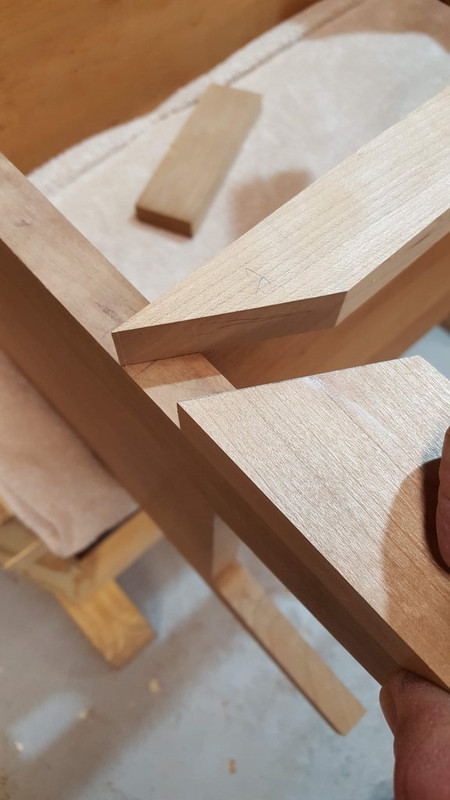
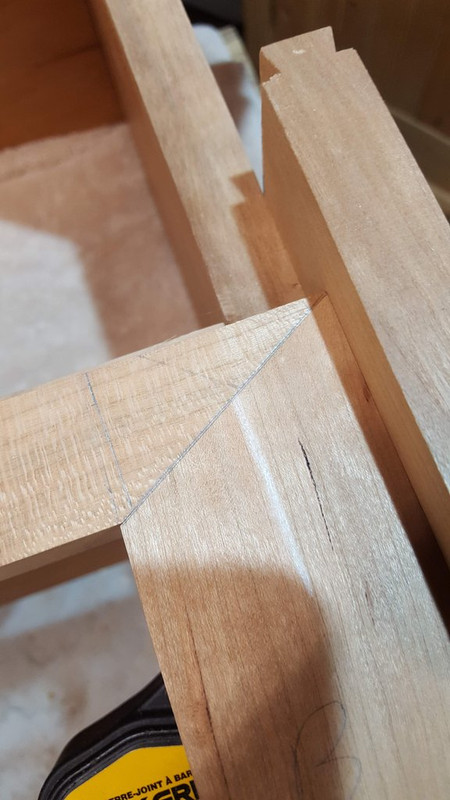
In this application I would use Titebond. Coat only the spline's mortise, insert spline, put thin layer of glue uniformly on each mitered end and force together. Done quickly the glue will distribute uniformly and make a tight joint with hand pressure.
The role of a clamp is to squish together a joint that gaps, and squeeze out excess glue. In you application I think you can adequately accomplish these task sufficiently with hand pressure. The strength of the joint will come from the spline.
Does the case sit on this leg, or does the case sit on the case side with the leg not load bearing? In the traditional latter case make this leg a small amount shorter than the case side. Or if corner blocked have the case sit on the corner block with the leg slightly higher.
I think I'll put corner blocks at all 4 corners and let them protrude slightly.
This would be standard Period Furniture practice.
Meant to add, are you saying clamp is not needed? I would not clamp. Not worth the effort, or risk of not pulling up perfect alignment. Unless I was sure of success I would not even spline this joint. It is a picture frame with both frame parts held together by what they are glued to and not relying on the miter joint to do anything structural.
If I understand your foot it is simply an applied facing. Treat it like molding glued to a case.
1. If you’re committed to liquid hide glue, Bruce’s method is best because it will have no tendency to slip during the long drying period.
2. If you wish to consider a glue with a faster tack, like yellow glue, you could think about direct clamping. Run a clamp along the 2” member—this gives the most favorable no-slip angle (assuming you have a long enough clamp). You have the spline going for you—it will resist slipping.
Fast tack is your friend in this option. When you get the glue applied, and the spline inserted, rub the joint (like Bill T. said) to develop early tack.
Then the clamp—but here is the key: Apply pressure very slowly, while using your fingers to maintain alignment. Spread the tightening over, say, an honest 3 minutes, very slowly increasing pressure. What you’re doing is letting the tack build, so as not to move the joint.
This is the main benefit of the spline—it will mechanically resist slipping and will build tack fast by increasing the glue surface. Suggest don’t go to the top floor of pressure—when you’re satisfied the join is seamless, stop, you’re done!
Fast tack is your friend in this option. When you get the glue applied, and the spline inserted, rub the joint (like Bill T. said) to develop early tack.
Yes what follows does seem complicated and unnecessarily so. If you get a good rub joint as described above, why risk screwing it up by having it slide around while trying to clamp it? If the joint comes together and tacks, leave it alone. Again, the only purpose of a clamp is to pull a joint together was not made to mate perfect (not the case here) and squeeze excess glue out. The usual problem on an end grain joint is keeping enough glue in the joint to get a good bond.
If I understand correctly, this foot and what miters to it is applied to the case front. It is functionally an applied molding. We never clamp a case molding. We rely on the joints remaining together by the fact it is all attached to the case by glue or nails.
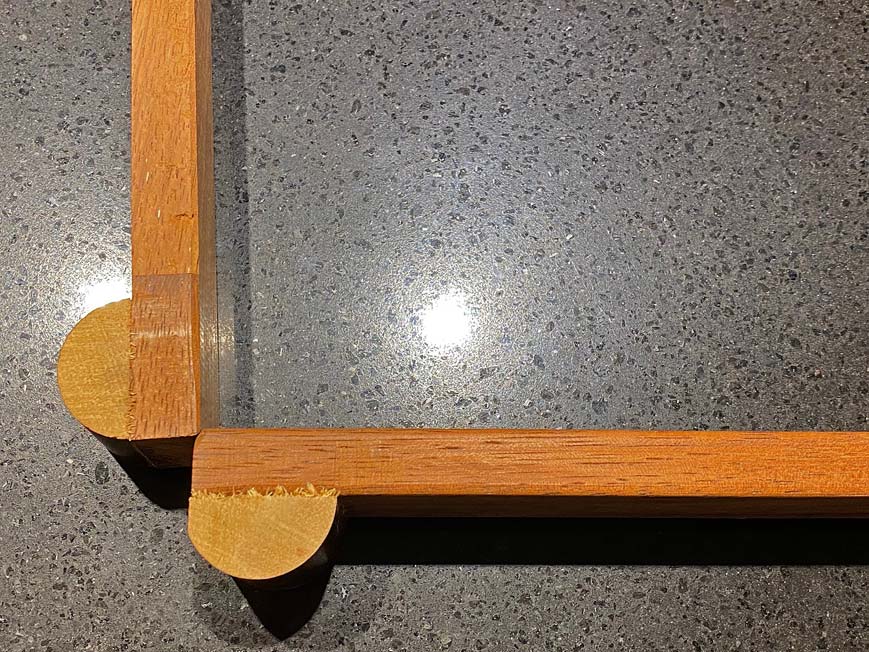
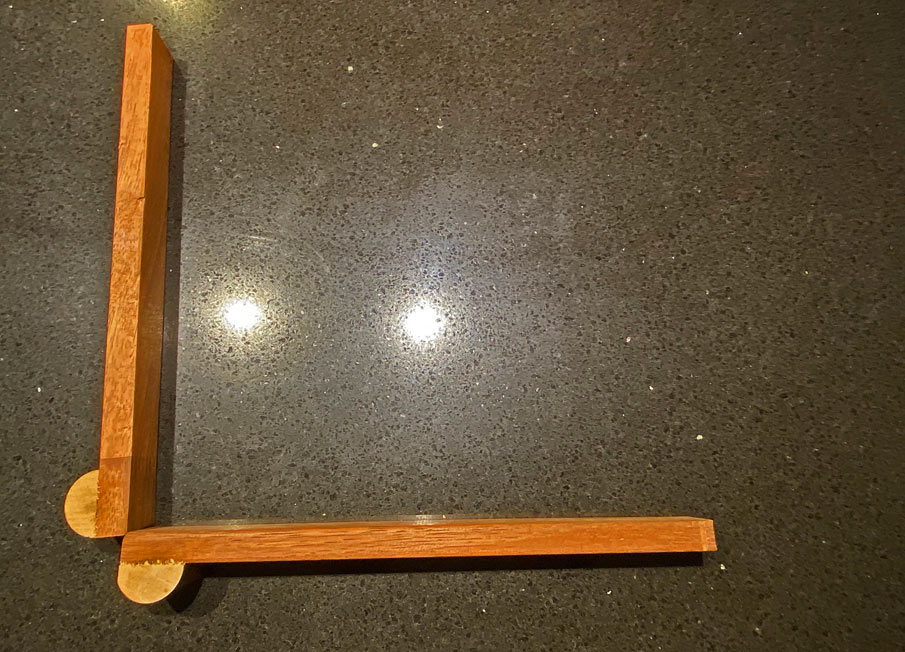
Joe, these are a couple of mitre blocks I made. I have a bunch of them as they are so easy to make: just half a 30mm dowel glued to a stretcher.
I could not mock up a mitre to clamp ... sorry ... so you will need to use your imagination. It is not hard
The open ends are clamped to the board to fix it in place, and the rounded end acts as a surface for clamping the mitre together. The round "head" enables any angle to be clamped.