WoodCentral Forums

Est. 1998 — 27 years of woodworking knowledge

Underbench Cabinet: Dovetailing for Blood (part 2)

Posts

Underbench Cabinet: Dovetailing for Blood (part 2)

#1

Underbench Cabinet: Dovetailing for Blood (part 2)

Derek Cohen (in Perth, Australia)

Perhaps I need to explain the title, "Dovetailing for Blood". In part, the description comes from a book, "Backgammon for Blood", by Peter Becker I read about 4 decades ago. It's about taking the game to the most competitive level. This series of articles is not a how-to about dovetailing; it is about the strategies I use when building drawers. I offer them for discussion and your interest.
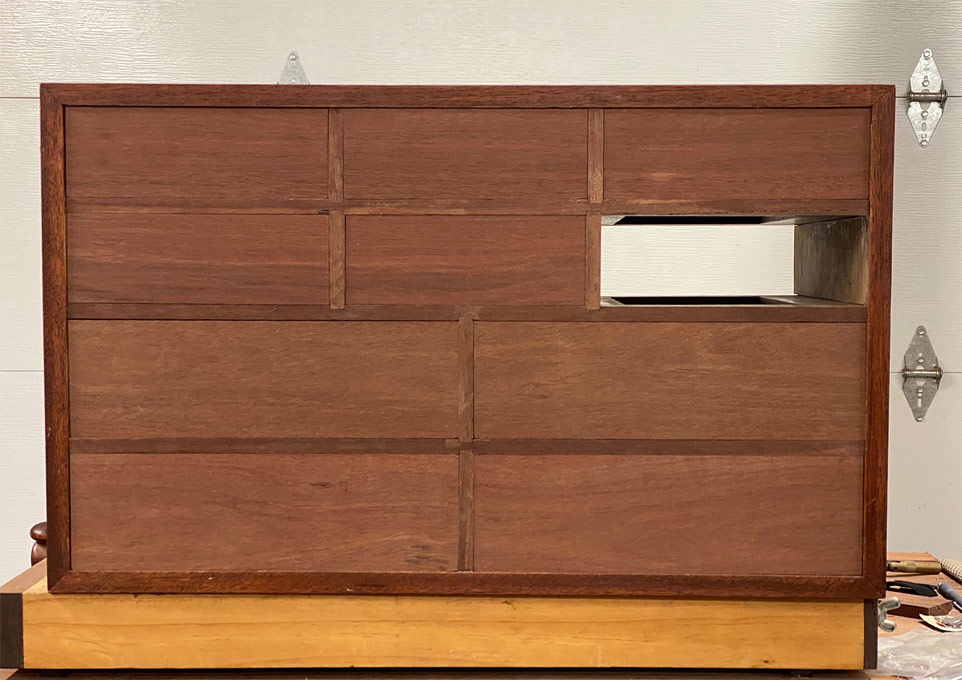

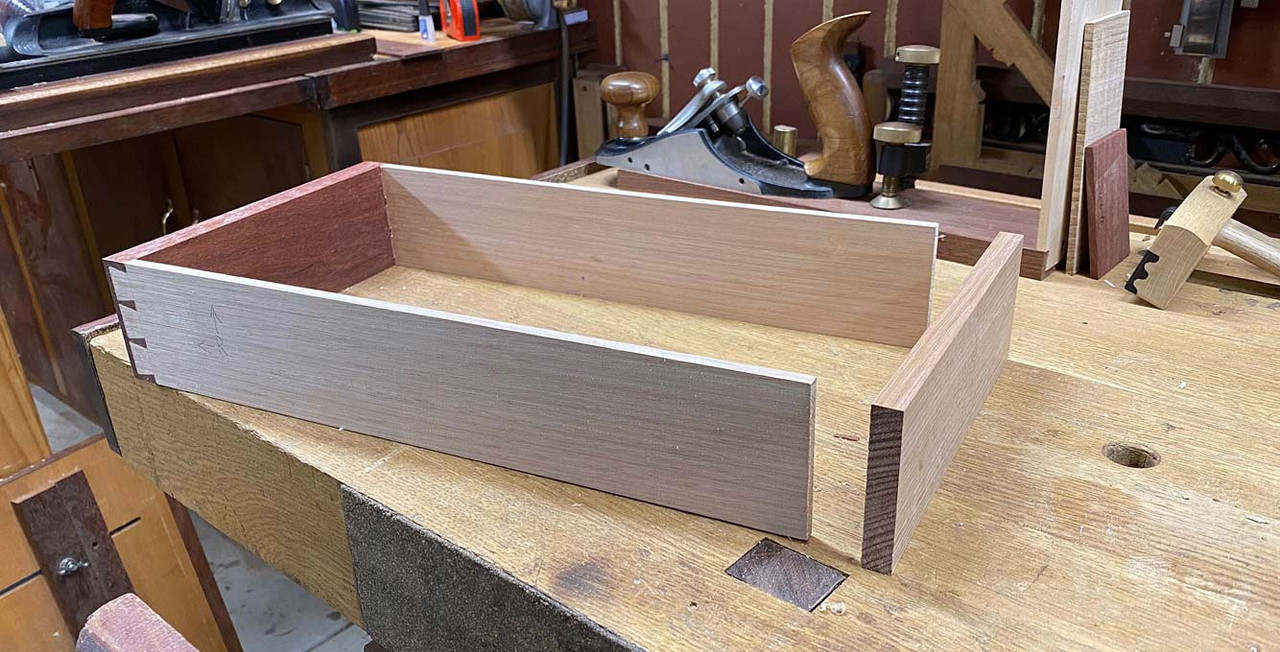
This is the drawer in question.

In the previous article, the focus was on strategies for connecting the drawer front and drawer sides via half-blind dovetails. The aim there - and continued here - is to complete the dovetailing in such as way that the drawer may be glued up, and dry inside the drawer case. The advantage of drying inside the drawer case is that a good fit is assured.

Today the drawer back needs to be attached with through dovetails.

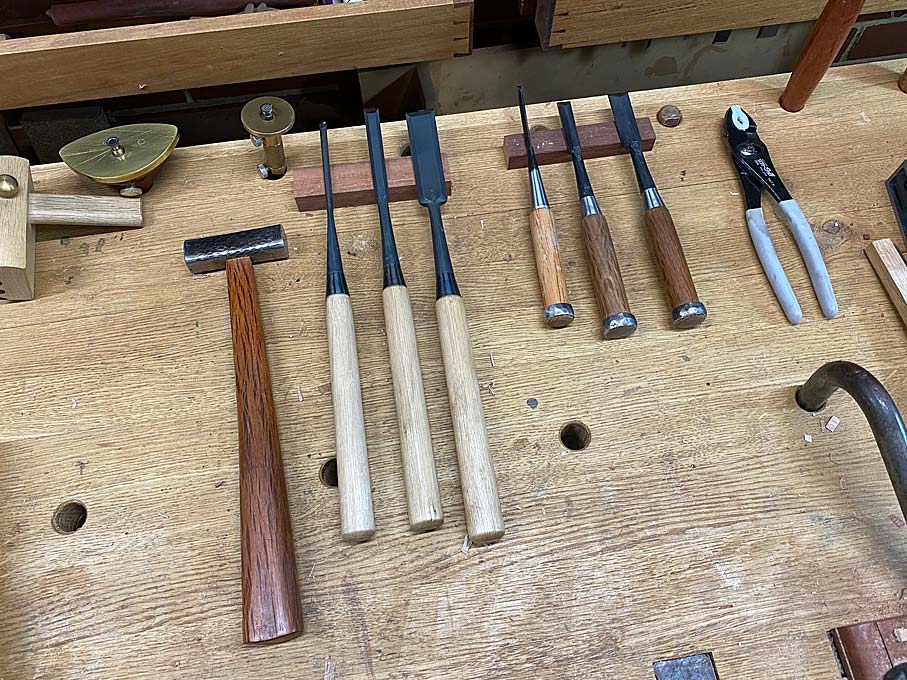
For interest, here are the chisels I used: Kiyohisa slicks and Koyamaichi dovetail.

Noticeable in the drawer above is that there are no grooves for the drawer bottom. These will now be added using a plough plane and a sticking board to hold the work...
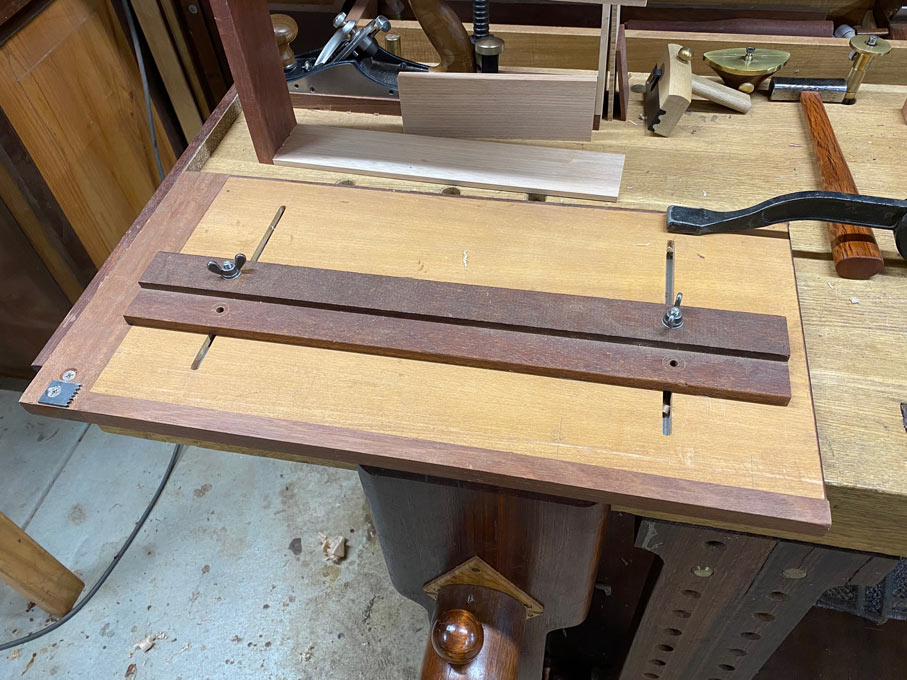
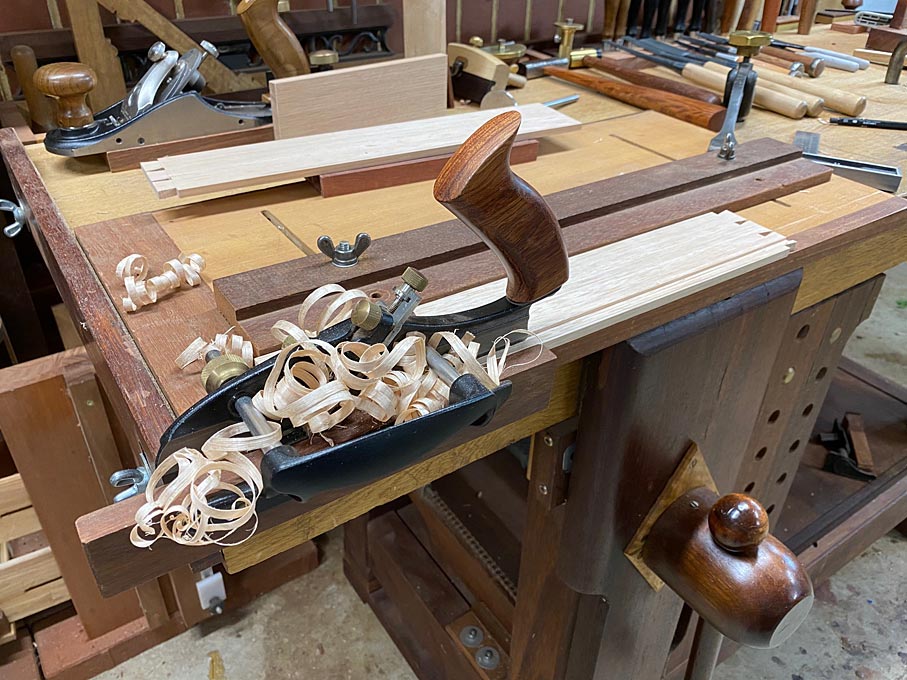

The drawer sides are around 7mm at this stage, with the expectation that they will end up at 6mm. The inside and outside faces have been planed. The groove is 3mm deep ...
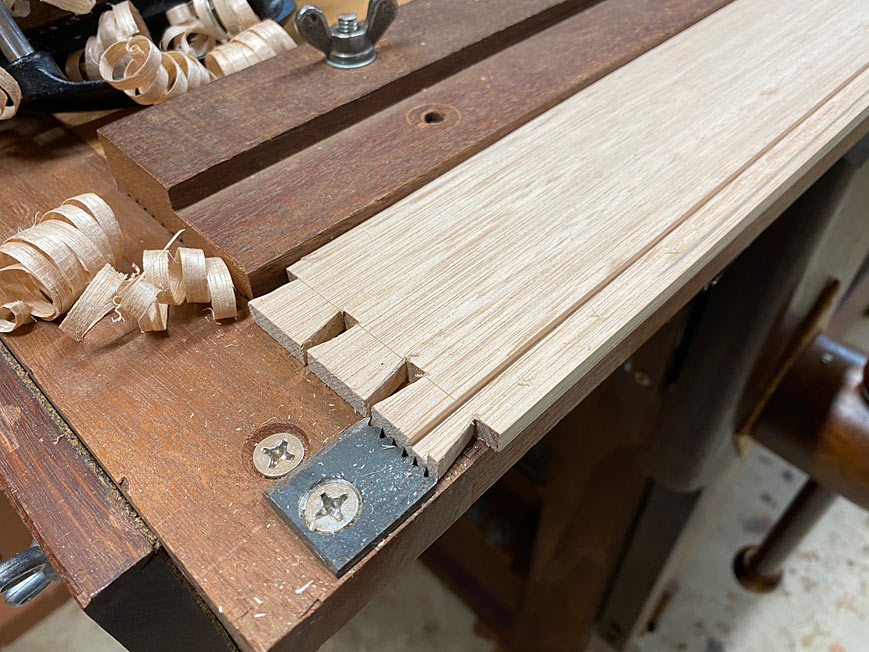

The groove in the 18mm thick drawer front is 6mm deep ...
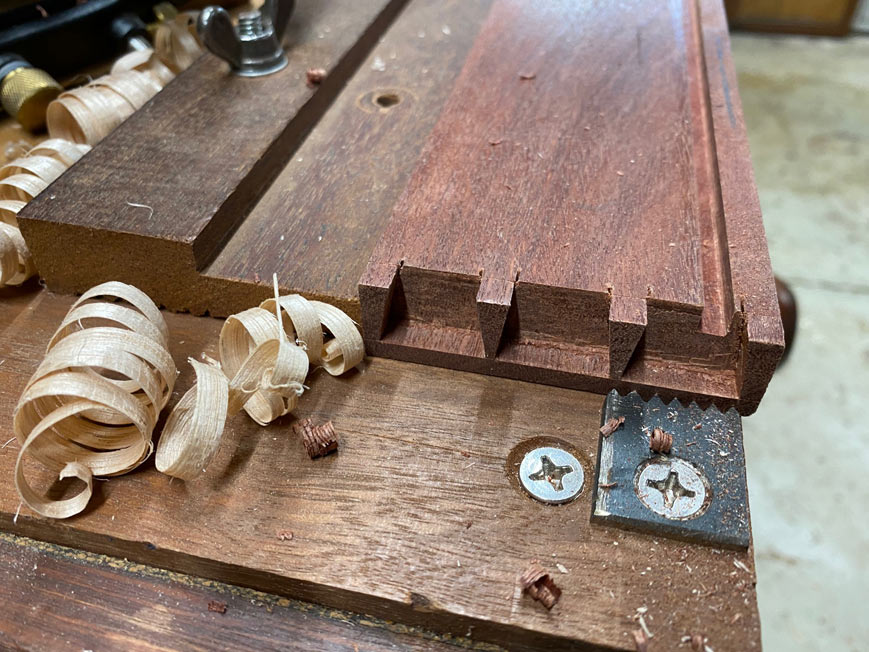

The drawer back receives a shallow groove ...
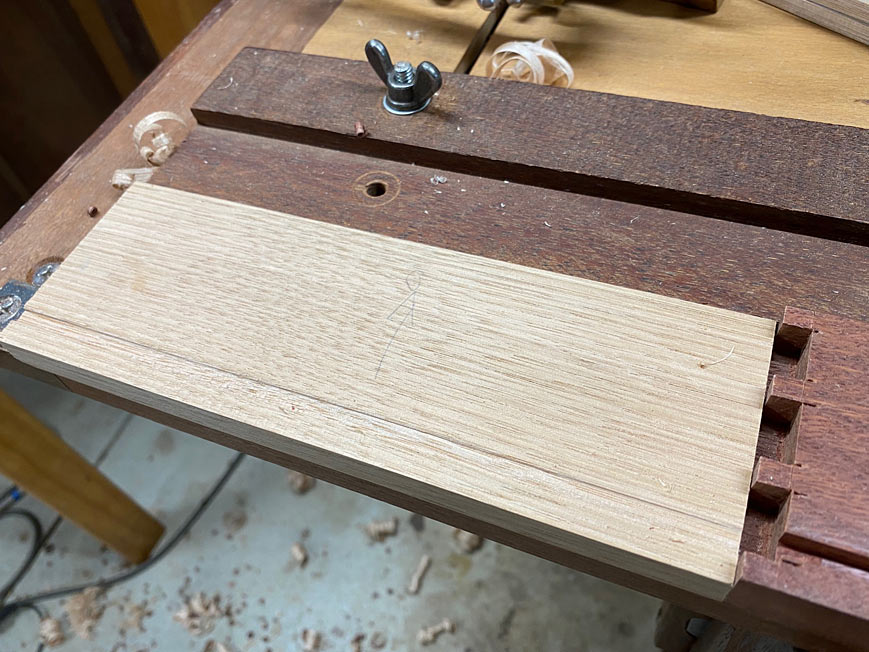

Reason?

The drawers are designed for a tool cabinet. Unlike drawers for the home, where the backs are lowered, these drawers will have a full rear, in height, ending at the drawer bottom. We start with drawer backs exactly the same dimensions as the drawer front. The lower section needs to be removed. The top of the groove marks this position.

The waste is removed on the table saw, a smidgeon grace ...
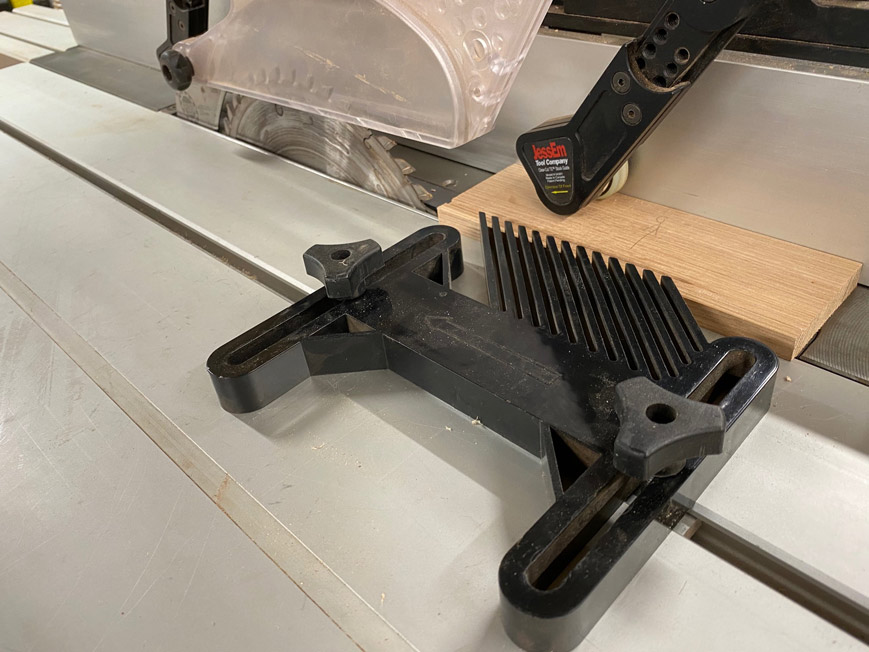

... and the machine marks then planed away.

It needs to be stated that drawers are not the same as boxes. While they may both be dovetailed, the drawer width is determined by width of the drawer case. It cannot be larger or be smaller. The drawer front and back are made as a pair, and their dimensions are not permitted to be altered.

With boxes, one can leave dovetails proud, and then level them to the sides. Or one may level the sides to the dovetails. You cannot do this with drawers, especially if the game plan is to aim for the glued up drawer drying in the drawer case. Consequently, the dovetails must end up flush with the surface ....
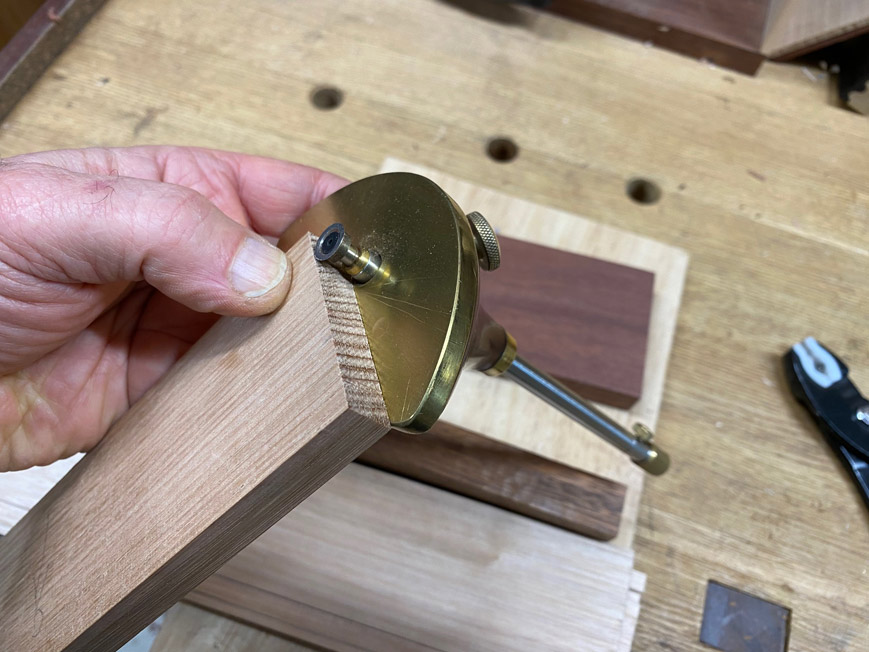

We move over to dovetailing the rear:

The first step, with 6 drawers of the same height and width, is to make a template for the spacing of the dovetails.
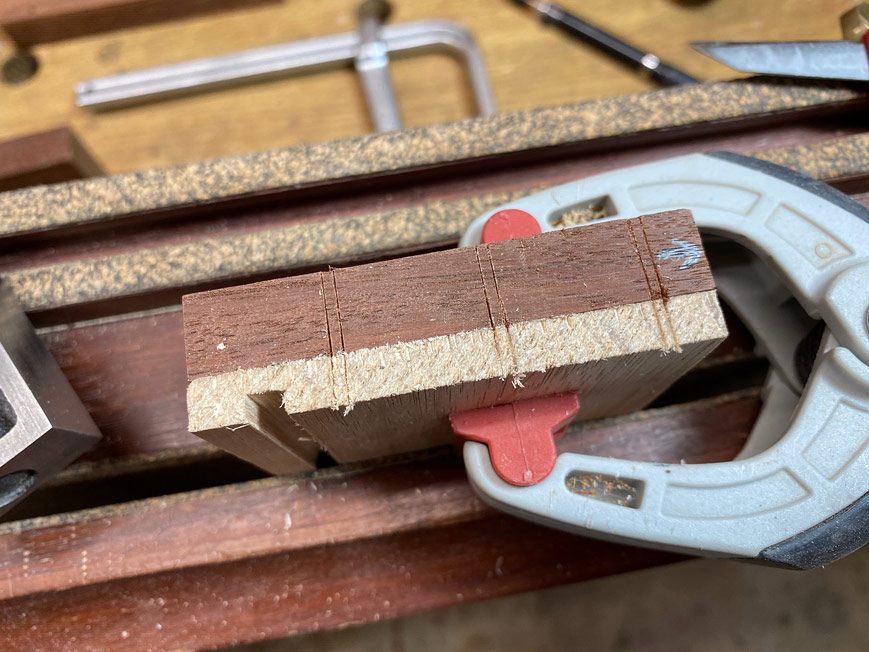

While the template stretches across the board, the area of importance is above the drawer bottom.

Mark out the tails, as usual, but then flip the board so that you are sawing from the inside of the drawer ...
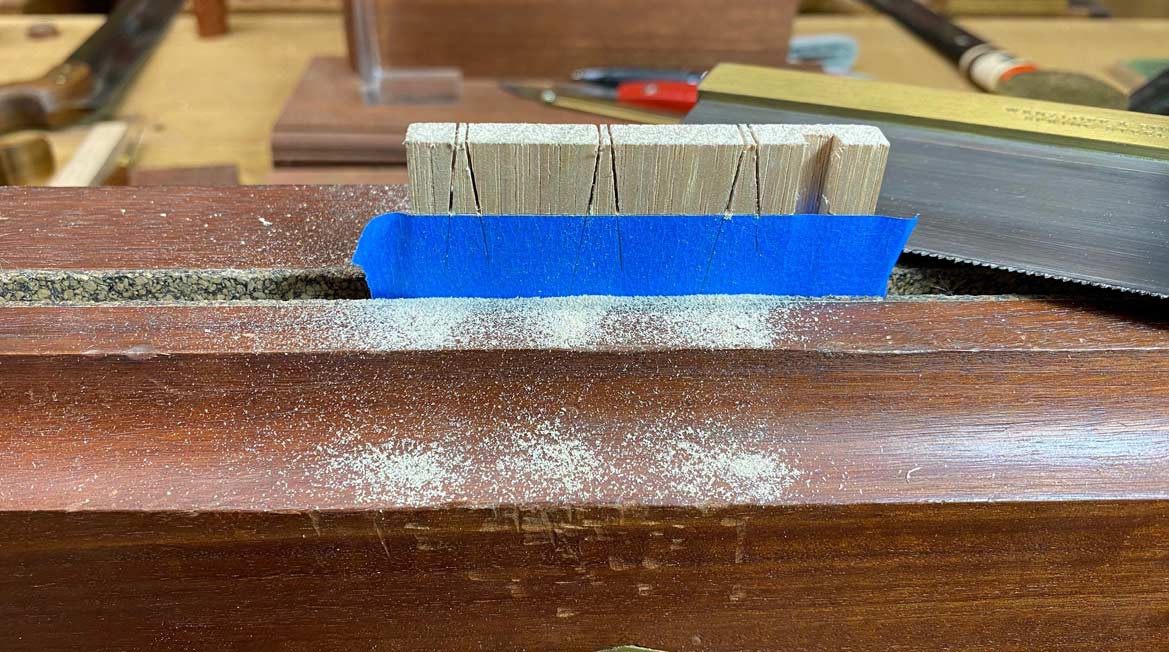

Again, this is not a box. The inside of a drawer is seen, and it is important to keep the baseline as clean as possible, that is, no over-sawing.

Similarly, when removing the waste with a chisel, start with the outside face of the drawer, and finish with the inside. That way there is less danger of inadvertently chiseling over the baseline.
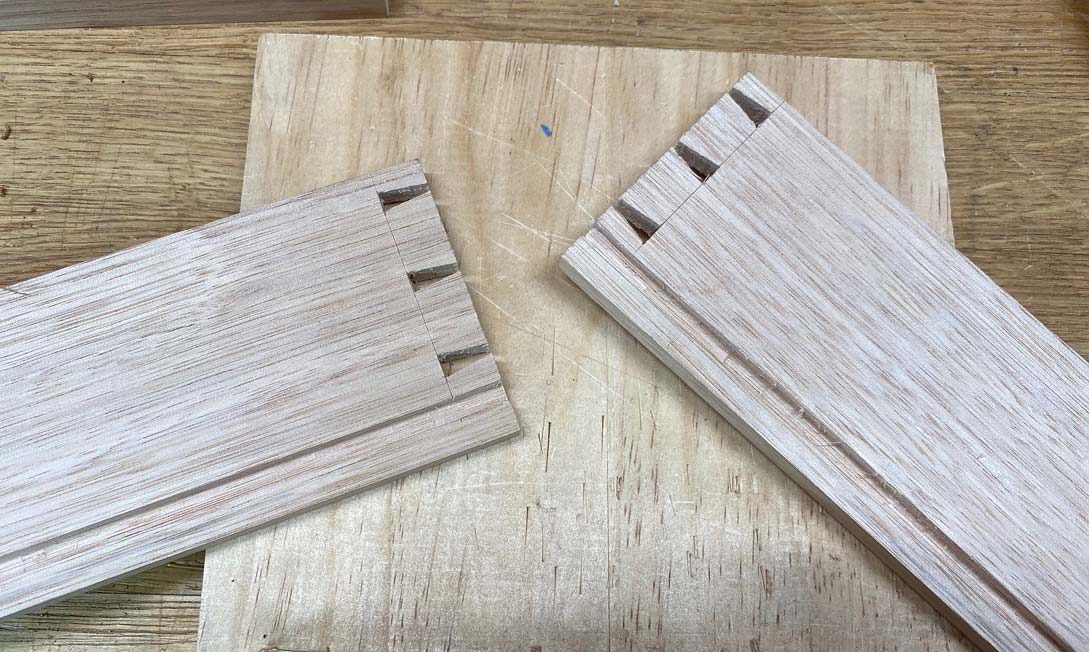

Now ... the interesting part comes with transferring tails to pins. This can make-or-break the drawer.
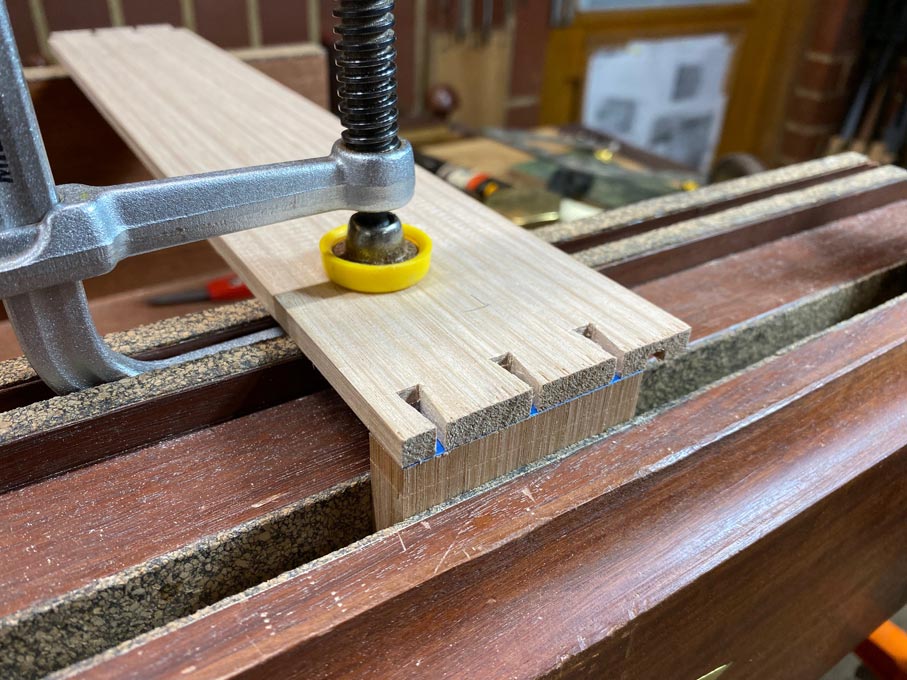

Here we see the tail and pin boards aligned. But are they?
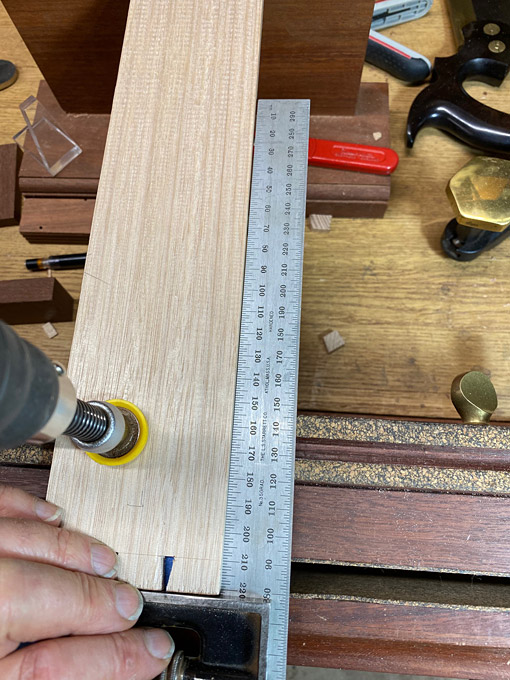

A square shows that the side is out at least 1-2mm at 300mm (12").
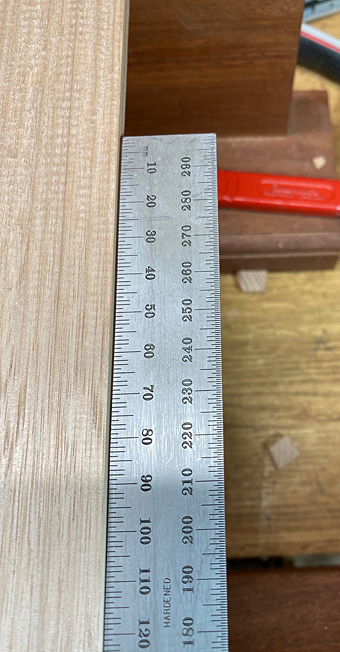

Left like this, the drawer will not sit flat. It will act as if it has a twist. Significant efforts will need to be made to align the drawer in the case. It becomes essential that the side is aligned accurately. This can be a little fiddly, but a long square helps considerably ...
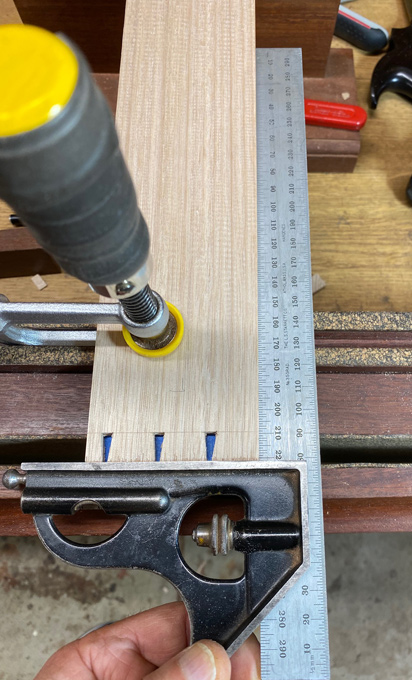

At some point, someone will mention the side-alignment fixture designed by David Barron. This is a wonderful concept, however it excels at making boxes and not drawers. Look here ...

The tail and pin boards are not aligned at the square ends (which would enable David's fixture to be used). They are aligned on the reference side, which is the lower edge of the drawer sides. You are aligning from the left side of these boards ...
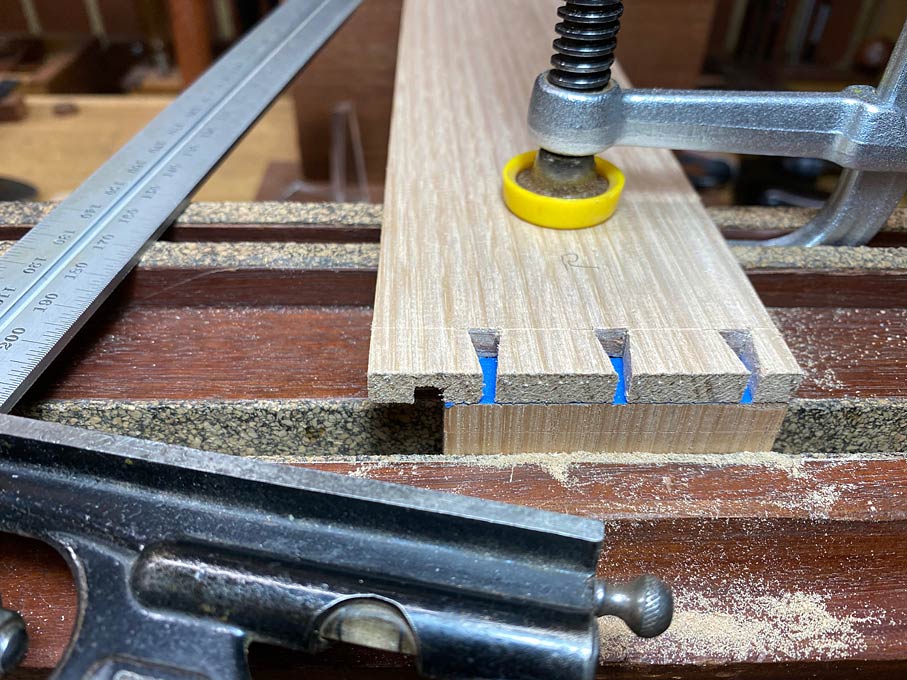

Having transferred and sawn the tails, the bulk of the waste is removed with a fretsaw (as detailed before). Here is a reminder - first chop out the waste from the outside face, half way down ...
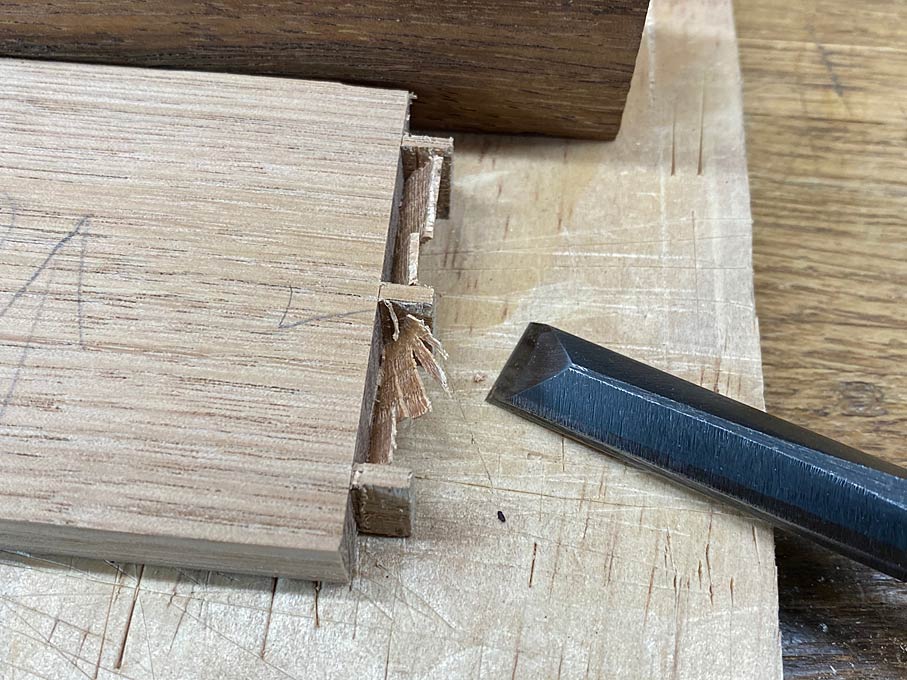

... and then complete from the show-inside face.

My preference is to angle the chisel slightly away and create a "tent" ...
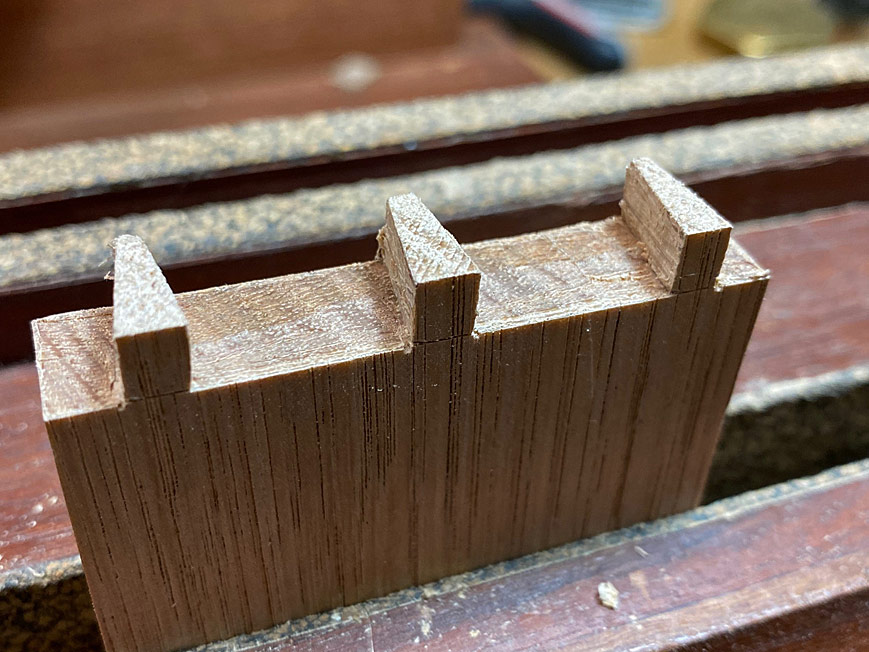

This is then removed with a slicing paring action, again form each side to the centre ...
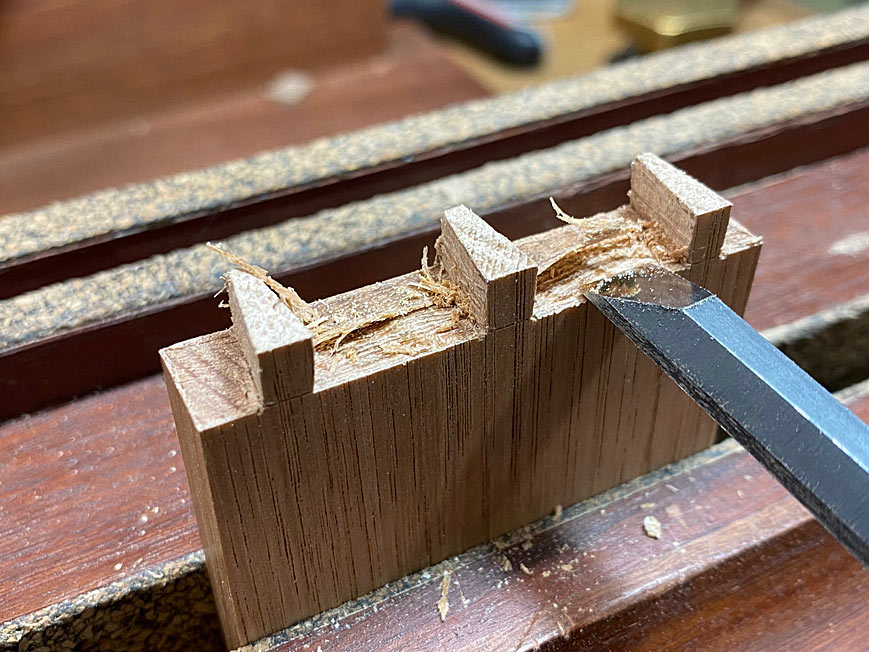

Use a narrow chisel to pare the ends: having first sawn these away, the remnants for paring lie above the chisel walls (again discussed in a previous article) ..
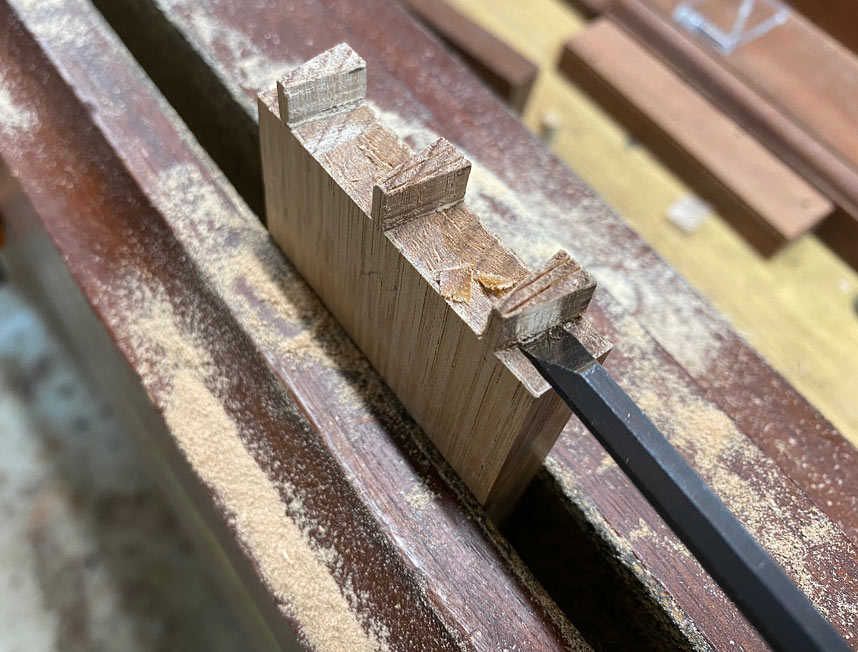

This is what we are after: flat ...
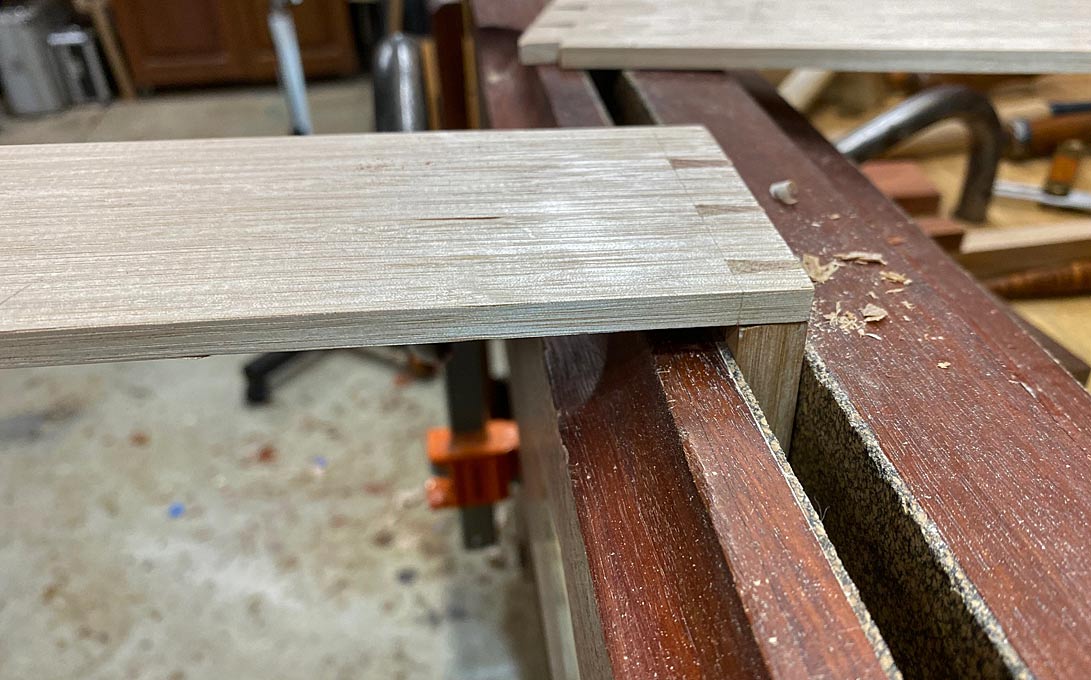

Dry fit ...
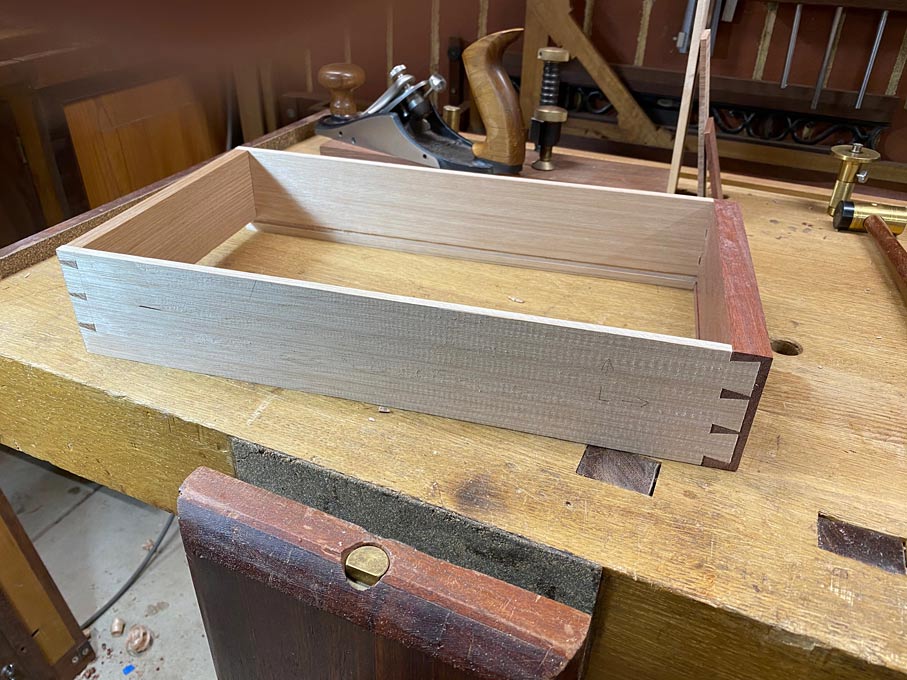

The drawer must fit the drawer case ...
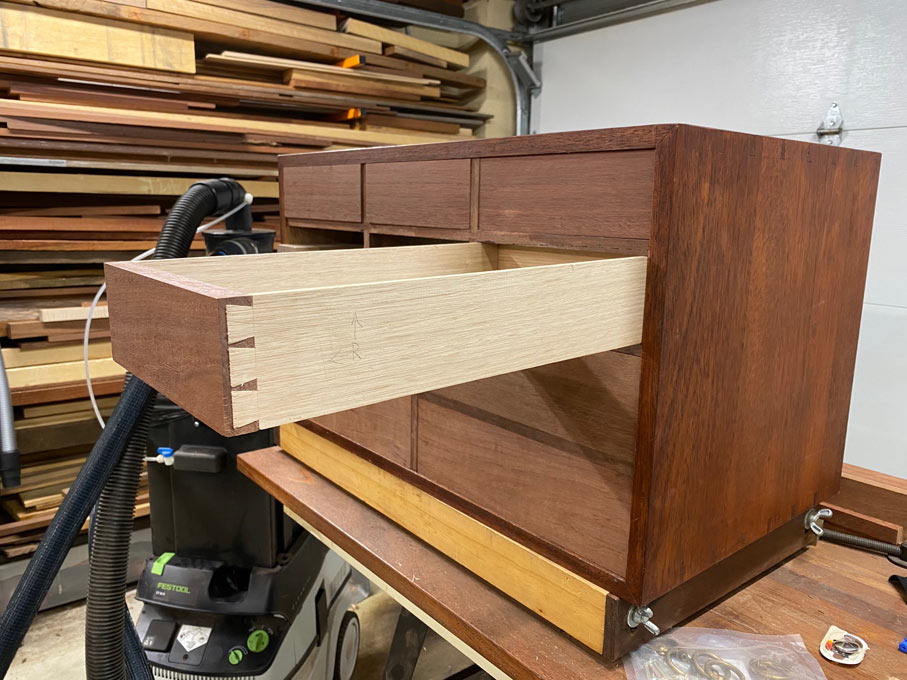


It does, but we are not finished. More in a while ..

Regards from Perth

Derek

Re: Underbench Cabinet: Dovetailing for Blood (part 2)

#2

Re: Underbench Cabinet: Dovetailing for Blood (par

Craig

Derek,

Great tutorial and very well explained process. I'm curious (if you even keep track) how long it takes you to make a single drawer using your methods. Kind of start to finish overall. Just wondering how long someone like yourself who is experienced and skilled at the process takes to do this.

Thanks

Craig

Re: Underbench Cabinet: Dovetailing for Blood (part 2)

#3

Re: Underbench Cabinet: Dovetailing for Blood (par

Derek Cohen (in Perth, Australia)

Hi Craig

I sort of keep track - well, I timed myself about 6 or so years ago using different methods (the write up is on the forum somewhere).

The trouble is that my methods have evolved. Also, these photos interrupt the building, so the perception is that it takes longer. I do one drawer and take photos. The other drawers I just build at my own speed.

The building of a drawer is chunked, that is, I do a few things the same way for several drawers, and then start again.

I would estimate that a drawer takes about 4-5 hours from beginning to end.

Regards from Perth

Derek

Re: Underbench Cabinet: Dovetailing for Blood (part 2)

#4

Re: Underbench Cabinet: Dovetailing for Blood (par

Craig

Thanks Derek, I had pictured about 4 hours as the average, good to know I have it close in my mind. Now to put tools to wood and see if it's possible for me to make them with your instructions.

Re: Underbench Cabinet: Dovetailing for Blood (part 2)

#5

Re: Underbench Cabinet: Dovetailing for Blood (par

John Jardin

Continued inspiration, thank you Derek

Re: Underbench Cabinet: Dovetailing for Blood (part 2)

#6

Re: Underbench Cabinet: Dovetailing for Blood (par

gwold

Derek,

You used a slip in your niece's entry hall table, but you did not in the under bench cabinet. What are your criteria for using the slip, versus not?

Re: Underbench Cabinet: Dovetailing for Blood (part 2)

#7

Re: Underbench Cabinet: Dovetailing for Blood (par

Derek Cohen (in Perth, Australia)

You used a slip in your niece's entry hall table, but you did not in the under bench cabinet. What are your criteria for using the slip, versus not?

I do plan to use slips here. I use them whenever the sides are thin and need to be beefed up below the drawer bottom. Extra bearing surface is needed.

The slips here will be very simple - just a square section glued to the sides under the bottom. I will use Jarrah as the Oak sides are relatively soft.

Regards from Perth

Derek

Re: Underbench Cabinet: Dovetailing for Blood (part 2)

#8

drawer bearing surfaces

Bill Tindall, E.Tn.

I will use Jarrah as the Oak sides are relatively soft.

Typically soft sides are used relative to the runner. It is trivial to repair a worn drawer side and the repair be invisible . Not so for a worn runner and divider, which will eventually occur if the drawer side is a wear resistant wood.

When the English used white oak drawer sides a softer wood bearing surface was added to the drawer bottom. When this bearing surface failed from use the narrow oak side mills a groove into the drawer runner and divider. The results is unattractive, even when repaired as well as it can be.

Re: Underbench Cabinet: Dovetailing for Blood (part 2)

#9

Re: Underbench Cabinet: Dovetailing for Blood (par

Don Stephan

Do you have experience as to when you suffered spelching and when not, chopping dovetails? Even when I removed the bulk with a fret saw on some practice black cherry dovetails last week, sometimes the middle of the wood broke out rather than cutting cleanly, I did not see any spelching in your photos. Thanks.

Re: Underbench Cabinet: Dovetailing for Blood (part 2)

#10

Re: Underbench Cabinet: Dovetailing for Blood (par

Derek Cohen (in Perth, Australia)

Don, I get spelching if I chop too thick slices of waste.


Chisels need to be sharp - dull edges do not cut. I also chop at the angle of the dovetail, which creates a slicing action.

Regards from Perth

Derek

Re: Underbench Cabinet: Dovetailing for Blood (part 2)

#11

lots of variables affect this result

Bill Tindall, E.Tn.

Wood density, chisel sharpness, bevel angle, thickness of chip, force of mallet blow

I just did a drawer where the wood was an exceptionally mushy poplar. Worked about like white pine. Some shavings broke out. So what? I could have diddled with the process to prevent it. But why bother?

Re: Underbench Cabinet: Dovetailing for Blood (part 2)

#12

Re: Underbench Cabinet: Dovetailing for Blood (par

Don Stephan

Did some experimenting with the black cherry today. My findings seem to agree with you Derek - narrower chisel, lighter mallet blow, thinner shaving all reduced spelching. But I had to immediately alternate sides - take a thin shaving to midpoint, then do same from opposite side; taking repeated thin shavings to approach baseline, then switch to opposite side produced spelching. It was worse in areas of cherry sapwood than in areas of cherry hardwood.

I agree than spelching, if in the middle of the board, is inconsequential. But little extra time to take steps to minimize, and I get more satisfaction from little or no spelching than from spelching.

Re: Underbench Cabinet: Dovetailing for Blood (part 2)

#13

Re: Underbench Cabinet: Dovetailing for Blood (par

Derek Cohen (in Perth, Australia)

Don, I do not alternate sides. I do one side fully to the mid point, then turn over the board. Specifically, a few thin shavings to the baseline, then move to next dovetail. Complete one side, then flip the board.

Regards from Perth

Derek

👍 This page answered my questions

Your vote helps other woodworkers quickly find the answers and techniques that actually work in the shop.