WoodCentral Forums

Est. 1998 — 27 years of woodworking knowledge

Underbench cabinet: 10. A blind sliding dovetail

Posts

Underbench cabinet: 10. A blind sliding dovetail

#1

Underbench cabinet: 10. A blind sliding dovetail

Derek Cohen (in Perth, Australia)

This is the front of the cabinet, with all the vertical dividers to install.
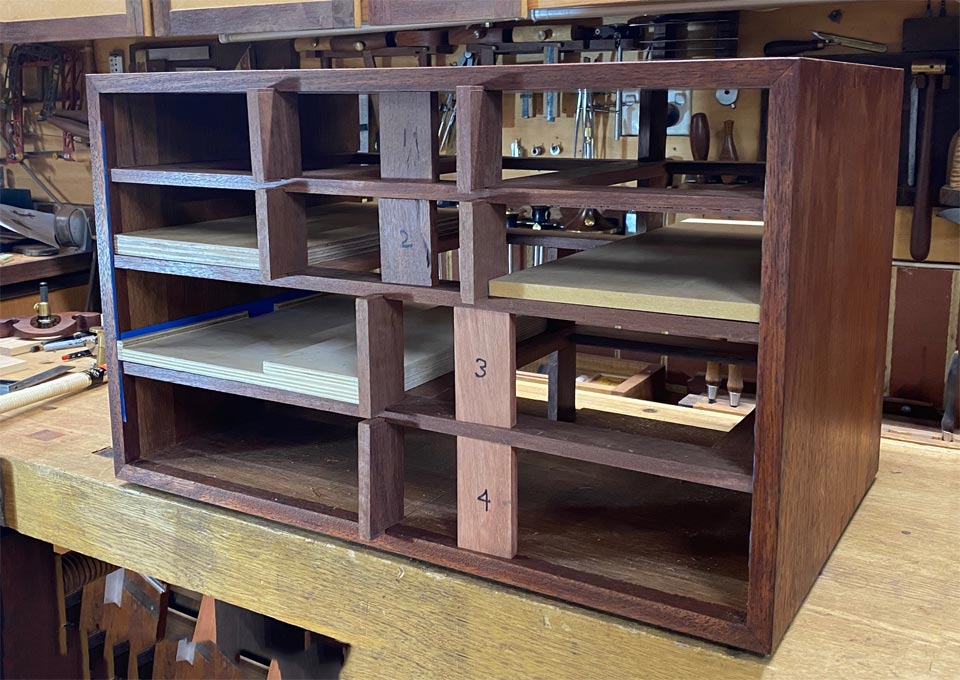

The single lower- and the two dividers need to be fitted into a sliding dovetail ... however, unlike the dividers at the rear, this must be from inside the case. In other words, a blind sliding dovetail.

This post will show the steps taken for the lowermost, central divider.
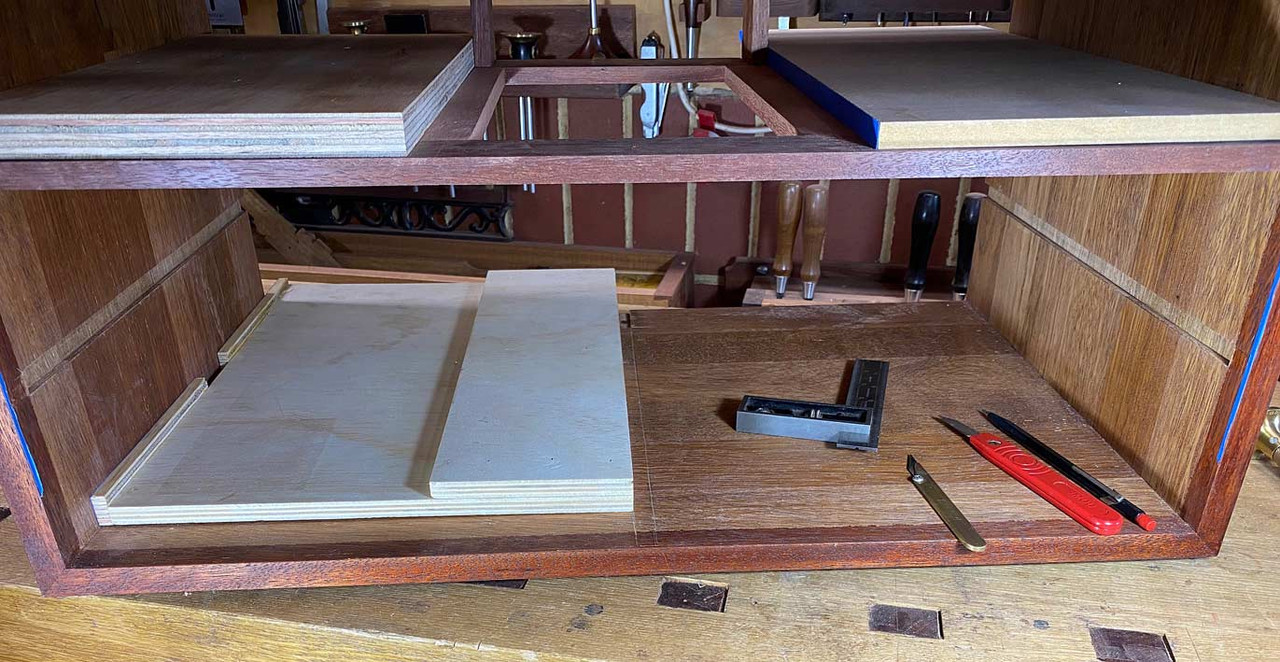

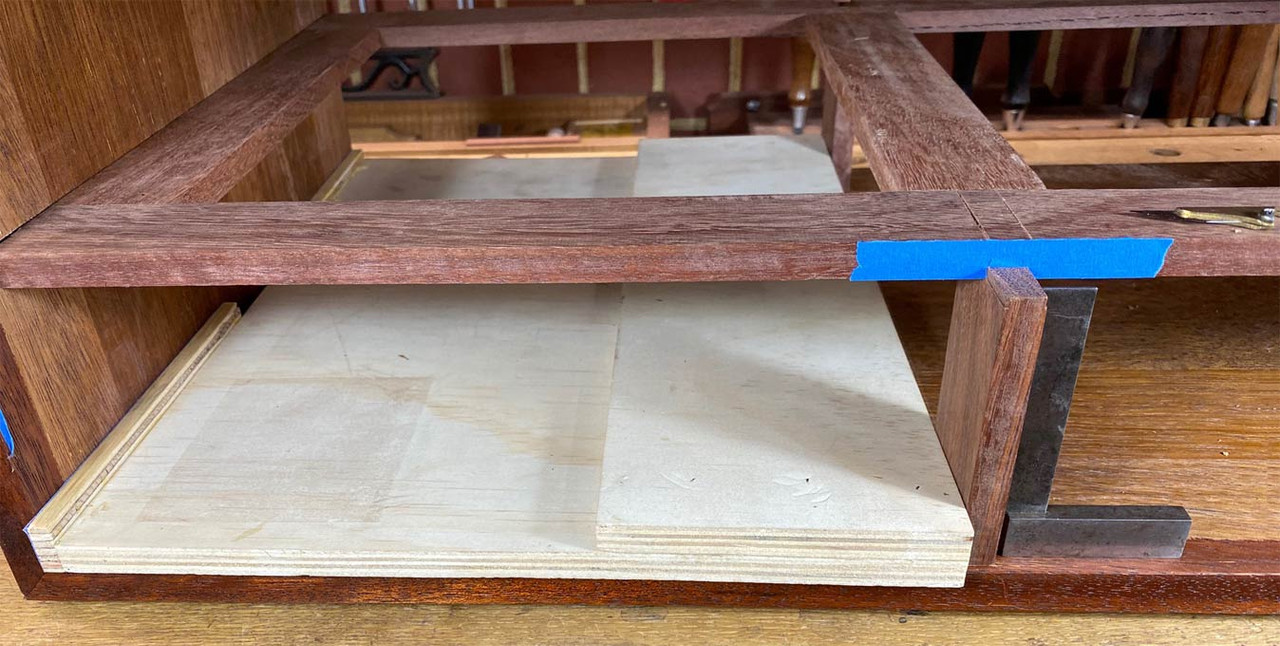
This could not be done without the aid of blue tape. This is used to mark the apex of the tail ...
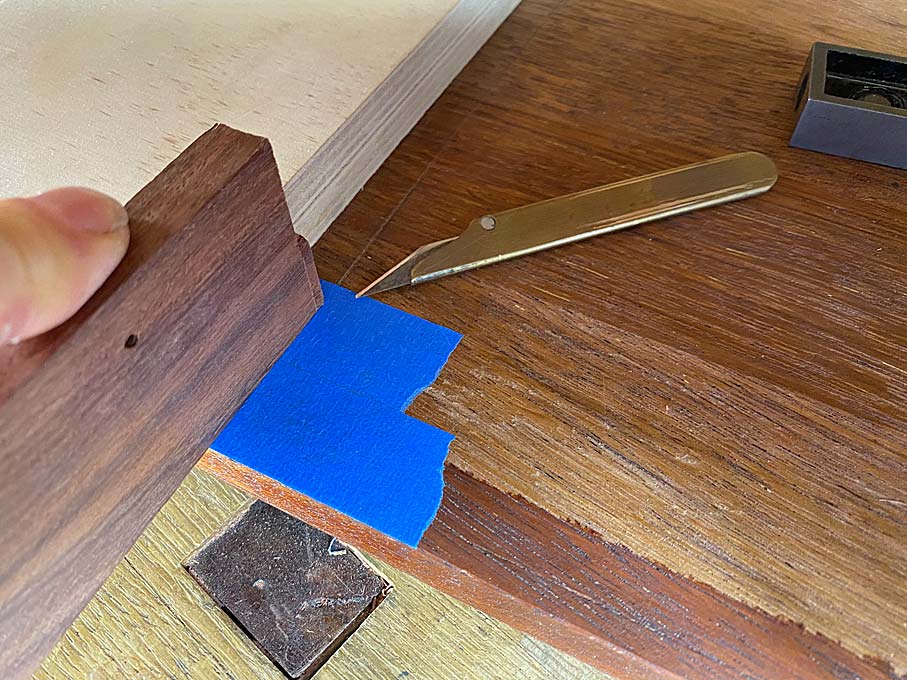

This is how the tail will be positioned. Below is where the pin socket has to be cut ...
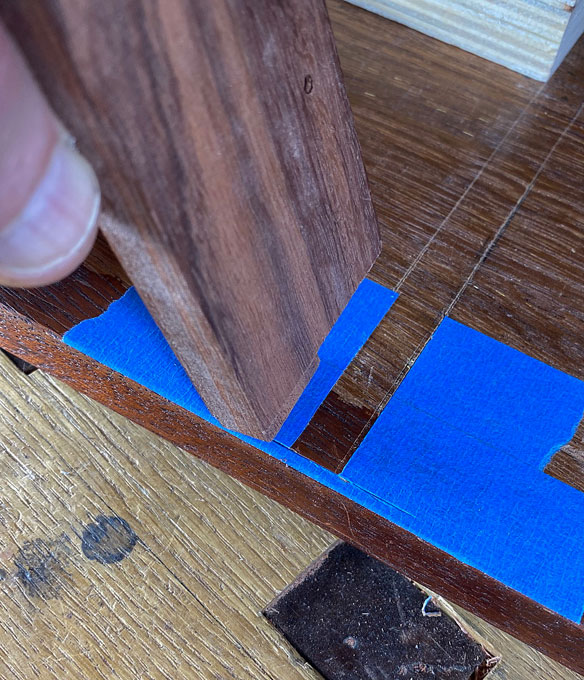

A line is scribed at the two apex points, and the dovetailing guide is placed against it ...
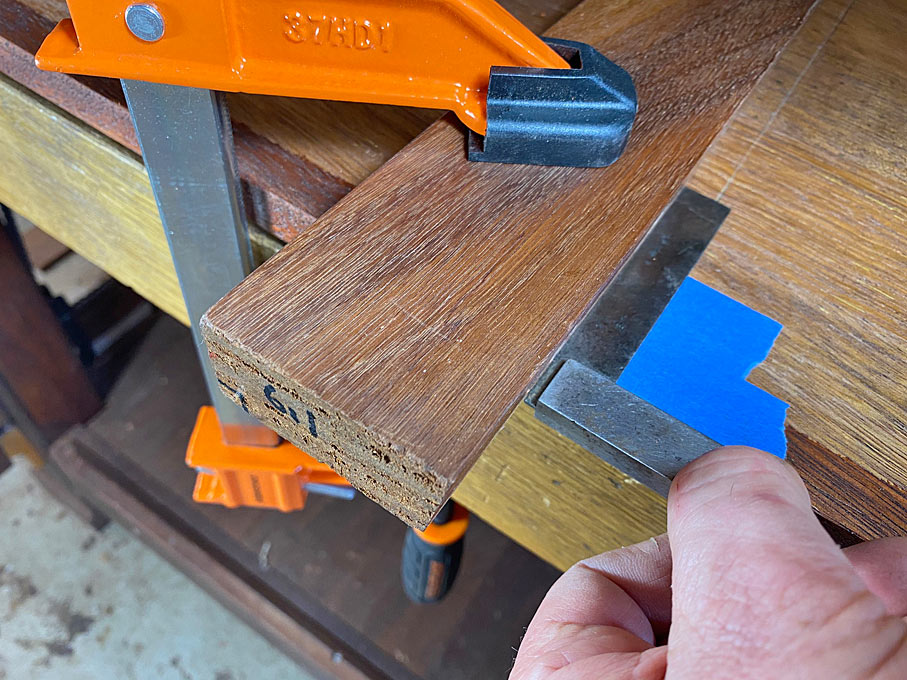

Very carefully, using the dozuki, saw about 5mm from the boundary line. Be careful not to get closer than this. Saw marks must not show outside the dividers.


Do the other side ...
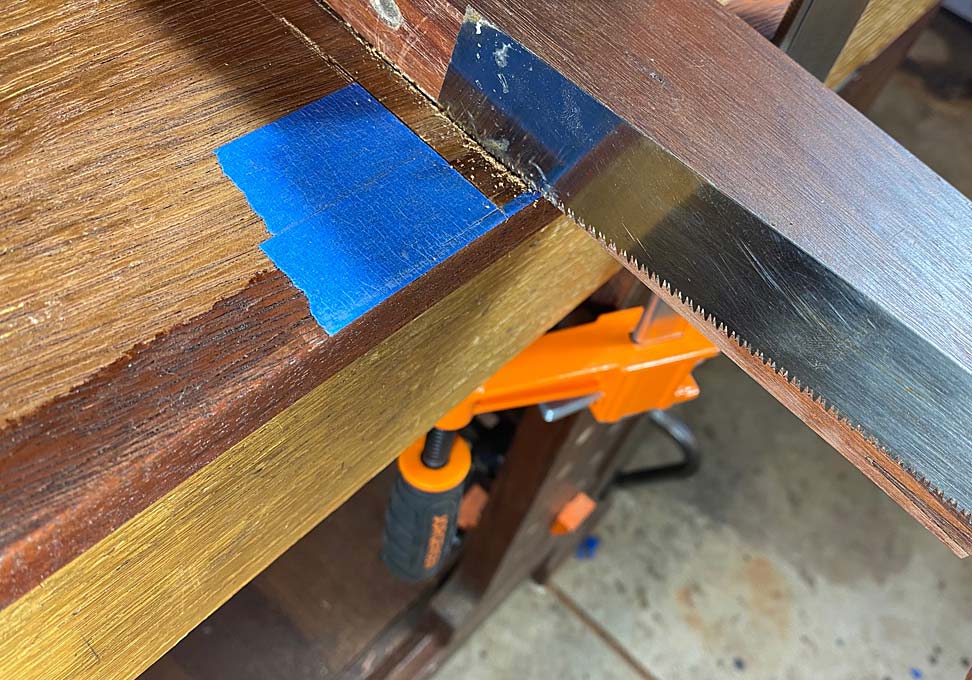

Swing the case around and work from the other side. Use the razor saw to cut up to the boundary line ...
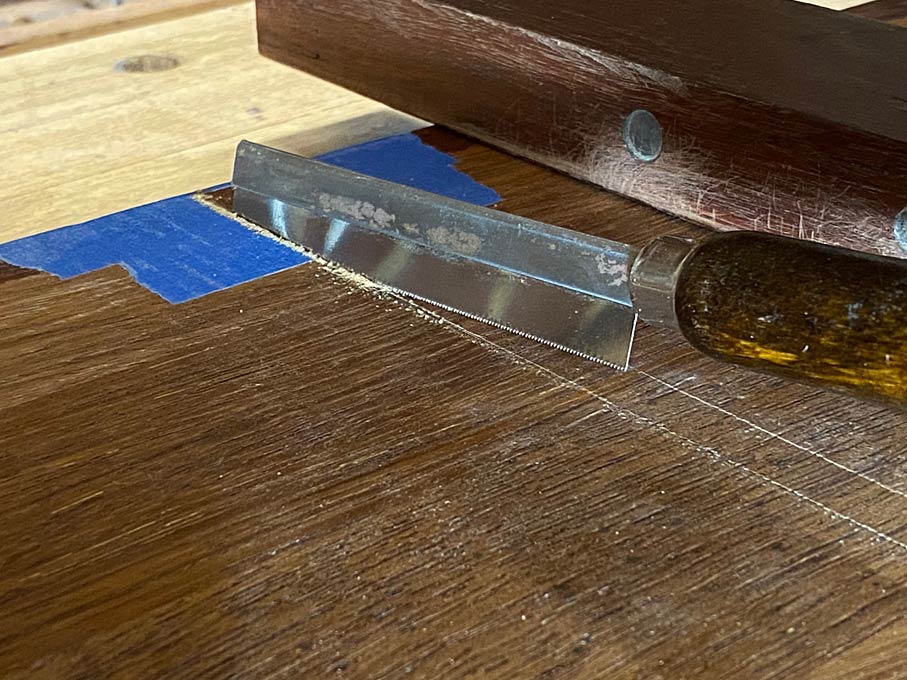

Now chop out (shallowly) the trench/dovetail in the same way one would do a hinge mortice ...
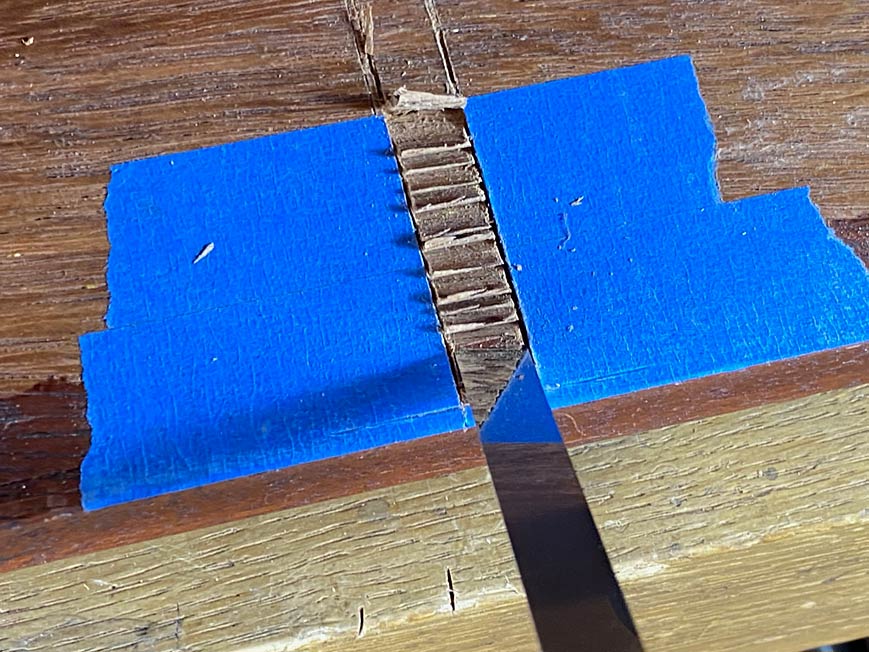

Finish and level the surface to a depth of 3mm (the height of the tails) with a router plane ...
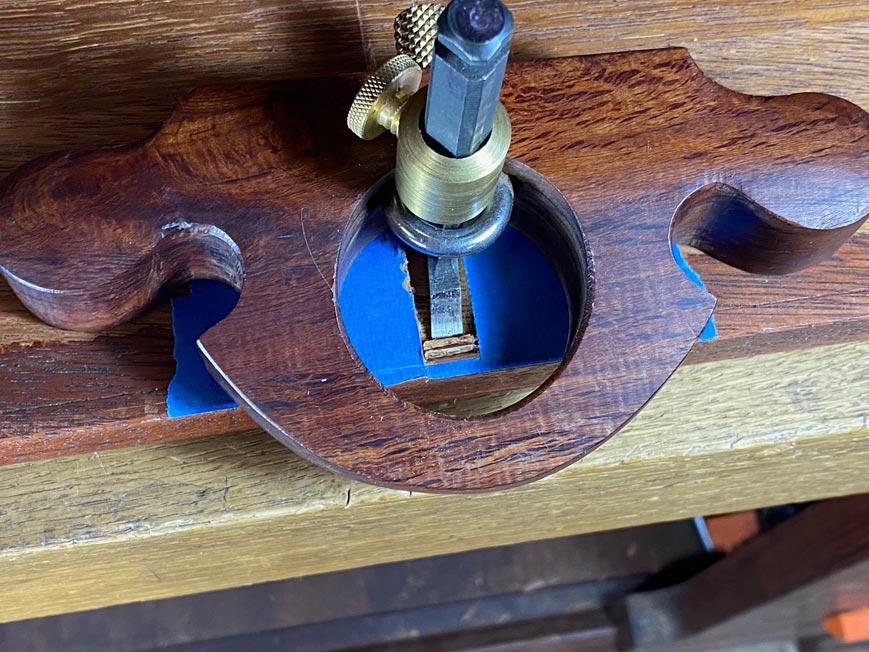

The result ...


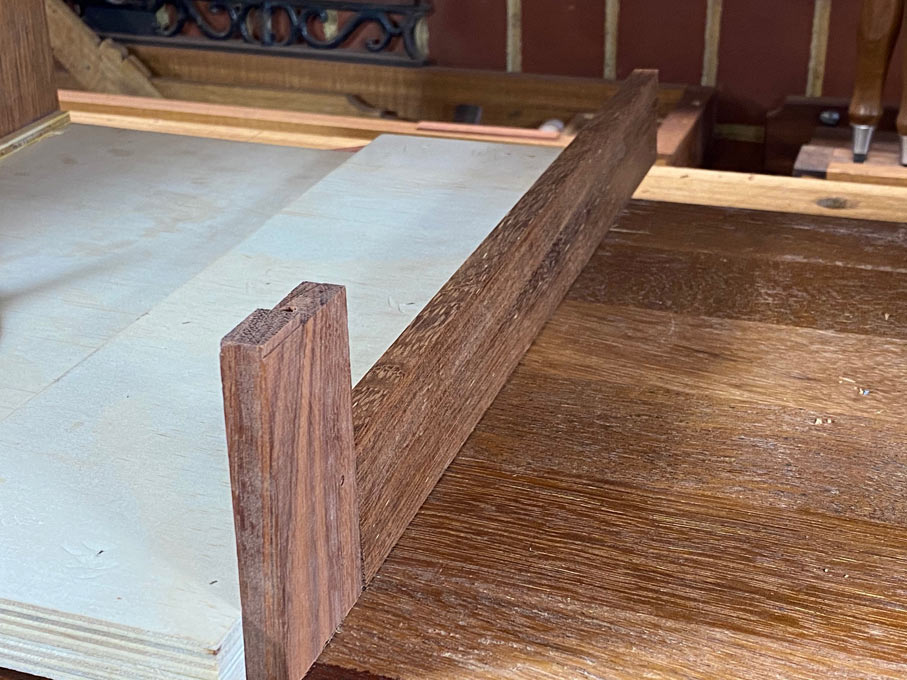
What is difficult to see here is that the trench is fractionally wider in the rear half to allow the tail section to enter, and then slide along.

Unlike the internal tail sections, those used in the blind dovetails require a small beauty rebate ...
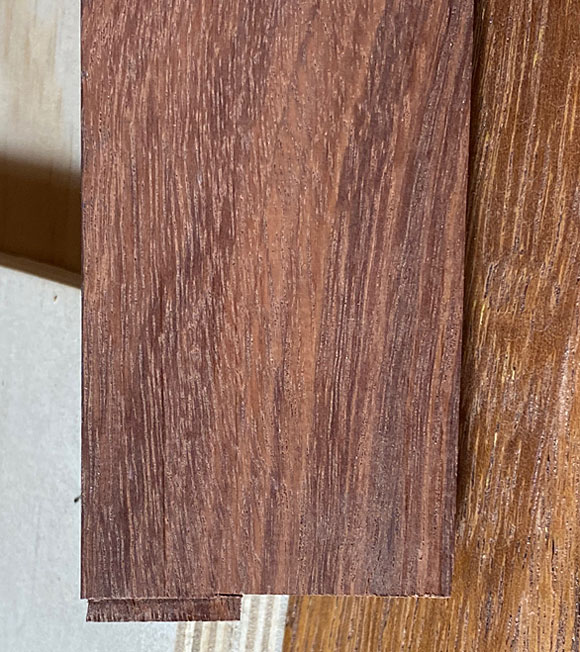

The divider slides along into position ...
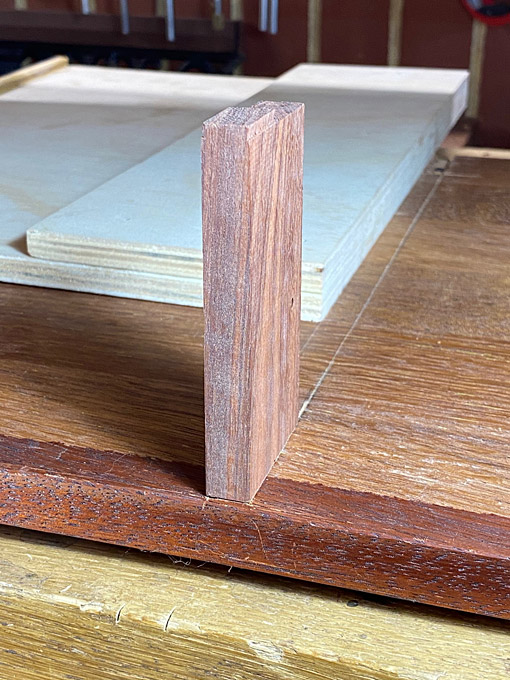

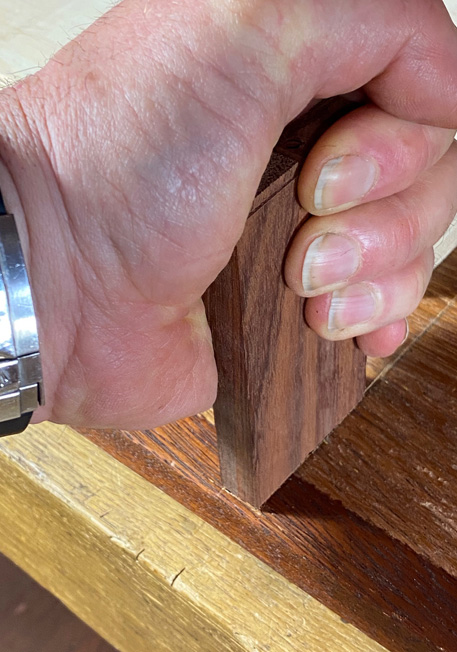
Why do we go to all this trouble to use sliding dovetails? Well, this is how strong they are ... one hand attempting to lift the case ... neither are budging.

Incidentally, I was asked "how does the drawer run between two dividers?". Well, of course it does not - all will have a rail to guide the drawer ...

One the lowermost divider is in, the one above it can be marked ...

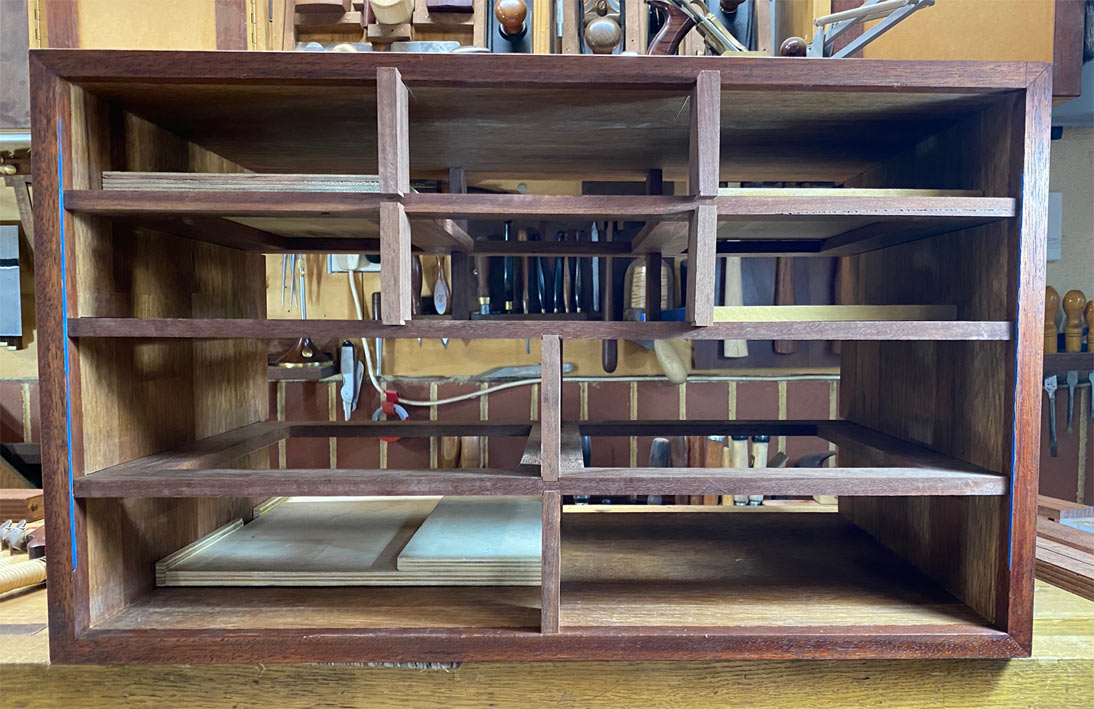
Progress to date ...

Regards from Perth

Derek
Re: Underbench cabinet: 10. A blind sliding dovetail

#2

Read 6 times finally understand

Bill Tindall, E.Tn.

The experience of how I have done this vertical divider hampered figuring our what exactly you did. Had to expand my thinking. If I understand correctly, the dovetail socket is twice as long as the dovetail, which enables the tail to be dropped into the socket, then slid forward to engage the dovetail. Basically the socket is a mortise in the back, dovetail in the front?

I must say this is a clever solution to the problem and avoids an assemble problem when done the way it do it. But it leads to a complicated joint cutting. Trade one problem for another. These cases are all about problem solving and that is the fun of it.

If you are not building case pieces you miss the fun of experiencing how the same need is solved by different means. A decision early on constrains the solutions to problems that follow.

Re: Underbench cabinet: 10. A blind sliding dovetail

#3

Re: Read 6 times finally understand

Derek Cohen (in Perth, Australia)

If I understand correctly, the dovetail socket is twice as long as the dovetail, which enables the tail to be dropped into the socket, then slid forward to engage the dovetail. Basically the socket is a mortise in the back, dovetail in the front?

That is it, Bill!

In the end it was moving along quickly, and worked out well.

That was the hard bit. The remainder should be fun.

Regards from Perth

Derek

Re: Underbench cabinet: 10. A blind sliding dovetail

#4

Re: Read 6 times finally understand

Sgian Dubh

"If I understand correctly, the dovetail socket is twice as long as the dovetail, which enables the tail to be dropped into the socket, then slid forward to engage the dovetail. Basically the socket is a mortise in the back, dovetail in the front?"

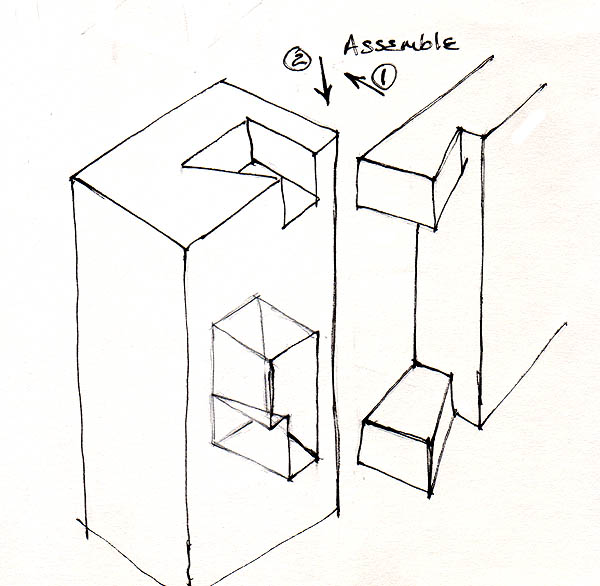
Bill, here's a sketch of essentially the same thing, what I call a 'slot and slide dovetail housing', or it could be called a 'drop and slide dovetail housing'. I can't remember how often I've used this form of sliding dovetail, but it can't be more than maybe two or three times.

Anyway, hopefully the sketch is clear enough for you to see the principle. Slainte.


img

Re: Underbench cabinet: 10. A blind sliding dovetail

#5

Re: Read 6 times finally understand

Derek Cohen (in Perth, Australia)

Brilliant sketch, Richard!

Would you mind if I add it to the article when I post it to my website (with acknowledgement, as always)?

Regards from Perth

Derek

Re: Underbench cabinet: 10. A blind sliding dovetail

#6

Re: Read 6 times finally understand

Sgian Dubh

"Would you mind if I add it to the article ...

Fine by me, Derek. You will note though that there is a chance that the one edge of the dovetail housing in the 'post' is in line with the wide face on the hidden side of the 'rail' as doodled, so there's a chance in this configuration that the edge of the housing will show when the joint is assembled: this is essentially the same as where the long edge of the mortice usually shows in a bare-faced M&T, and sometimes, visually, this matters, and at others it's of no significance. I simply didn't bother drawing that example with a shoulder on both faces of the 'rail' which, of course, would hide the the edge of the housing, as do shoulders on both faces and edges of an M&T. Slainte.

Re: Underbench cabinet: 10. A blind sliding dovetail

#8

double blind assembly - divider length?

Henry (Raleigh NC)

Derek

How does this piece that is 6mm longer than the spacing between the blades (1/4" for those of us still using an archaic measurement system) fit between the top and bottom blades? Even if there is enough flex in the blades, how does the last one go in? I can see it in the example of the rear vertical dividers, but not the front ones.

I guess I should read the final case assembly/glue-up post (if already out there), but the outer case itself is already glued up. Are all the blades and dividers assembled together out of the case and then inserted into the shell? Even so the tails of those front vertical dividers would make that assembly 6 mm taller than the case interior.

Henry

Re: Underbench cabinet: 10. A blind sliding dovetail

#9

Re: Underbench cabinet: 10. A blind sliding doveta

Jesse Cloud

I have used this joint a few times for mounting wide tabletops to aprons.

I make triangular pieces, sorta like a corner block, but one side has through holes for screws that will attach it to the apron. The top side has a male part of a sliding dovetail that fits into a slot cut into the bottom of the tabletop. The piece is attached to the top first then slid until its snug against the bottom (with room left for movement in either direction. Then the vertical side against the apron is screwed on.

I have it on our 15 year old dining table (40 inches wide) which has stood up flawlessly against huge humidity swings. Here in the High Desert of New Mexico the humidity is usually very low, but in the summer, many of us cool our houses with evaporative cooling (aka 'swamp coolers') which pump humidity into the air close to saturation. We go from one extreme to another and my table moves about half an inch between the extremes.

Re: Underbench cabinet: 10. A blind sliding dovetail

#10

Re: Underbench cabinet: 10. A blind sliding doveta

gwold

Derek,

You note here in pt. 10, near the end, "One[sic] the lowermost divider is in, the one above it can be marked ...". In pt. 9, in the section labeled "Sockets," you marked out the rear sockets, and I (mis)understood(?) that you marked all the rear dividers' sockets with a single dry fit before disassembling & beginning excavations.

Did you mark out the rear dividers' sockets all at one time, but do the front level by level? If so, why the difference? Understanding the front dovetails are blind and you may not want to mark on the front face of the blades, you did mark the tops of the blades (and bottoms, of course), so what advantage is gained by doing the front dividers level by level?

👍 This page answered my questions

Your vote helps other woodworkers quickly find the answers and techniques that actually work in the shop.