WoodCentral Forums

Est. 1998 — 27 years of woodworking knowledge

Underbench cabinet: 7. Drawer Blades

Posts

Underbench cabinet: 7. Drawer Blades

#1

Underbench cabinet: 7. Drawer Blades

Derek Cohen (in Perth, Australia)

We left off with the case complete, dados ready for the drawer blades, and the parts semi-prepared ...
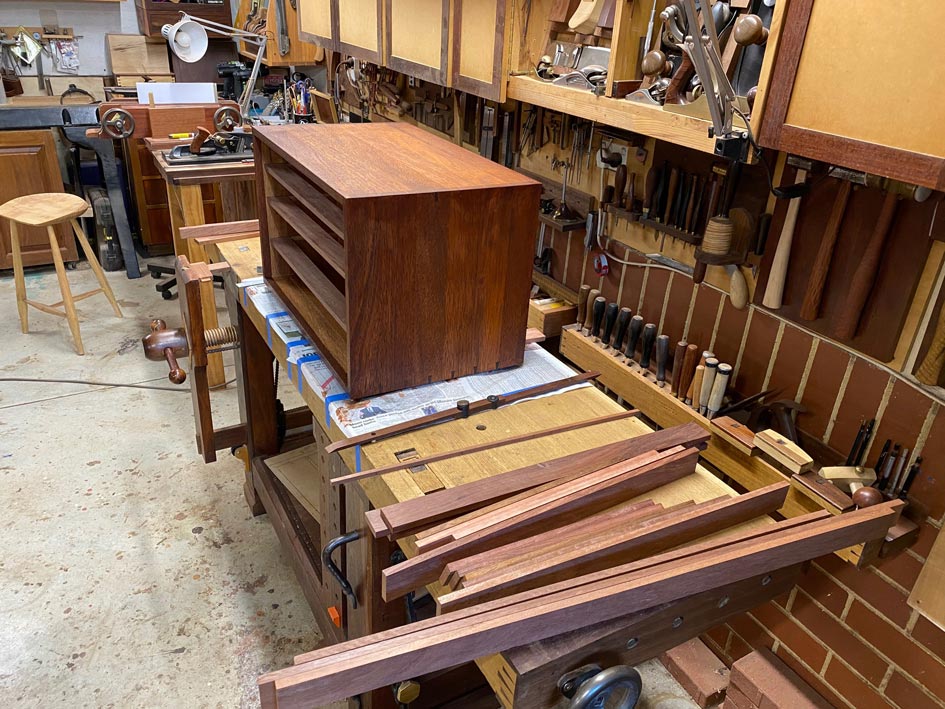

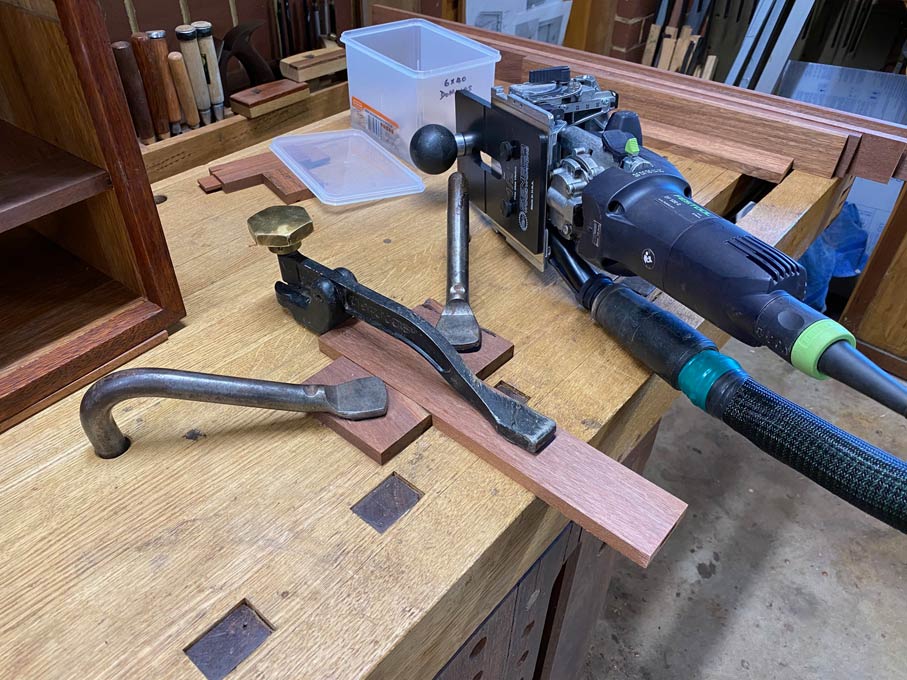
With 10 drawers in 4 rows, there are a goodly number of joints to make for the drawer blades. Typically, these are made with mortice-and-tenon joinery, which has been my method to date. Today I decided to do something different .. use a Festool Domino. I purchased this four years ago to aid in building a multitude of frame-and-panel doors for our kitchen. It did a great job, and then it was retired to a shelf.

The rails for the drawer blades are all 45mm wide x 12mm thick. I used a 6mm x 40mm domino for each join. This is not the dimensions I would have used with M&T, where one tends to follow the 1/3 Rule. A centred 6mm domino leaves 3mm on each side ....
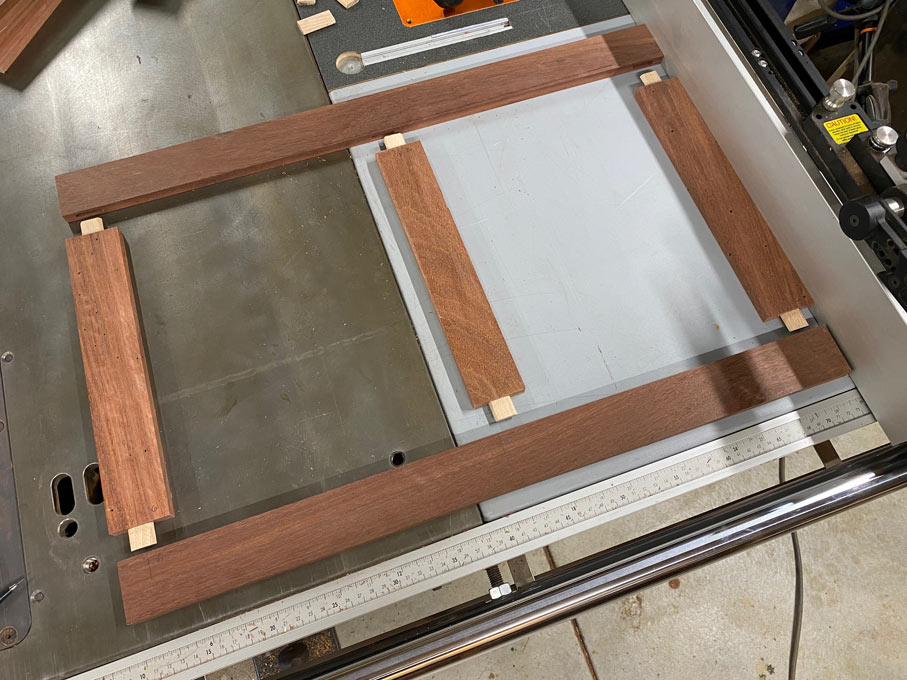

I was concerned whether this would create a stiff and rigid join, and made a couple of test pieces. No problem at all.

Not having any dedicated Domino hold downs, my bench did a sterling job ...
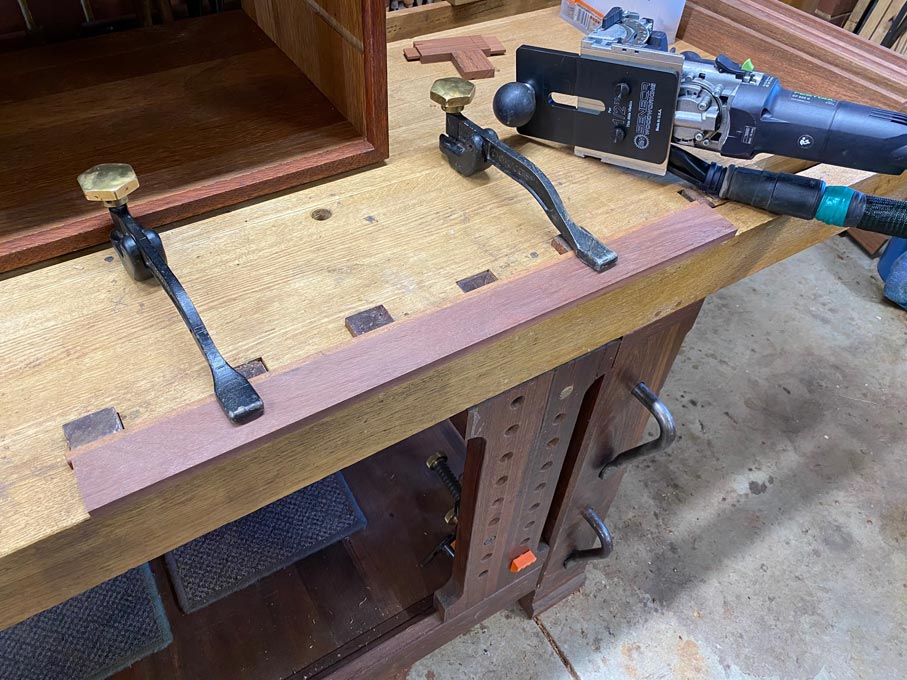


Flush the joins (not that there was much to flush) ...
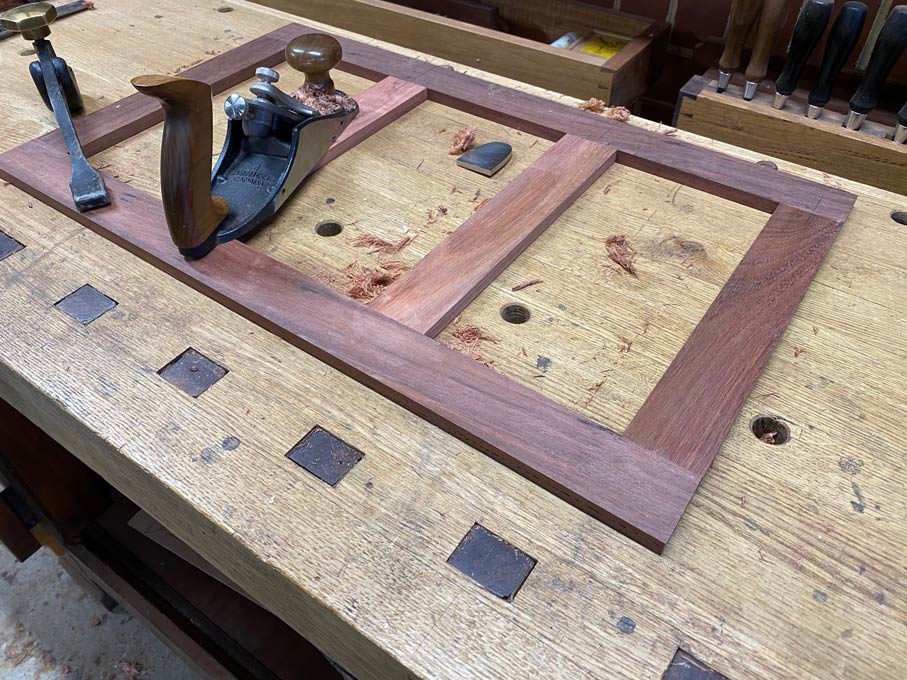

Done x 3 ...
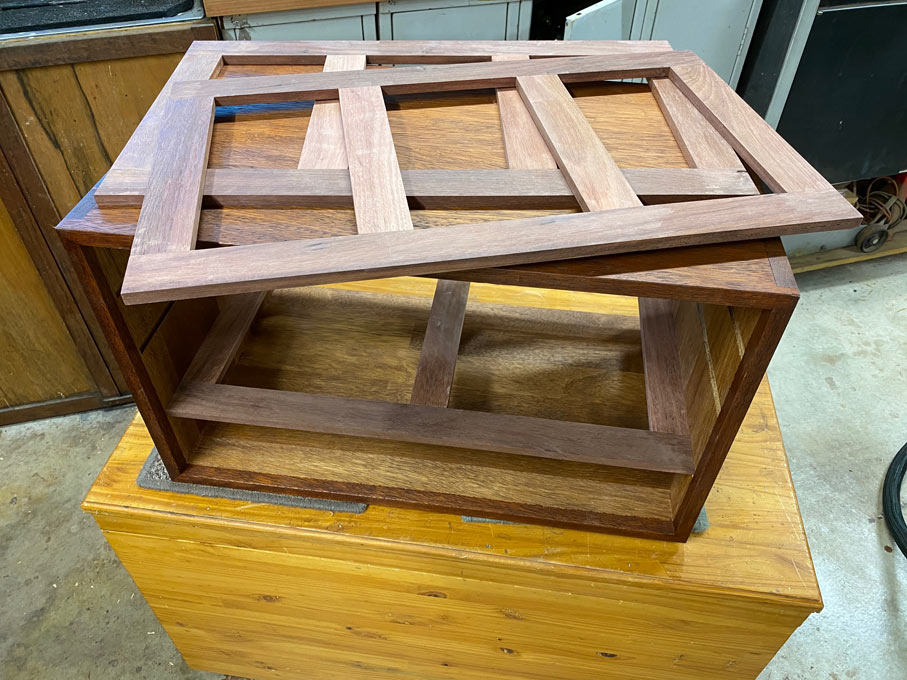

Time to fit these. Sliding them in to the ends of the dados ...
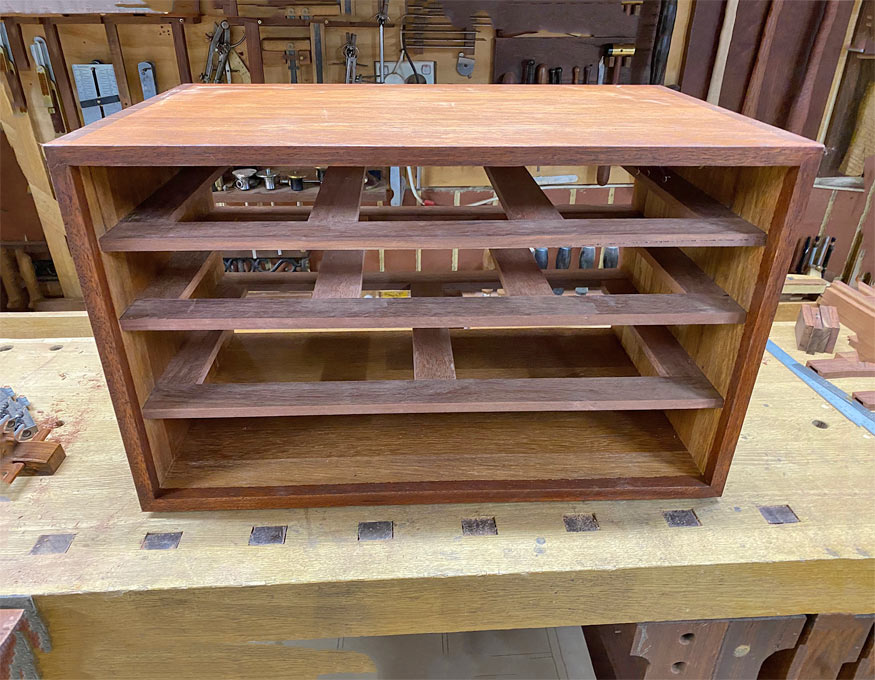

These is a large gap to the front of the case ...
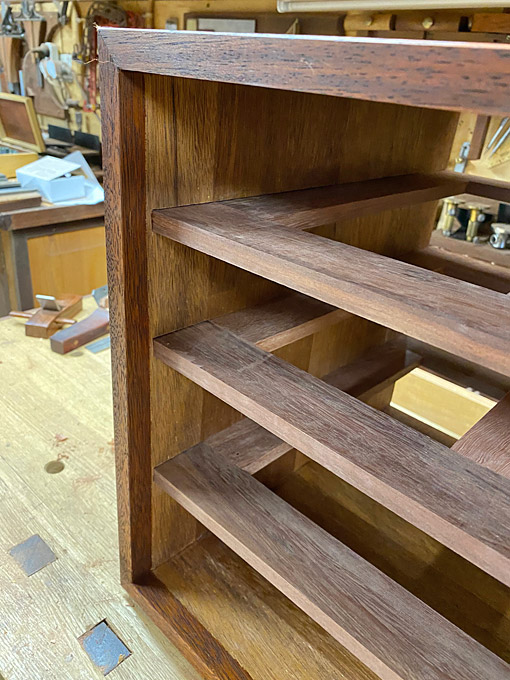

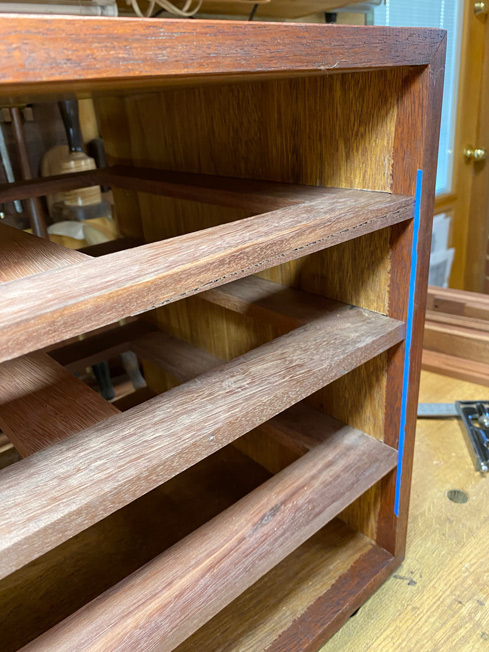
My design calls for a 6mm set back for the drawer fronts. To ensure that this is even around the circumference, this is marked off with the help of blue tape (I really need to take out shares in this product) ...
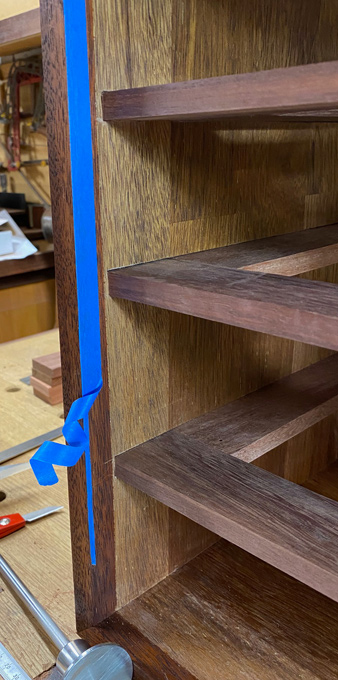
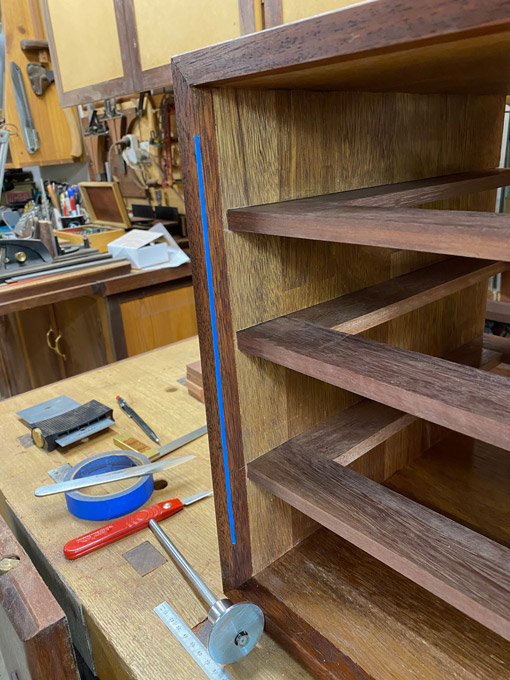

The last step is to rebate the drawer fronts to move them forward in the dados.

The base is scored with a knife (note that the frames are a tight fit in the dados) ...
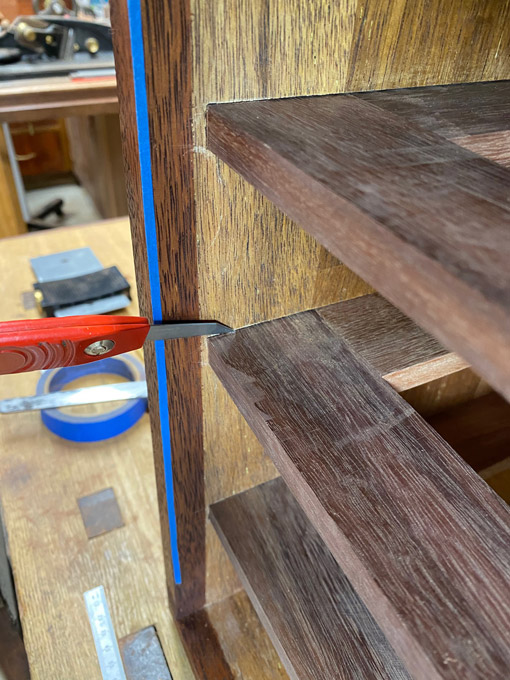

A cutting gauge is set to the line ...
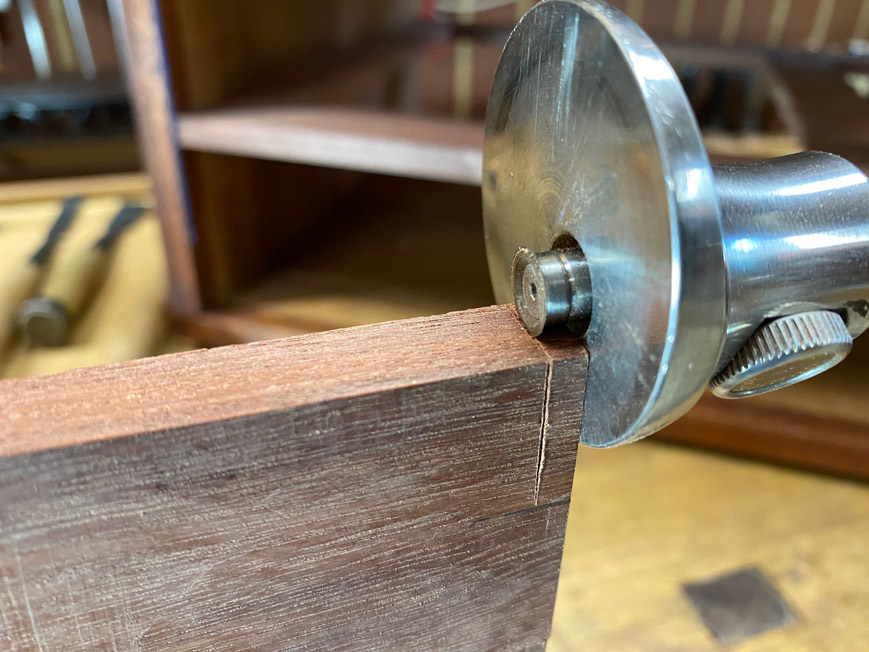

Blue tape helps outline the rebate for old eyes. Note that the short side is sawn first. This is to prevent the long sawcut slitting off as the offcut is end grain and weak.
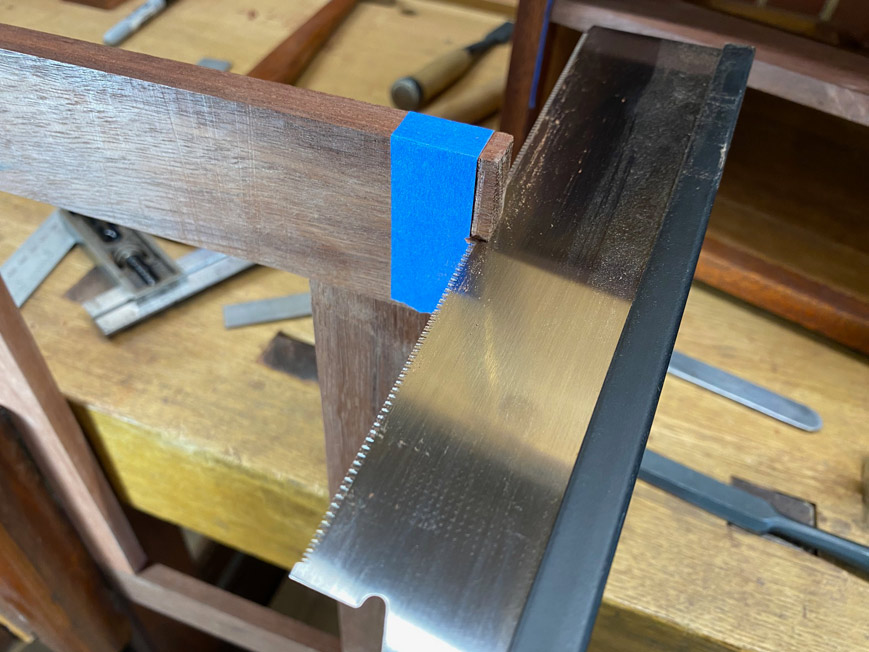

The cautious will sawn away from the line, and finish by paring with a chisel. I really do not fancy much paring in this really hard Jarrah, and decided to just saw to the line. The saw gods were smiling on me today ...

[url=https://postimages.org/]
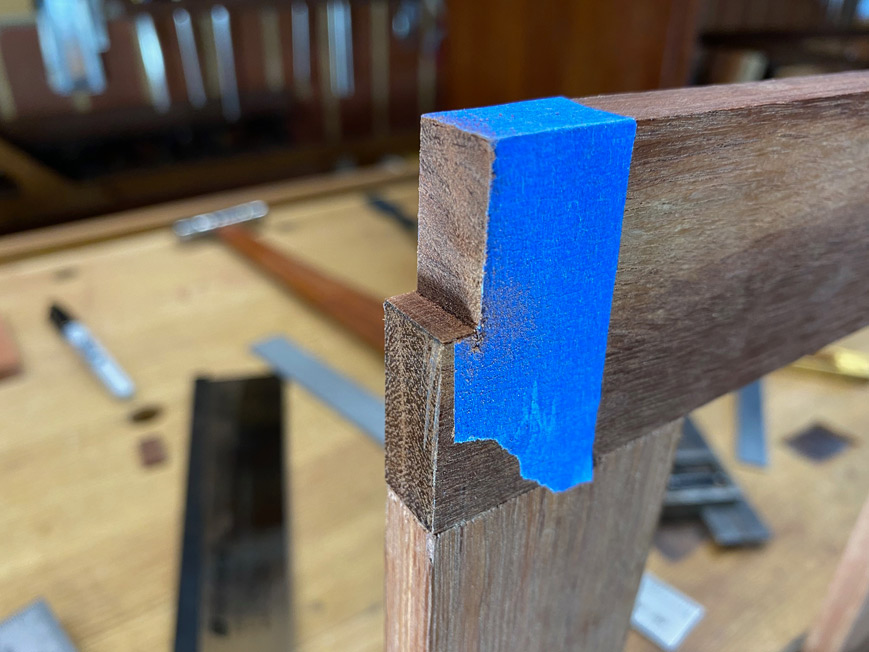
Now the drawer blades can be moved forward into their final position ..
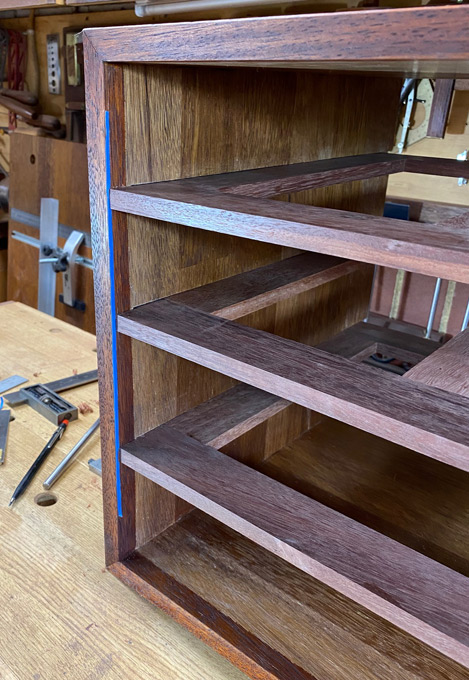


The next step - for next time - is to begin the sliding dovetail drawer dividers.

Regards from Perth

Derek

Re: Underbench cabinet: 7. Drawer Blades

#2

Re: Underbench cabinet: 7. Drawer Blades

Ed Wozniak

Derek,

I am enjoying your build story and I am learning a lot. I am curious as to why you chose 6 mm dominos. Why not a 4 mm domino so that you could adhere to the 1/3 rule?

Re: Underbench cabinet: 7. Drawer Blades

#3

Re: Underbench cabinet: 7. Drawer Blades

Derek Cohen (in Perth, Australia)

Ed, one of the reasons I have continued to use true mortice-and-tenon joinery (over a domino) is that the size of the tenon is not predetermined. It is not the thickness of the domino which I find a limitation, but its width.

For a rail width of 45mm, a tenon width of around 35-40mm would be my choice. The 5mm thick domino has a width of 18mm, and the 6mm is 19mm.

What would make sense is to use 2 x 5mm dominos alongside one another. I considered this, but decided that it would be overkill in a joint which will not be stressed. My compromise was to use a 6mm domino. Subjectively, it appears more substantial than the 5mm (and 4mm was not a consideration as I do not have any).

The reduced support on either side of the tenon/domino is not likely to be a factor here. I suspect that the 1/3 Rule is partly so as it safeguard against the stresses from a mortice chisel. Routing a mortice is less invasive this way. What one needs to determine is what is a safe limit for mortice sidewalls?

Regards from Perth

Derek

Re: Underbench cabinet: 7. Drawer Blades

#4

Thanks!


Re: Underbench cabinet: 7. Drawer Blades

#5

Re: Domino width + shop made pieces?

Henry (Raleigh NC)

Derek - If you are willing to make your own Domino pieces, then making a +10mm hole will take width to 28 mm wide. Make your own Dominos for these wider holes and you have come a lot closer to the 35-40 mm target you mentioned.

Not disagreeing with your choices, just adding options in case others had considered it.

Henry

Re: Underbench cabinet: 7. Drawer Blades

#6

Re: Domino width + shop made pieces?

Derek Cohen (in Perth, Australia)

Thanks Henry. I plan to do just this. There is clearly a place for the Domino in building furniture, and there is room for improvement in the way it is used.

Regards from Perth

Derek

Re: Underbench cabinet: 7. Drawer Blades

#7

Re: Domino width + shop made pieces?

Henry (Raleigh NC)

I hope there is a place for the Domino in building furniture - as I just acquired one; phew - Derek has blessed my decision! ;)

Love your posts Derek - I learn a lot. Between the education I get from you and Mr Tindall, I may screw up the confidence/willingness to tackle a case piece yet! M&T I have done a lot of ways... DT not really. Gotta conquer that.

Henry

Re: Underbench cabinet: 7. Drawer Blades

#8

Re: Domino width + shop made pieces?

jessecloud

I rarely build anything without using a Domino somewhere. In cases where a Domino tenon might seem inadequate, just adding a twin nearby greatly strengthens the joint. I have used them on tables, dressers, chairs, cabinets - only exception is cutting boards, no need for tenons there.

By the way, for those not familiar with the Domino, making two mortises side by side is ridiculously easy.

Re: Underbench cabinet: 7. Drawer Blades

#9

Another way to do the drawer support

Bill Tindall, E.Tn.

There seems to be some interest in case construction. Unsure where to stick this post...here as good as anywhere I guess.

Borrowing from Period case construction I hold the sides together with the blades /horizontal dividers. The runners just float between the dividers and have no structural purpose. I too found the Domino a dandy way to make the multitude of M&T joints to hold the runners in place.

I do not plane runners flush should they stick up a mite. In fact on a big drawer I will purposely raise the runner a tiny amount to lift the drawer up off the blade.

Re: Underbench cabinet: 7. Drawer Blades

#10

Re: drawer supports, terminology

Henry (Raleigh NC)

Ok, terminology question.... clarifying what exactly you mean by runners

I get what you call the blades (horizontal pieces tied to sides, separates drawer in a stack)) and dividers (vertical pieces separating adjacent drawers).

I assume runners are the solid, front to back orientation, horizontal pieces that drawers run on?

I presume that you no longer use runners (because I don't recall you describing fabrication or installation in earlier posts), but please confirm, or educate me when you might consider using runners? I think you use other pieces that 'box in' or form the cavity for the drawer box; this is where my terminology gets really weak. I just don't know the terms for the pieces.

Thanks

Henry

Henry

Re: Underbench cabinet: 7. Drawer Blades

#11

Re: drawer supports, terminology

Sgian Dubh

"I assume runners are the solid, front to back orientation, horizontal pieces that drawers run on?"

Yes.

The top side of those pieces are known as runners on which the bottom edge of drawers engage (run).

The bottom side of those items are called kickers. The top edge of the drawer side sits directly underneath the kicker.

The kicker is so called because of its function of preventing the drawer sides 'kicking up', i.e., prevents the front drooping as it's opened. That's what they were called by the cabinetmakers that taught me nearly fifty years ago, by tutors at the college I trained at, and how they're described in UK written text books, e.g., Ernest Joyce.

The pieces of wood front and back that connect the carcase sides which are at the same level and of the same thickness as the runner/kicker, and separate and define the height of each drawer side in a stack are known as dividers in British terminology. Frequently they, dividers, also define the height of the drawer front as well, all depending on the configuration of the drawer and whether or not the front rail shows between each drawer front of a stack of drawers. However, it seems to be that American makers (mostly) are using an alternative name of drawer 'blade': I don't know if that's a recent thing, or if American makers have been using the name blade for perhaps decades or centuries. Slainte.

Re: Underbench cabinet: 7. Drawer Blades

#12

blades

Bill Tindall, E.Tn.

I first heard the term here on WC. Later it was discussed by someone in AU that writes the Pins and Tails Blog, defining blades as horizontal and dividers as vertical. I thought it was an English terminology. If not English it just got purged from vocabulary.

Re: Underbench cabinet: 7. Drawer Blades

#13

no wonder the confusion...forgot PIC

Bill Tindall, E.Tn.


White maple are runners. cherry are sides and dividers

Re: Underbench cabinet: 7. Drawer Blades

#14

Re: Minor wording clarification?

Henry (Raleigh NC)

Derek

I have been following this build, and decided this morning to re-read your build in sequence all in one sitting. That helps with me keep the overview, status, and sequence in mind much more easily.

There was one sentence that troubled me when I read it the first time, and now again upon re-reading. It comes right after you describe using blue tape to mark off the 6mm setback of the drawers from the front edge.

"The last step is to rebate the drawer fronts to move them forward in the dados."

If I understand correctly, I think what you meant is:

"The last step is to rebate the front of thedrawer blades to move them forward in the dados."

If not, then I am confused.

Thanks

Henry

Re: Underbench cabinet: 7. Drawer Blades

#15

Re: Minor wording clarification? *LINK*

Derek Cohen (in Perth, Australia)

"The last step is to rebate the drawer fronts to move them forward in the dados."


Hi Henry

Indeed it should read "If I understand correctly, I think what you meant is:

"The last step is to rebate the front of the drawer blades to move them forward in the dados.""


Sorry for the confusion.

You really re-read it all? Are you on medication? .... just teasing :) Actually, I am quite chuffed that you had the interest. Thanks.

Regards from Perth

Derek


Definition of "chuffed"

Re: Underbench cabinet: 7. Drawer Blades

#16

Thx - re-read

Henry (Raleigh NC)

Yes re-read it all. Haven't gotten to the drawer portions (unwritten?) yet, but I am indeed wanting to understand case construction. Reading your descriptions has helped me understand terminology, sequence, and rationale for the choices you make.

I don't yet understand what the options are, but have to re-read Bill's posts to see precisely how he does things. (I have already read these over time, but reading the sequence really helps).

Again thanks for documenting.

Have to explore 'chuffed' now, but that is OT from case construction (I presume at least, from context)!

Henry

Re: Underbench cabinet: 7. Drawer Blades

#17

clarification

Bill Tindall, E.Tn.

Because you are interested and may actually use the information....

What Derek did on this case for top, bottom and dividers is what you will find on the very best of American Period Furniture made of solid wood.

A full top and bottom is dovetailed into the sides. This construction keeps the sides from cupping over time. What I did on the desk was a cutting of corners by putting in a partial top and bottom. In my case I can get by but in general it is not to be recommended for the best work.

When using this means of joining the top and bottom to sides it is customary to simply M&T the dividers into the case sides. If the case is tall, however, some or all of the dividers may be dovetailed into the case side to keep the case from bowing out. I have seen numerous open M&T joints at the ends of the dividers on antiques when the case is tall and none on dovetailed dividers.

There is no structural reason to dovetail dividers front and back into case sides as I did on the short desk. I did it because in my case I have a quick way of doing it and I like making this joint. As Derek pointed out there is a good reason to dovetail the vertical dividers to keep the horizontal dividers parallel, especially if a heavy drawer load is anticipated.

I will deal with the runner issue in a separate post.

Re: Underbench cabinet: 7. Drawer Blades

#18

Re: choices/options.  THX

Henry (Raleigh NC)

THanks Bill - and I am getting the point of understanding these options, now that I am getting the terminology down. The case's top and bottom is in fact one of those where I need to understand the options.

Thanks for pointing these M/T vs DT options - and some other options/choices for tops. Might be a long road, but I am learning!!!

Much appreciate the sharing the two of you in particular offer - (of course there are so many others too!).

Henry

👍 This page answered my questions

Your vote helps other woodworkers quickly find the answers and techniques that actually work in the shop.