WoodCentral Forums

Est. 1998 — 27 years of woodworking knowledge

Underbench cabinet: 2. Ripping with the slider *LINK*

Posts

Underbench cabinet: 2. Ripping with the slider *LINK*

#1

Underbench cabinet: 2.  Ripping with the slider *LINK*

Derek Cohen (in Perth, Australia)

Time to use the slider. THIS is what the parallel guide on the slider can do. It is like a Fritz & Franz jig on steroids ...

With the case done, the next step is to prepare the boards for the drawer blades/frames. I have found a chunk of Jarrah, about 50mm thick and 180mm wide and about 950mm long. This needs to be sliced up into 50mm wide boards (which will be further reduced to 12mm thick drawer blades.

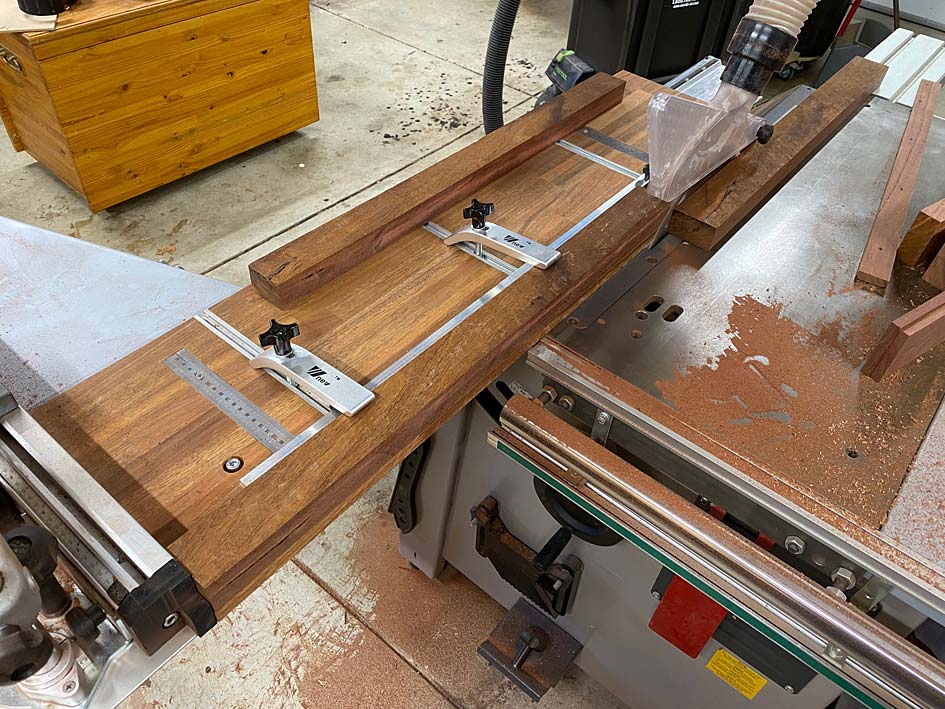
Place the board against the parallel guide ...
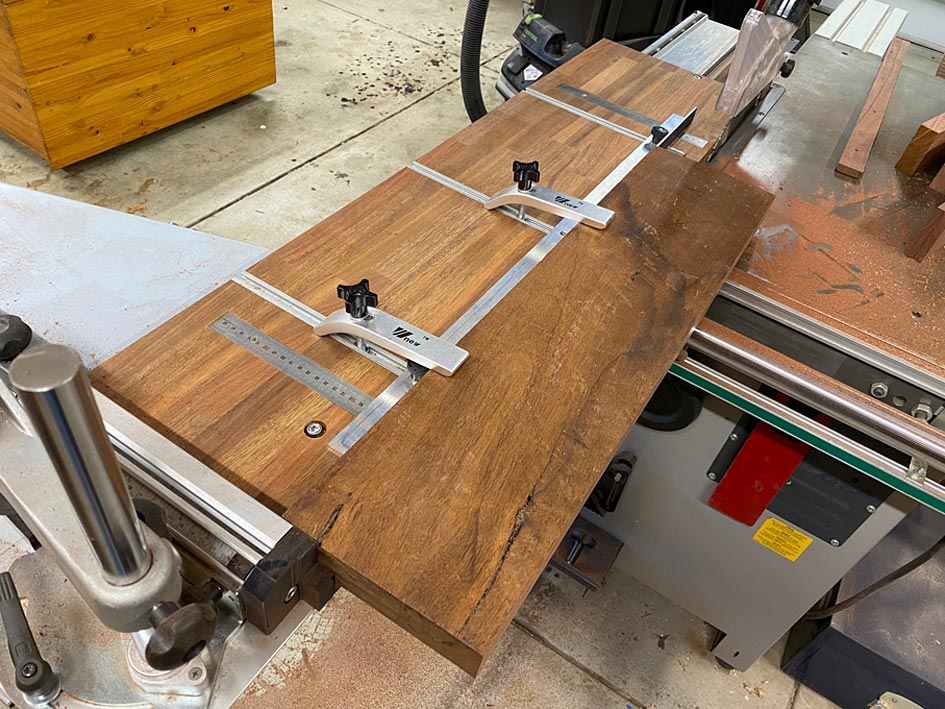

... and rip one side to 50mm ...
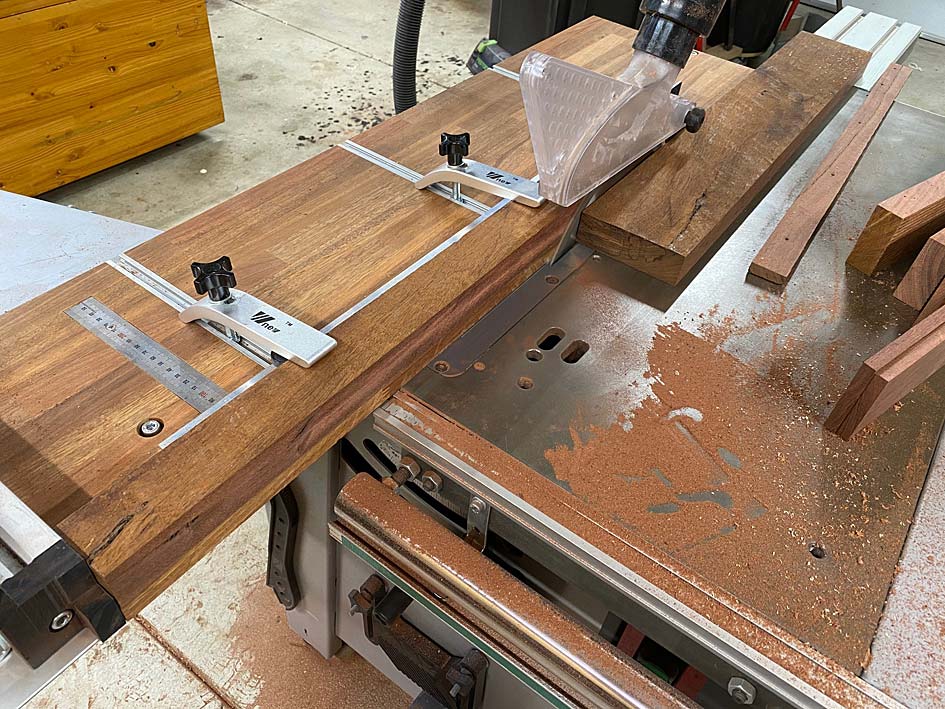

Now rip the second length ...
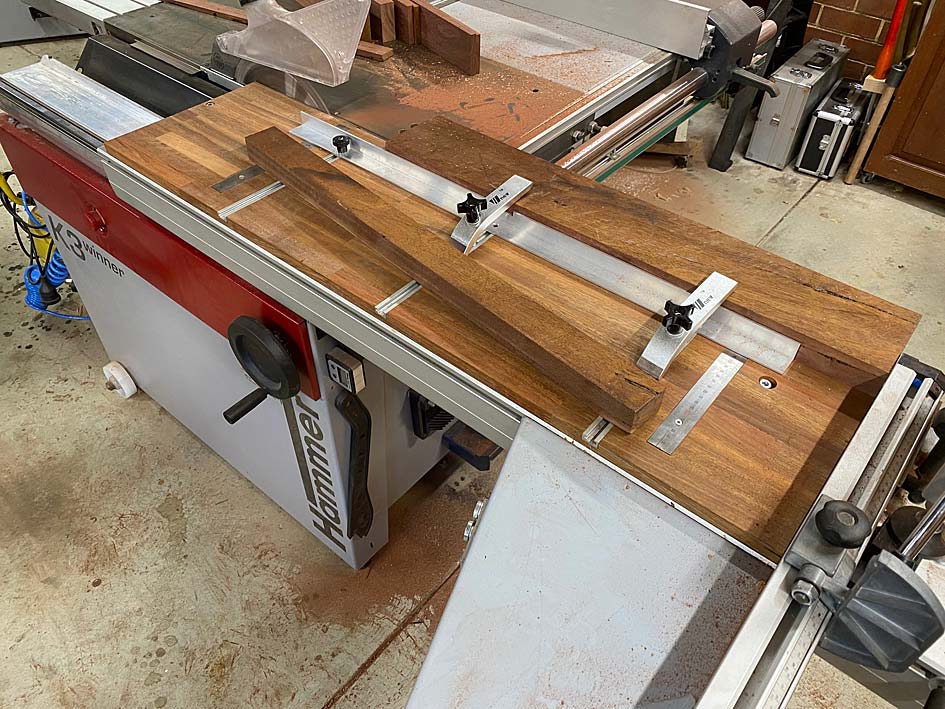


.. and the third. How safe is a slider? This is where one stands - well away from any possible kickback (which does not occur on a slider, anyway. And the hands are no where near the blade ...
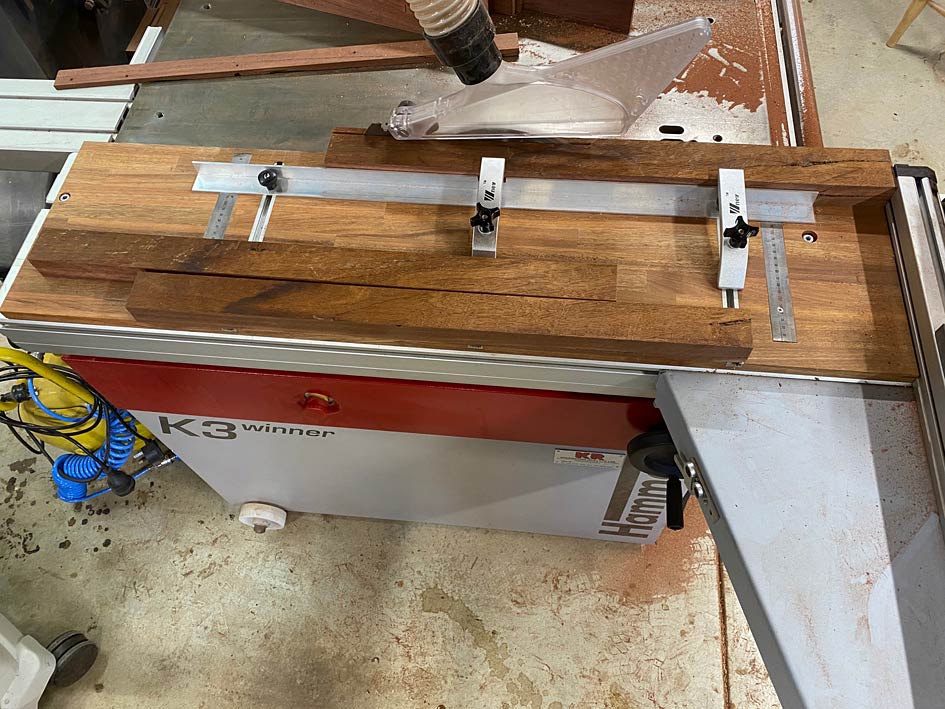

How good are the saw cuts? Good enough to joint with, and not require a jointer for the edges.

Here is the board ...
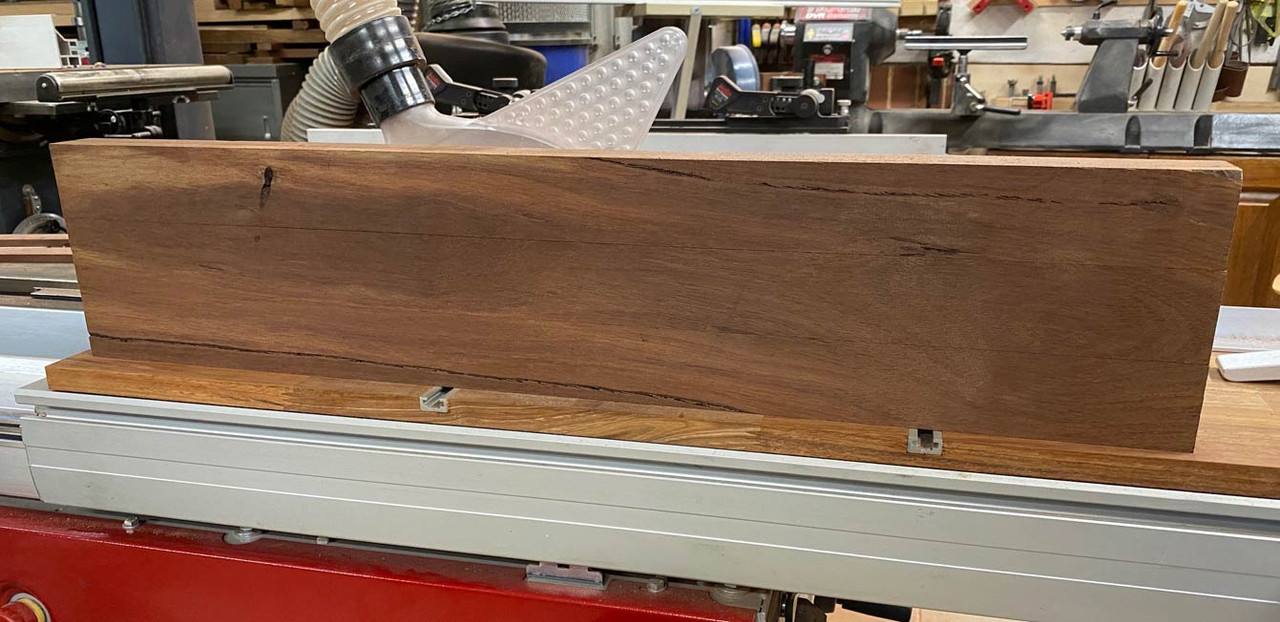

Close up ...
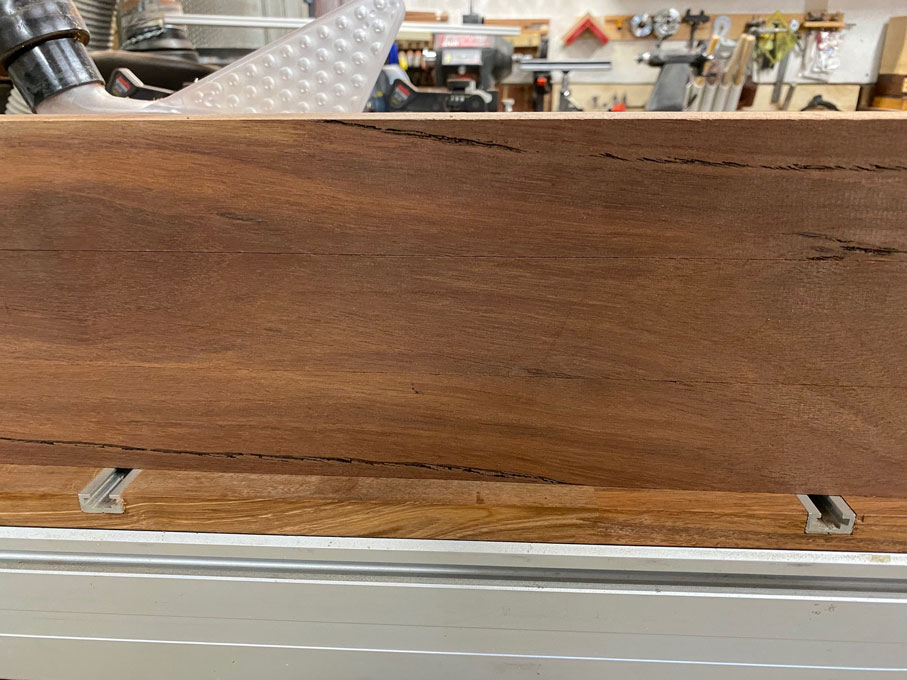

But ...
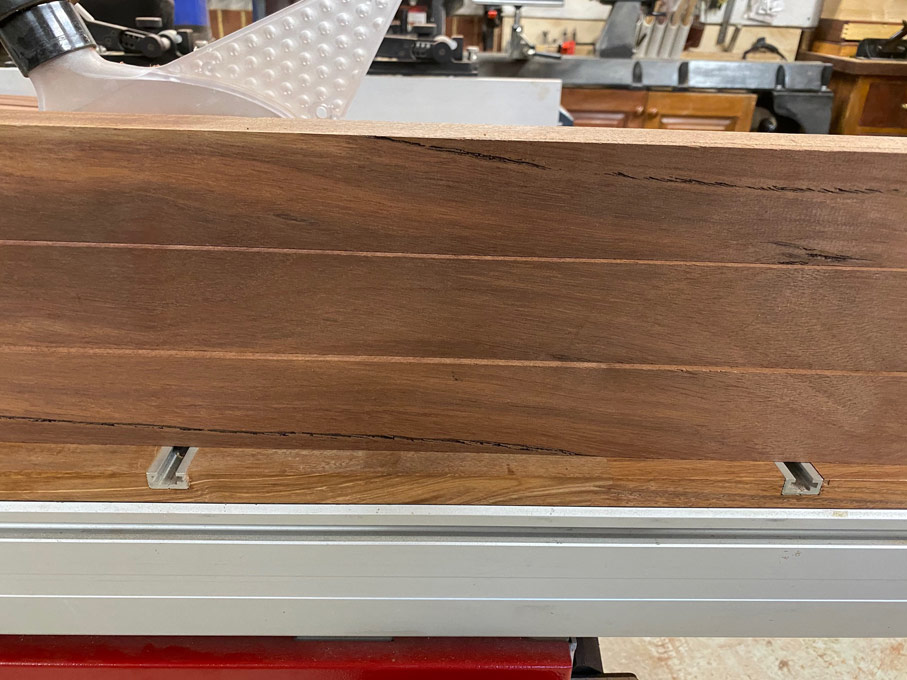

:)

Regards from Perth

Derek


Parallel Guide for the K3 Slider

Re: Underbench cabinet: 2. Ripping with the slider *LINK*

#2

Re: Underbench cabinet: 2.  Ripping with the slide

Brad Chenoweth

Derek,

How do you ensure that your parallel jig is indeed parallel to the blade? With a rip fence, I can "set it & forget it", but it seems with the slider, you would need to ensure parallelism before every cut. Or maybe I'm missing something obvious, since I have no experience with a slider?

Brad

Re: Underbench cabinet: 2. Ripping with the slider *LINK*

#3

Sliders are "captured"

Jim Matthews

My slider emulates Derek's and it has really sped up straight cuts.

The side nearest the blade on mine was trimmed on the first use.

That defined a "cut line".

To verify run out, a fixed distance (using a square) was marked from the blade onto the sliding table (mine doesn't have the T tracks) at the extremes of travel.

Those points define another line parallel to the cut line.

In practice, I mark where I want the cut and line that up with the edge if the slider.

Re: Underbench cabinet: 2. Ripping with the slider *LINK*

#4

Re: Underbench cabinet: 2.  Ripping with the slide

Derek Cohen (in Perth, Australia)

Derek,

How do you ensure that your parallel jig is indeed parallel to the blade? With a rip fence, I can "set it & forget it", but it seems with the slider, you would need to ensure parallelism before every cut. Or maybe I'm missing something obvious, since I have no experience with a slider?

Brad

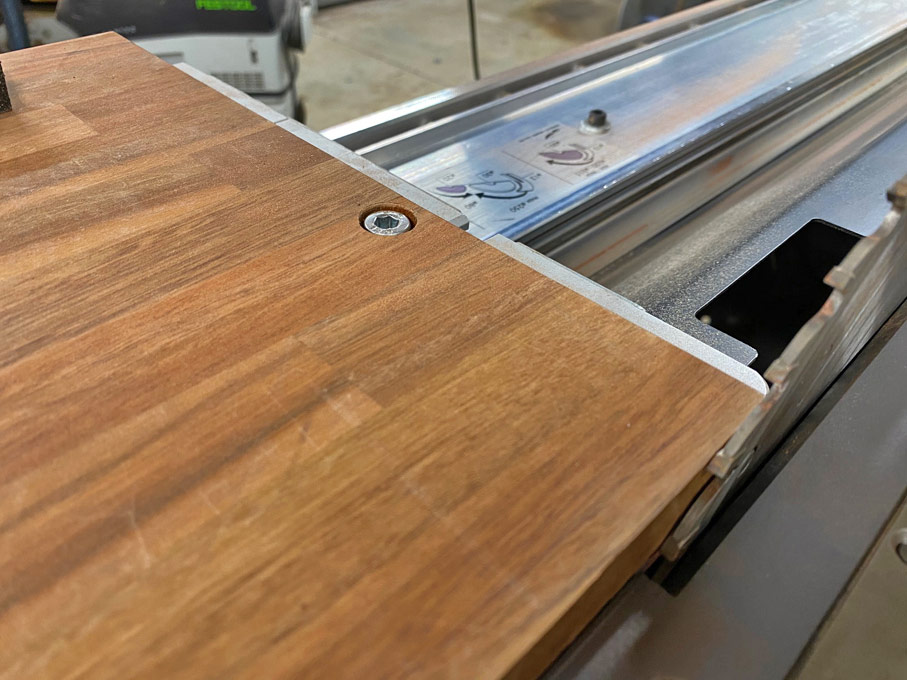
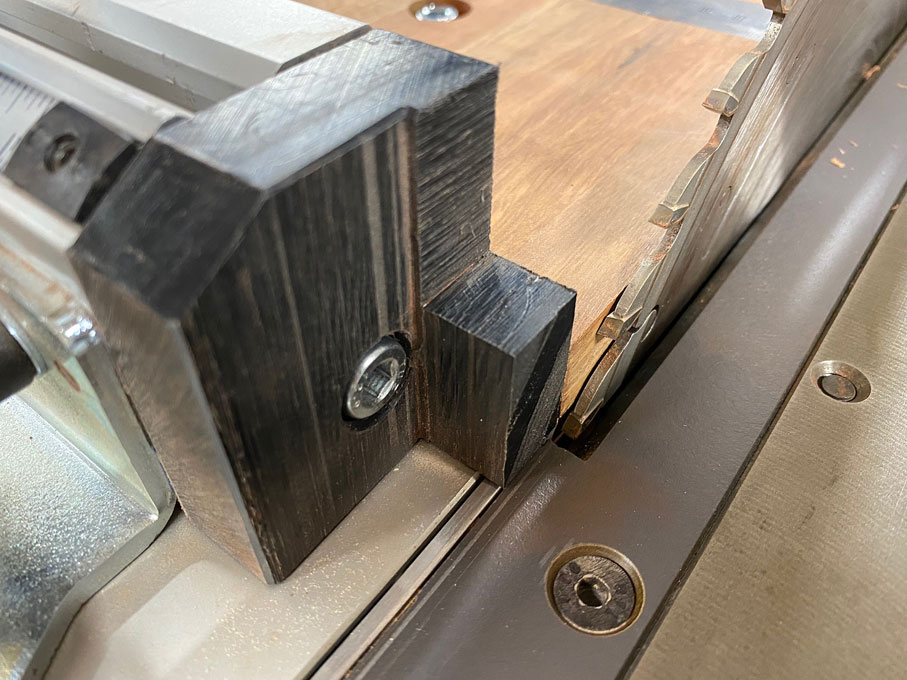
Brad, the parallel guide is attached to the slider wagon with hex bolts to the T-track, one at the front and another at the rear. Each bot has a little wiggle room, which enable the edge of the guide to be positioned against the blade ...

Front:


.. and rear:


One in position, the edge of the parallel guide is essential a zero clearance mark for any work piece.

The scales now allow the fence to be positioned accurately.


Regards from Perth

Derek

Re: Underbench cabinet: 2. Ripping with the slider *LINK*

#5

Re: Underbench cabinet: 2.  Ripping with the slide

Brad Chenoweth

Derek and Jim,

Thanks, that clears it up. I knew was probably missing something. I guess you could also use a combination square to set fixed distance from the edge of the platform, front and back, correct? It's a bit of a different way of thinking for an old dog used to an "American style" rip fence. I can certainly see the attraction of a sliding tablesaw, especially from a safety standpoint.

👍 This page answered my questions

Your vote helps other woodworkers quickly find the answers and techniques that actually work in the shop.