Daughter has "ordered" an octagonal support for a round granite rock to be turned into a low coffee table. This support will be some sort of 8 sided column. It may be 8 posts with stretches in between. In that case....
What is the best way to make a perfectly octagonal leg?
Or it may be 8 vertical 7/8" +/- thick slats joined by stretchers. Don't know if I can make the mortise to accept the stretchers in this case.
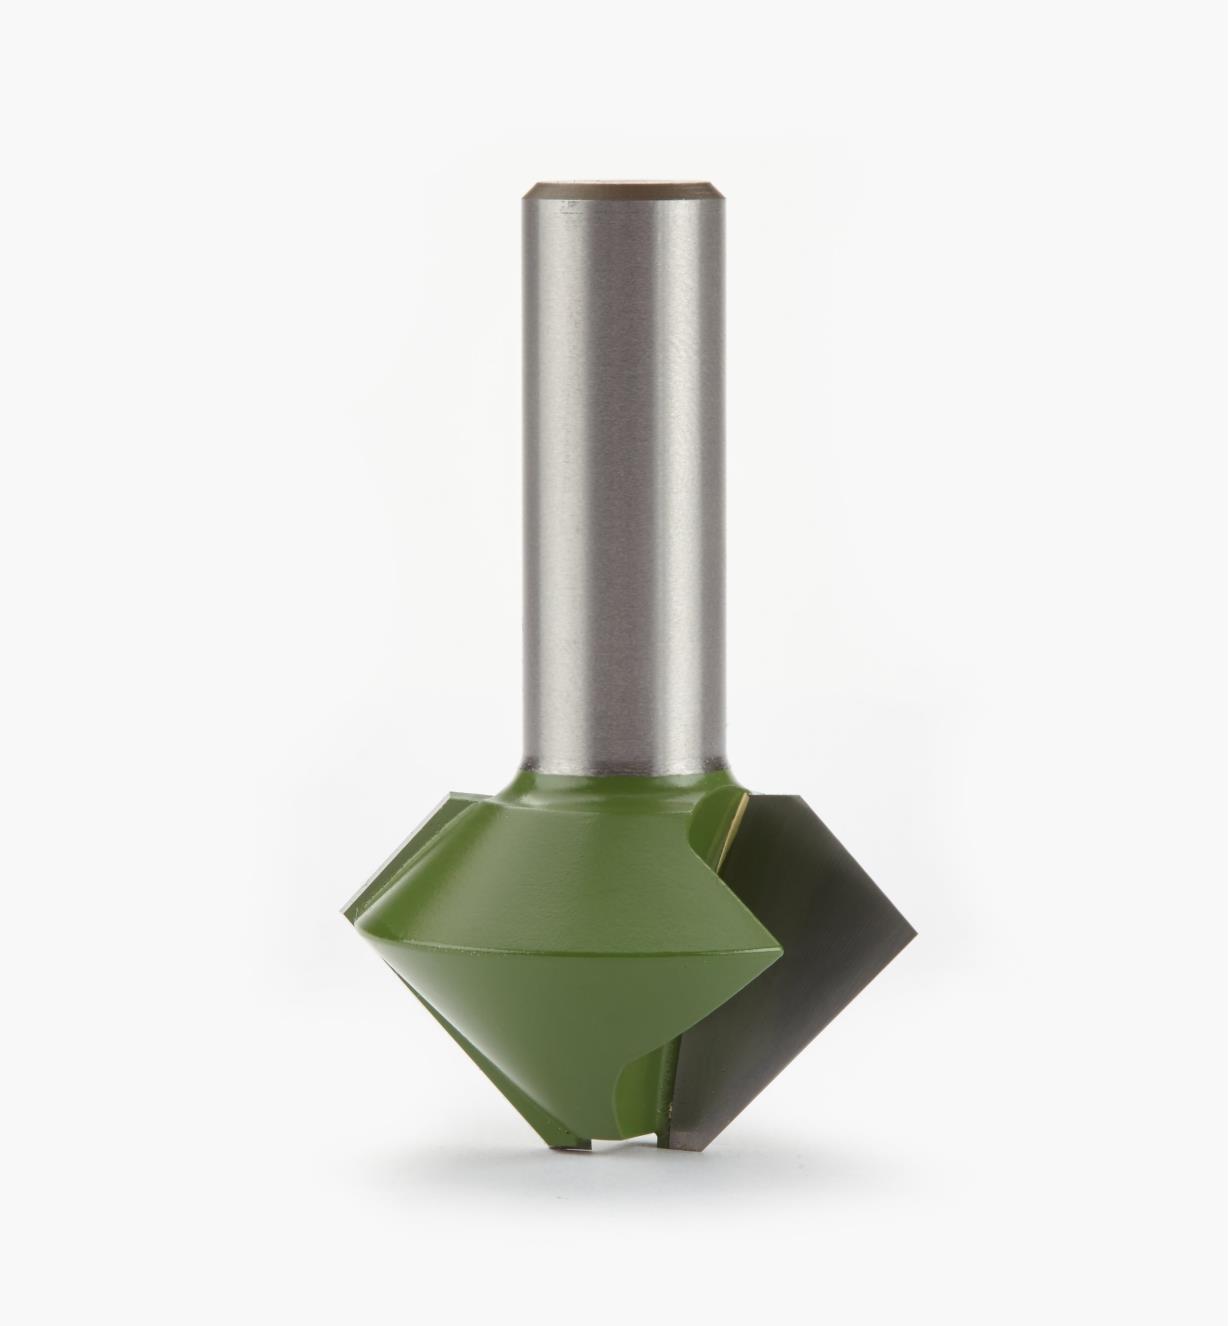
Don't know if this would be a good solution to your particular problem but it does make it easy to make multi-sided "cylinders" such as posts and masts. I've only used mine for making fancy multi-sided bird houses (which the squirrels promptly destroyed) but the bits do work very well. They come in multiple angles for different numbers of sides.
Bill I have made a number of columns with multiple sides.
Generally, I take the number of sides, double it, divide that number into 360 and set the blade on my TS at that angle. For eight you are looking to rip the edges at 22 1/2 degrees. Either use a glue line rip blade or follow up with a pass on the jointer or a hand plane. For clamps I use stainless steel hose clamps. They are available up to 6 or 8" at Lowe's in the duct section. They can be added together easily. An 8" column requires two 4" clamps. The hose clamps work much better than nylon strap clamps because the buckles are much smaller.
Lay out the pieces side by side inside down and apply blue tape to hold them. Turn them over and apply Titebond to the cracks, roll them up and tape the last seam. Then apply the hose clamps over the blue tape.
If you want to get fancy you can use your Domino to cut mortises in them and install dominoes, but if your angles are accurate and your seams mate up nicely I think the dominoes are unnecessary.
If you want to make some sort of open or exploded column, the domino will make that simple. Cut Spacers and install dominoes in both ends and Bob's your uncle.
If you want to make some sort of open or exploded column, the domino will make that simple. Cut Spacers and install dominoes in both ends
That is what I would like to do, but Domino is new to my shop and I don't know right off how to use it for this task on an angled end. And the issue of getting everything to line up. Will have to experiment on some scraps.
Never made a base like that, but I did make octagonal legs for tables. Not too hard to make an octagon. Do you want to start with a square dimension or start with the octagon face width?
I cut them on the table saw, a hair over size and sneak up with a plane. It's not hard if you can do basic trig to get one size from the other. There's a picture of one of the tables in my gallery.
If its the frame with stretchers, easiest thing to do is cut the mortises into 3/4 stock and then do a long miter of two together. Cut the miters for a spline and use packing tape as clamps.
If the octagon is to be big (like more than 3" across) that is the way to go. Ripping from a square is for little legs.
If you want something simple, you can rip angles on the side of the verticals and cut the ends of the rails square. If you want the rails and columns flush, Set the little step gauge on the side to the thickness of the stock, 7/8" is about 22mm. If it's a simple octagon all the rails will be the same length. Lay out the rails on the columns and mark the location of the dominoes. One may be enough, but you can use two. If the ends of the rails are square, Orthogonal, plunge in from the end. Then set the reference plate on the machine to 22 1/2 degrees and plunge in from the side of the columns.
If you want the rails recessed back for the face of the column pieces you can change the depth gauge on the side to accommodate. You can either use one of the steps in the gauge or you can insert a piece of stock or gauge block to move the depth a known amount.
There are a thousand more possibilities. You could have an irregular octagon where the rails are different length and create something of and oval. You could rip the leg pieces square on the edges and angle the ends of the rails. I'm sure you can think of more possibilities.
I find the Domino to be very useful and very versatile. And somewhat confusing. Lots of possibilities for errors because there are so many things to think about and set. Don't forget to select the correct bit. Set the depth of plunge. The altitude of the plunge. And the angle of the plunge. Happily, once you get the stock cut and marked and all the settings made, making the mortises will take about ten minutes.
(I took some of those sticks I sent you and made them into 8mm dominoes and cut a batch 40mm long and a batch 50mm. About two hundred of each. I am still using them. I also made up some that are about 7.5mm thick and use them for dry assembly and like them a lot. If you go with factory 10mm dominoes, the sticks I sent will make nice ones for dry fit just as they are.)
a nifty little program [McGraw?] to calculate compound angles for multisided builds, but it wouldn't run in #10 and I lost it. Maybe John can update it and put in the Articles Section??? Terrific for us trig-challenged people.
A while back I made a hexagonal plant stand that might give you some ideas. The joinery was done with a Domino.
The hub and spoke stretchers at the bottom required an improvised cradle to hold the hexagonal hub piece at the right angle for the Domino. Then I added spacers under the Domino to raise it to the right height.
For the apron pieces at the top I used two short tenons for each joint and had them enter the aprons near the back so their angle wouldn't make them go too near the front of the aprons.
I think I glued up in two stages--first the hub and spokes, then added the legs and aprons. The second stage will only come together by getting all the joints just started a little and then pulling them all into a smaller diameter at the same time. I used band clamps.
For longer assembly time and some lubrication in the joints I used slow-curing epoxy and tried not to get any squeeze-out. I'd suggest dry assembling at least once, maybe as many times as it takes to get the sequence and clamping right. Don't try this with a glue that grabs, like yellow glue.
This wasn't my design but I like the look. With a heavy plant on top it needed a brace to hold it to the wall because it was so top-heavy. That's pretty clunky but the customer liked it. Although the legs themselves are tapered, their outer surfaces are parallel to each other (i.e. vertical) although the pictures make it look otherwise.
That was mine but it was really only necessary (useful) for tapered polygons and would be overkill for something so simple as a straight octagon where simply doing grade-school division will suffice.
The program will run under W10 AFAIK but the install process would not and during the last move, despite taking precautions, the source code was lost. Perhaps, if my situation was better I'd go ahead and resurrect the proper formulae and rewrite it in some modern programming language, the original being in Delphi, but that is probably not in the cards for now.
*******************************
Followup: yes, I found a copy of polycut.exe and it will run under W10 just as it did in days of yore even carrying the original plug for Badger Pond. I could let anybody who wants to deal with manually installing the program on a machine and creating a link to make it easily executable have a copy. No warranty given or implied.
When you get to the stage where you set up the Domino I have a tip or two that might help. Mostly not to count on the built-in flap that determines the height of the mortise if you need to get the two halves of the joint exactly parallel. The weight of the Domino machine makes it hard to get exact alignment, resulting in a very solid floating tenon that won't allow the two surfaces to come together parallel.
By setting the machine on your benchtop and using spacers to get the height adjusted it's pretty easy to get a joint that closes up just right.