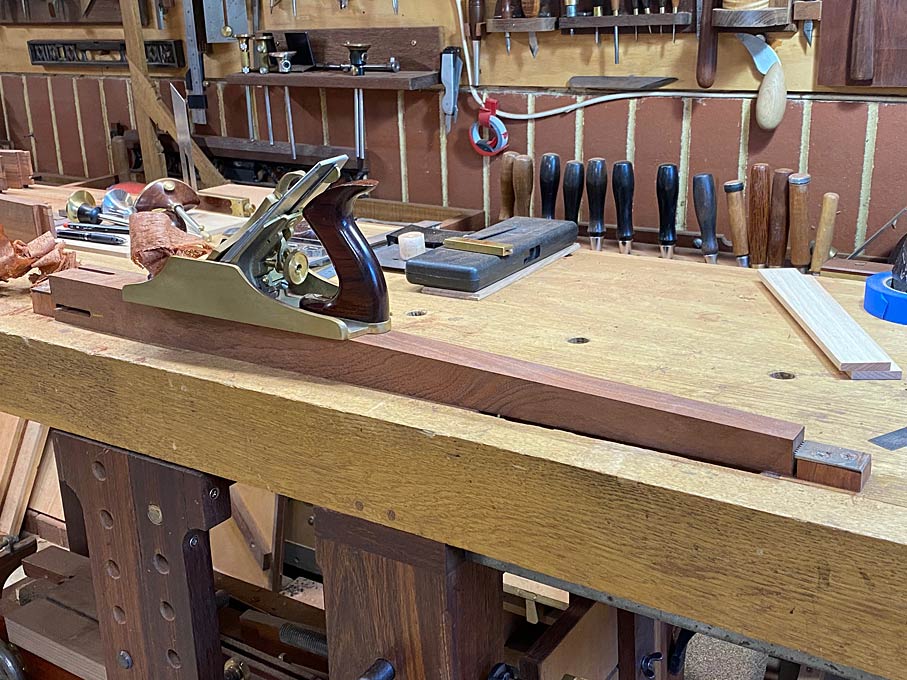
Rita's table drawer: Part 2
Derek Cohen (in Perth, Australia)
There are four parts to the drawer build: the drawer size and design, the drawer case, fitting the drawer case, and the drawer.
Part 1 described the drawer size and design, and the apron of the drawer case. Part 2 describes the rest.
We ended Part 1 here. That is the apron and opening to the drawer case ..
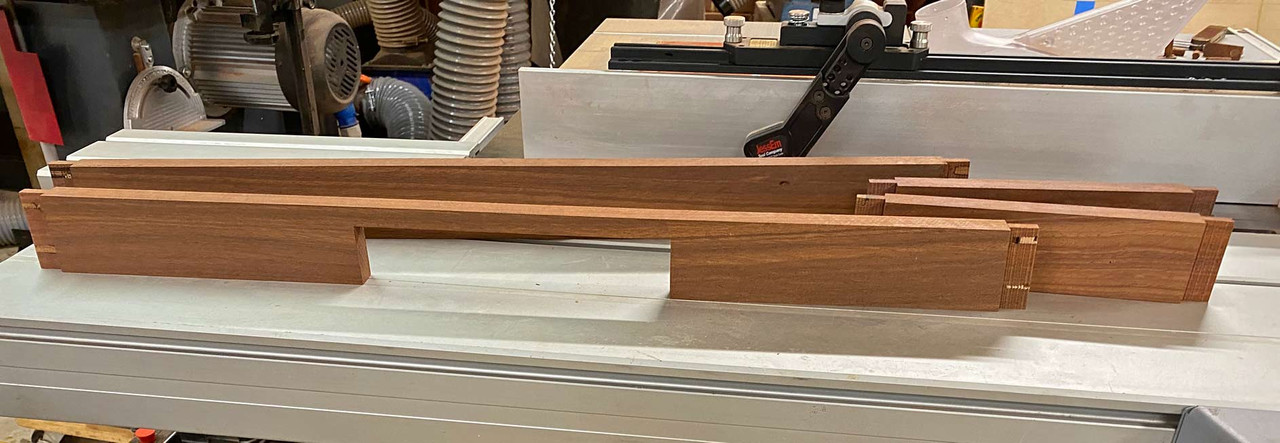
This is where the build ended ...
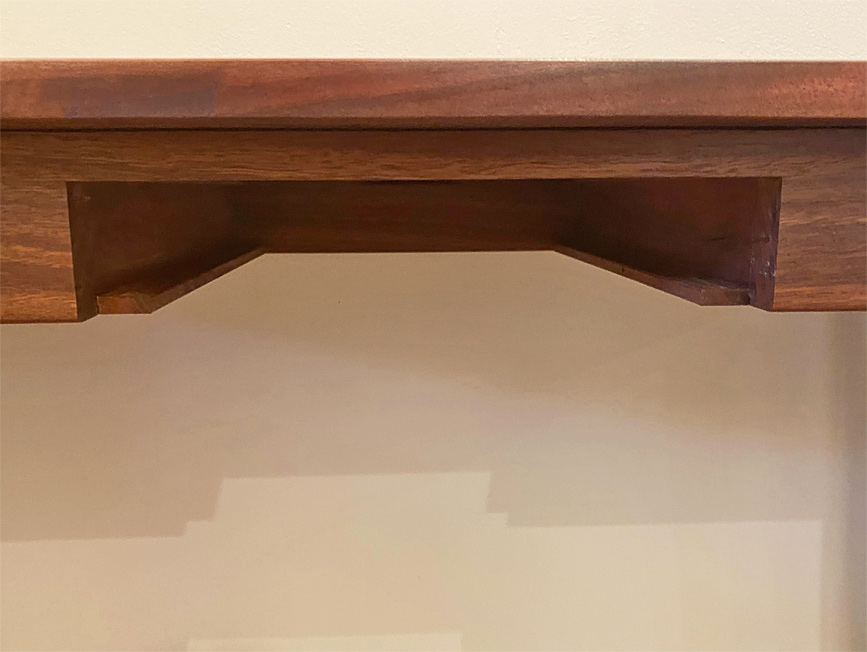
The drawer case and its fitting
I scratched my head for a week how to do this. How to get the case to support drawer blades. I did not want a heavy, complicated arrangement, one which ran the danger of protruding below the table and might be seen at a distance. It needed to be lean and mean. To be elegant. A design to be appreciated by myself and you. This is what I came up with ..
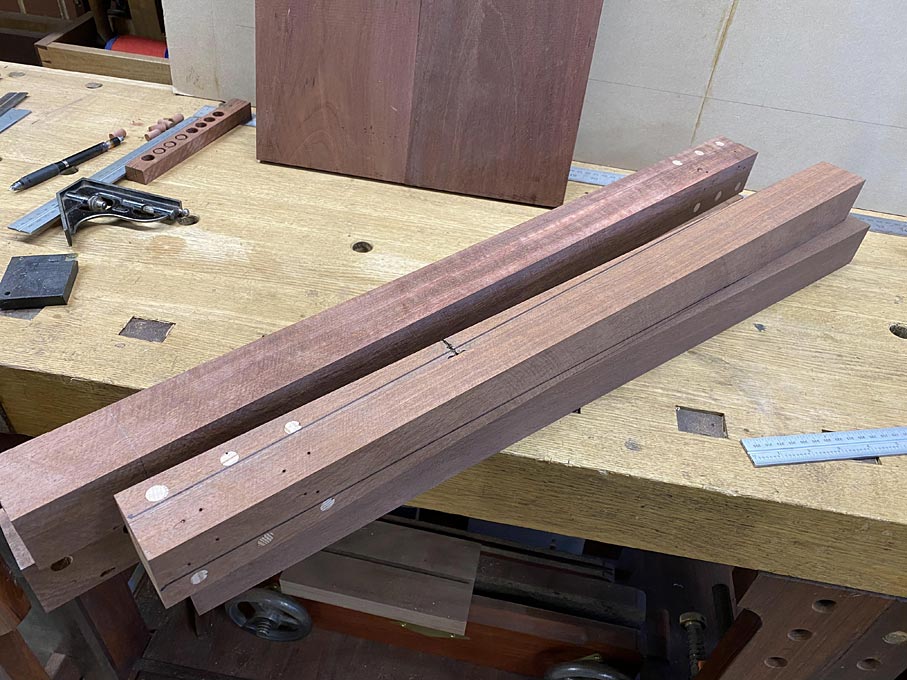
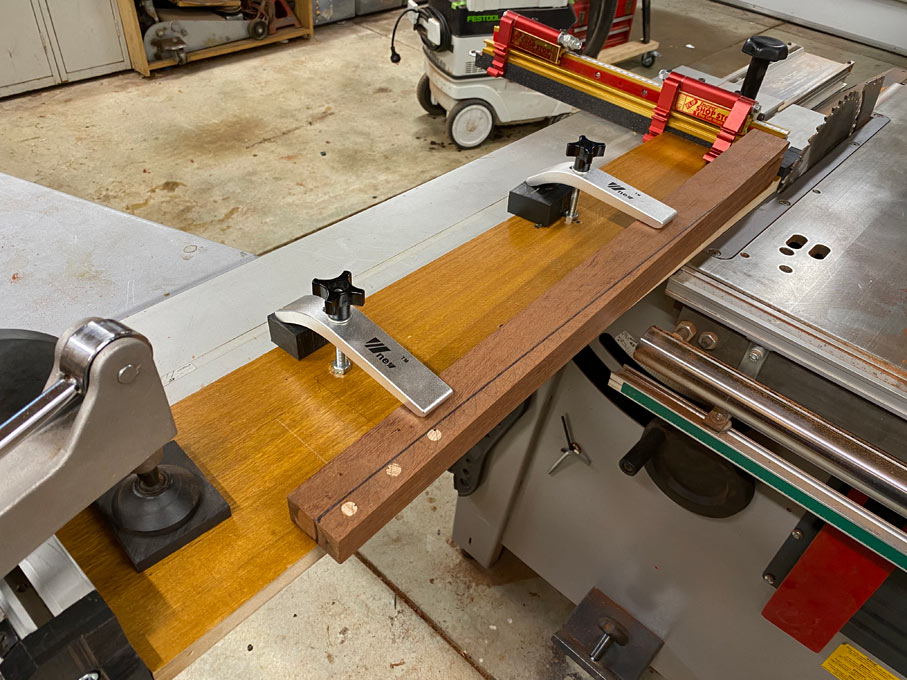
The case sides were grooved 3mm (1/8") ...
.. and matched with a rebated section which would form the 6mm (~1/4") thick drawer blade ...
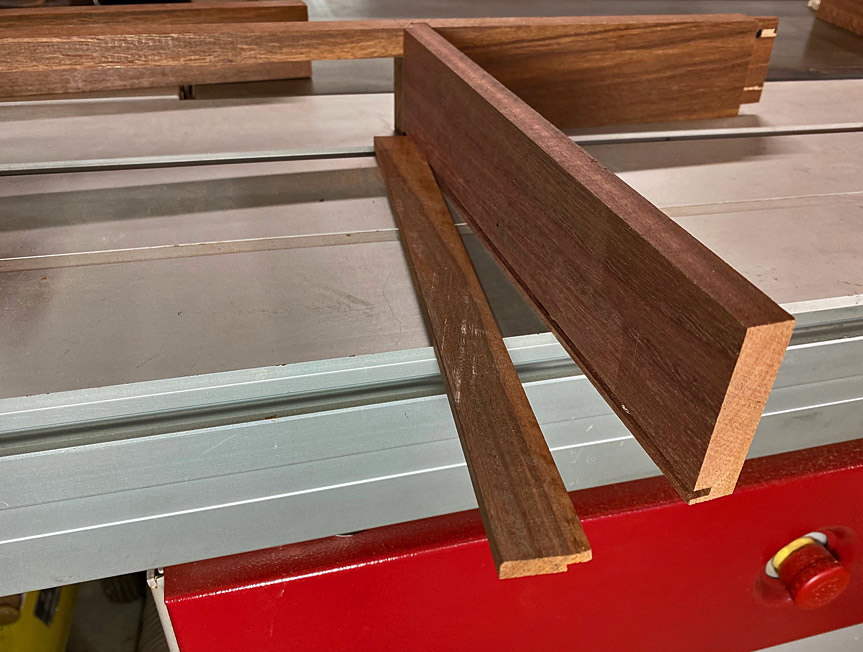
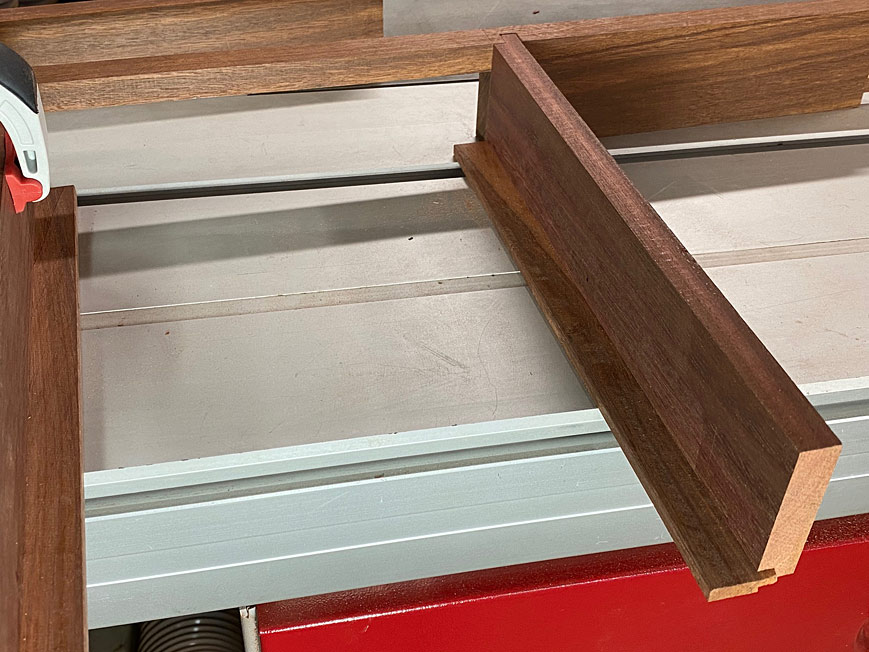
The thickness of each blade is the same as the depth of the lip on the drawer front (which doubles as a drawer pull). This depth is significant.
The reason for the rebate arrangement is to get the blade as low as possible on the case side. Recall that the front of the blade acts as a drawer stop as well, and must be coplanar with the lower edge of the drawer lip.
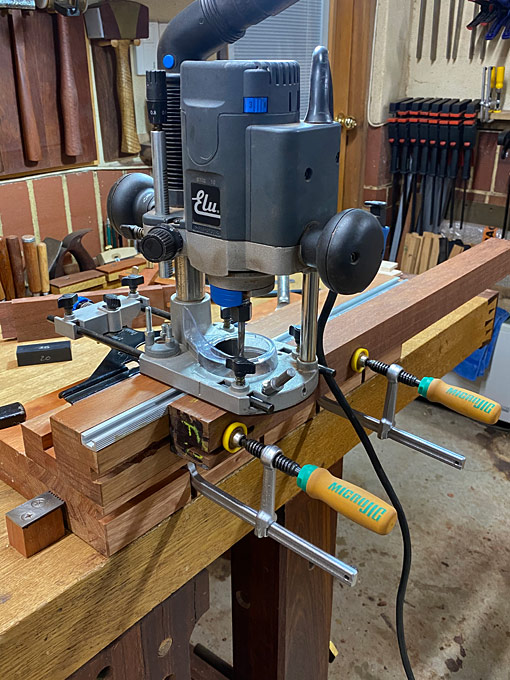
The side/blades are fitted to the rear of the apron with a mortice-and-tenon joint ...
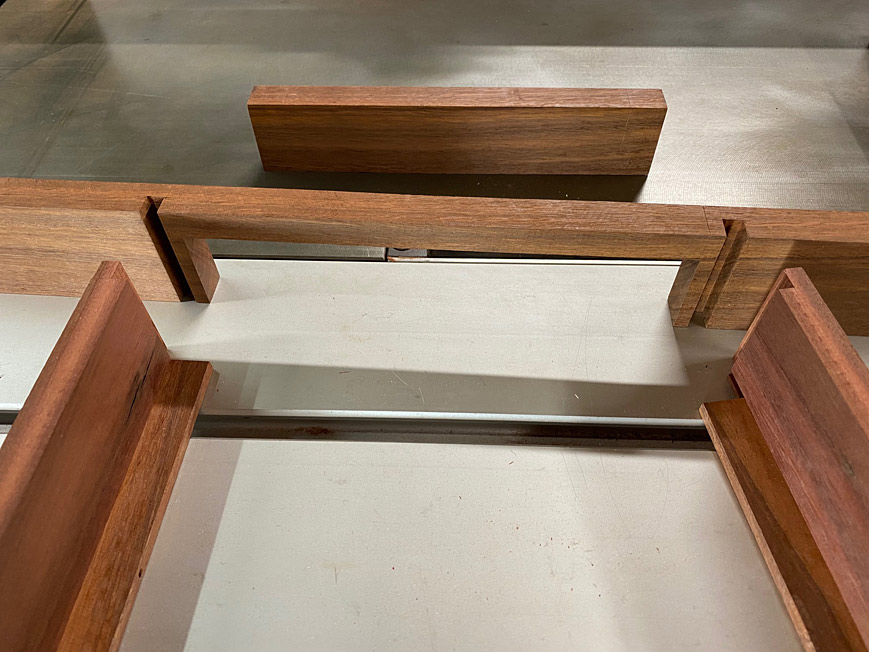
This was definitely a tricky joint to do and it needed to be precisely positioned so that the entry lined up with the sides ... precisely!
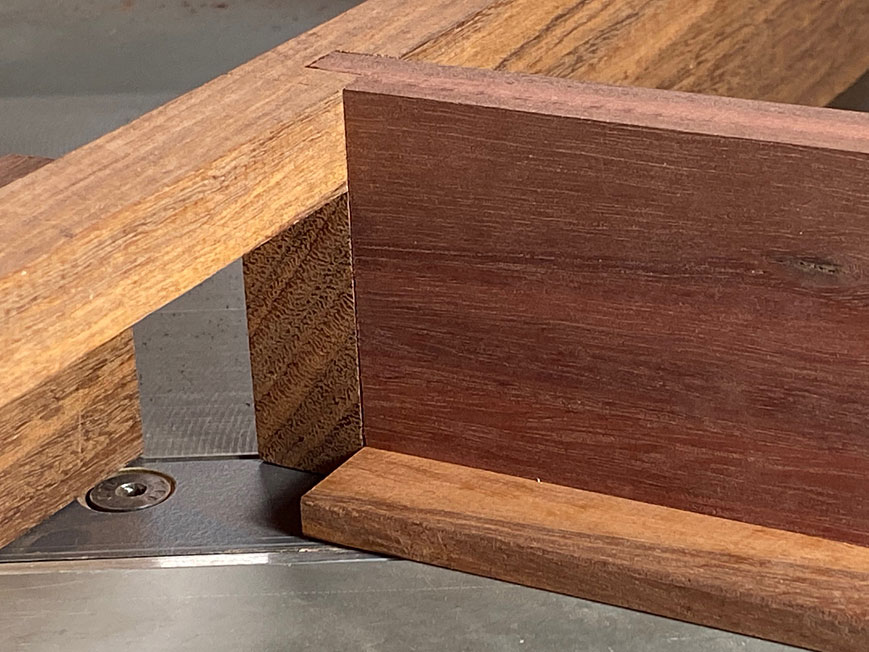
Here is what it would look like with the drawer front inserted ...
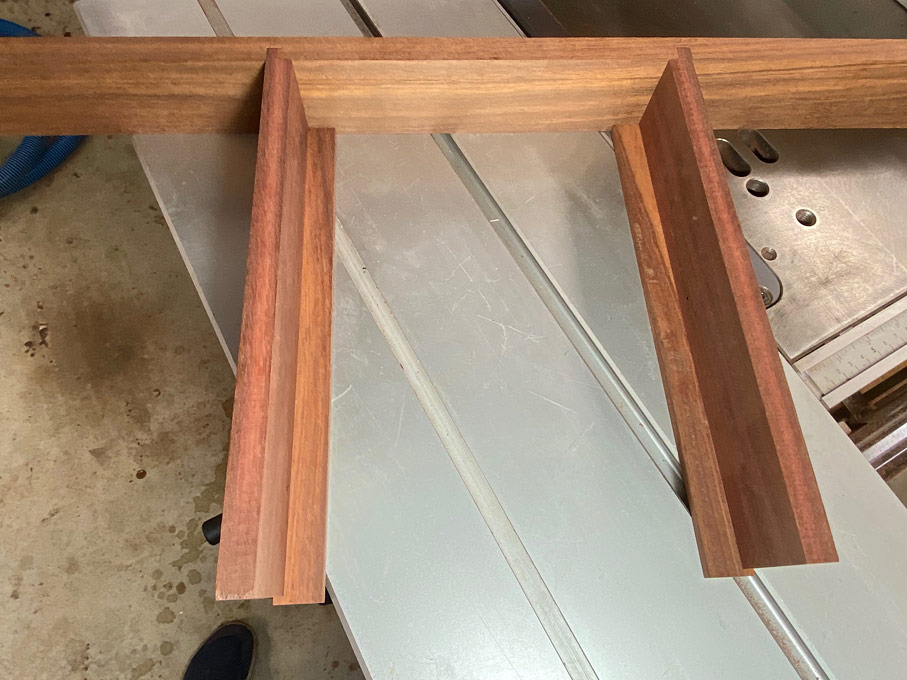
To aid with alignment, I made a MDF pattern ...
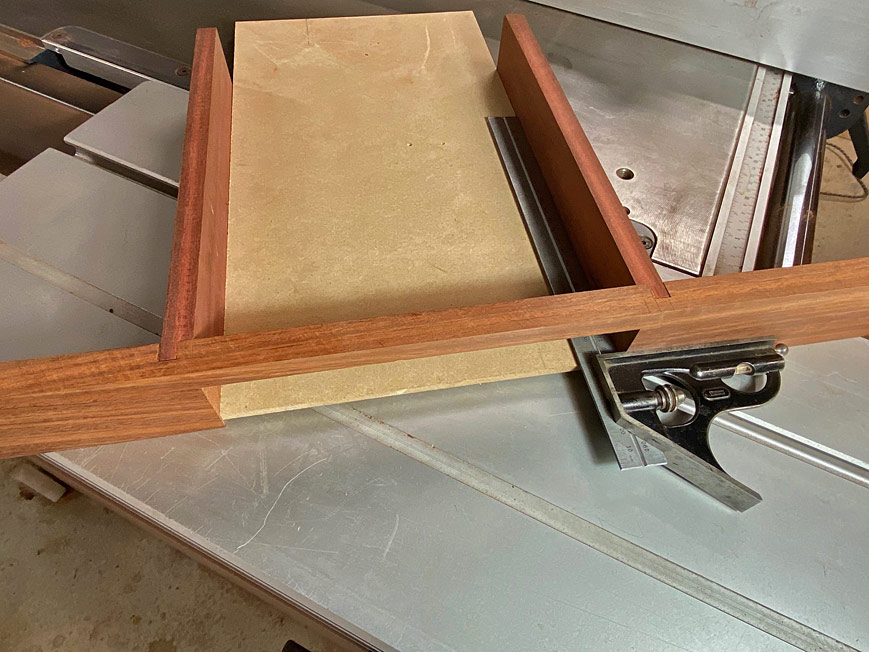
Here's the fun bit - aligning the case with the front and rear aprons, to mark out the rear mortices ...
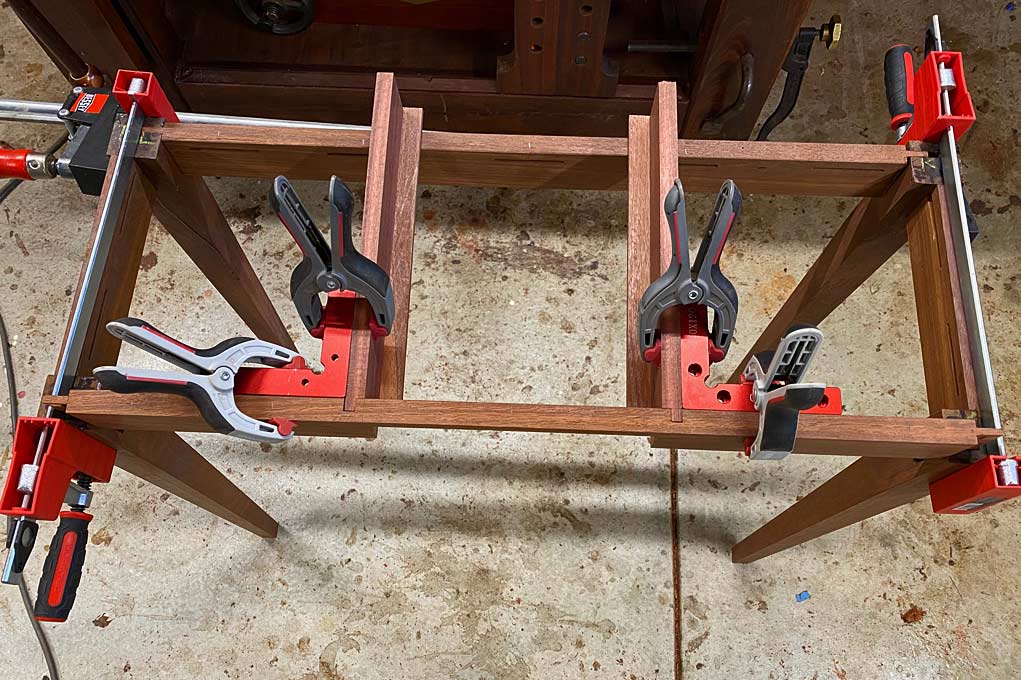
The pattern is inserted and a straight edge is attached to the front apron to prevent flexing ...
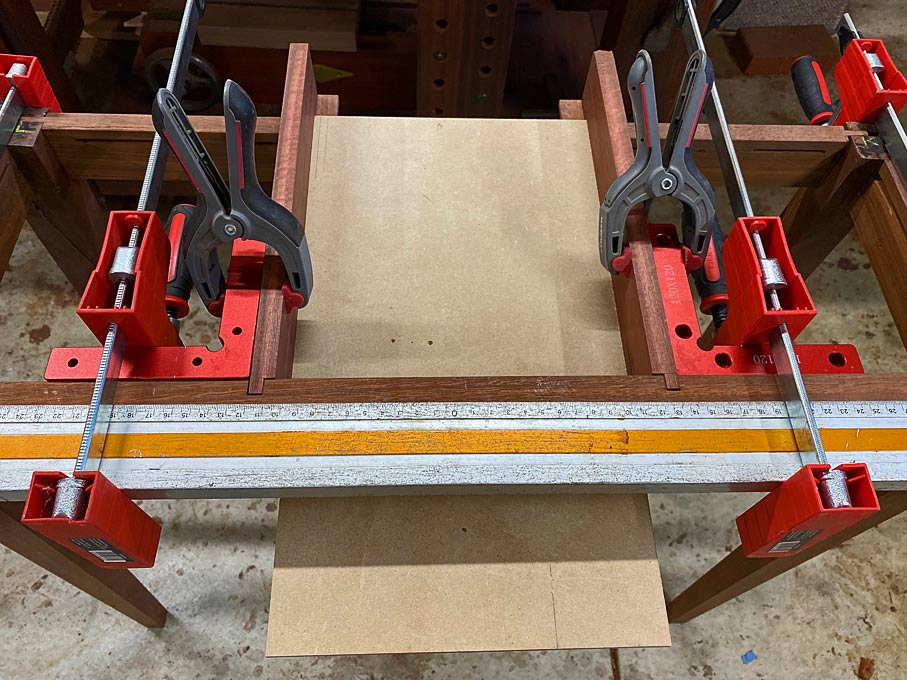
A lot of repeat measurements are taken on the rear apron before I am satisfied it is square and equal front-and-back.
This is the result ...
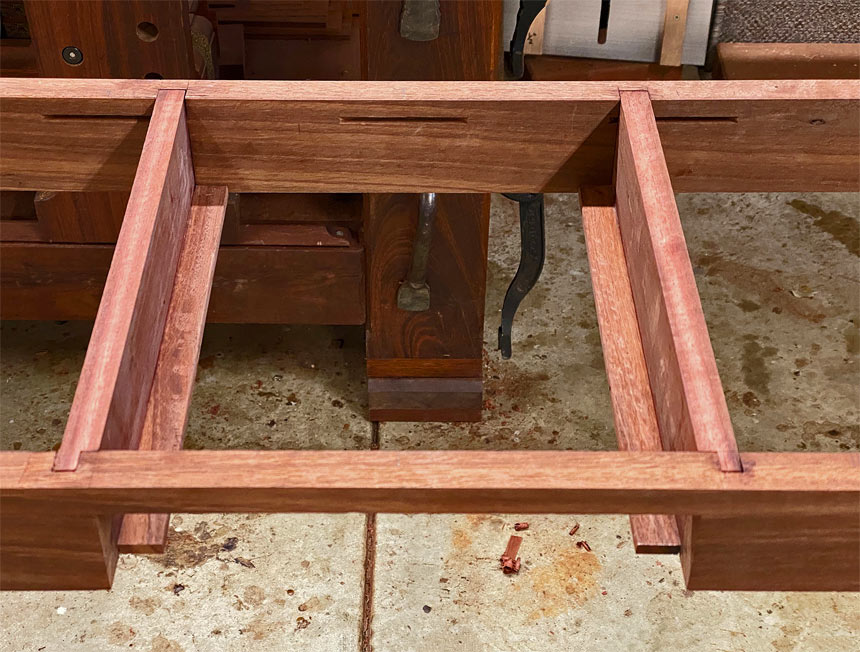
By-the-way, note the biscuit joiner-made slots for attaching the table top.
The drawer
The drawer build was fairly straight forward. The usual half-blind fronts and through dovetail rears.
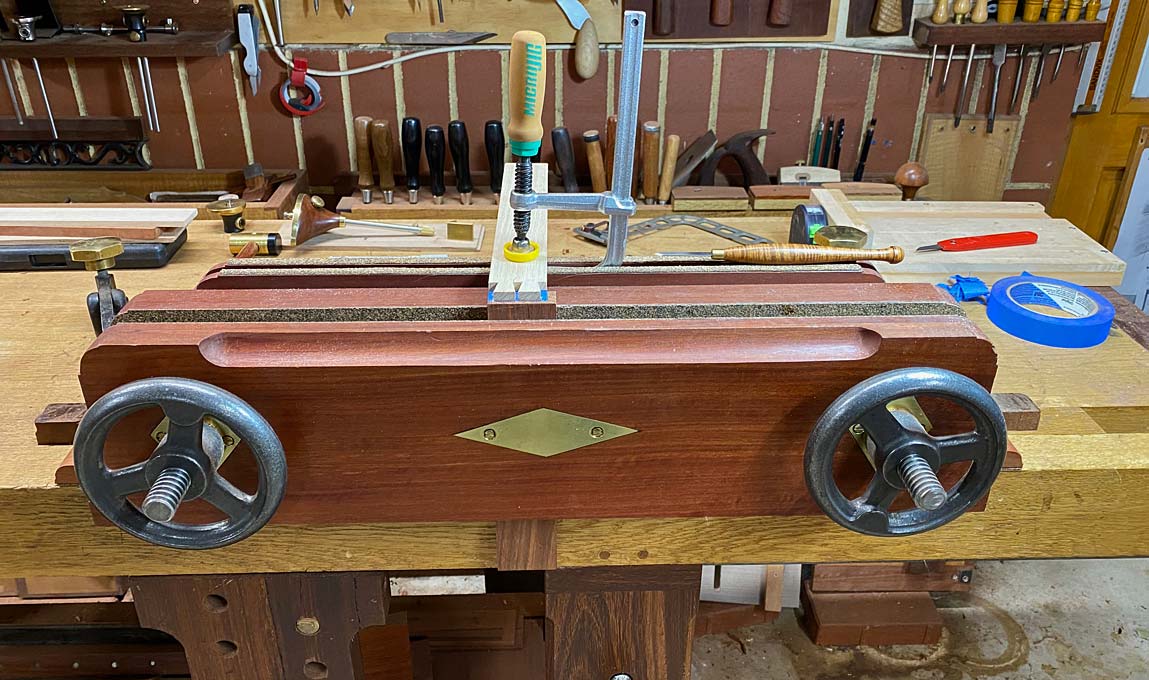
Transferring tails to pins on the Moxon ...
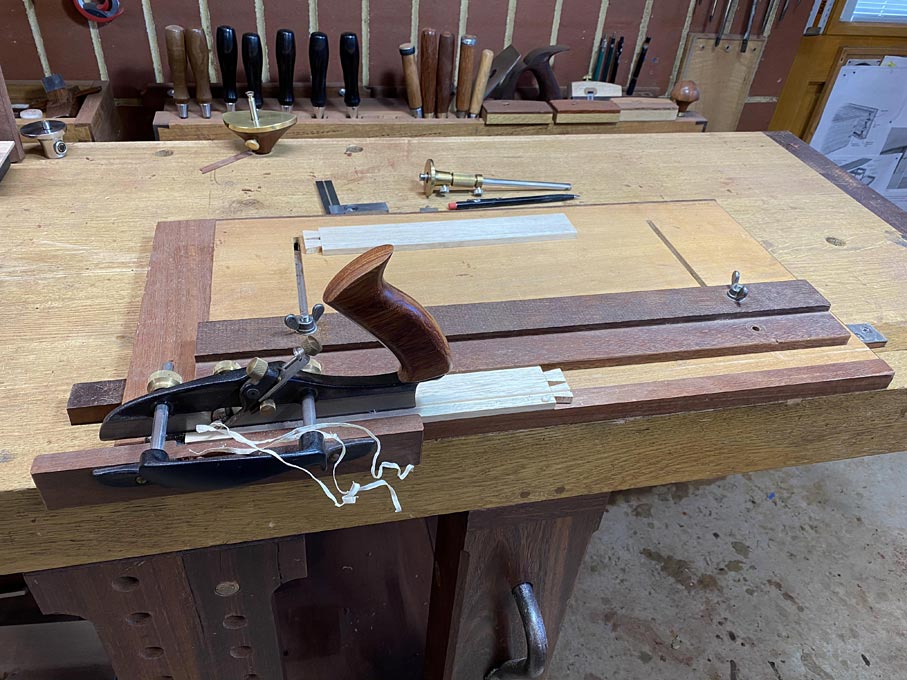
The sides were grooved rather than using slips. This was to save the extra 3mm height needed for the slips (saving as much height as possible for inside the drawer). 3mm grooves ..
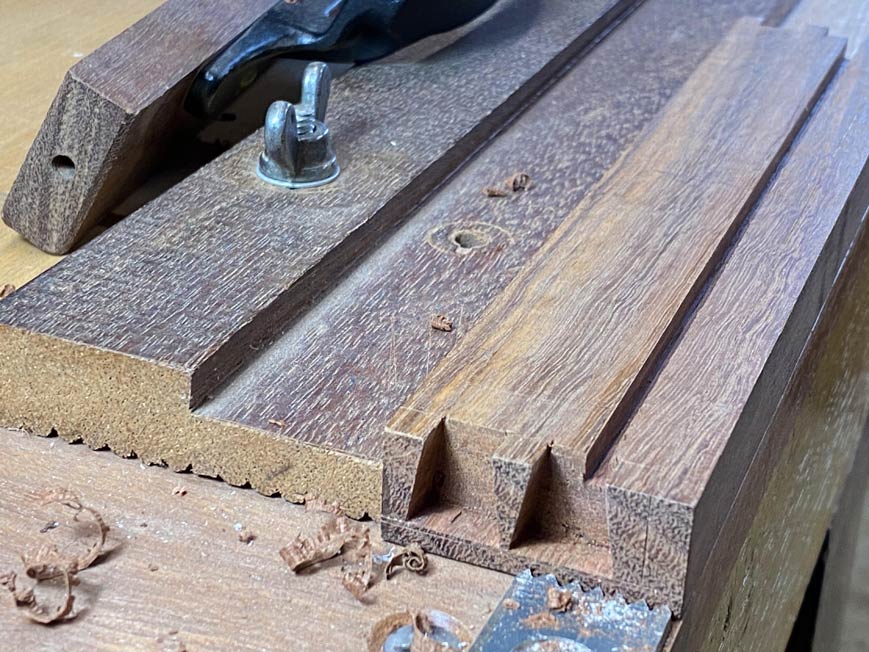
Matching groove in the drawer front ...
Below is the stage of glueing up the drawer carcase. You know that it is all coplanar and square (essential for a piston fit) when the dovetail at each end just drop neatly into the matching sockets  ...
...
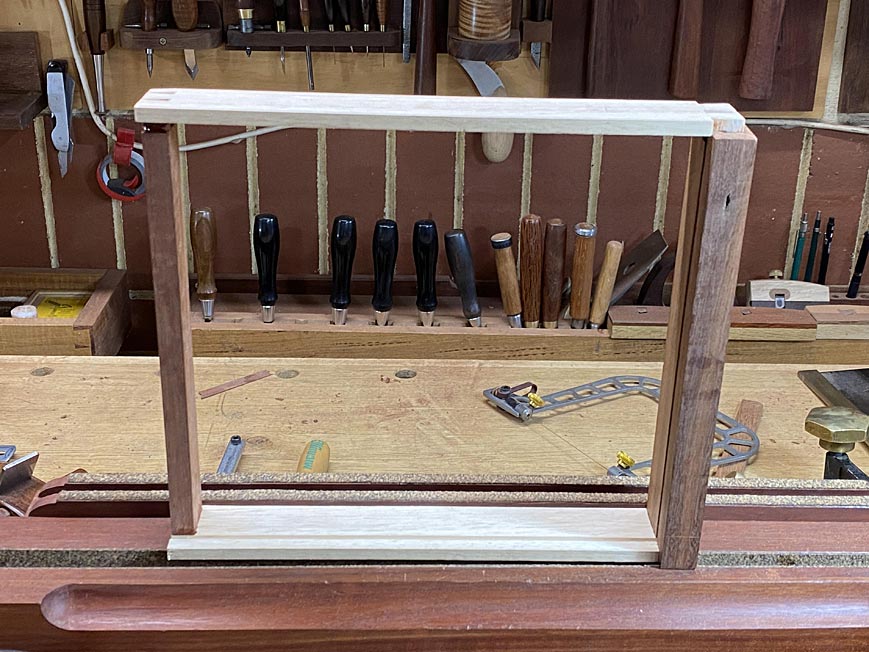
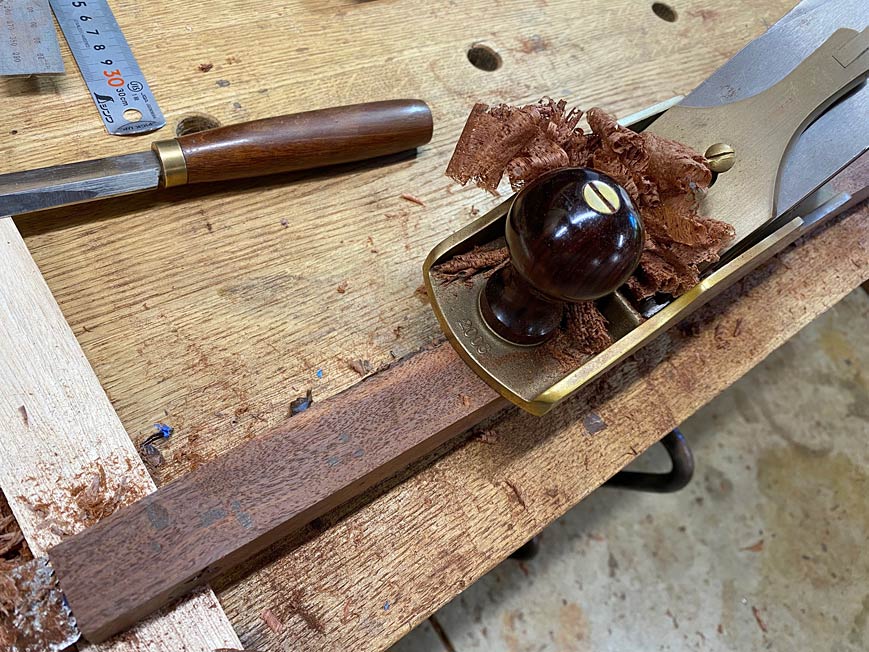
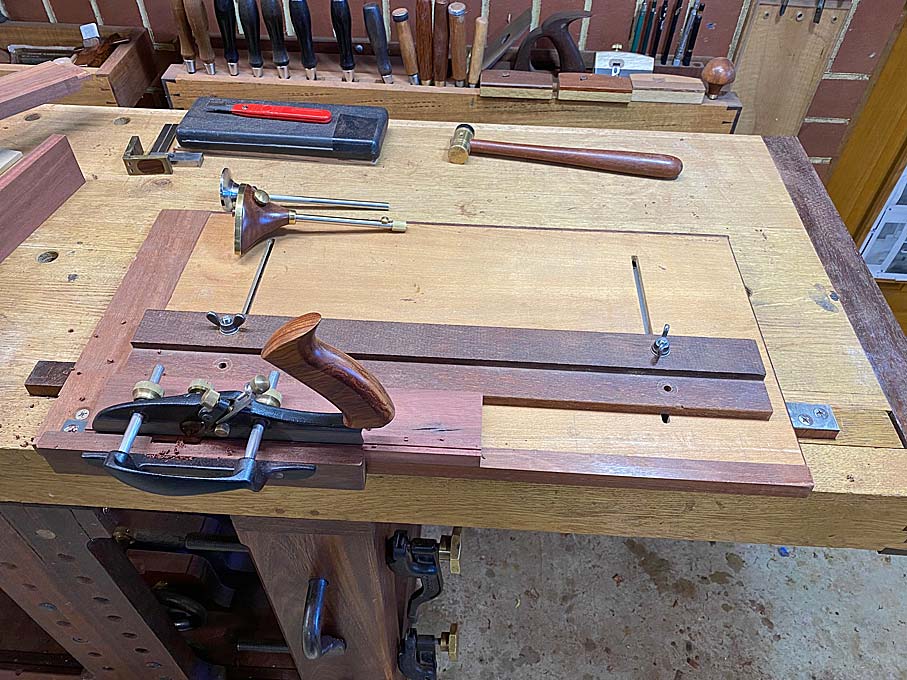
The 6mm thick drawer bottom receives a 3mm rebate. This was made with a moving fillester, and then fine-tuned with a shoulder plane ...
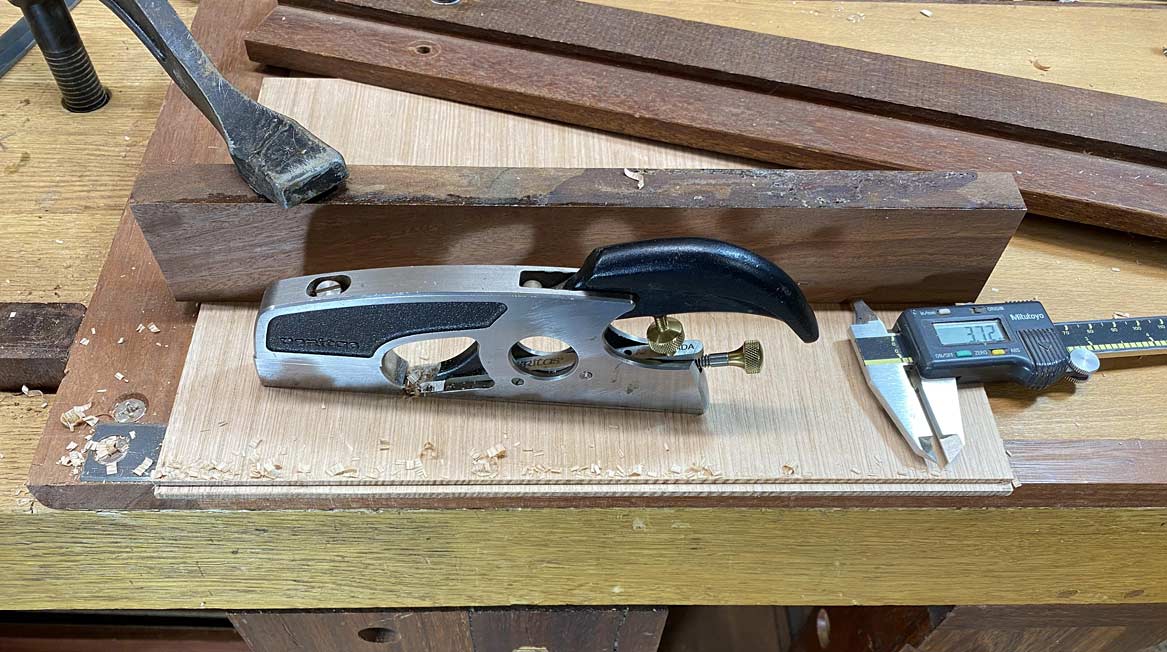
The drawer fits well and needs minimal tuning. Got to use the newly-made drawer-planing fixture ...
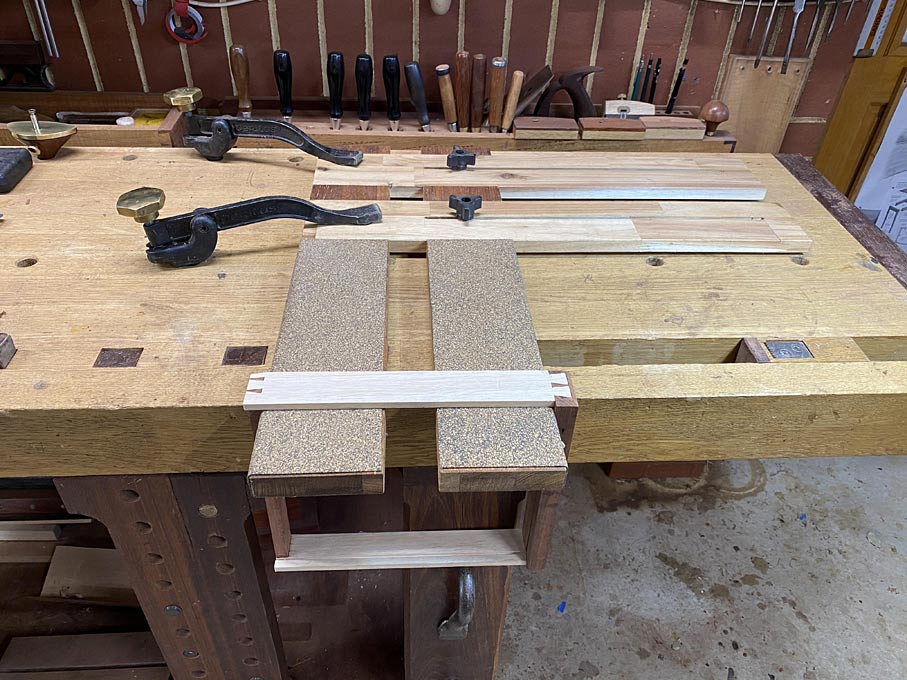
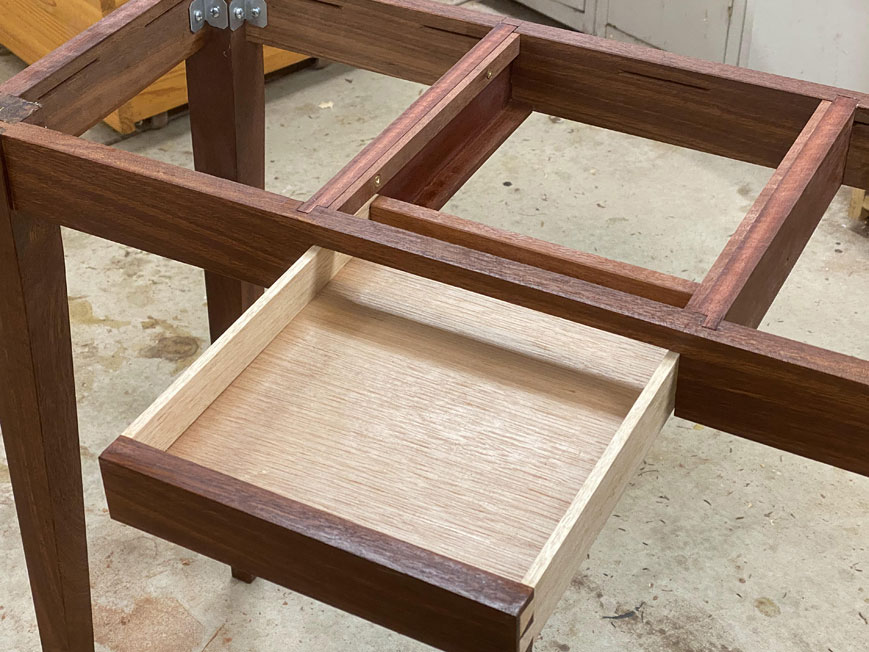
Two items added: a very fine chamfer to the top of the drawer front, to prevent binding when the drawer is closed. And a stretcher across the tops of the drawer sides, prevent the drawer tipping ...
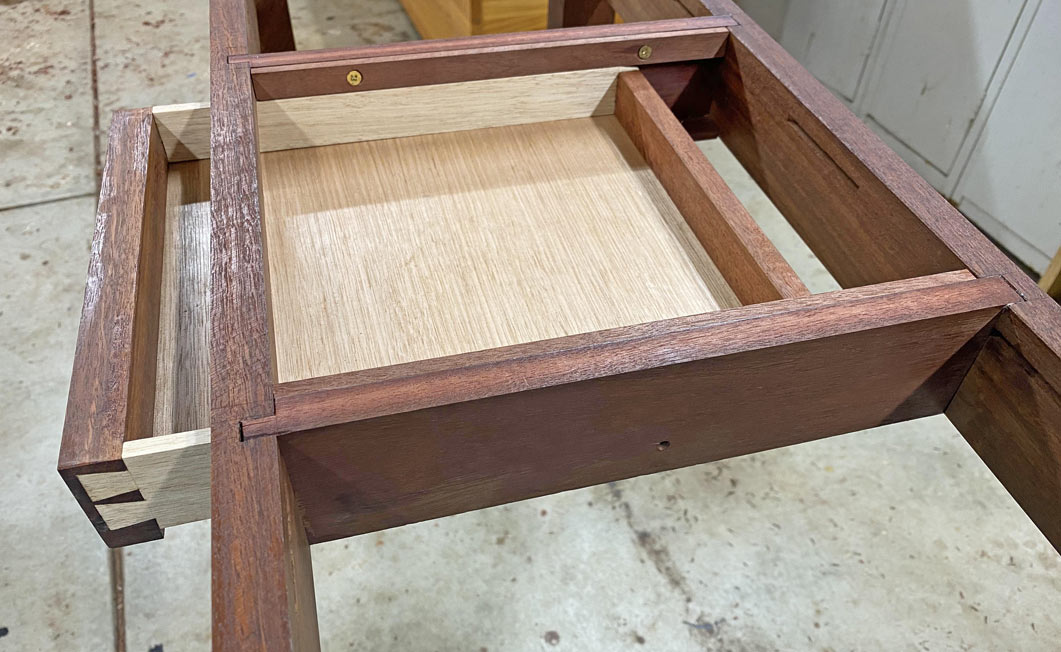
This aids in achieving near-full extension ...
The end
Regards from Perth
Derek