Entry hall table for a niece: final photos
Derek Cohen (in Perth, Australia)
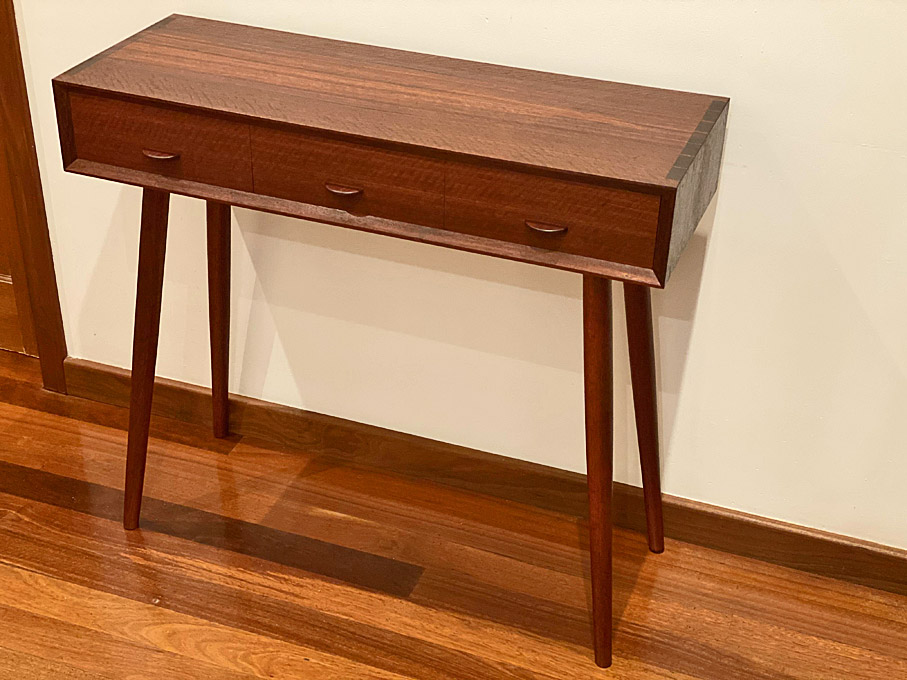
My niece is getting married at the end of March, the entry hall table she asked for is completed, and in a couple of days it will head off to Sydney.
This is the model for the table she wanted me to build, but to build it in Jarrah ...
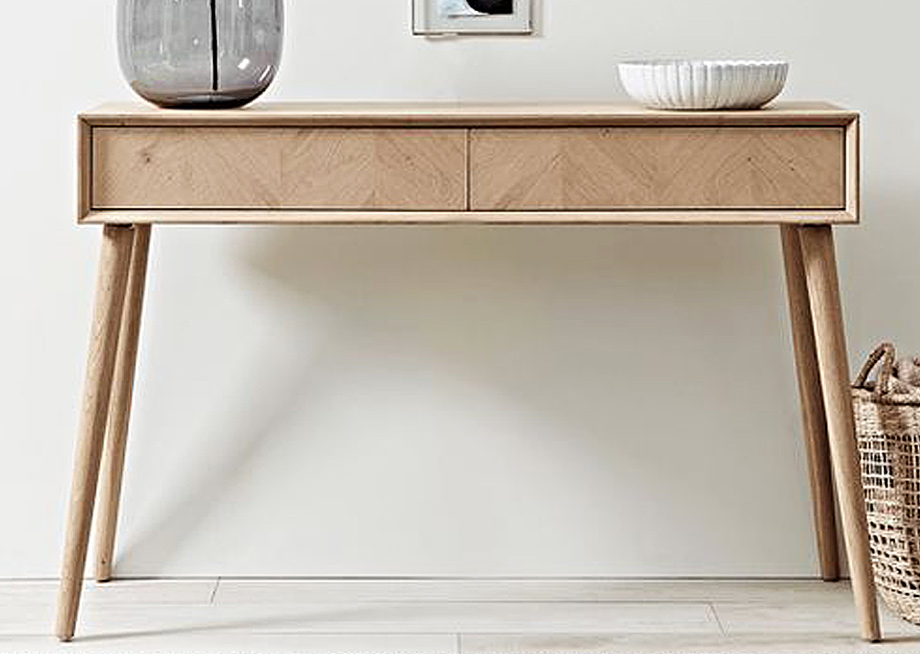
I needed to make a few modifications. The most notable were, firstly, that there are three drawers, where the model has two. With a little research, it became evident that the model was a "flat pack" build from a store in the UK, and it used slides and poppers for the drawers. Without slides, wide drawers will rack since the depth-to-width ratio is all wrong. Three drawers change this ratio and make it workable.
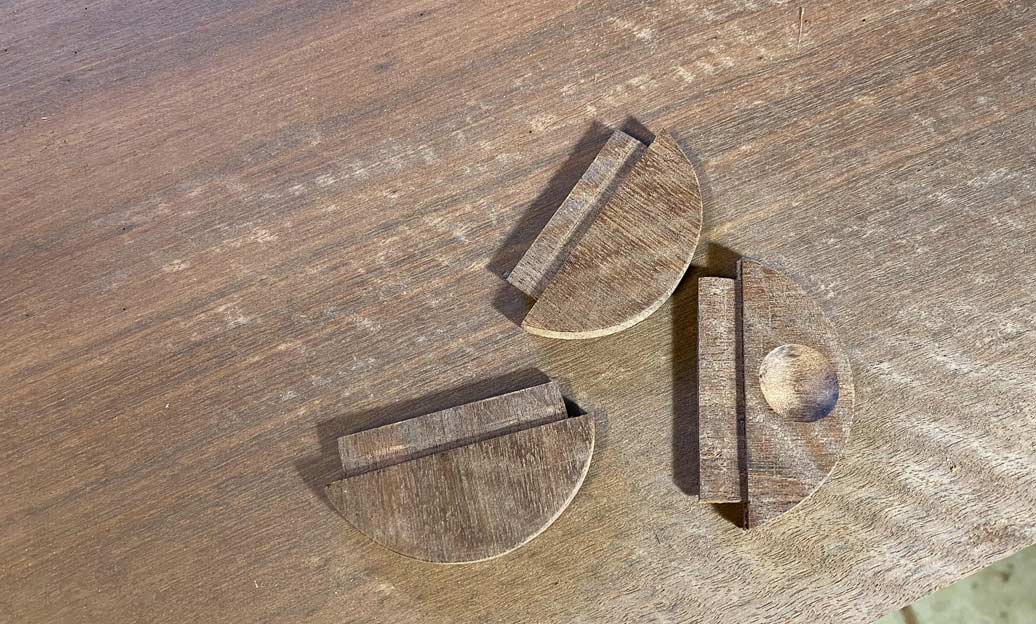
Secondly, building a drawer to ride wood-on-wood, one cannot use poppers - and so drawer handles are necessary. My niece was keen that drawer handles would not be seen, and I have done my best to make them unobtrusive.
Together with the desire to avoid drawer handles, there was also the request to make the drawers appear to be a single piece, rather than drawers separated by drawer dividers. The fact is, we had to have drawer dividers. So, to hide them, drawer fronts were given lips, with a lip covering half the width of a divider. In this way, the dividers could double as drawer stops. Making lipped, half-blind dovetails was a first for me. In the end, they were not too bad.
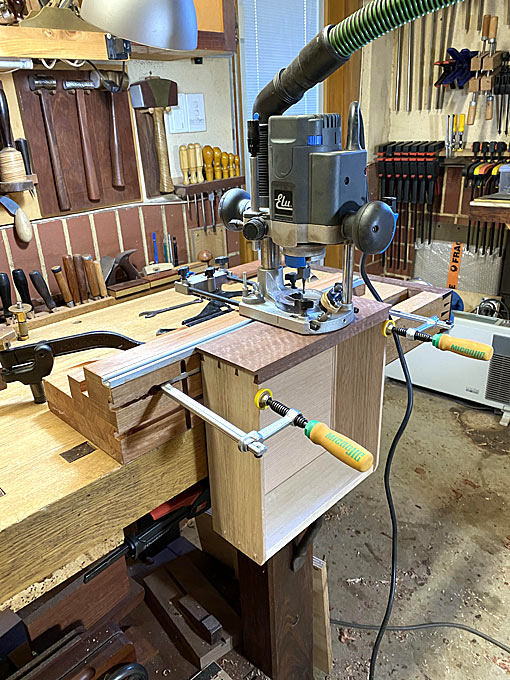
The case of the original table is mitred, and this is likely butt jointed and supported with either dowels, biscuits or dominos. My choice was to use mitred through dovetails, both for their strength and also for aesthetics. Although I have done a number of similar cases in recent years, this joint is one where you hold your breath until it all comes together. Then you wonder what the fuss was about 
A fifth change was the attachment of the legs. The model likely used a metal screw per leg, which was common with Mid Century furniture. I wanted something stronger and durable so, in place of this, my decision was to stake the legs into a thicker base, which was firmly attached to the underside of the case with tapered, stopped sliding dovetails. A bit more work, but I will sleep better at night.
At the end of the day, it resembles a box, and only a woodworker will recognise that it is a very complex box.
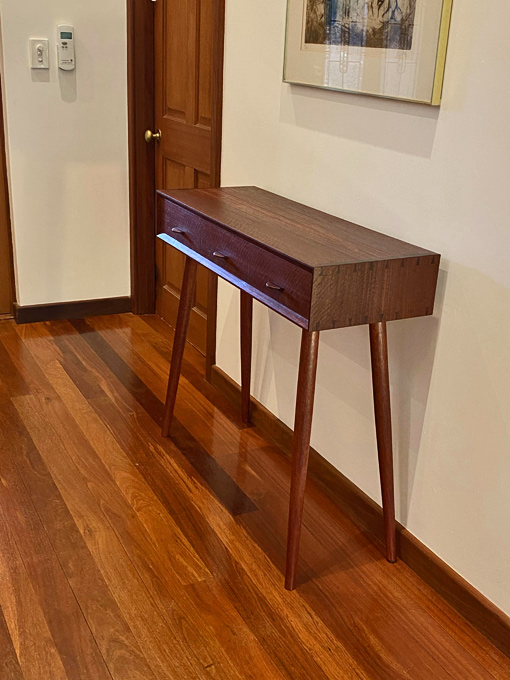
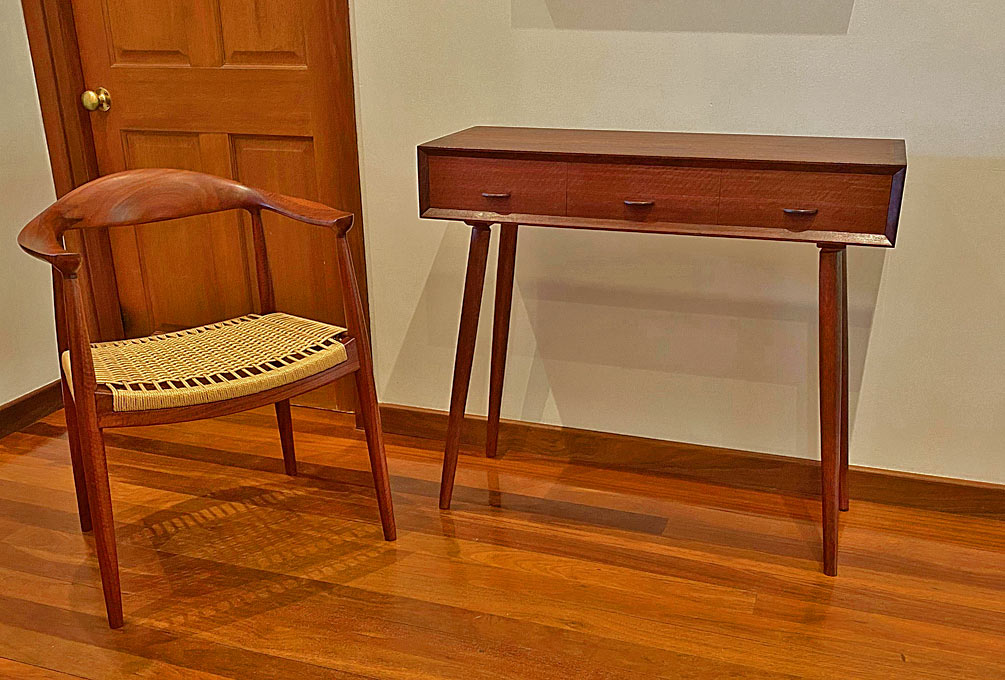
Okay, here it is. It is photographed in my entrance hall ....

The wood is fiddleback (curly) Jarrah.
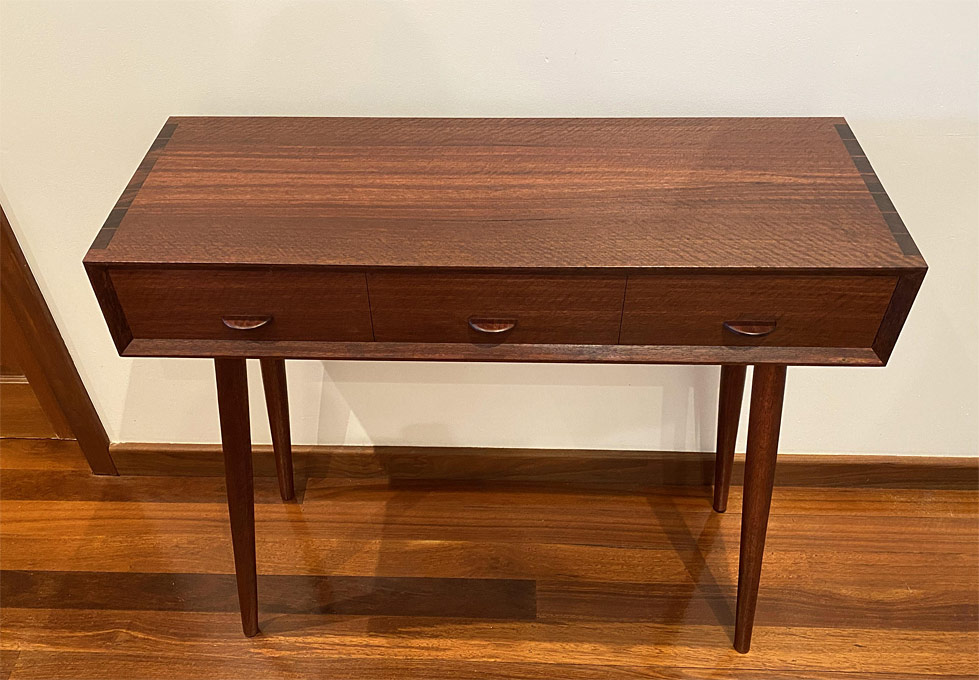

A close up the waterfall on one side ...
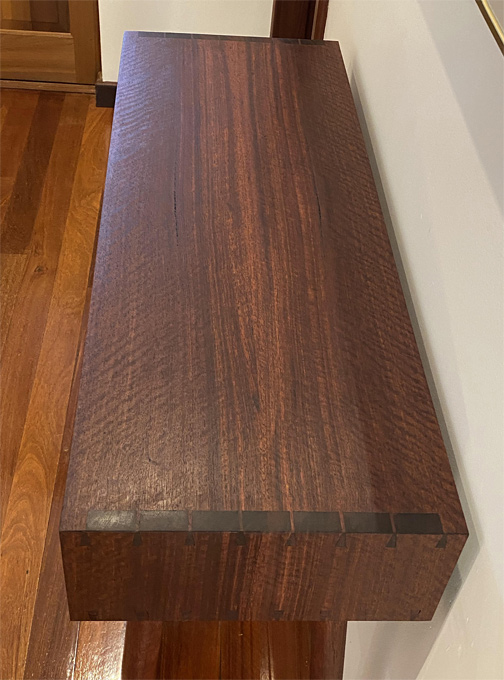
... and on the other ...

The obligatory dovetail shot ...
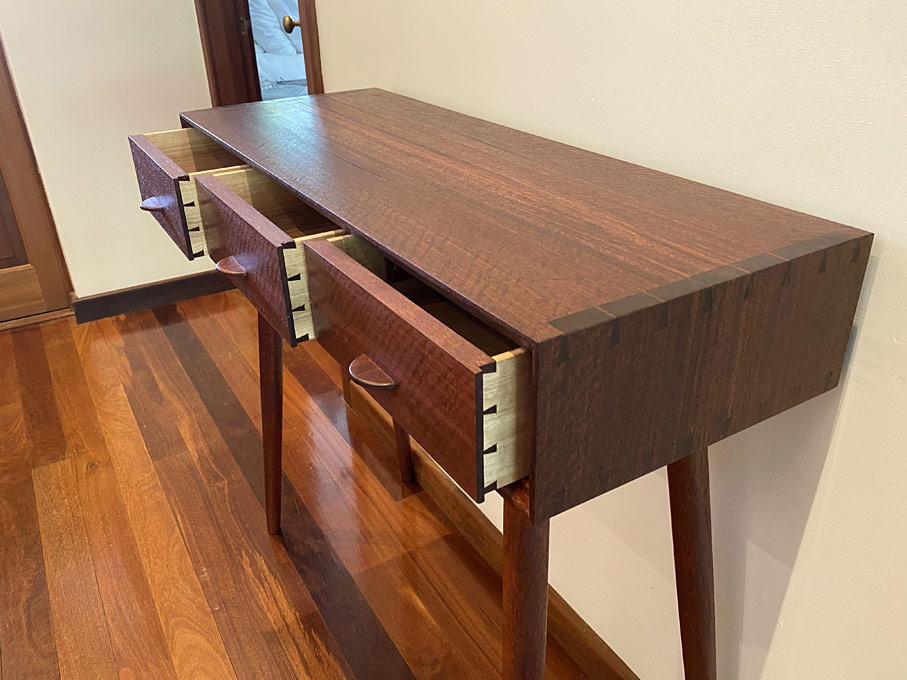
Those drawers! The lipped drawer fronts are 20mm, with the drawer sides 1/4". The back is 15mm thick. The thin sides necessitated drawer slips. These were beaded to create a transition from slip to drawer bottom. The drawer bottoms are 1/4". The wood used here is Tasmanian Oak.

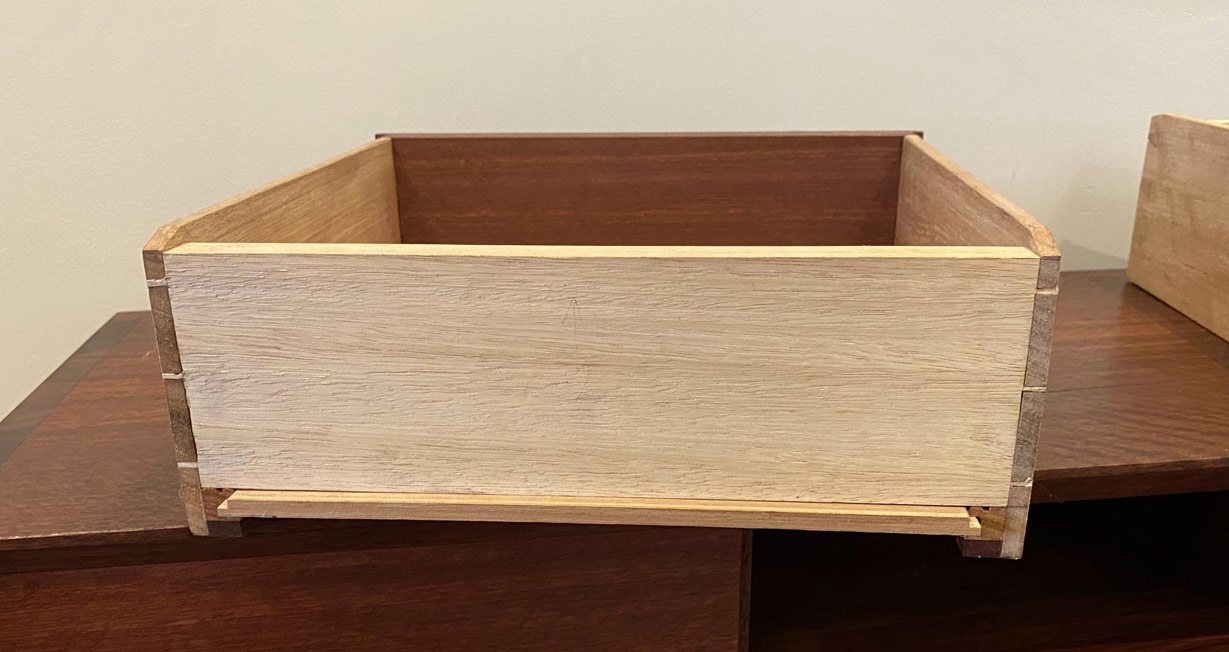
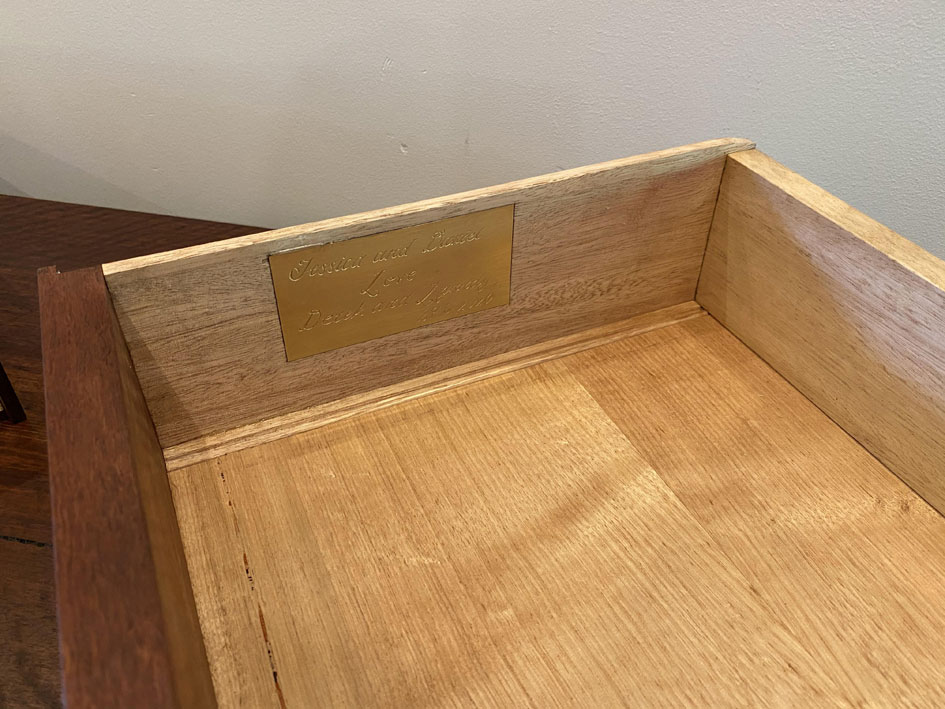
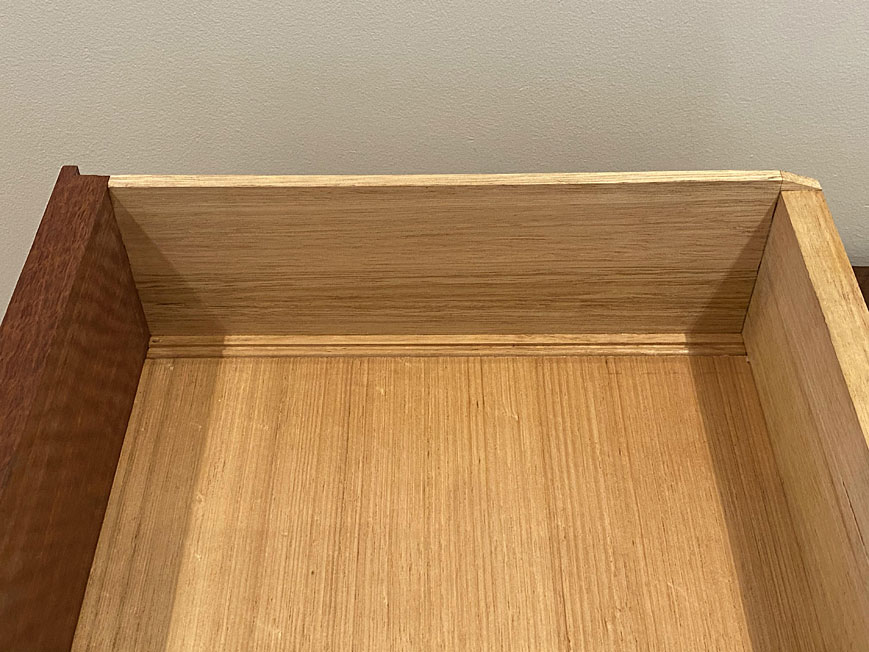
Since the case and internals are build from hard Jarrah, the underside of the slips was given a Jarrah slide to improve ware properties.
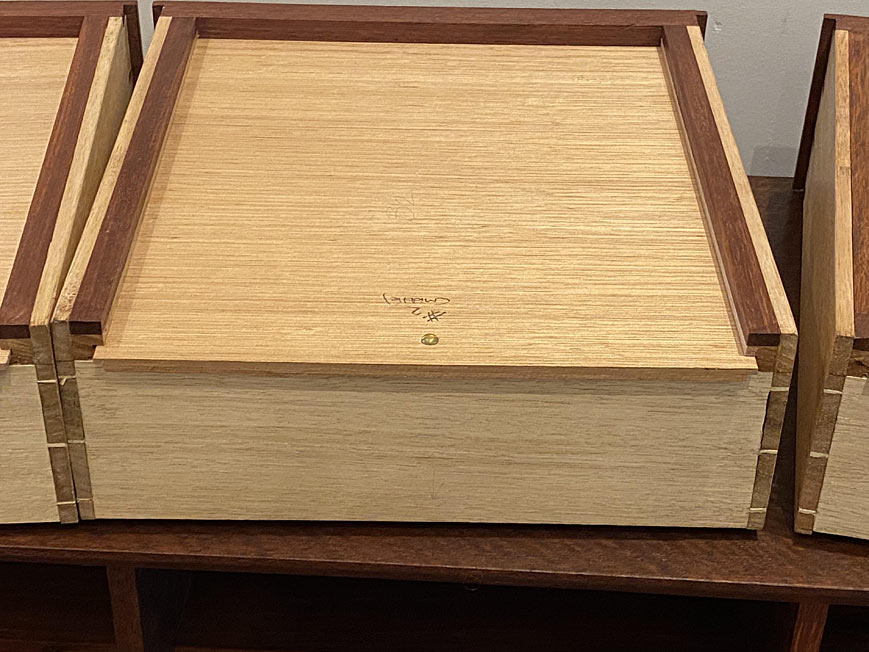
As mentioned earlier, the aim was to present a single board at the front ...
Here may be seen how the lips share the drawer divider and use it as a drawer stop. The spacers at the side of the case are half the width of the dividers as they do not share two drawers.


Now those drawer handles ...
I tried to keep the design as simple as possible, and used the same wood as the drawer fronts so they would blend in. The upper drawer shows the finger grip on underside of the handle ...

Drawer extension is good - about 80-85 percent ...

The internal bevels around the case ...

... maintained a straight edge to the drawer line. Plus the gap between the drawers (about 0.5mm) ...

Near-to-last, the case back: this is made from the same Jarrah - one never knows if the piece will end up against a wall or out in the open.

Someone will ask if the brass screws were clocked ... of course they were!
And a final photo to provide some scale. This is taken with a chair I built a few years ago ...
Thanks for coming along for the ride.
Regards from Perth
Derek
#EntryHallTable