WoodCentral Forums

Est. 1998 — 27 years of woodworking knowledge

Entry hall table for a niece: Part 11

Posts

Entry hall table for a niece: Part 11

Edited #1

Entry hall table for a niece: Part 11

Derek Cohen (in Perth, Australia)

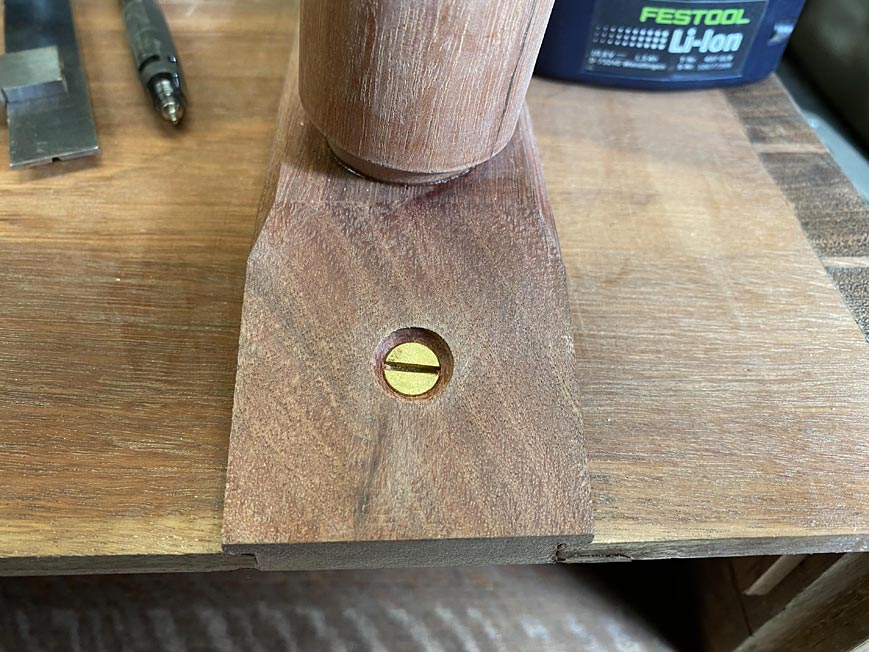
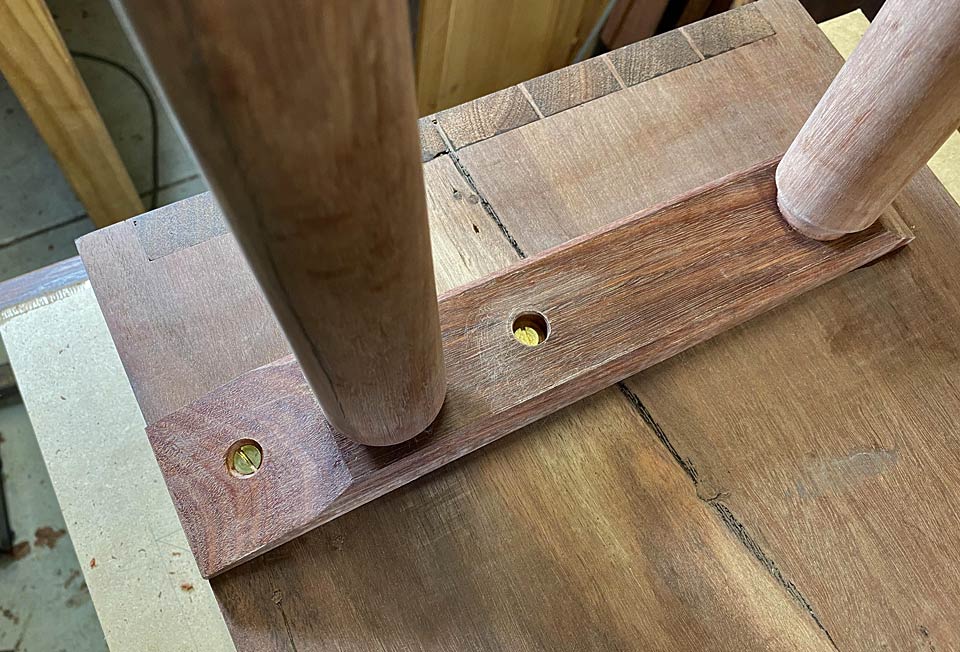
The process of attaching of the legs was completed by the addition of two screws in the sliding dovetail base.

Why add screws? The screws are not to prevent the base sliding back (an elongated hole actually encourages this). It is just to prevent the base twisting in, and breaking out of, the socket since there is no glue there to prevent any lateral movement.

The force comes from the splayed and angled legs. They will want to cant outward, and this becomes more so when the three drawers are filled and a vase of flowers is placed on the top of the table.

I thought that it is worth mentioning the screws used and how they were inserted.

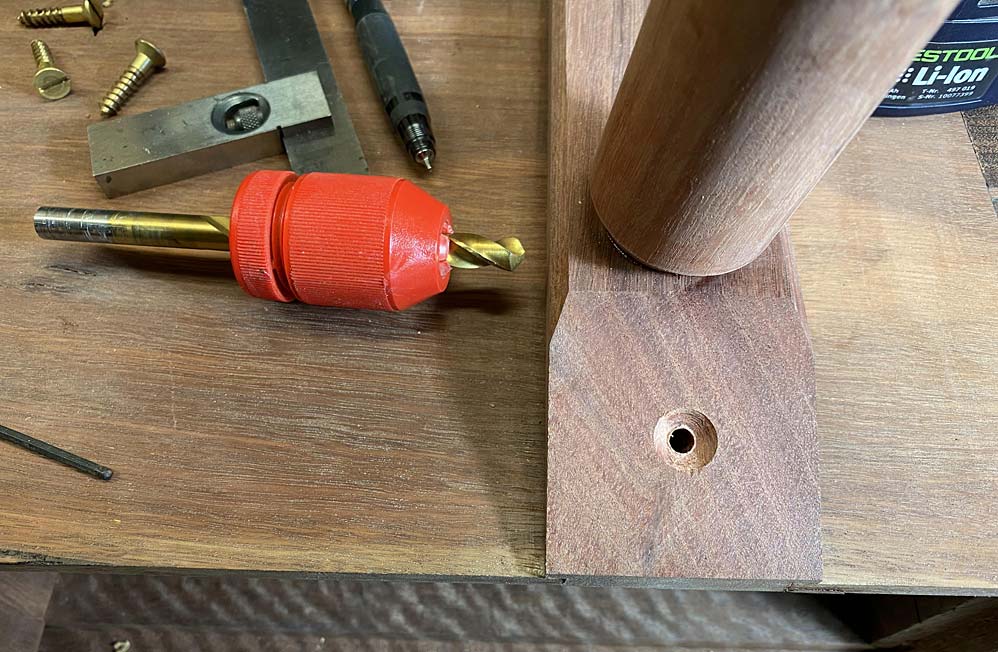
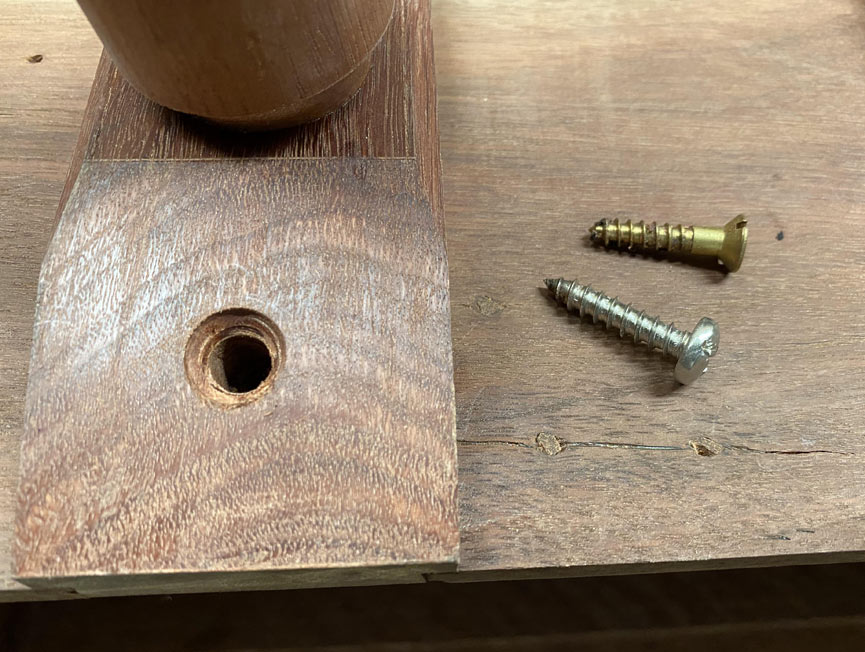
The screws are 1" long brass tapered wood screws. The drill bits are also tapered to match. These ones include a countersink and depth stop.
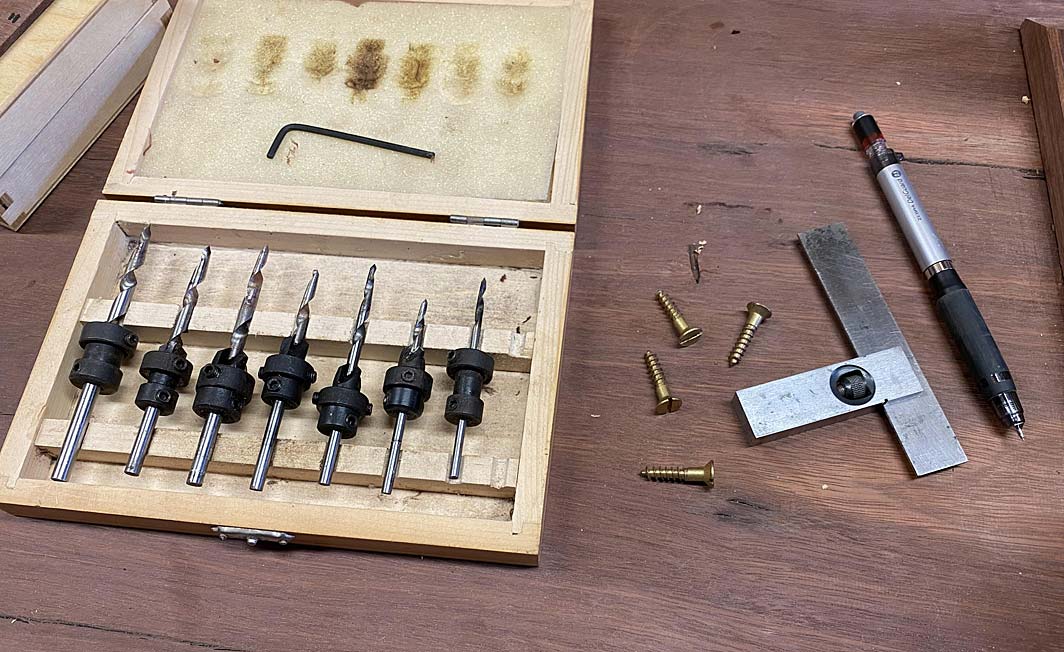

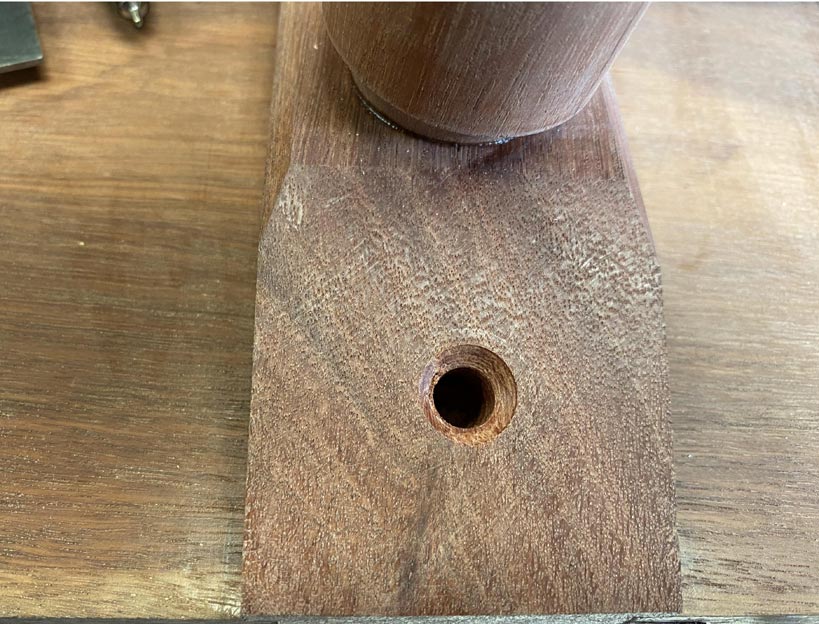
The plan is to drill the hole for the screw through the base and into the case, and then widen the hole in the base. This will permit the base to move with expansion and contraction. In this case 2mm each way.

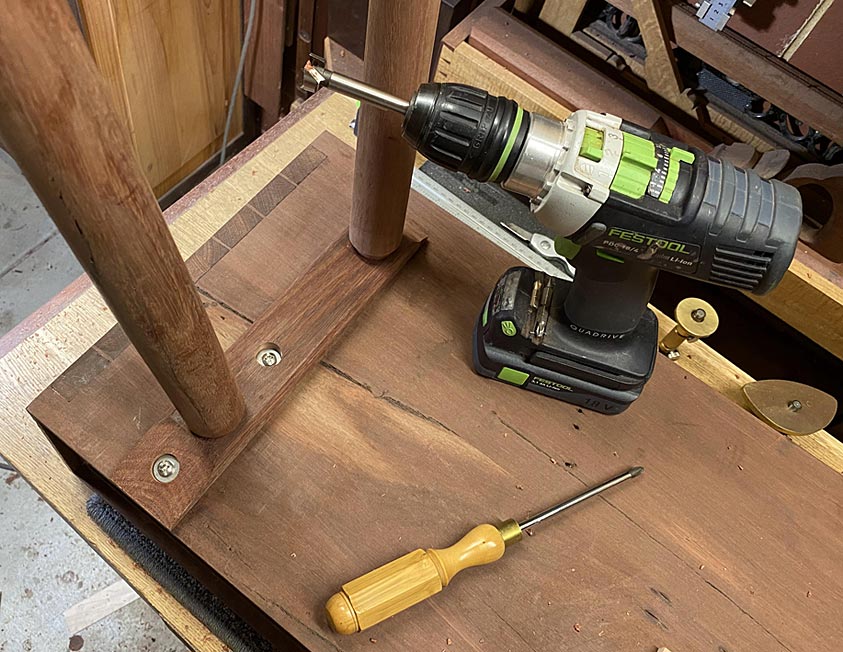
A wider drill bit (and depth stop) ..

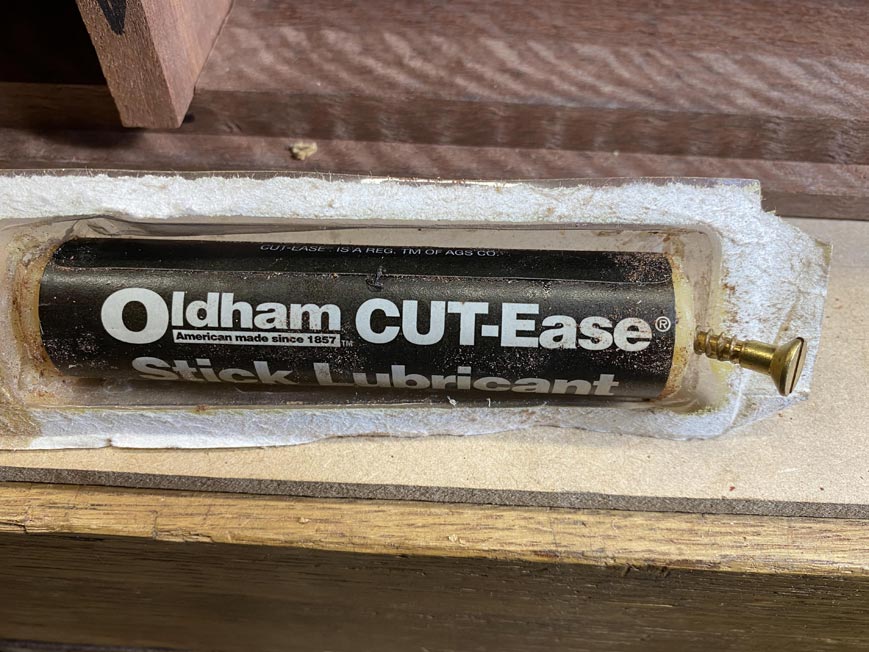
Before inserting a screw, especially brass screws, they are dipped in a little wax. This is wax for lubricating bandsaw blades ...

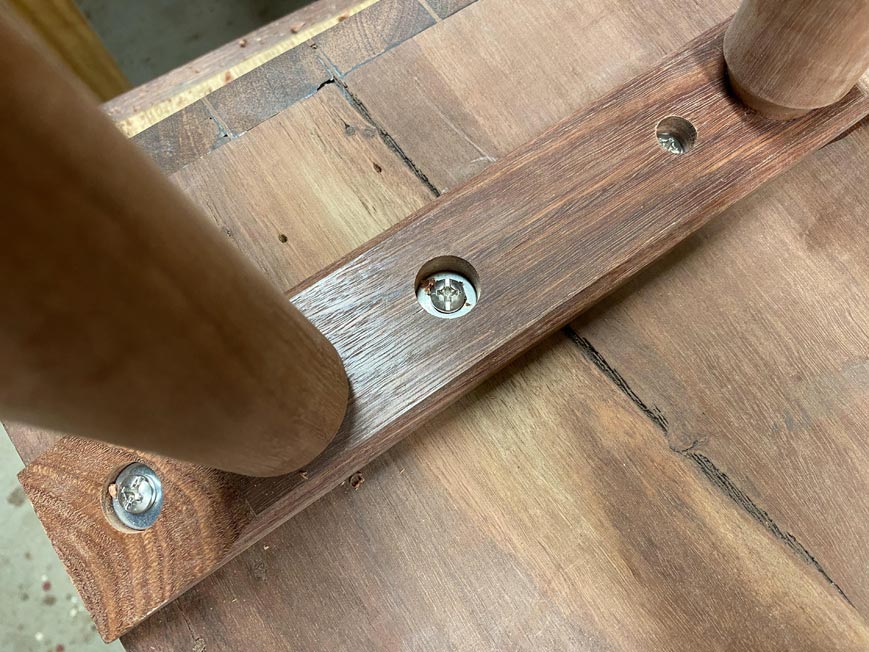
Here is the widened hole ...

The gap around the screw ...
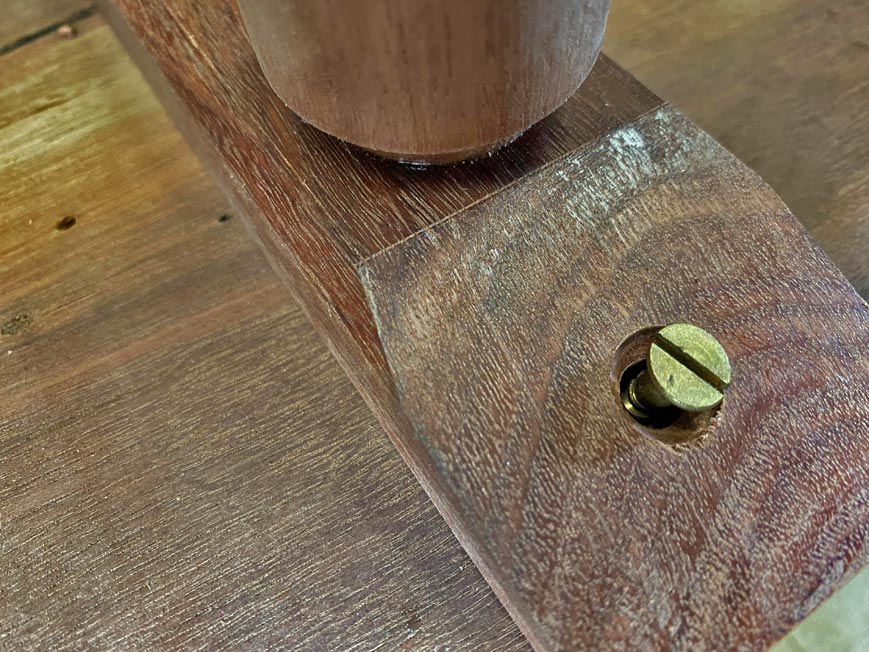


The second screw is on the other side of the leg. This is positioned about half way between the end screw and the glued toe.

Regards from Perth

Derek

#EntryHallTable
Re: Entry hall table for a niece: Part 11

#2

I would add a 3rd screw

Bill Tindall, E.Tn.

This assembly is less a cross grain challenge than screwing a large top on. I would have just screwed the legs on with 2 robust steel screws in front and 2 in back, shipped it with legs unattached.

Re: Entry hall table for a niece: Part 11

#4

Re: I would add a 3rd screw

Bill Tindall, E.Tn.

belt and suspenders. Cross grain corner blocks often fail over time so this glue joint could be at similar risk. Not this week, or year but maybe in the next decades.

Re: Entry hall table for a niece: Part 11

#5

Re: Entry hall table for a niece: Part 11

Ralph Lipeles

Would you be better using round head screws and washers to improve the ability to slide?

Re: Entry hall table for a niece: Part 11

#6

Preferred cross gain screw

Bill Tindall, E.Tn.

There is a screw that has a large head and washer-like bearing surface for the head. I discovered them at McFeeley, or Bolts.com. They come in a #10, ideal size and every imaginable length. They have become my preferred screw for attaching case tops and knobs, screwing sheet metal to wood (lighting), etc. anywhere a washer would be used.

Re: Entry hall table for a niece: Part 11

#7

Re: Entry hall table for a niece: Part 11

Derek Cohen (in Perth, Australia)

Ralph, I have been pondering on this. I must admit that I chose the screw first as a wood screw and that it could be recessed out of sight. My thoughts were on a wider hole for movement, and did not consider whether the conical countersink would limit movement. The answer is "I don't know" whether it will do so - the screw may just bend under the pressure.

To be safe, I plan to swap out the screws for round heads, and shape the countersink into a flat (using a wider forstner bit).

Regards from Perth

Derek

Re: Entry hall table for a niece: Part 11

#8

New screws

Derek Cohen (in Perth, Australia)

Okay, so I decided that the wood screws were a mistake. They would prevent movement rather than permit it. So they had to go.

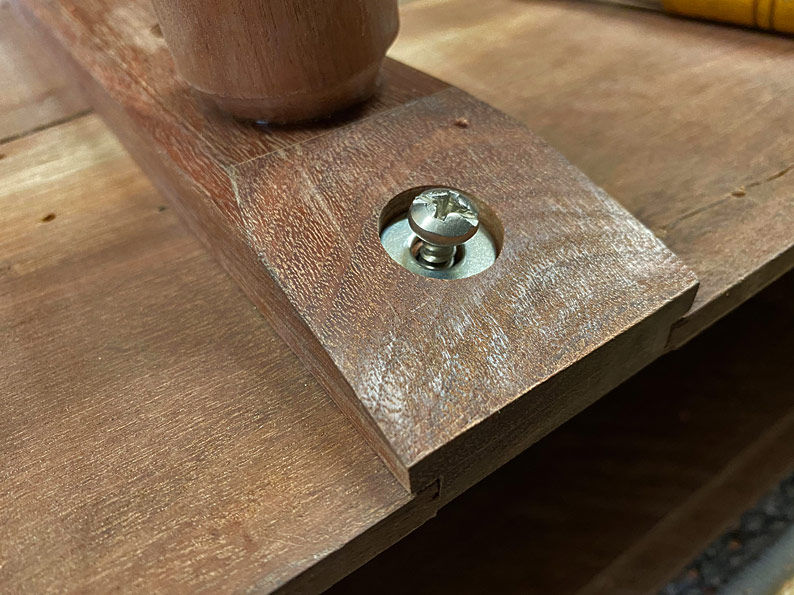
This is the exchange screw: a 12 gauge stainless steel wood/metal screw with an all-important flat/domed head.


The plan was to use a 3/4" forstner bit. This would leave a wide, flat area for the screw head to move along. The range of movement would be the same as before, about 2mm each side of the screw.

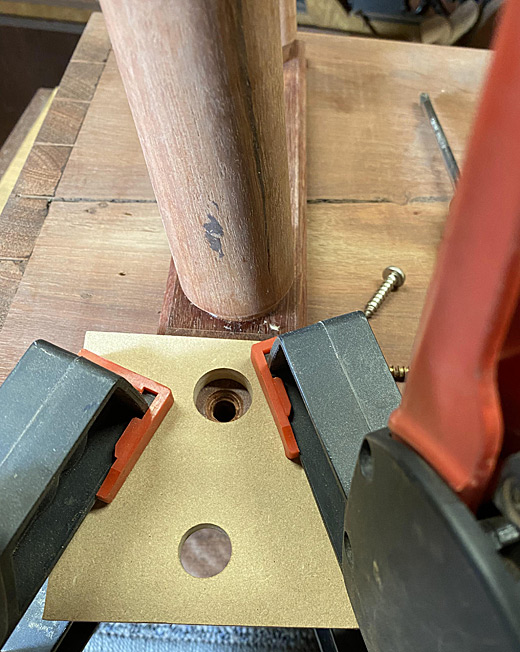
A MDF template was made to guide the forstner bit, as it had no support in view of the existing hole ...


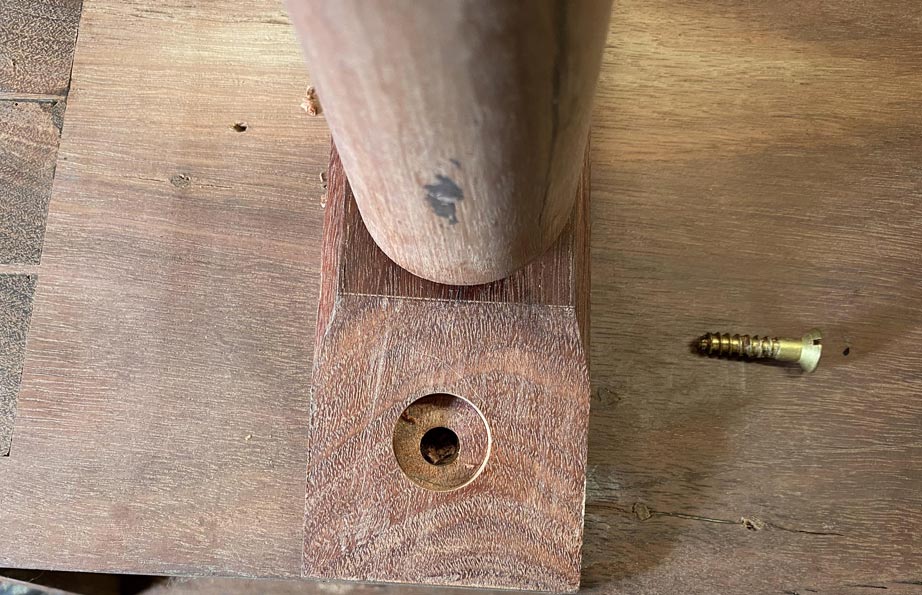
Drilled to depth ...


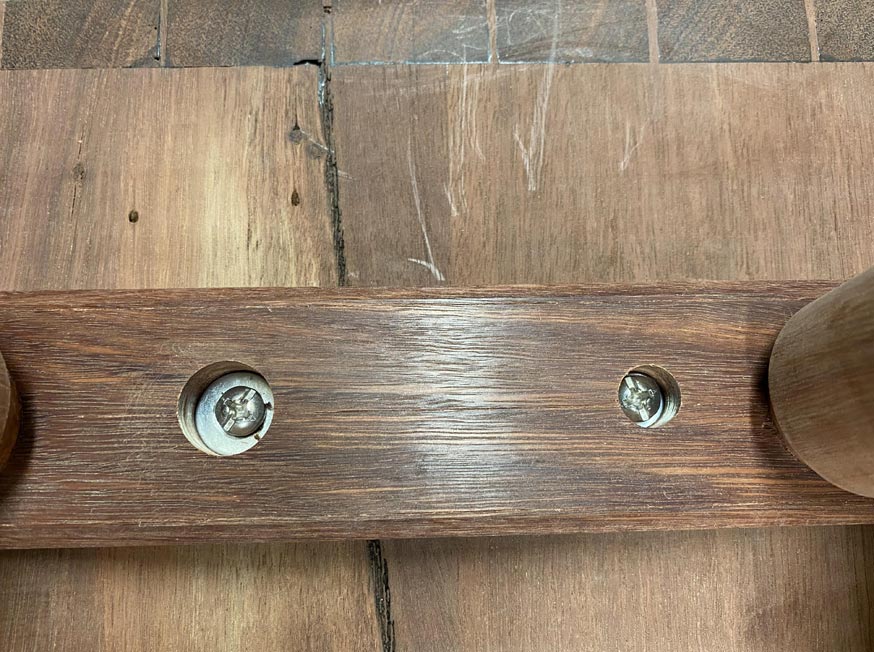
A steel washer added ...


Done ...


I had only 15 minutes after work today, but on the weekend, when I get back to this build, I plan to add a third screw behind the front leg.

Regards from Perth

Derek

Re: Entry hall table for a niece: Part 11

#9

The hidden Forstner tip

Bill Tindall, E.Tn.

I can't remember how many times I have needed to drill a hole with a forstner bit where I lacked a center. Duh, why did I never think of using the technique you used.

Shown are the screws I have been using for these tasks.


Re: Entry hall table for a niece: Part 11

#10

Re: New screws

Barry Irby

If you have a Domino it makes excellent slots for the screws.

Neat trick using the Forstner bit. Did a similar thing redrilling the hole in a residential door for a lock using a hoe saw.. Had not tried it at the smaller scale.

The screws Bill Posted look a lot like Kreg screws. Washer head screws. Self drilling and work well.

Re: Entry hall table for a niece: Part 11

#11

Kreg screws

Bill Tindall, E.Tn.

Kreg screws are #7 or 8. these are 10 and more appropriate for installing case tops and the like.

Re: Entry hall table for a niece: Part 11

#13

Works like magic!


Re: Entry hall table for a niece: Part 11

#14

Domino slot a bit overkill

Bill Tindall, E.Tn.

This panel is going to move at most 2 mm and likely much less. I have watched an 18" panel come and go for several years as my shop humidity swung from 30% to 70. The size changes over a range of 1 mm. A Domino slot seems to be an order of magnitude more than needed.

I just drill a hole and while the drill is at depth rock the drill back and forth in the direction of the panel size change. This track is what the screw is going to take as the panel changes width. It is rare to find a cracked top in antiques. It seems that screws have sufficient give to accommodate climate change.

But I see that the Domino slot cutting is a technique to keep in mind.

Re: Entry hall table for a niece: Part 11

#15

Totally screwed

Derek Cohen (in Perth, Australia)

I put the last screws in after work. That will free up this weekend to concentrate on building the drawers.

There are three screws. The one at the toe is fixed and there is no play for any movement. The two at the rear can slide 2mm each way.


Regards from Perth

Derek

👍 This page answered my questions

Your vote helps other woodworkers quickly find the answers and techniques that actually work in the shop.