WoodCentral Forums

Est. 1998 β€” 27 years of woodworking knowledge

Before and after dovetailing

Posts

Before and after dovetailing

#1

Before and after dovetailing

Bill Tindall, E.Tn.

I have 6 drawers underway and more coming. I have been seeing where I can take effort out of making them. It became clear that I was spending time putting tools away, or if left scattered on the bench, finding what was needed. Some organization was called for.


The solution began years ago when I made a chisel holder to sit on the bench. A friend in turn made one and enhanced it with storage for other bench stuff like dividers, marking gauges, etc. That idea was percolating when I realized I needed to do something to lessen this tool time killer issue.


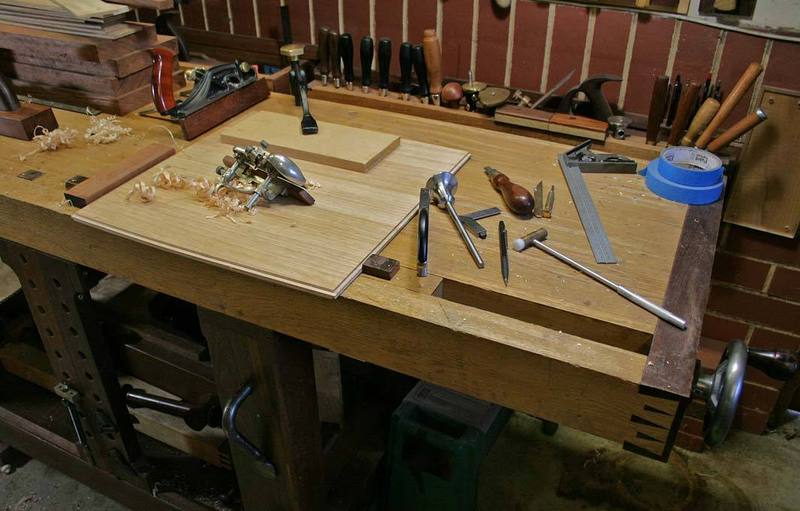
Pictured is Model 1 of a dovetailing tool holder. A test on one drawer has shown that the idea has merit in my work. I'll live with this thrown together model for a few drawers and see if I want to make changes before I build something more refined. Or, if it is good enough will probably never get around to making a better one.

Re: Before and after dovetailing

#2

Re: Before and after dovetailing

Derek Cohen (in Perth, Australia)

You’re a better organised woodworker than me if you can keep your bench clear while working, Bill :)

My experience is similar ... which is why I built storage behind my bench (which is close a wall ... I think that yours is away from walls?) ..

Tools on the wall, and a tool tray attached to the wall as well ...


Regards from Perth

Derek

Re: Before and after dovetailing

#3

Ellis Walentine

Bench tools

Ellis Walentine

I'm reading this exchange with some interest because of my own experience and situation. Frank Klausz and others, myself included, make a point of keeping their main bench accessible from all sides, to allow working on things from any direction, particularly larger items, glue-ups, sub-assemblies, etc. Tools are kept organized in an area I call the "back bench", which, in my case, resembles Derek's wall of tools with a long storage cabinet below. This way, anything you need while doing bench work involves only a simple pivot to the back bench. This arrangement works great if you have the floor space. In my new, downsized shop, it's beginning to seem like a liability, worth compromising for the sake of more room for equipment or whatever.

Bill's latest tool-caddy approach (dovetail-caddy?) looks like a net improvement in his situation where he's working out in the middle of his space, without relevant tool storage at hand. In my case, my European-style bench has a tool tray, which was a traditional approach to keeping stuff handy and below benchtop level. Tool trays can be awkward though, and they tend to accumulate all sorts of junk, which is why a lot of people don't care for them.

One of the more interesting solutions I've seen is Patrick Edwards' bench at his shop in San Diego. It is a double-wide bench, with a tool tray in the middle. It takes up a lot of floor space but is very effective for his type of projects.

Ellis

Re: Before and after dovetailing

#4

Dovetail caddy

Bill Tindall, E.Tn.

That is a good name for this tool holder. Dovetails take a collection of several tools and at my glacial pace dovetailing goes on for days not hours. It made sense in for me, perhaps of no relevance to others, to collect these tools for this operation in one place, at hand on the bench in something designed to conveniently hold them.

In my shop these tools were stored behind me on three large shelf units, in more of less logical organization- squares in one place, pencils in another, chisels somewhere else. If I put tools away after each operation I was spending a lot of motion retrieving them and then putting them away again. If I left them scattered on the bench there are enough of them, and my bench has enough acreage, that I had to hunt for where I put them.

In the case of one trial drawer I remained disciplined enough to use a tool and then put it back in the caddy. The caddy has been convenient to slide around the bench to where the tool(s) was needed. Remains to be seen if the caddy remains useful.

Re: Before and after dovetailing

#5

What's in caddy and why

Bill Tindall, E.Tn.

Unless doing drawers with some regularity and several of them at a time a caddy may not make much sense. In my case I have done chests of drawers with 7 drawers. It would have been a significant time and annoyance saver to have had the tools handily constrained on the bench.

Three chisel sizes sized for tails front, back and pin waste

Two marking gauges for drawer front thickness and drawer side thickness

marking

Marking knife

two dividers for laying out dovetail spacing front and back

0.5 mm drafting pencil for marking vertical saw lines

Soft pencil for identifying waste to be removed

Dovetail size marking template

4" square for checking pins and tails

6" square- various jobs

flush saw for sawing out waste in pin corners

Cross cut saw for tail waste and rip for dovetails either lays on bench or is in a holder behind.

Drawer parts are stored in cabinet drawer openings.

Re: Before and after dovetailing

#6

Re: What's in caddy and why

Derek Cohen (in Perth, Australia)

Bill, again my experience is similar to yours ... surprised at the number if tools needed for dovetailing, the fact that they need to be out there for so long, and the space they take up.

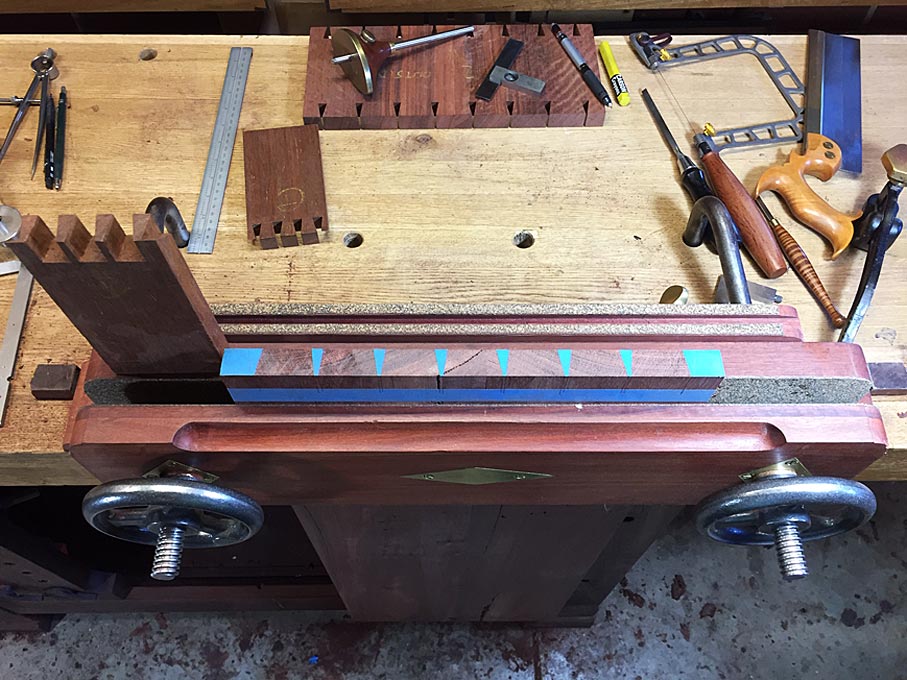
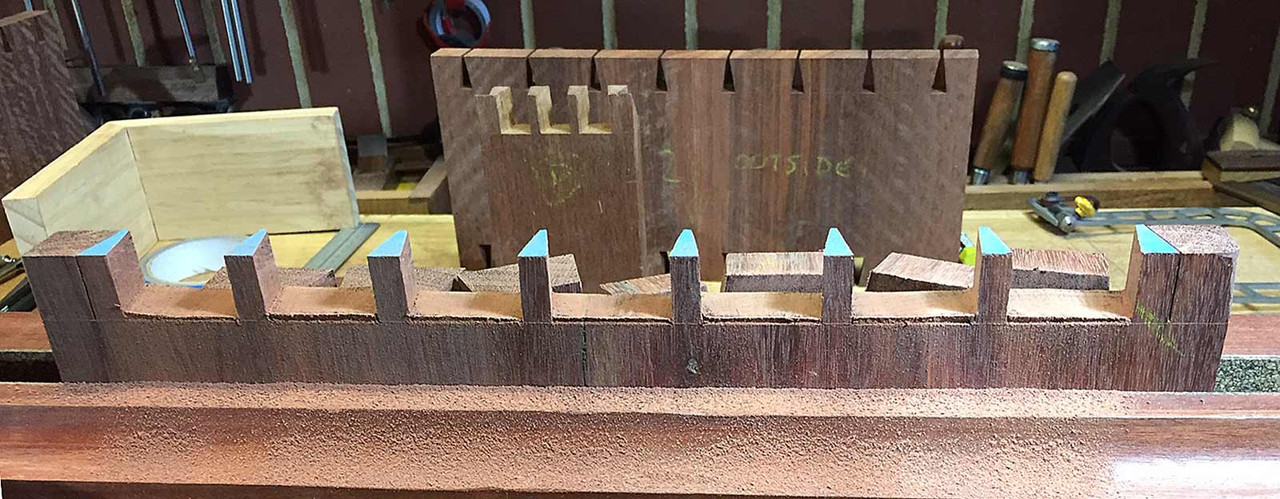
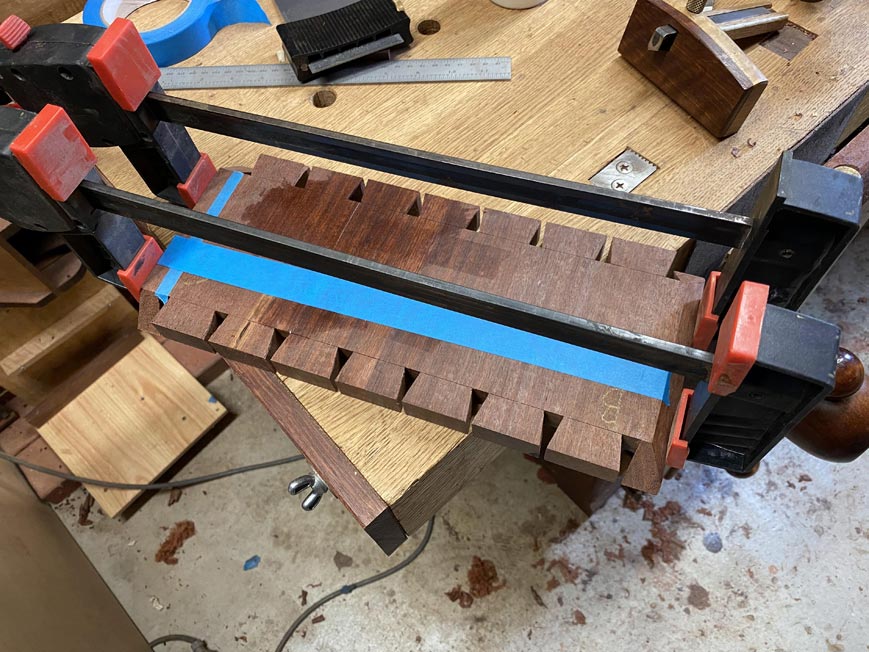
This is a recent photo from the current build ...


I am not convinced about a caddy that sits on your bench, unless you have the space for one. I do not. What about a caddy stand on wheels?

Regards from Perth

Derek

Re: Before and after dovetailing

#7

Jobs for the caddy

Bill Tindall, E.Tn.

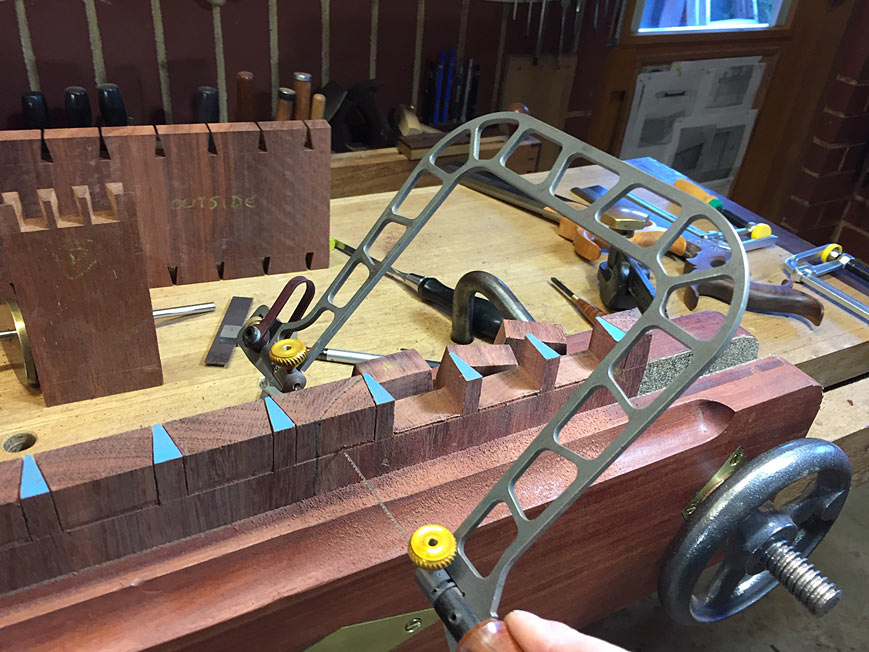
Exactly what blade do you use in the coping saw?

Taking a cue from golf, I need a caddy that would produce the tool I need when I need it and even recommend the best tool as needed, read how the grain lies(or is it lays), etc. When done the caddy would stow the tool until needed again. In her spare time she would sweep up the annoying bits that get under my feet when removing waste. :) :) :)

My caddy takes up no more room than your coping saw- 8 x 4.5". Think the advantage of a sky scraper. Real estate becomes 3 dimensional. Space is not a reason not to own one. However there are many other reasons not to own one and I am not making a recommendation for anyone to own one.

Re: Before and after dovetailing

#8

Question

Bill Tindall, E.Tn.

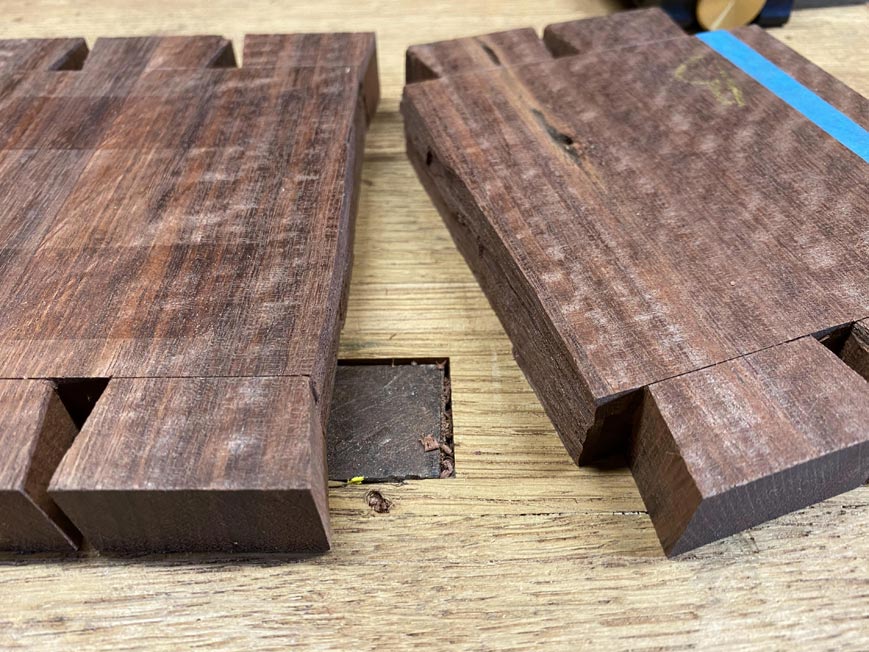
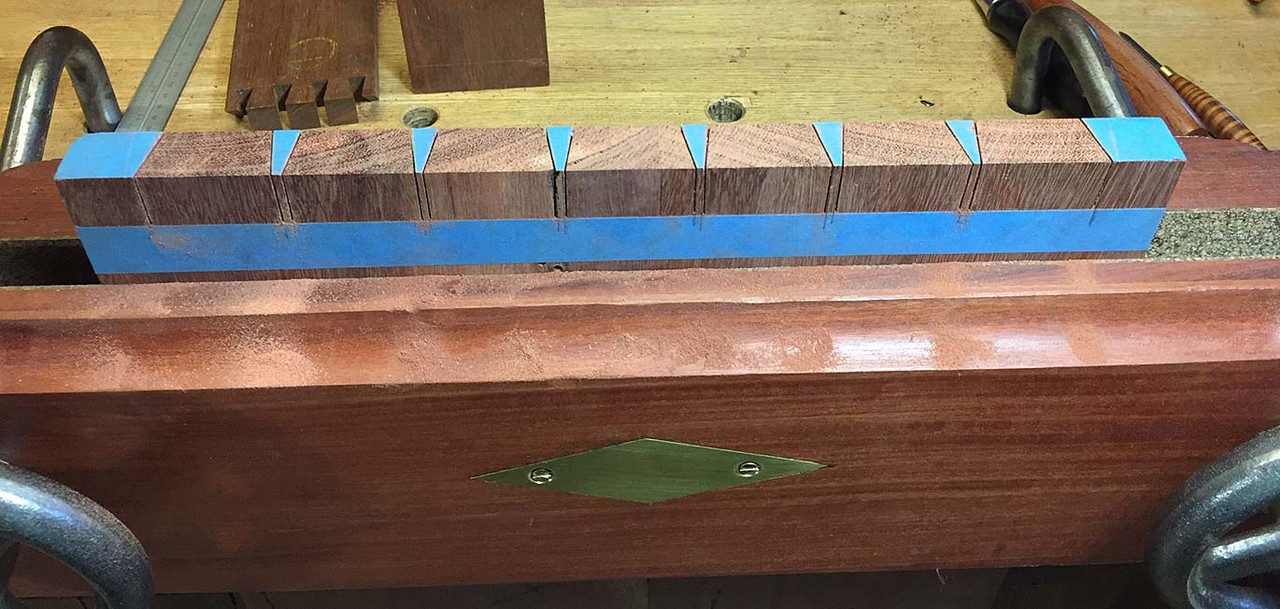
Where are you using the pin board with the crack in it?

And you seem to have left out an essential dovetailing tool from your display. Where is the large mallet for bashing the assembly together when some tails are too tight ;) (I keep mine out of sight when there are visitors to the shop.)
Re: Before and after dovetailing

#9

Another sky scraper

E Phillip Smith

After seeing Bill's orginal chisel caddy I finally got around to making one. During layout I decided to add additional items that will be useful on the bench. Before the caddy all of the tools were stored behind the bench in a semi organized state. So far I like the caddy. This one has three stepped rows. Adding a row takes very little bench space but adds lots of flexibility on tools.


Re: Before and after dovetailing

#10

Re: Question

Derek Cohen (in Perth, Australia)

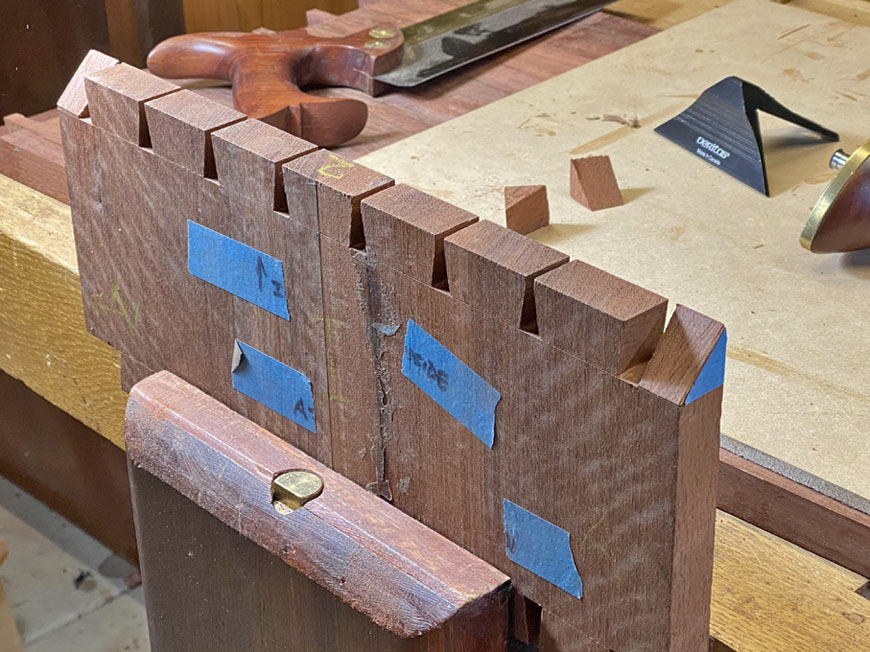
Bill ... crack? No, it's a gum fissue. It is typical of Jarrah. You need to cut around them ...


Reverse side ...


Big hammer? :) I don't think so .... ha ... this wood is too brittle. It would crack (DAMHIK ... both side pieces split in two just tapping them together. Both were glued up ... you can see this here ...


It is visible here, fortunately the inside, and I have now sanded it out on the outside.


No big hammers! :)

Regards from Perth

Derek

Re: Before and after dovetailing

#11

Utilizing lumber with defects

Bill Tindall, E.Tn.

1. What coping saw blade are you using? The fret saw blades I use are too fine and the coping saw blades I have are too coarse and what seems to be in your saw seems just right for hardwood.

2. One of the things I found annoying about selling lumber to individuals was their inability to deal with lumber that had defects to be contended with. Someone experienced can use lumber with defects and have no more waste than if it was perfect, as you illustrate. The challenge is to locate the defects in what will be waste of one kind or another. But this planning takes experience and motivation.

Re: Before and after dovetailing

#12

Re: Utilizing lumber with defects

Derek Cohen (in Perth, Australia)

Bill, I use Pegas #7 skip tooth blades in the fret saws. These may be too fine for some, but I find them just right for a balance of speed and clean cut, and my video of them in use demonstrates the speed at which they cut.

Video: https://www.youtube.com/watch?v=M6O4rY_0zQs

My apology for the noisy rocking board. It was a long panel and needed a clamp to the bench.

Regards from Perth

Derek

πŸ‘ This page answered my questions

Your vote helps other woodworkers quickly find the answers and techniques that actually work in the shop.