WoodCentral Forums

Est. 1998 — 27 years of woodworking knowledge

Entry hall table for a niece: Part 5

Posts

Entry hall table for a niece: Part 5

Edited #1

Entry hall table for a niece: Part 5

Derek Cohen (in Perth, Australia)

The basic case complete ...
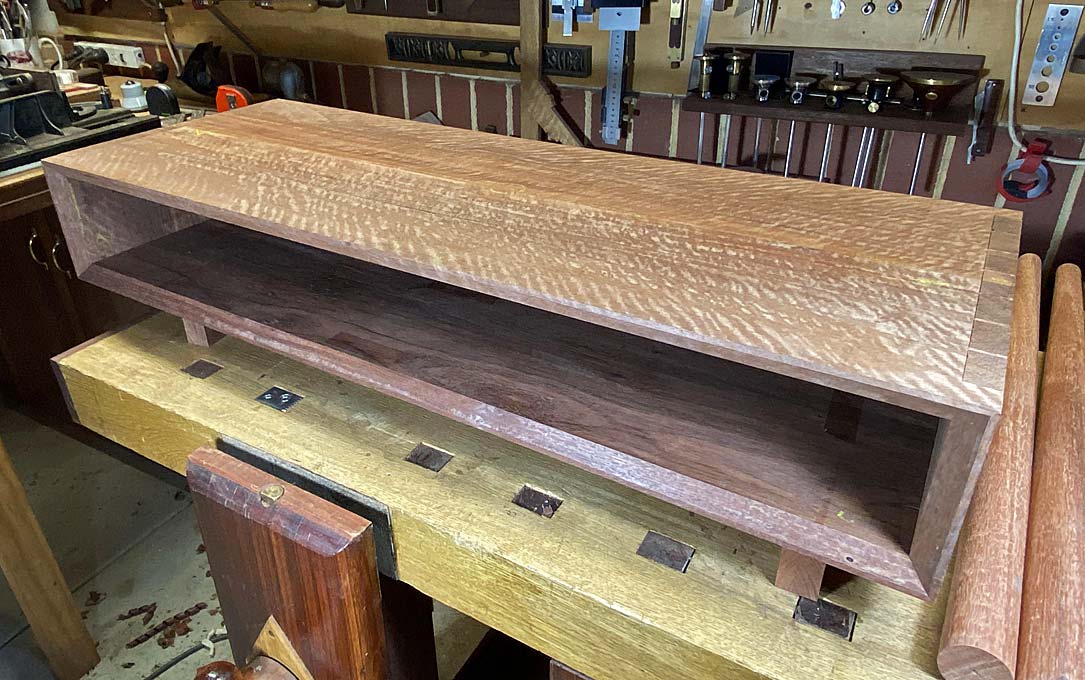

My niece's expressed wish is to have a table front looking as if it was faced by a single board. The original model for this project has two drawers. I did not see this working here since, as their width would be greater than their depth, two drawers would likely rack. Consequently, I decided to build three drawers of equal width (I considered a narrow drawer in the centre, but decided this would be too busy).

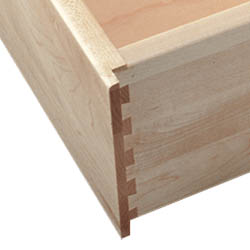
In order that the figure of the drawer fronts would not be interrupted by the drawer dividers, the drawers are to have half-blind dovetailed side lips, such as these ...

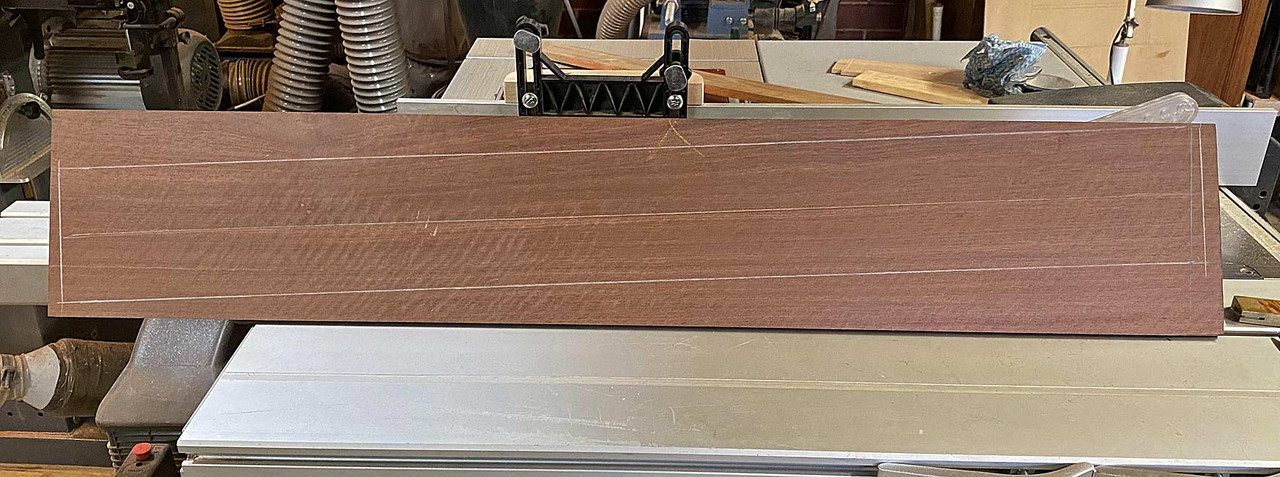
The drawers will each have a side lip of 6mm. This requires a 6mm wide side panel on each side of the case, and two 12mm wide drawer dividers. This will allow three drawers to run adjacent to one another, and the three fronts to be cut from a single board.

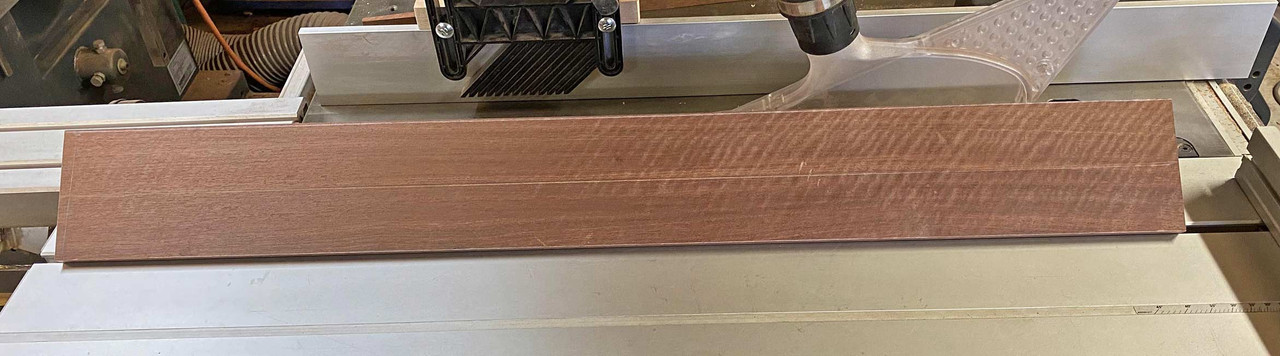
The drawer fronts will come from this board ...


Below are the panels for fitting ...
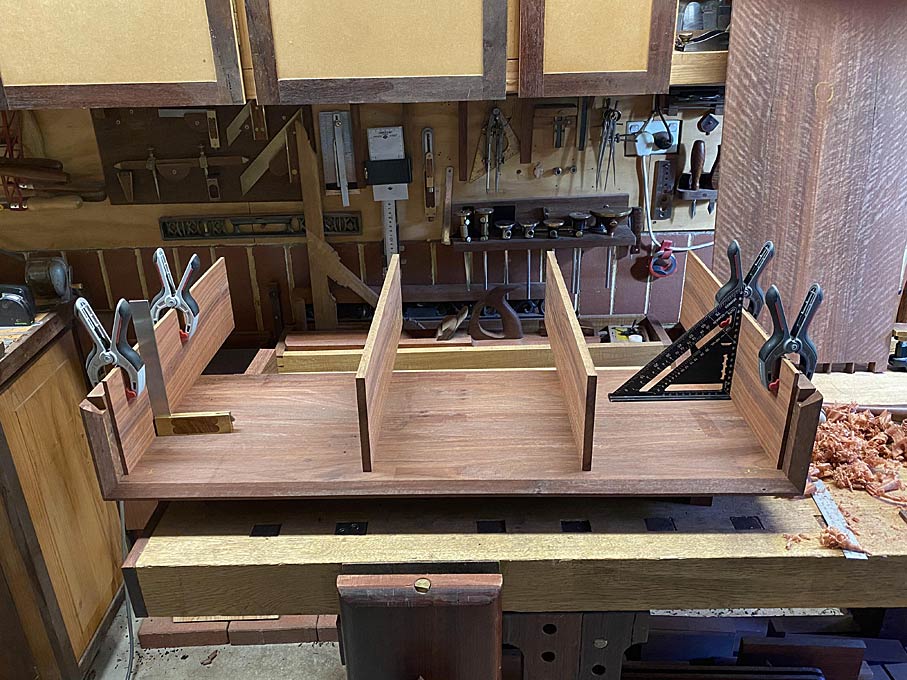

It occurred to me later (of course!) that the 6mm end panels could have been made to run with the grain direction of the case. Being the same Jarrah, this would have counted for any expansion/contraction, and there would not be any danger of movement being intrusive. Too late. It's glued.

So I did the next best thing, and planed 2mm off the upper and lower edges. This will permit enough movement, if any (it is a small and thin panel). There will not be any gaps seen as the front edges will later receive edging, which will be used as a depth stop.
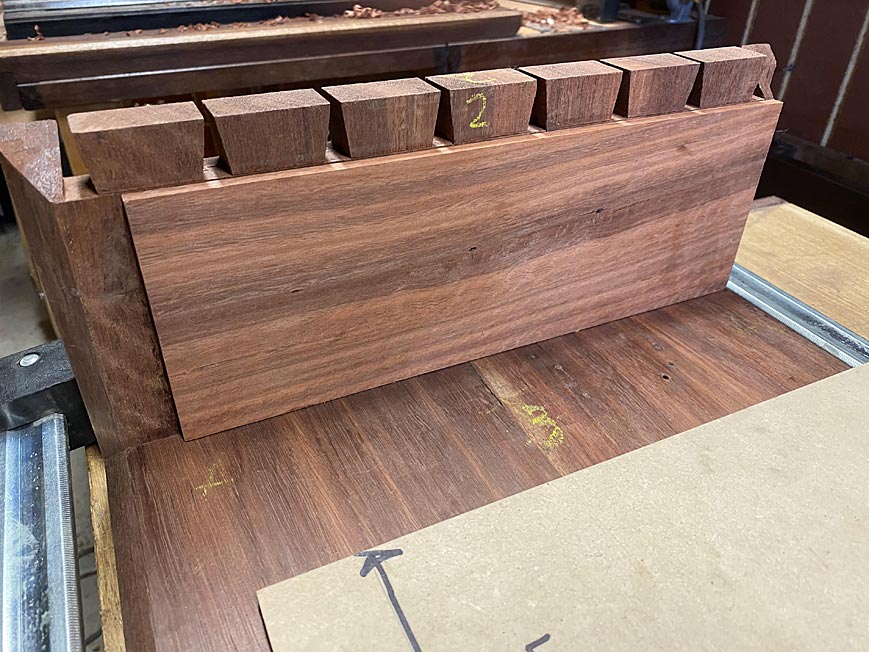

Frankly, the hardest part of this section of the project was accurate marking out of the two central drawer dividers. These need to be both perfectly parallel, and also aligned vertically (the lower panel with the upper panel).

There is a second area that needed to checked, which is important for drawers to work well, and this that the lower panel is flat - that is, does not have any hills. I learned my lesson the hard way about this. All good.

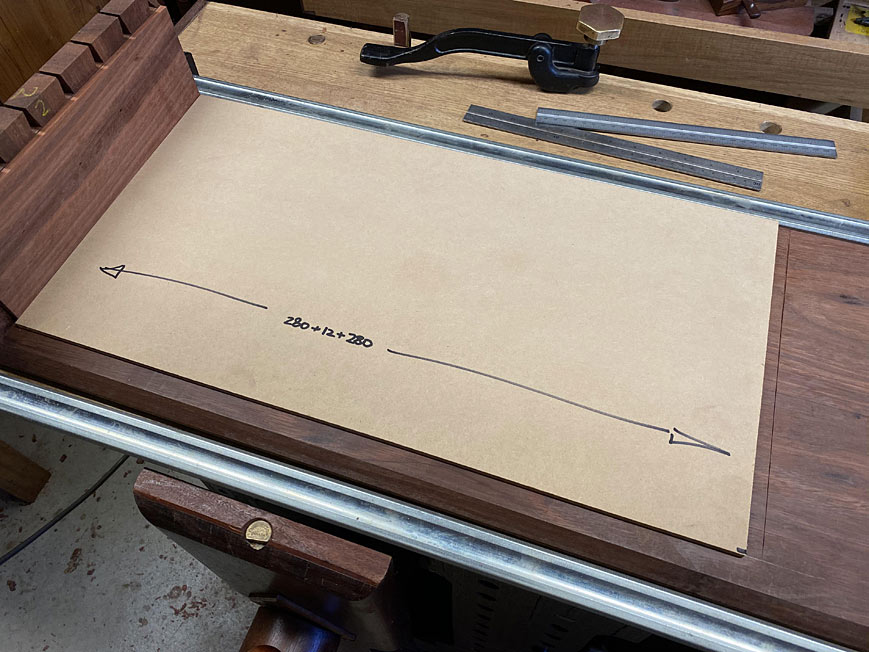
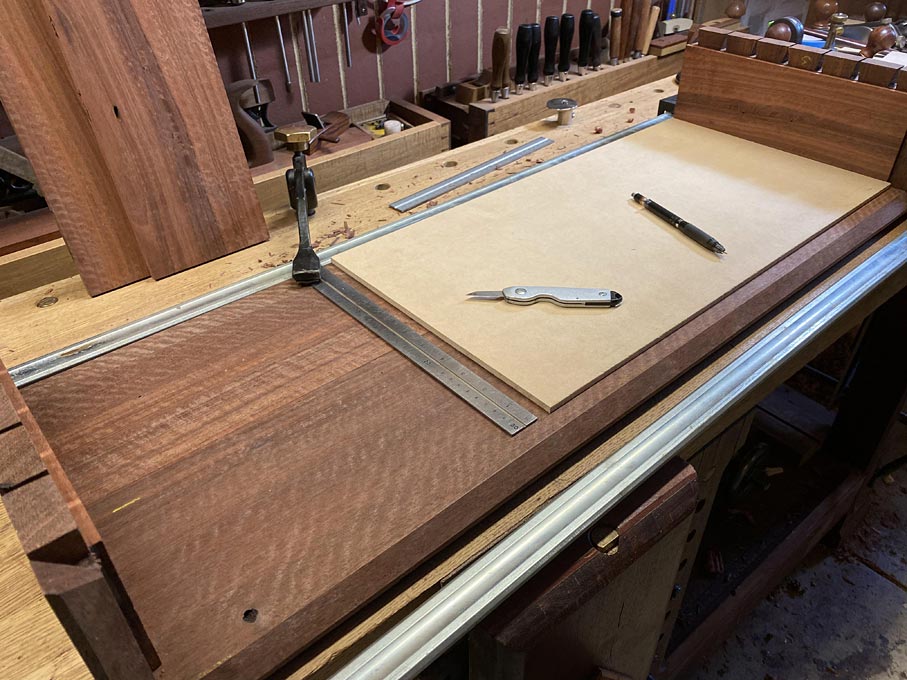
The way I go about marking the dados for the dividers is to make templates for their position. These are used on both the lower panel, as below, and then the upper panel ...
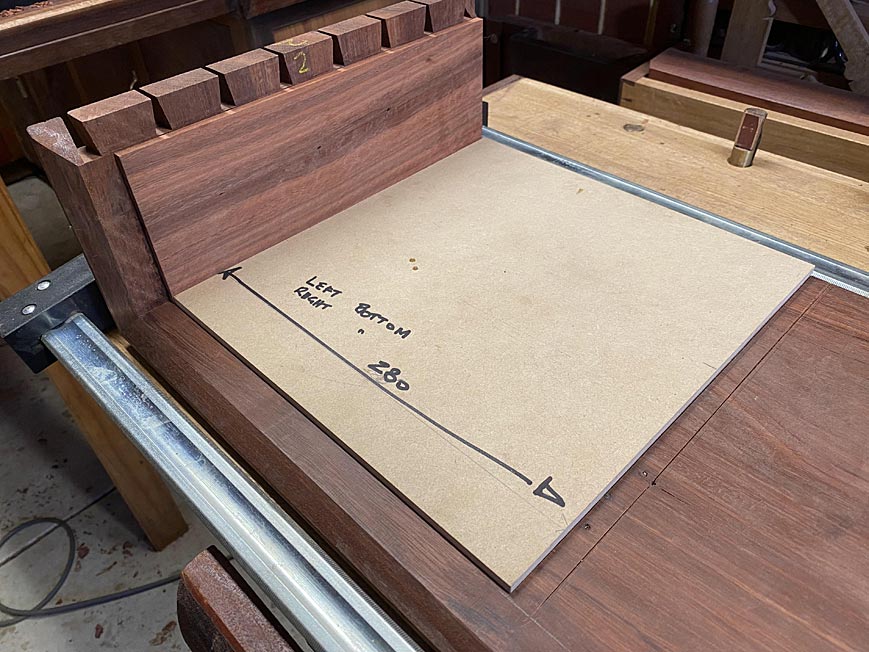

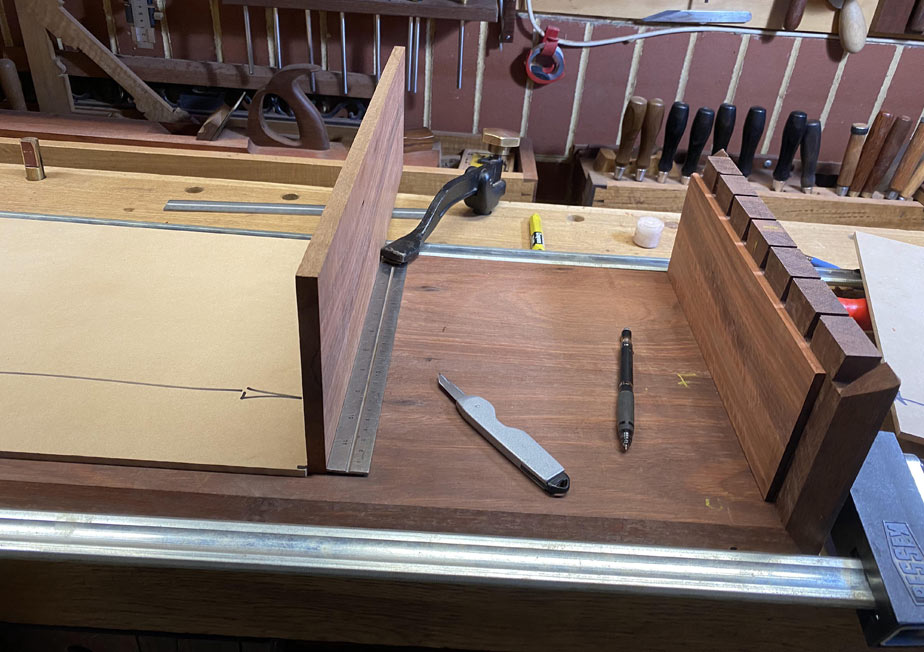
The process is self-explanatory ...


The dados are knifed deeply ...
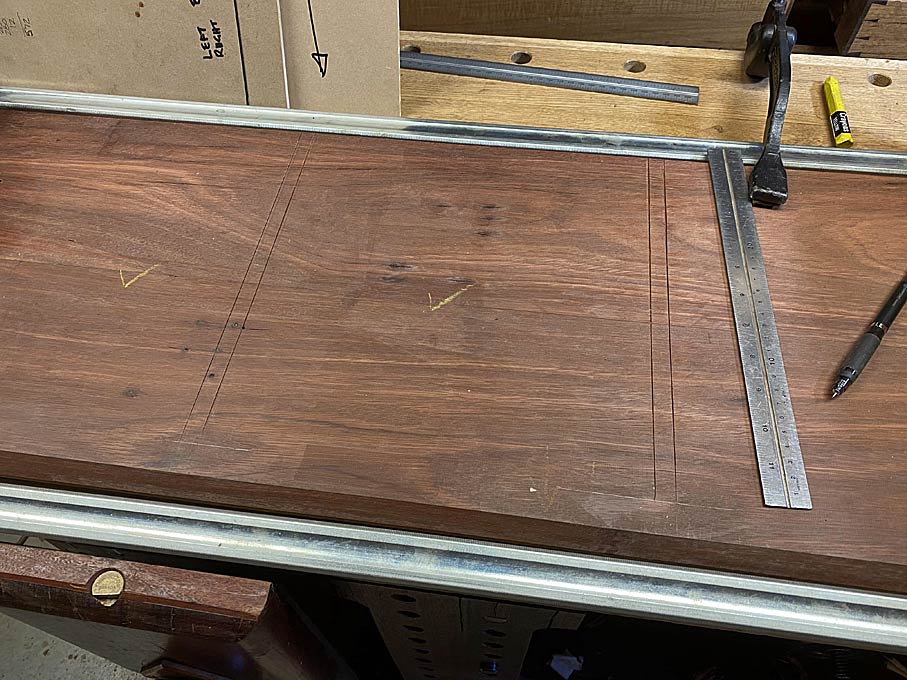

Chisel walls cut ...
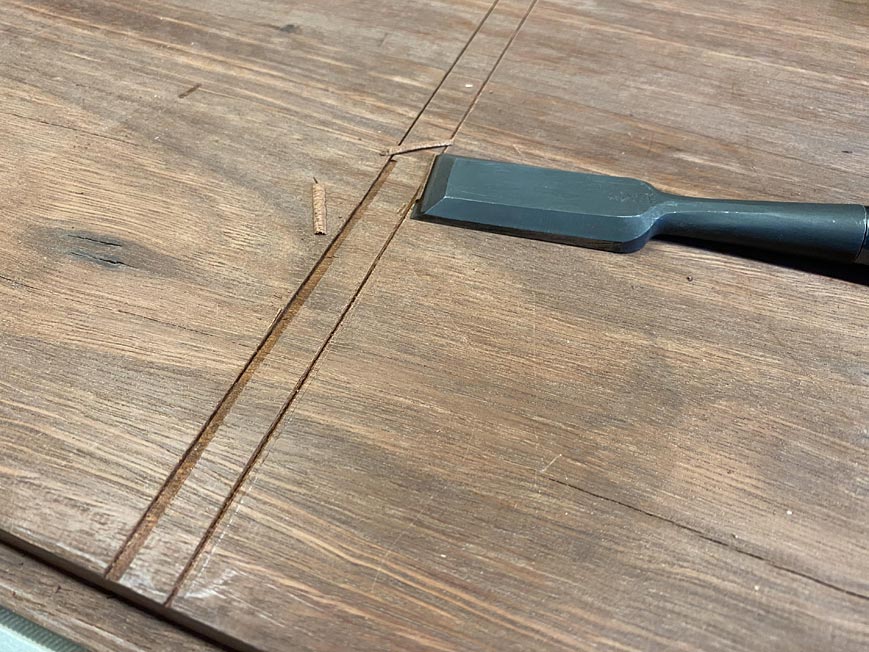

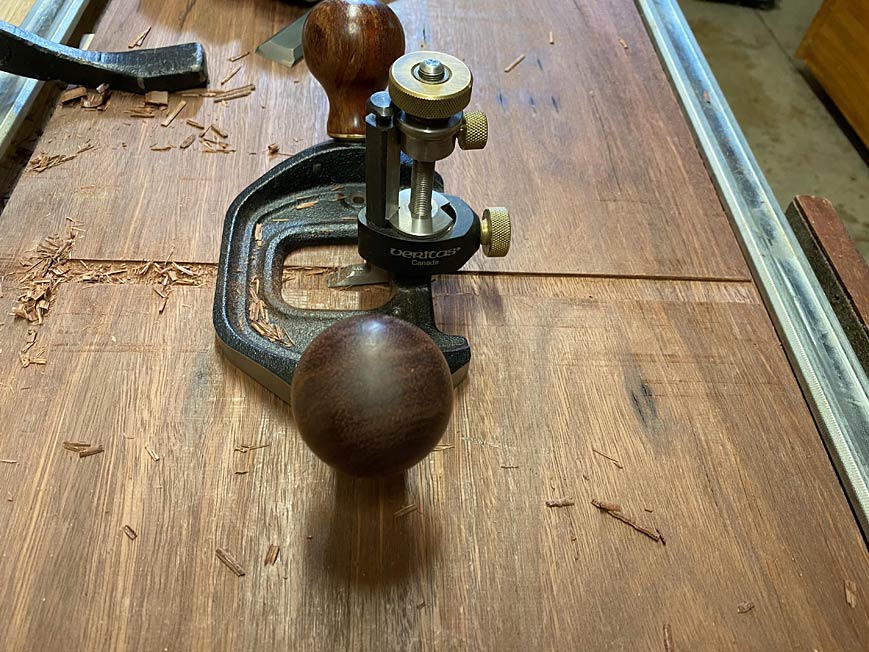
.. and then the waste is removed with a router plane ...
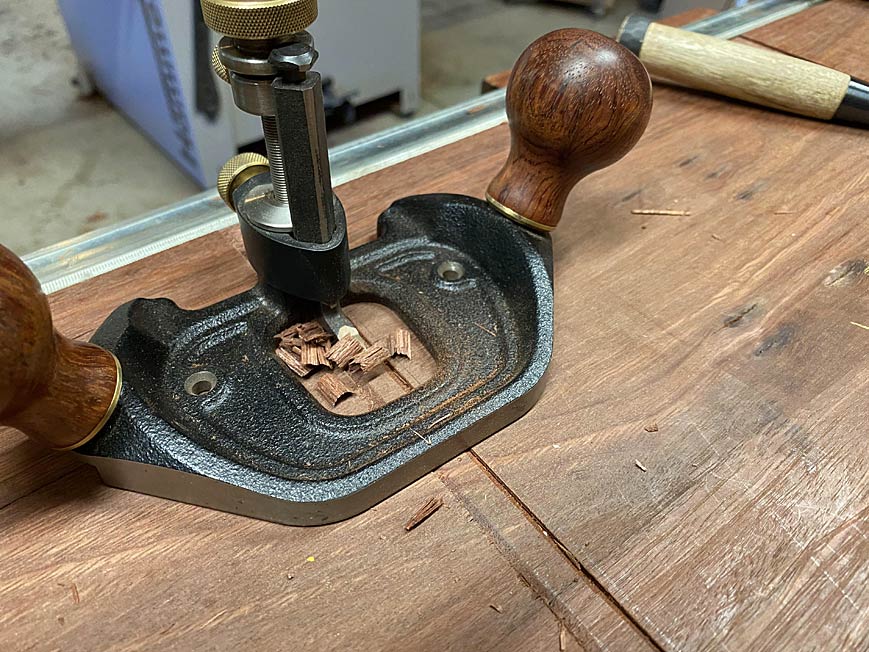


The dados are just 2mm deep. That is deep enough to prevent any movement. This process is quick and relaxing (compared to setting up and using a power router).

Once done, the process is repeated on the upper panel ...
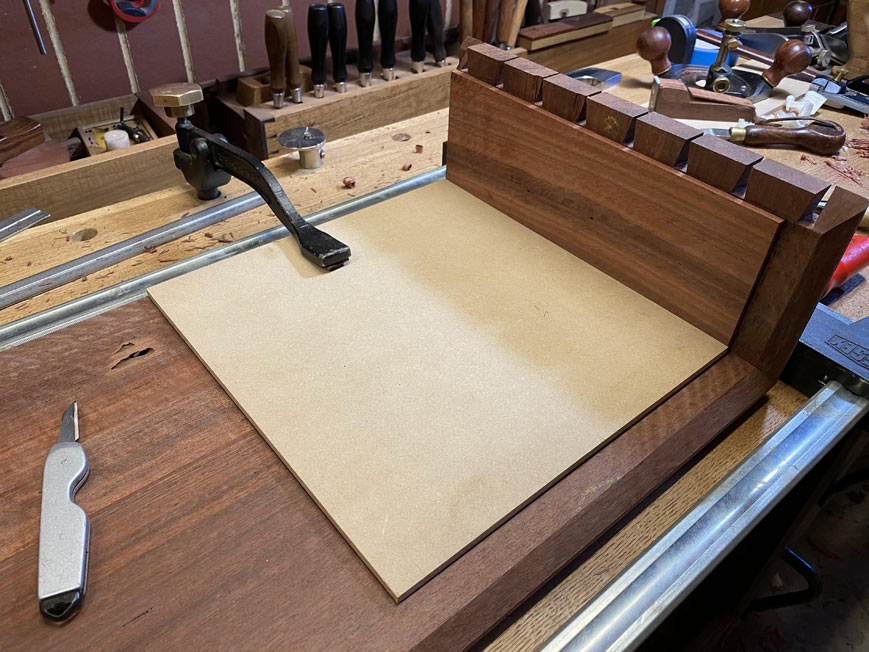


All ready for a dry fit. The rear of the case ...
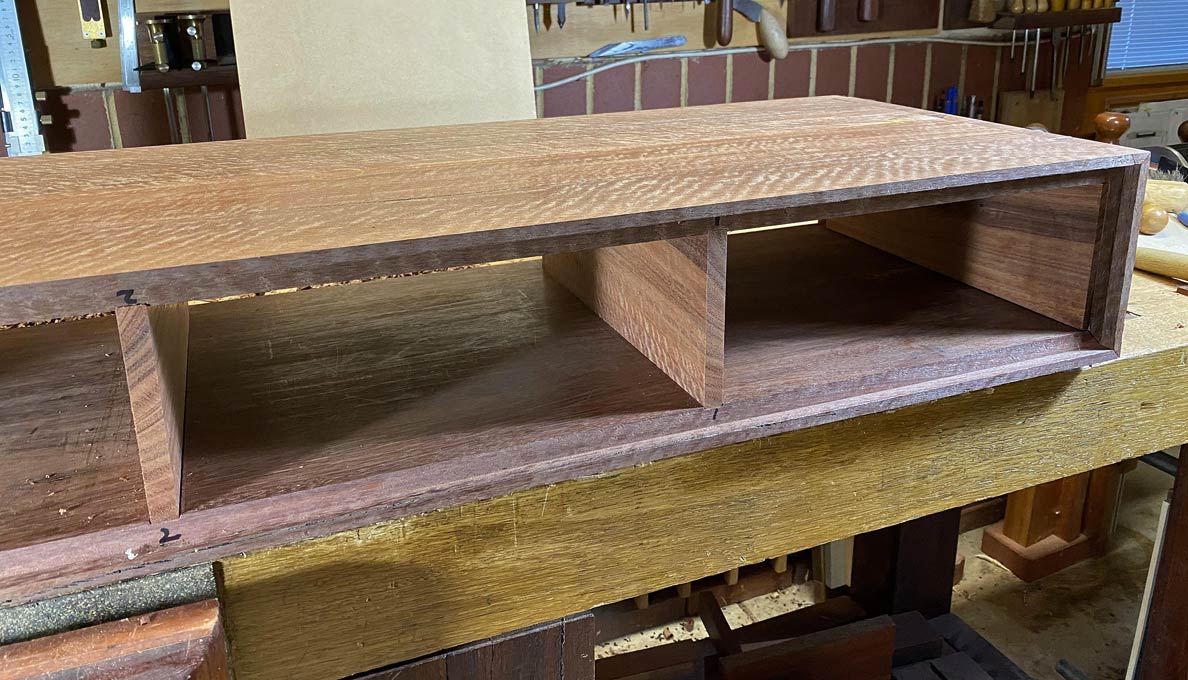

... and the front ...
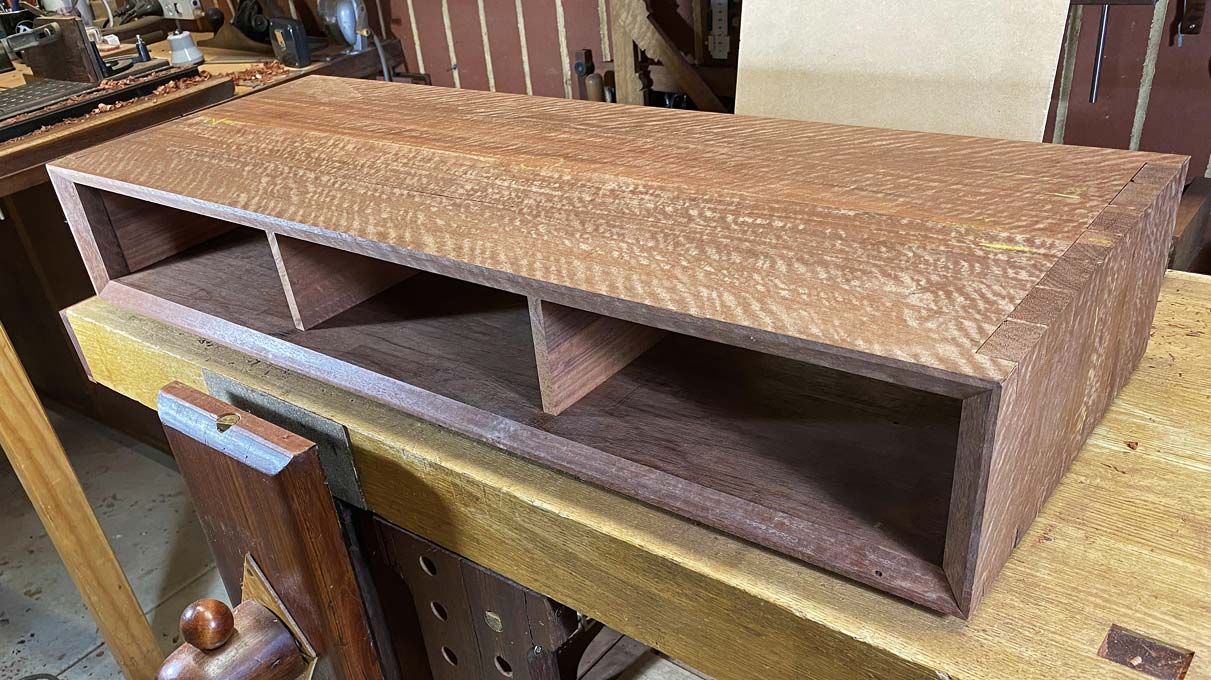

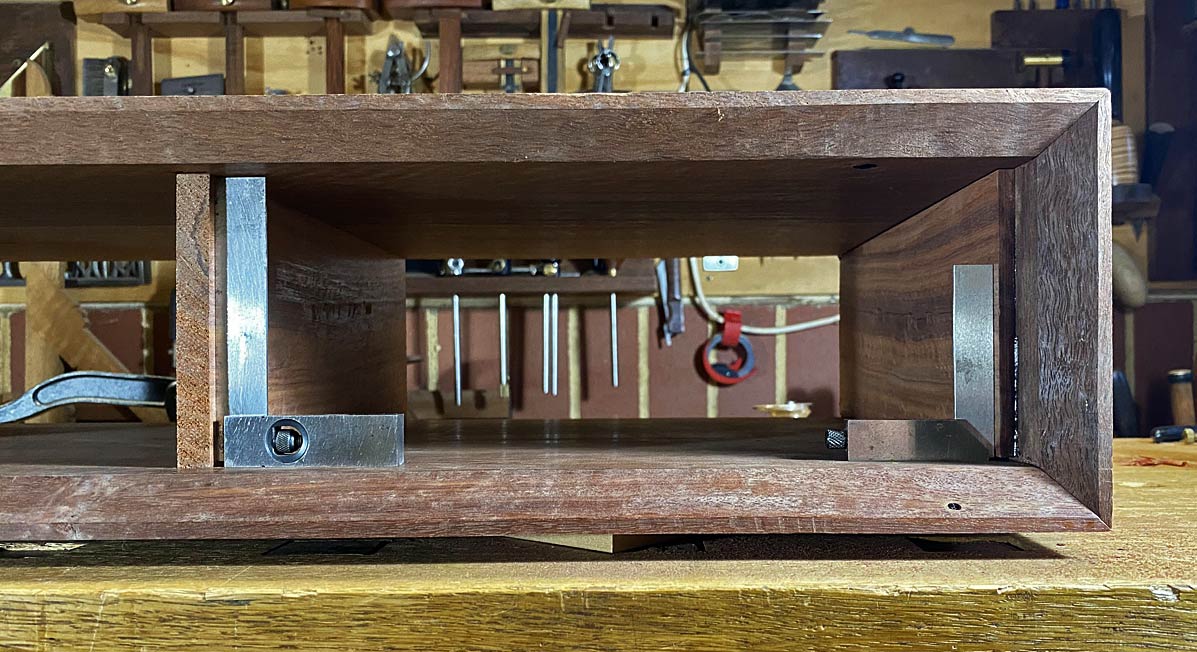
Happily, all is square ...


Tomorrow I shall glue it up.

Regards from Perth

Derek

#EntryHallTable

Re: Entry hall table for a niece: Part 5

#2

Re: Entry hall table for a niece: Part 5

Virgil Johnson

Thanks for the pics. Interesting the dadoes are only 2mm deep. (0.07874" for us folks here in the states) I would have cut them deeper with a router never thinking about another method. Nothing I see wrong with your method just saying...

Re: Entry hall table for a niece: Part 5

#3

Re: Entry hall table for a niece: Part 5

Derek Cohen (in Perth, Australia)

Hi Virgil

The drawer dividers feel very secure in these dados. They are not going to pop out. They have good lateral resistance. In any event, the drawers do not stress the dividers.

They well be glued for the first third from the front, and this is simply to hold the front firm, allowing the rear 2/3 to move (as you know).

Regards from Perth

Derek

Re: Entry hall table for a niece: Part 5

#4

Huge investment, power tools, hand tools, time

Bill Tindall, E.Tn.

The following is neither a criticism of how someone does something nor an endorsement. Rather it is a statement of my experience and a general suggestion to power tool users to consider hand tool alternatives.

At the point these dadoes were to be made the case has become a huge investment in labor and materials. Risk becomes something looming over every step beyond these "points of no return".

The advantage, often the only advantage, of power tools is that they make wood go away quickly. And their risk is that they make wood go away quickly, whether it is the wood you want to go away quickly or the wood next door.

Removing wood with hand tools proceeds in small increments providing early warning of potential problems and errors. Yet, in skilled hands cutting a dado or a dovetail socket in a case takes insignificant difference in time.

This surprising fact was demonstrated in a class in the Headly shop. The next step in our project was to make 4 dovetail sockets in a case side for drawer dividers. Jeff, an experienced professional, set about setting up the router for this operation. A class mate and I asked Steve how it would have been done in 1780. Steve, an experienced professional, showed us (students) and we proceeded with the hand tool route. We were done before Jeff was.

This experience opened my eyes to considering hand tools for joinery in the building of one of a kind projects that involve one or a few joints of this or that kind. Some different tools may be required as well as some practice. But once these tools and skills are acquired the time difference in building with hand tools vs power tools becomes insignificant, with other advantages- less risk, quiet, etc.

Posts like Derek's show how it can be done. Consider trying these techniques. Once acquired, the router plane shown can be used for other tasks - hinge installation, case dovetail sockets, etc.

Re: Entry hall table for a niece: Part 5

#5

Re: Little different view!

Larry Clinton At Frankfort, (Central) Indiana

I spent about the last 40 years working as a manufacturing Engineer, this involved a LOT of metal equipment design, debugging etc when building automated equipment.

I also trained in Work Factor (time study) and Quality engineering. As I had remarried and we together had 6 children to support, I worked at jobs in the evenings and weekends. In an earlier life, I had built a new home (3 bedroom ranch style) and did almost all the trim / hardwood floors etc. myself. My current home is nearing 150 years old and I have do quite a bit of remodeling and repair over the years (lived here about 50 yrs.)

But although I could do fairly well at Carpentry, I had built no furniture with the exception of bookshelves and similar.

Most skilled tradesmen in the time before major power tools were apprenticed for several years before they could do the work of a professional furniture builder. I knew I didn't have the time nor the wish to spend even a couple of years learning to use hand tools to do quality work, prior to building anything!

So I built a heated, air conditioned 30' X 30' story and a half shop, and equipped it with reasonably good quality power tools. Yeah it did cost quite a bit, but it is a hobby. Golfing, fishing, hot rods, and many other hobbies cost as much with less to show for them.

I am fairly skilled in setting up machinery, I use precision calipers, micrometers, dial indicators etc. that were discarded by my former employer due to some damage that has no effect on my use. (tips of calipers dinged so that reading is off by .0002 etc.).

I can make dovetail joints on my Leigh jig that certainly equal any made with hand tools. My joiner and planer are accurate to tenths of thousands. I have produced many jigs that allow me to use a router and remove as little as .001 to .005". I don't do ANY work for money as I did not want to make my hobby work.

I have several Stanley planes that are ground flat to within .001 and square (sides to base) as accurately as I can measure with precision squares. I ground these on a Brown and Sharpe 6 X 12 surface grinder in my shop.

I also have ground the blade angle square to the sides and at an accurate grind, finished on hand stones to a mirror polish - although I am certainly not as proficient as many of you.

I do use hand tools occasionally and try to become reasonably adapt but if I can use a power tool I do. I just wrote this to let you know there are other ways to start and build top quality items with power tools.

Re: Entry hall table for a niece: Part 5

#6

repeating an example

Bill Tindall, E.Tn.

In about photo 8 Derek faces the serious problem of the variable flat on the front edge of the case. I like the look of it and wondered why it was to be removed until I was directed to the fact it was variable in width. It had to go, but by what means. A trivial, risk-free task for Derek with a hand plane.

I would not claim it could not be done in a power tool only shop. But I will venture that in a shop where hand planes are used even occasionally, the hand plane will be the tool of choice because it is risk-free to achieve a perfect result.

I built a lot of furniture with out the assistance of hand tools. Then I visited the College of Redwoods and watched the students build furniture. I am not a subscriber to the touchy-feely part of Krenov woodworking and it was not this aspect of the school teaching that resulted in my woodworking epiphany. Rather, it was watching how easily the students fit stuff with chisels and hand planes. I came home dedicated to learn how to use hand tools.

Re: Entry hall table for a niece: Part 5

#7

Re: Little different view!

Buckaroo

Larry if for nothing else,i went thru 6th. grade, I enjoyed your explanation. Thanks

Re: Entry hall table for a niece: Part 5

#8

Your view is in another direction

Bill Tindall, E.Tn.

No need to get prickly.

I am certainly not unaware that well made furniture can be made in an all power tool shop. Furniture factories, even the highest end factories, do it every day. Nothing takes higher precision and accuracy than metal work and to that end when these techniques can be employed in woodworking the result will be of accuracy and precision that exceeds that of hand tools. Nothing is more accurate and precise than a machine made mortise and tenon joint or dovetail.

And you won't get any snobbiness about hand tools from me. Woodworking is not my life style. I am results oriented and use what ever is at hand to get the job done, quickest and most reliable. If I owned a milling machine I would be making mortises with it. (If I had a tight tenon I would shave it with a plane) I would jig plane blades and sharpen on a surface grinder, if I owned one.

I thought I made clear that lacking the skills of a machinist a hand tool solution is less risky for some things, and with similar speed. If you thought I was making any other point I need to work on my writing skills.

Re: Entry hall table for a niece: Part 5

#9

Re: Little different view!

Bill Tindall, E.Tn.

In the 18th and early 19th centuries people without any formal education built the finest furniture ever designed and made . And people with medical degrees reproduce this furniture today. I think these facts suggest that formal education has nothing to do with the ability to make fine furniture.

👍 This page answered my questions

Your vote helps other woodworkers quickly find the answers and techniques that actually work in the shop.