WoodCentral Forums

Est. 1998 — 27 years of woodworking knowledge

Entry hall table for a niece: Part 4

Posts

Entry hall table for a niece: Part 4

Edited #1

Entry hall table for a niece: Part 4

Derek Cohen (in Perth, Australia)

Having completed the dovetailing of the case, the next step is to bevel the front face, and rebate the rear for a back panel.

I had been considering a cove in place of a bevel, however when I mocked this up it came across as appearing too busy. So, back to the bevel.

The angle for the bevel was finalised at 55 degrees. This enabled a 6mm (1/4") flat edge and a bevel that ran to roughly 4mm of the first dovetail. A 45 degree bevel would run into the dovetail.

The lines for the bevel were marked and then roughed out on the table saw ...
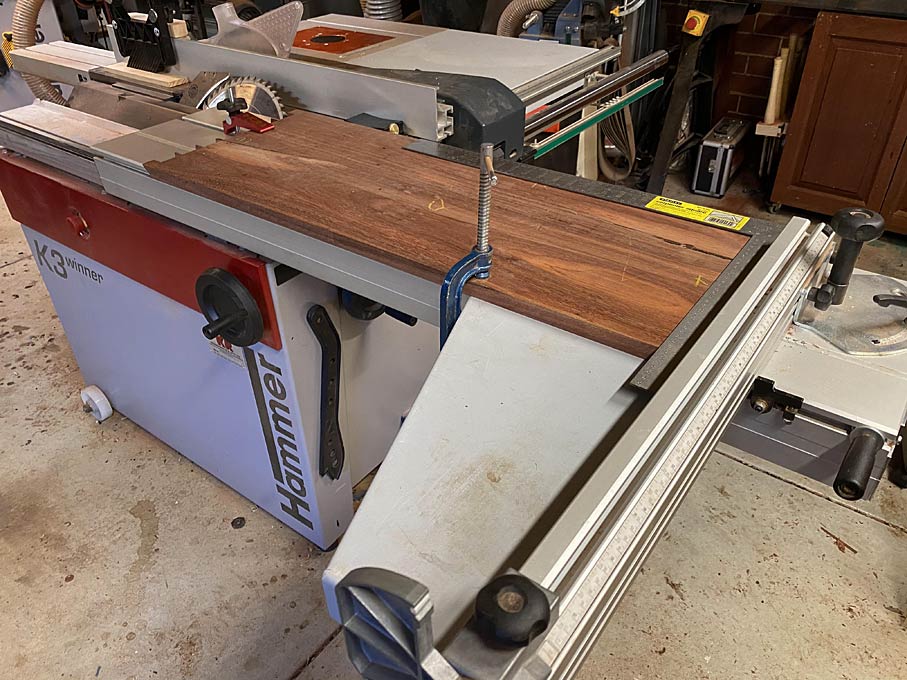

The table saw is a slider, and the rip fence was used to position spacers, before clamping a panel for cutting the bevel.

The bevel was then finished with a hand plane ...
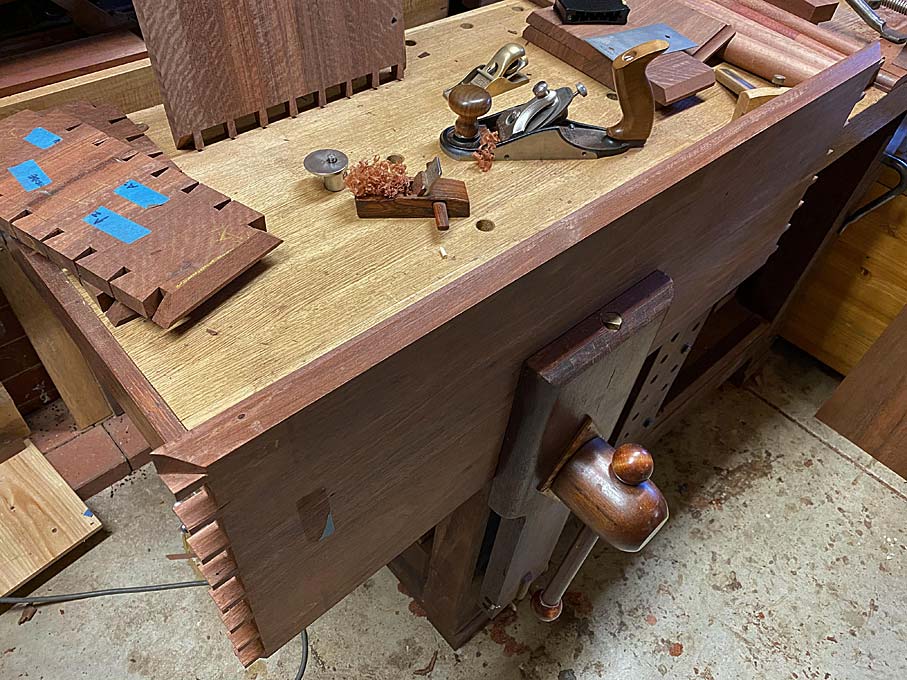

This Jarrah is particularly interlocked but planes well with both a high cutting angle (the little HNT Gordon palm smoother) and a close set chipbreaker (the Veritas Custom #4).

Once the bevels were completed, the rear rebate was ploughed ...
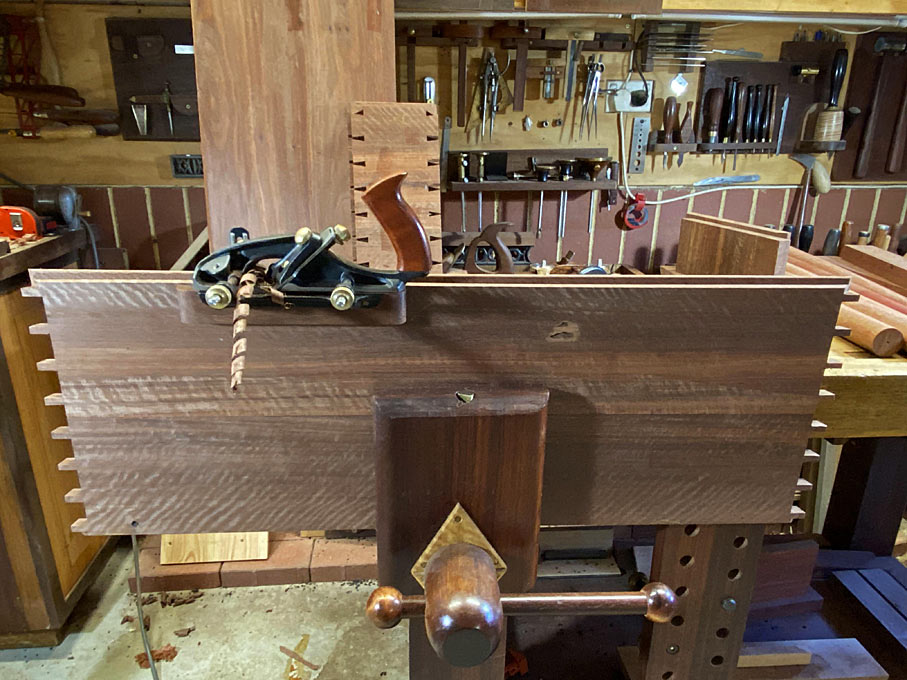


Now the panels could be assembled into a case once again, and the work examined for tuning.

Three of the bevels needed tuning. This ranged from a smidgeon here ...
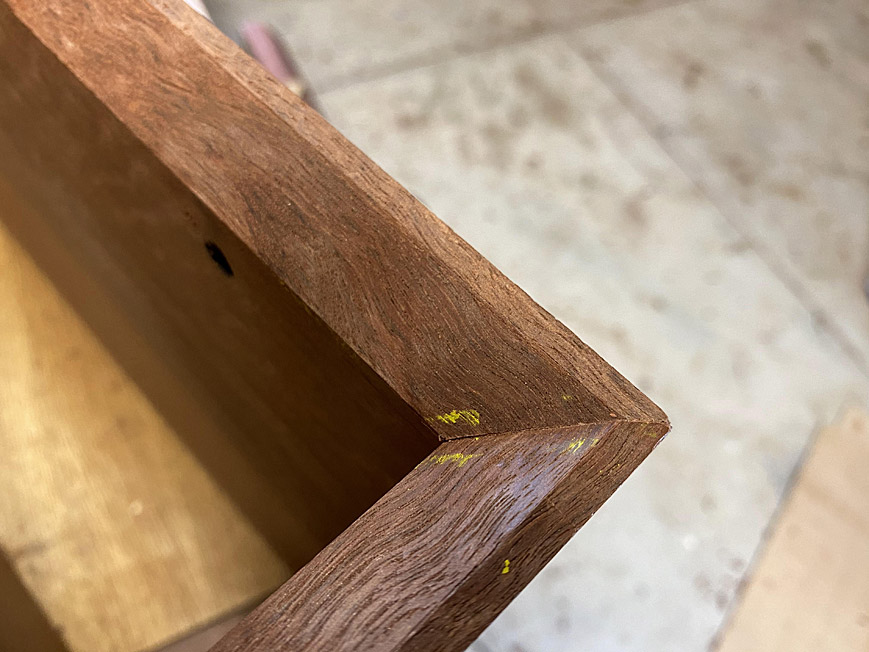

... to a largish amount ...
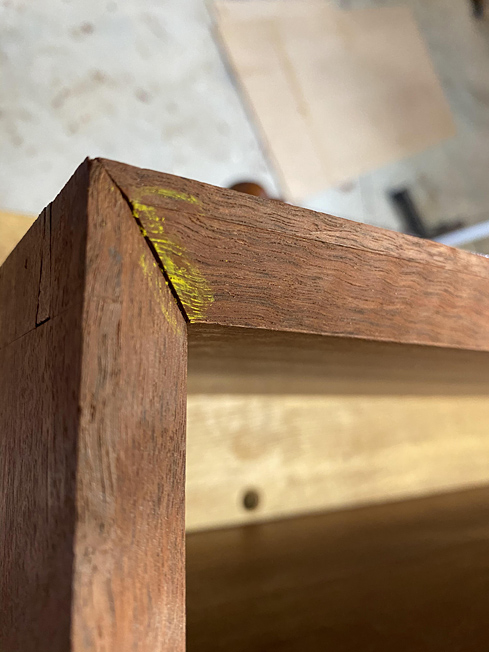

The case was dissembled and the bevelled edged planed down, re-assembled, checked, pulled apart again, planed ...

The rebates at the rear turned out to not require any tuning, with the exception of one corner ...
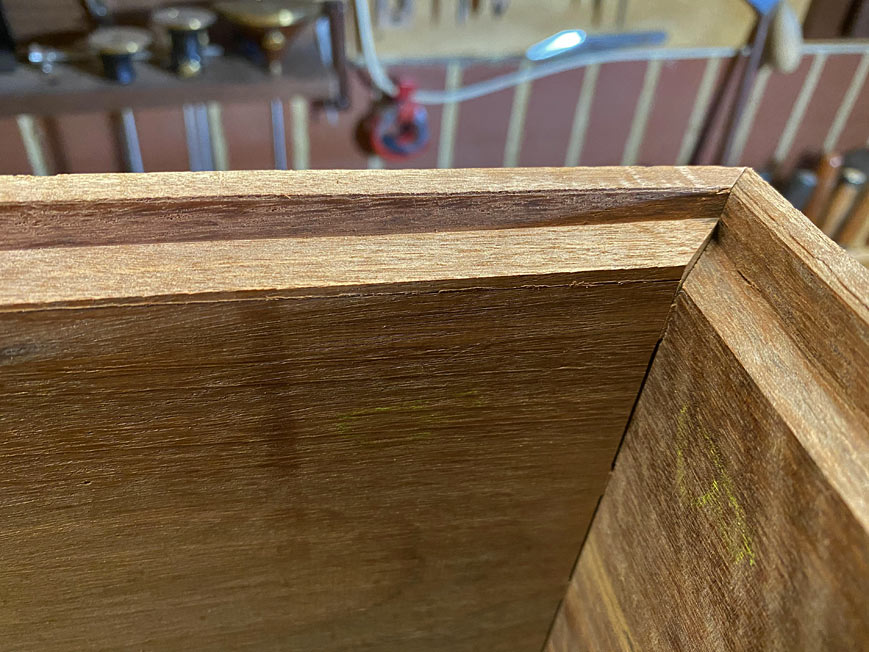

... where I had obviously forgotten to plane! :) :\

That was easily rectified ( ... but the case had to be dissembled again). Finally, this is the rear of the case and the completed rebates ...


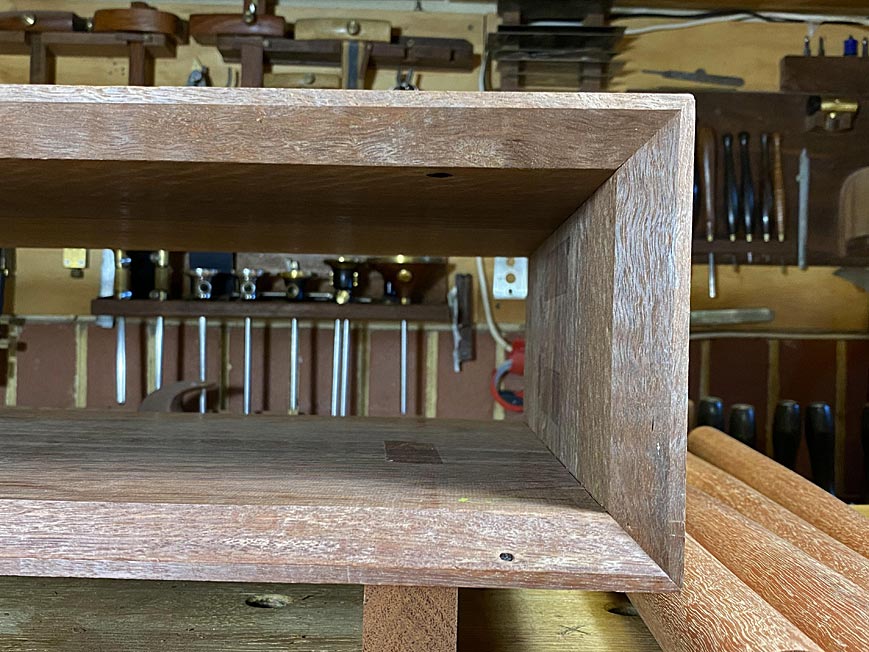
This is a rebated corner ...


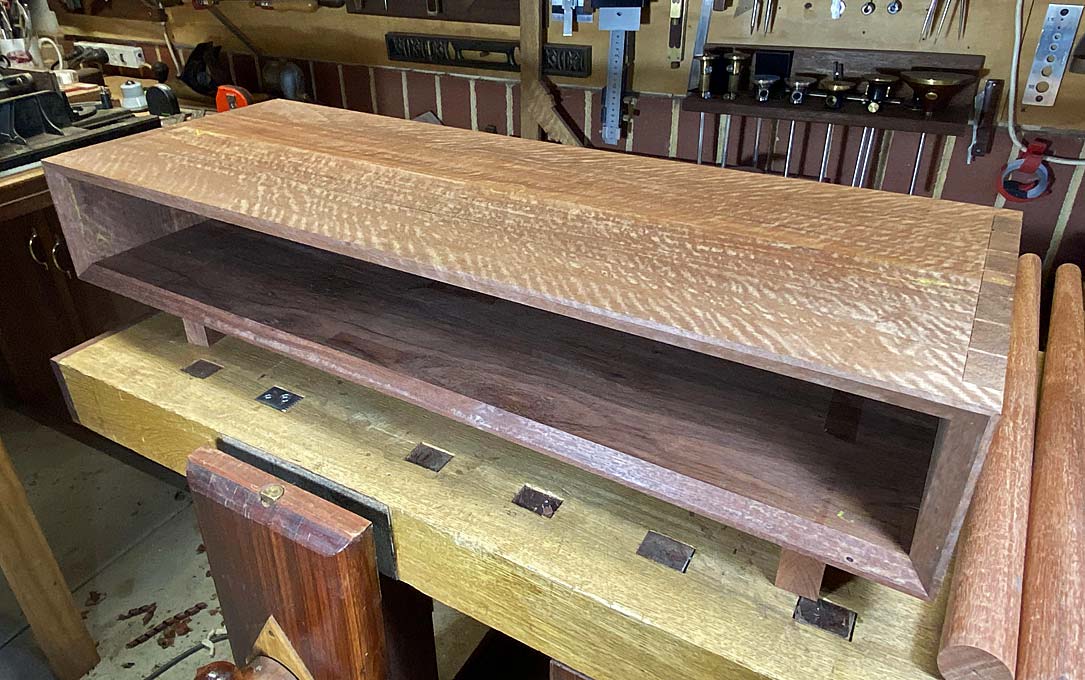
Here are the front bevelled corners ...


This illustrates by the mitres on the corners of the dovetailed case needed to be perfect. Any undercutting would show here.

Next, the drawer dividers need to be done. I'll mention here - since I would appreciate the thoughts of others - that this area has been my biggest headache.

The reason is that my niece would like the drawers to have the appearance of a single board. However, to achieve this, because of the bevels, is quite complicated.

First of all, the table cannot have just two drawers. The width of the drawers will be greater than their depth, and this would likely lead to racking. Consequently, I plan to build three drawers, which will be more favourable for the width vs depth ratio..

Secondly, if the drawers have dividers between them, which they need (since I do not do runners), then there will be a gap between the drawer fronts (which will not flow uninterrupted).

As I see it, there are two choices: the first is to build the drawers with planted fronts. This is not a method I like (but it may be expedient). The second option is to set the dovetailed drawers sides back (recess them) to account for the internal drawer dividers.

Thoughts?

Regards from Perth

Derek

#EntryHallTable

Re: Entry hall table for a niece: Part 4

#2

Re: Entry hall table for a niece: Part 4

Bill Tindall, E.Tn.

The bevel worked just right for that case. I've lost track.....are the case corners going to be rounded? I think not with the bevel fronts.

build the drawers with planted fronts. This is not a method I like (but it may be expedient). The second option is to set the dovetailed drawers sides back (recess them) to account for the internal drawer dividers.

I don't understand the drawer discussion. First, what is a planted front? We would call option 2 a lipped drawer. I would not look forward to dovetailing this option unless you just build a box and apply a front, what is becoming a common practice over here.

There is a very good cabinet maker in our club and he builds all his drawers with a shop made center guide( not factory metal) under the drawer. I must admit that his drawers work nicely. I employed this approach in the corner cabinet drawer to my satisfaction. This option would eliminate the dividers. Would I do it on this box. No, but I can't say why, just a notion, but I'll bet the person that uses center guides regularly would.

Btw, your shop seems short on marking gauges. ;)

What I would do is inset the drawers and contrast the grain, probably veneering a vertical rift grain on them. These is a lot of business in the neighborhood. I would want something calming on the drawer fronts.

Re: Entry hall table for a niece: Part 4

#3

Jim DeLaney, Austintown, Ohio

Re: Entry hall table for a niece: Part 4

Jim DeLaney, Austintown, Ohio

Bill,

By "shop made center guide" are you talking about a (somewhat loose fitting) sliding dovetail apparatus?

Re: Entry hall table for a niece: Part 4

#4

no

Bill Tindall, E.Tn.

A center guide has a "U" shaped piece on the bottom of the drawer that rides on a strip fastened to the drawer dividers, typically upside down "T" shaped/

Re: Entry hall table for a niece: Part 4

#5

Clint Searl

Re: Entry hall table for a niece: Part 4

Clint Searl

Undermount sliding dovetails without dividers. Faces from a single board.

Re: Entry hall table for a niece: Part 4

#6

Jim DeLaney, Austintown, Ohio

Re: no

Jim DeLaney, Austintown, Ohio

I was thinking of sorta the same thing, but with a dovetail piece on the drawer bottom, and the (loosely) mating piece on the case. Same function, but the dovetail shape keeps the drawer from tipping when it's pulled nearly all the way out.

Re: Entry hall table for a niece: Part 4

#7

Re: Entry hall table for a niece: Part 4

Derek Cohen (in Perth, Australia)

Wiley provided some excellent advice on the Hand Tool forum in regard to the pros and cons, and fitting, of the two options.

Here is a cross-post ...

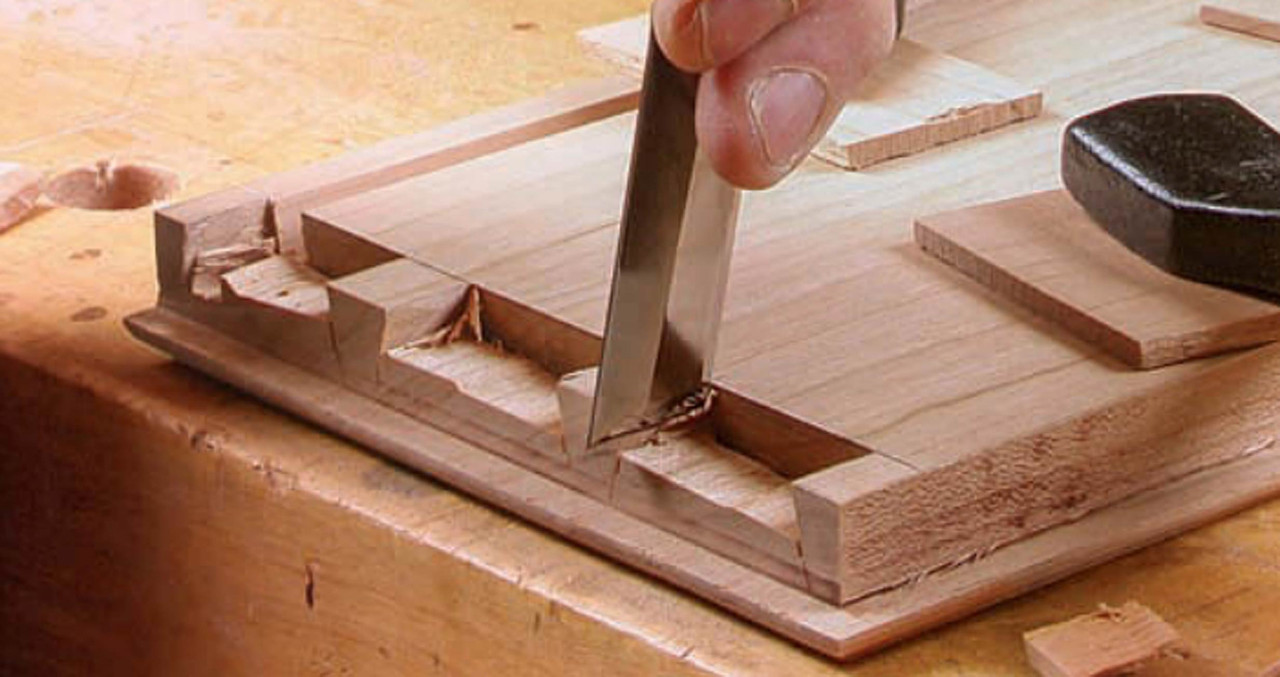
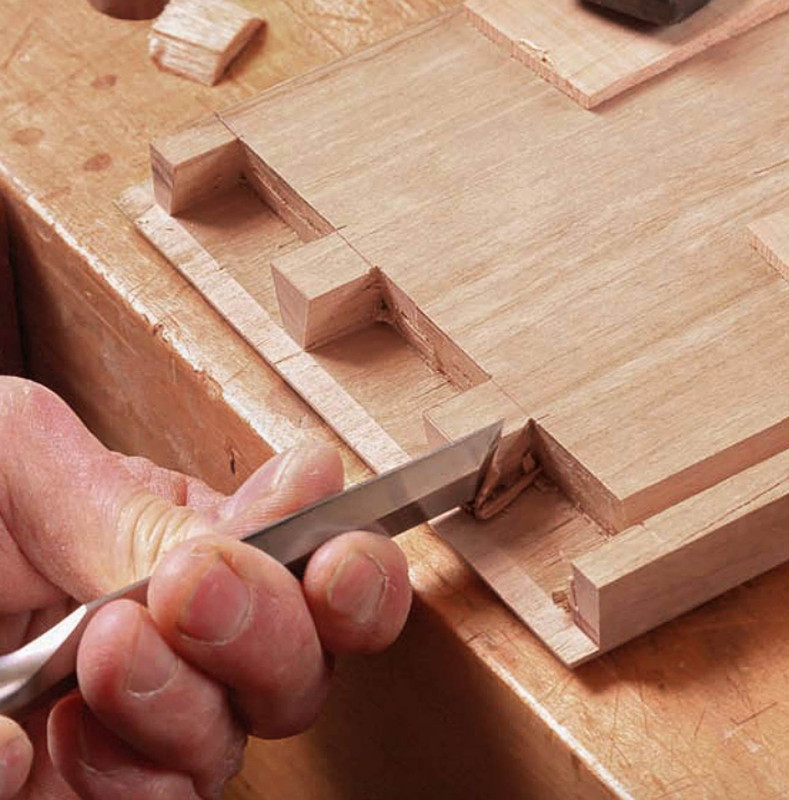
What I need are lipped drawers.The question was whether I make them the easy way, which is by planting (glueing) on fronts. Or, whether I build them out of one piece, which is a lot more work as it requires creating half blind dovetails in a rebate.

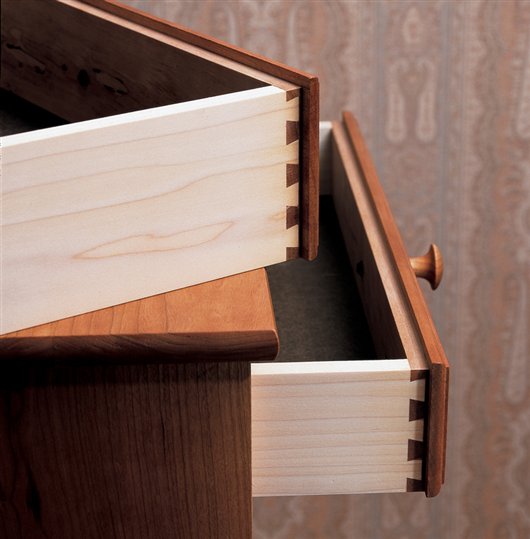
For those unfamiliar with lipped drawers ..


This is the work of Christian Becksvoort ...


At this point, I am going to do it the hard way and make half-blind sockets in a rebated front. This is similar to building a secret dovetail.

To do this for all the drawers, the insides of the case at each end will require a spacer, essentially a 6mm panel glued to the insides. Each side will be half the thickness of the two middle drawer dividers (each 12mm). The centre dividers will be attached in a dado top and bottom.

Regards from Perth

Derek

p.s. Bill, I agree .. too many cutting gauges. I am a sucker for these and have a few which were purchased, a few that were gifts, and a few I made. I think that I may (???) have enough now :)

Re: Entry hall table for a niece: Part 4

#8

Planted drawers

Bill Tindall, E.Tn.

Never encountered that term before, but I have encountered the drawer itself. I first saw them on kitchen cabinets where they made sense. Shops buy dovetailed drawer boxes now days and fix a front to them in the shop. I'm ok with that cost saving procedure in the kitchen that will be remodeled in a few years.

Now I see this construction in galleries on "fine" furniture along with other kitchen cabinet techniques like metal slides and European style hinges. I can't overcome the prejudice of kitchen cabinet construction being out of place in "fine" furniture.

Re: Entry hall table for a niece: Part 4

#9

Re: Planted drawers

Derek Cohen (in Perth, Australia)

Bill, I feel the same way as you about mechanical fittings on drawers - great for the kitchen.

What I would do is inset the drawers and contrast the grain, probably veneering a vertical rift grain on them. These is a lot of business in the neighborhood. I would want something calming on the drawer fronts.

I agree. The case will be busy. I tried to explain this to my niece. Unsuccessfully. She wants - and as the client - her wedding present - and so will get drawer fronts with fiddleback. However, I am using a few tricks to tone it down.

Firstly, I've chosen a quieter section of the timber. Secondly, I am thinking that I will finish it differently at the end - perhaps with oil - to make it darker than the case.

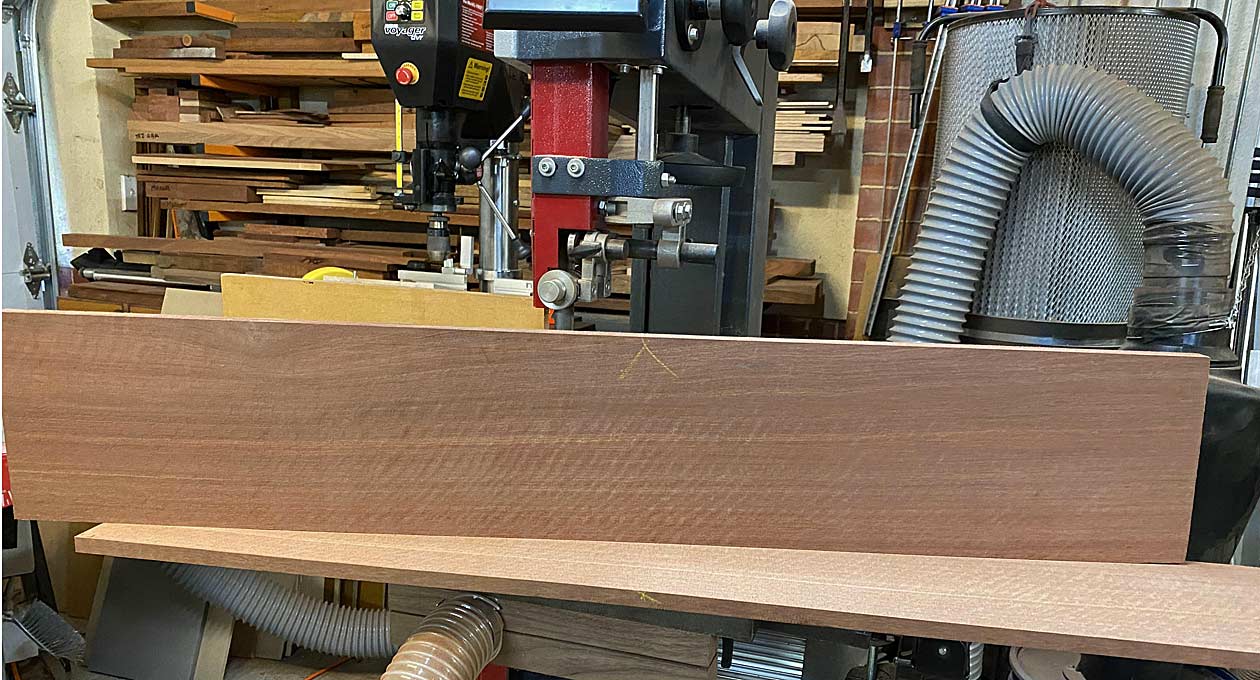
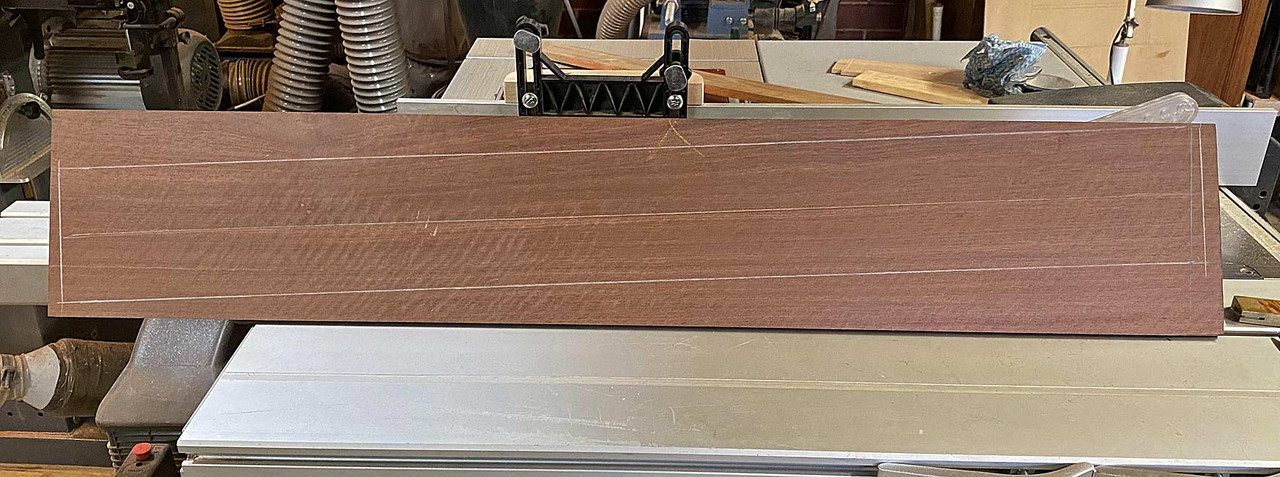
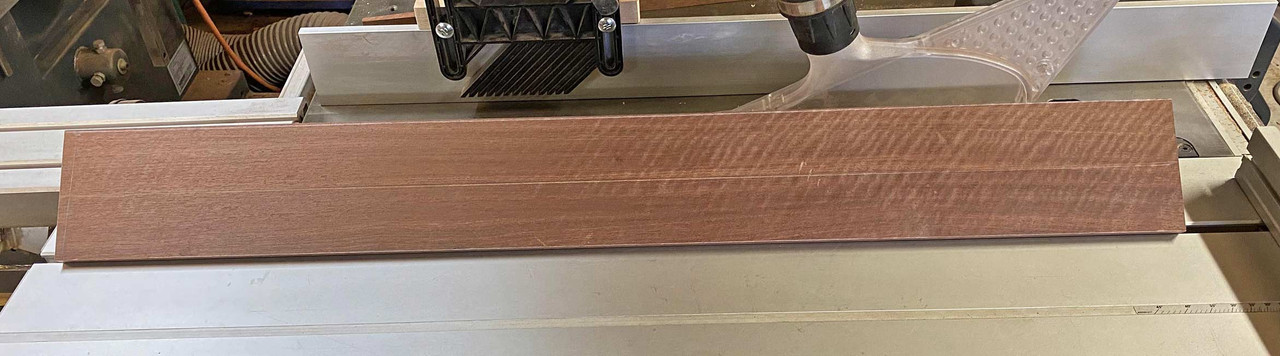
Thirdly, the board was sawn to reduce any disquiet from the figure ...

This is off the bandsaw ....


Straightening the figure ...


This will be the drawer front ...


Regards from Perth

Derek

👍 This page answered my questions

Your vote helps other woodworkers quickly find the answers and techniques that actually work in the shop.