In my last post- (11/13/2019) I shared a series of pictures showing the process of making the brass cap for the center pole of the music stand.
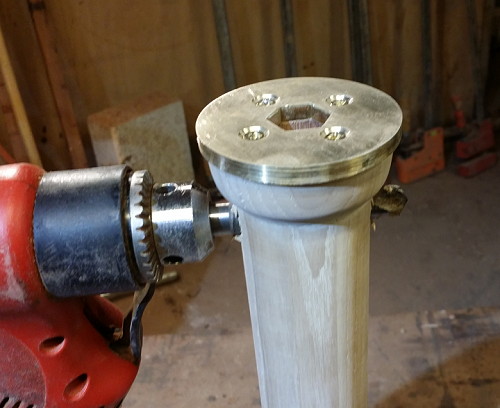
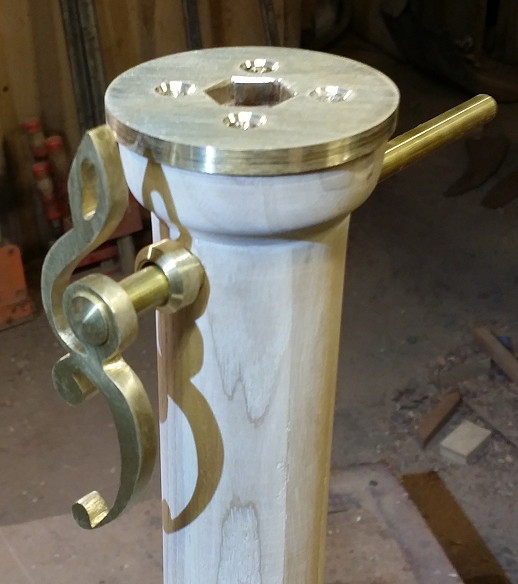
Next step is to mount the bushings for the G/F Cleff Pull Pin. The initial holes were drilled when the stock was square. Now I am enlarging them to accommodate the brass
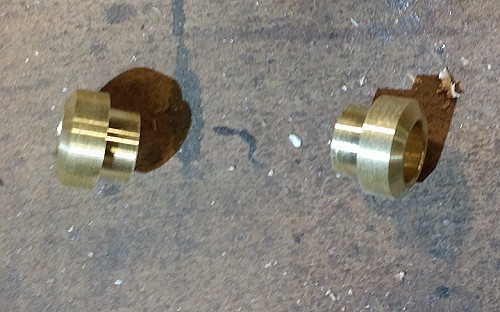
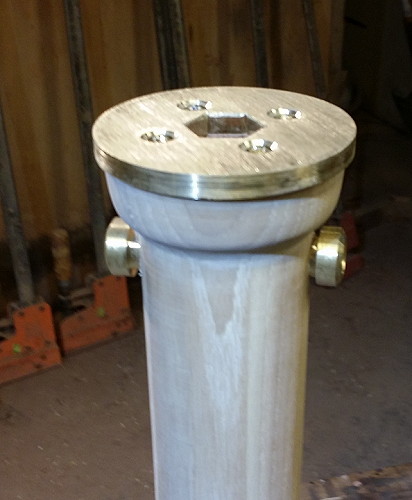
The brass bushings are temporarily set. They will be fully inserted and epoxied later.
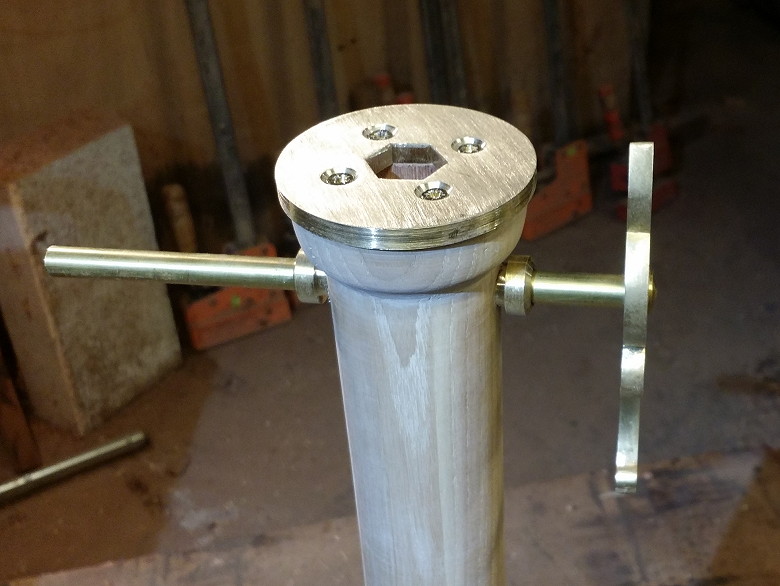
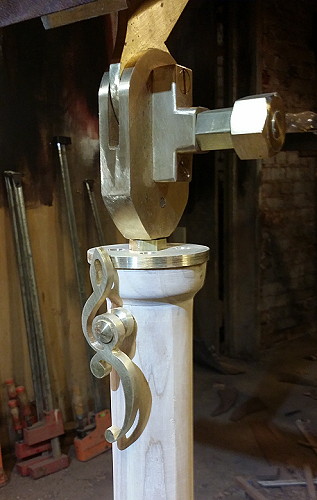
The G/F Cleff is test fit. The pin will be shortened.
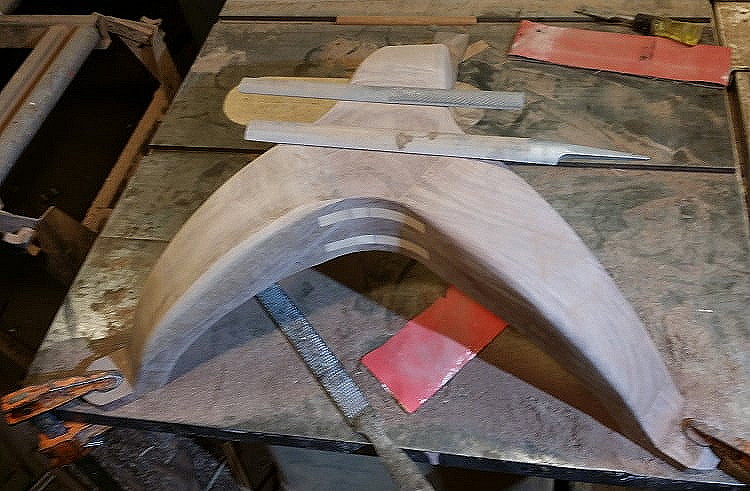
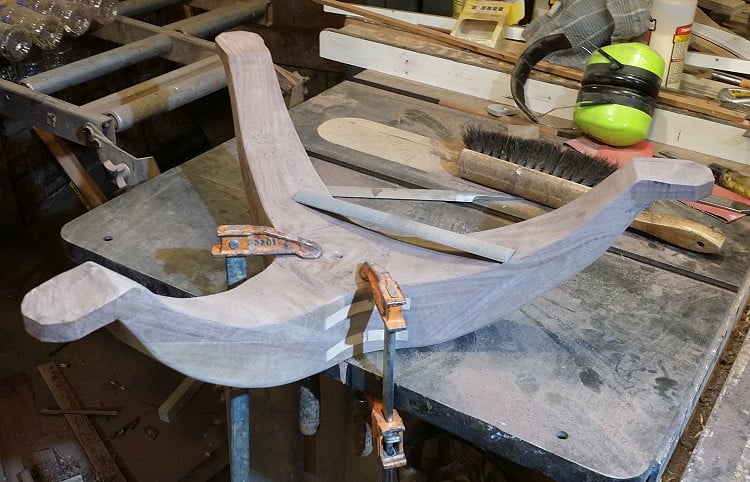
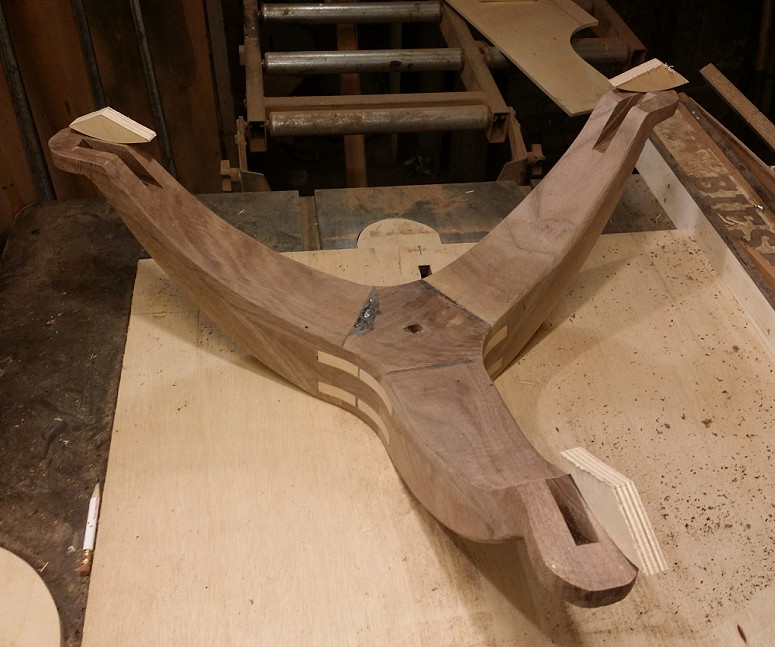
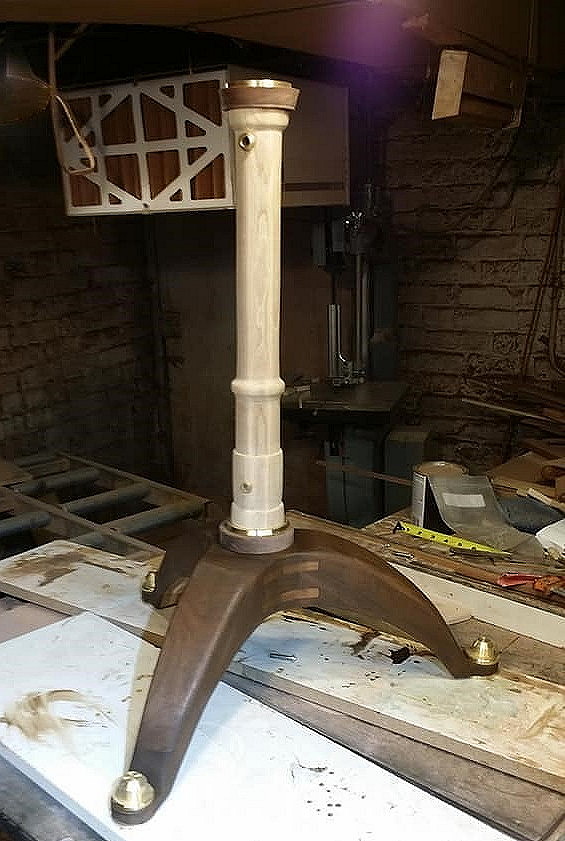
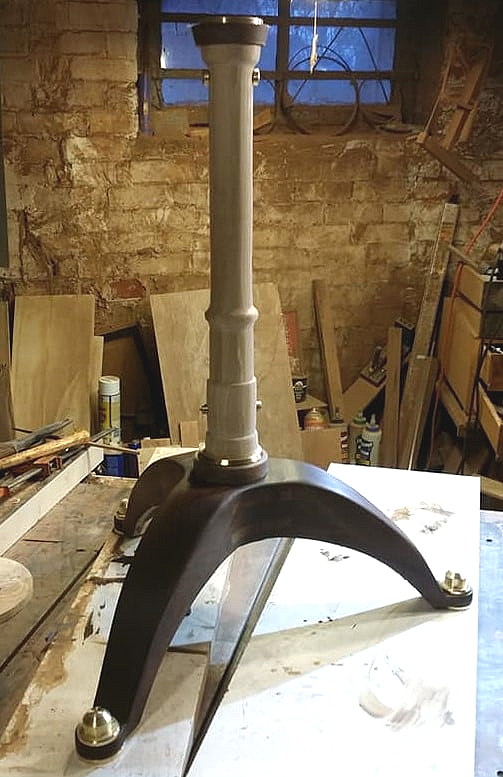
OK- Back to work on the tripod base. Lots of filing and sanding....
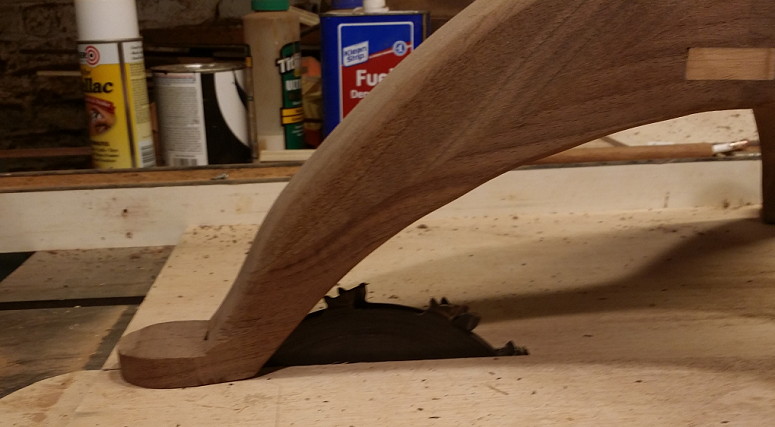
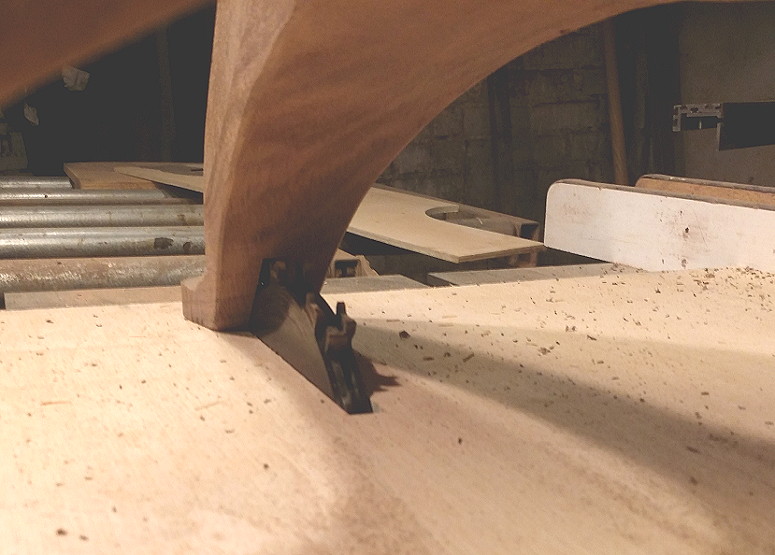
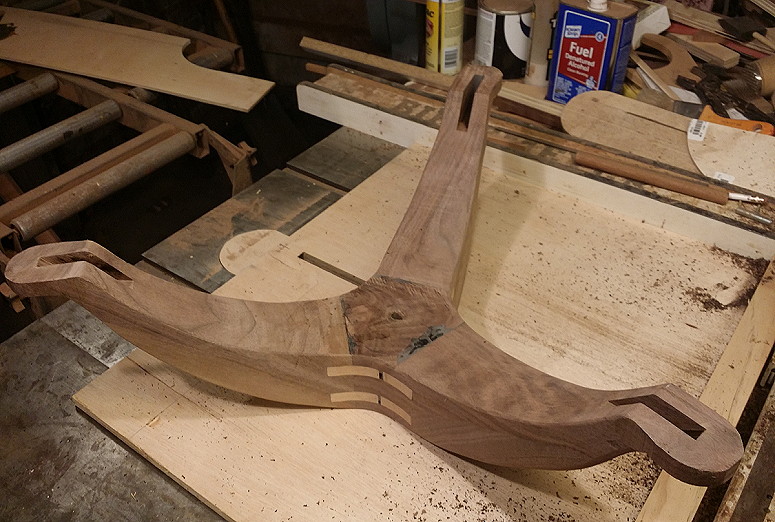
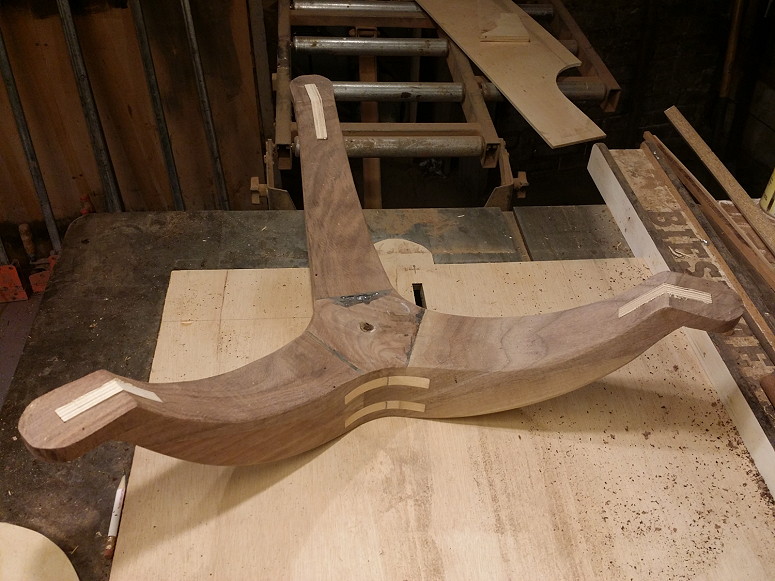
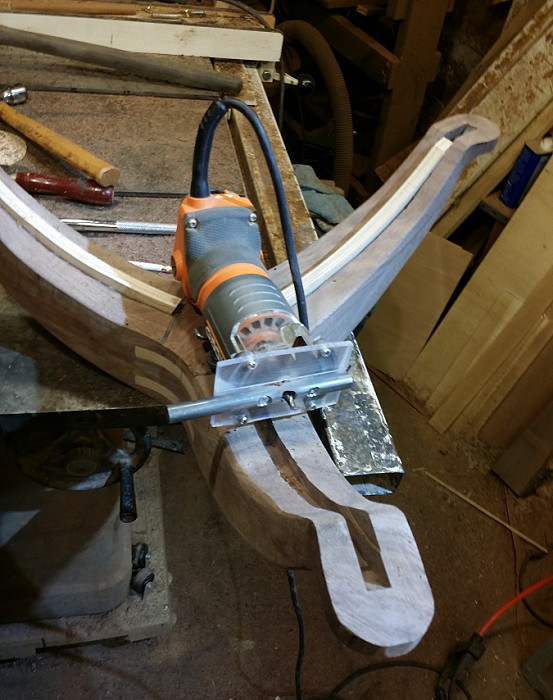
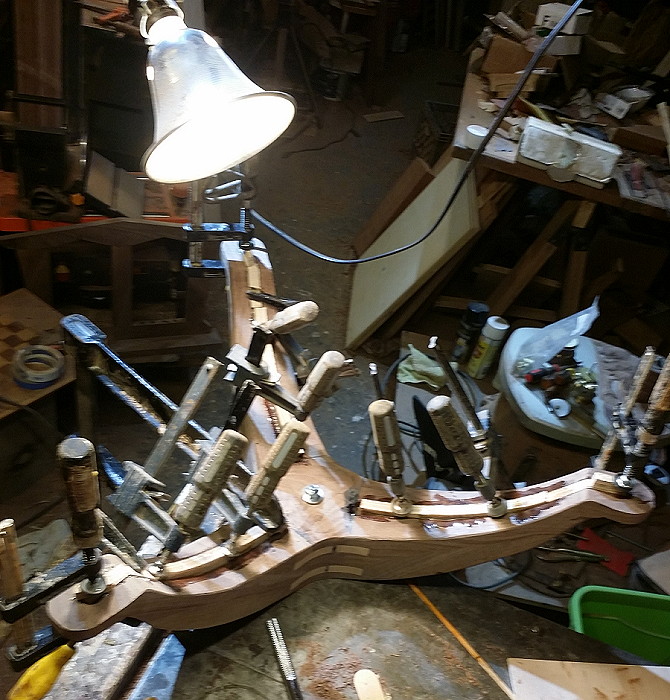
The transition from the arch of each leg to pad foot needs some structural reinforcement as the grain direction of the wood changes. I cut a 1/2inch groove through this transition point and glue a baltic birch plywood spline in the groove.
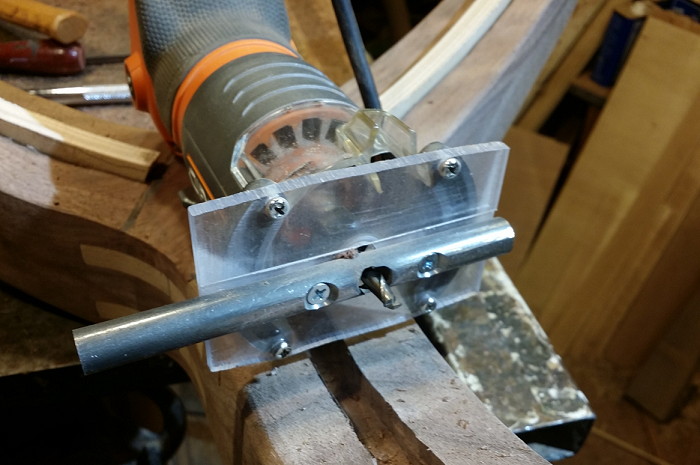
I made a custom router plate and bar to cut a groove for support splines in each leg
The Baltic birch splines are epoxied into each foot and leg section.
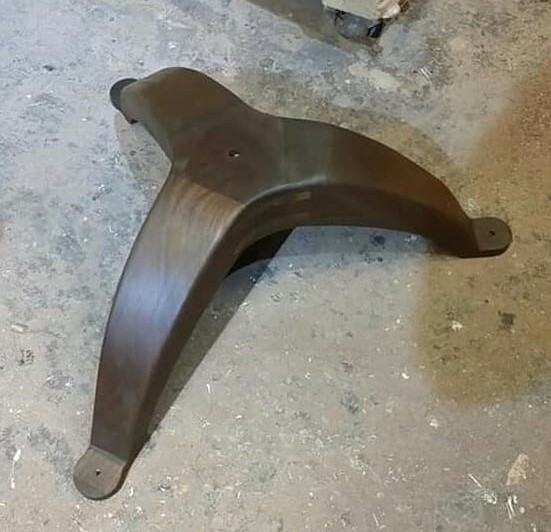
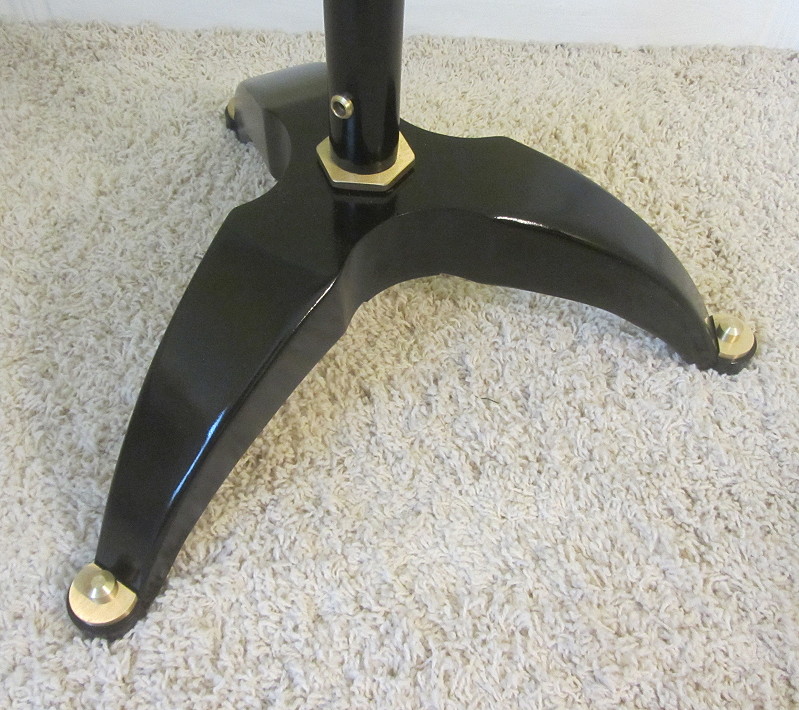
I began the finish process by applying a gel stain from General Finishes to the base.
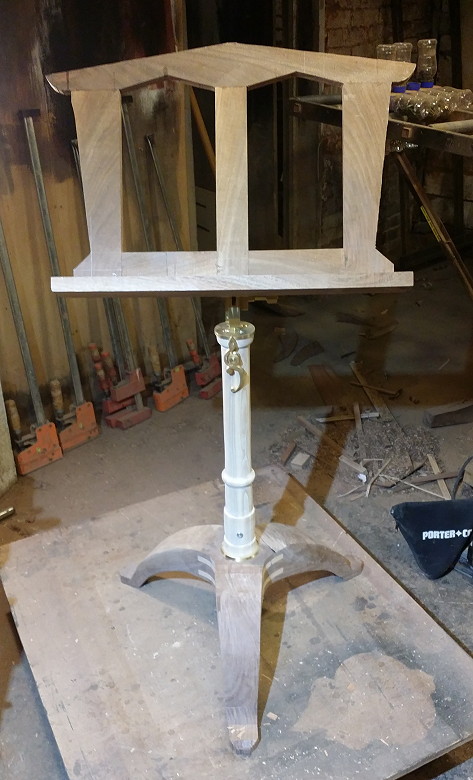
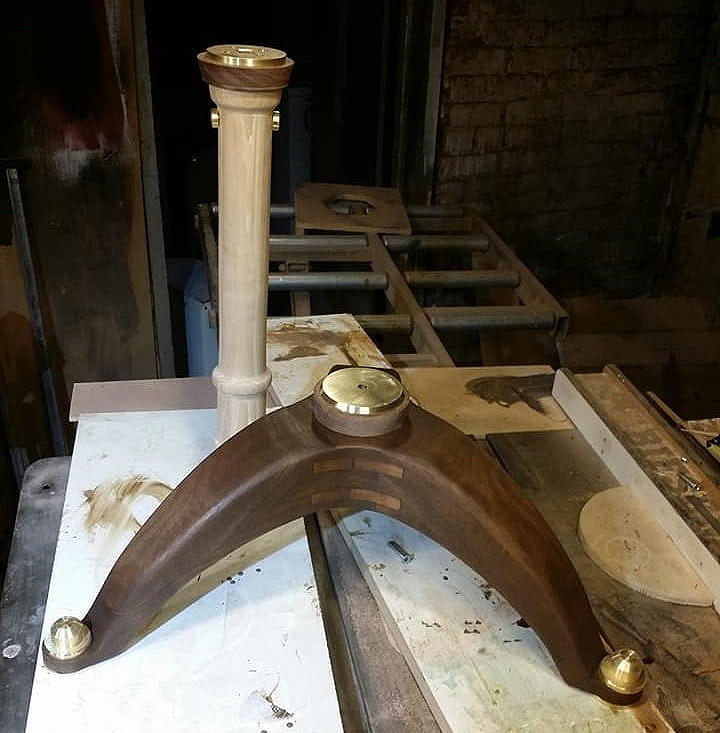
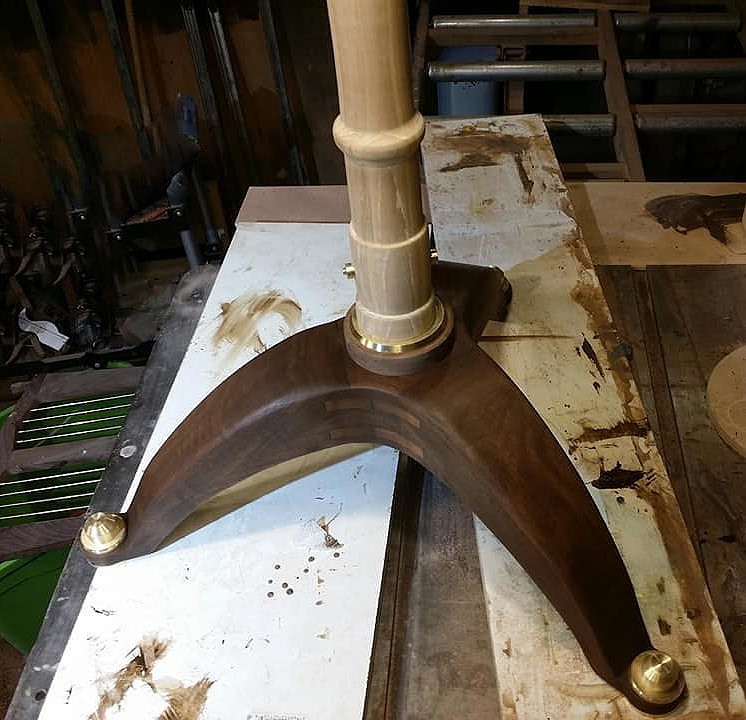
Note: I decided I didn't like the height of the Ash Post. So I made a walnut disk for the bottom and the top of the pole
The next focus will return to the "desk" of the unit-inserting the brass hardware and applying the finish...
1. I have lost track how the "cleff" locks the height of the stand. I have studied the parts and it looks like the pin is nearly the same diameter as the vertical rod- must be optical foolery.
2. "Tripod" legs were common on Period candle stands and small tables. The legs were never reinforced that I have seen. These pieces have more delicate legs than this stand. I suspect the spline leg reinforcement is unnecessary in your robust leg. The "toe" clearly needs reinforcement. Are the brass "toe nails" decorative or height adjustments?
3. The legs on these Period pieces involved much less labor than the legs on the music stand. And they provided a lighter look to the base and post. Don't know if you ever considered building a stand inspired by the legs and post of Period pieces, but it might be worth considering.
4. How are you finishing the brass surfaces? lacquer of some sort?
Bill, I suspect you're right that these tables were probably not built with external reinforcements. However, during the time I was doing quite a bit of restoration work, I worked on several where there were. A few actually looked original but I couldn't be sure. A few others were definitely added later. They were usually what I call "spiders" or metal strips attached to the legs and joined in the center.
Perhaps Alan is hedging his bets and making sure there's no problem down the road.
1. I have lost track how the "cleff" locks the height of the stand. I have studied the parts and it looks like the pin is nearly the same diameter as the vertical rod- must be optical foolery.
The internal height bar is .75" brass hex stock. The vertical pin is .375" diameter brass.
The .375 pin goes through the brass/wood/ brass pole/ wood brass as height is required.
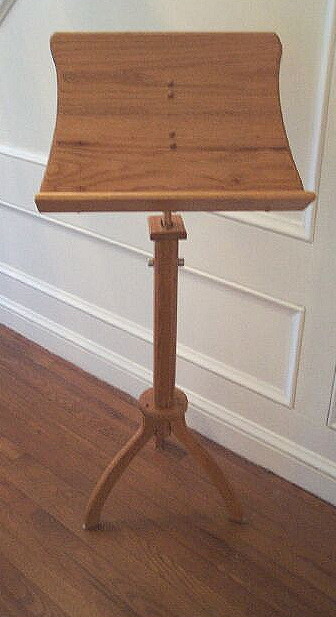
See this earlier stand from about 5 years ago
2. "Tripod" legs were common on Period candle stands and small tables. The legs were never reinforced that I have seen. These pieces have more delicate legs than this stand. I suspect the spline leg reinforcement is unnecessary in your robust leg. The "toe" clearly needs reinforcement. Are the brass "toe nails" decorative or height adjustments?
Basically decorative although they factor in the overall height and they factor in for the "end of the foot durability"
3. The legs on these Period pieces involved much less labor than the legs on the music stand. And they provided a lighter look to the base and post. Don't know if you ever considered building a stand inspired by the legs and post of Period pieces, but it might be worth considering.
A mix of practicality and subjective likes has driven my design towards this look in the base.
Here's one from earlier this year
Those period pieces were usually dovetailed into the center pole. I have seen pictures where even this "locking joint" has broken. As David Y mentioned in his comment I believe a device called a "spider' was designed to reinforce these dovetailed joints. I'd have to look that up...As far as the form factor path I have taken- I looked at hundreds of pictures on-line and elsewhere and my eye has always been troubled by a base that is "too light" in relationship to the rest of the piece. For example here is one of my very first attempts at a music stand
The legs are not dovetailed into the center post-I really can't remember how they are attached but as far as proportions-this is a look I am not fond of and I've seen it's general form on many period pieces. Musically-I have a background in choral music and the aesthetic of Bass Tenor Alto Sop voices is often best served by more singers in the lower range and fewer in the upper ranges of the voices. That is a whole pins vs tails discussion in another art form but the idea of a Firm Foundation is what I go for. Admittedly the photos of these stands seem to over emphasize the Desk ie music rack- vs the base- another tangent of trying to photograph work to reveal what the you really sees vs the camera...So I go for a "heavier" look in the tripod base. But the Brass adds a lot of weight to theses designs and if the user were to let the piece "drop" while adjusting the height I don't want any chance of the base to break-So those splines in the length of the legs
are there to ease my conscience-even if the wood is strong enough
4. How are you finishing the brass surfaces? lacquer of some sort?