Prep before building drawers
Derek Cohen (in Perth, Australia)
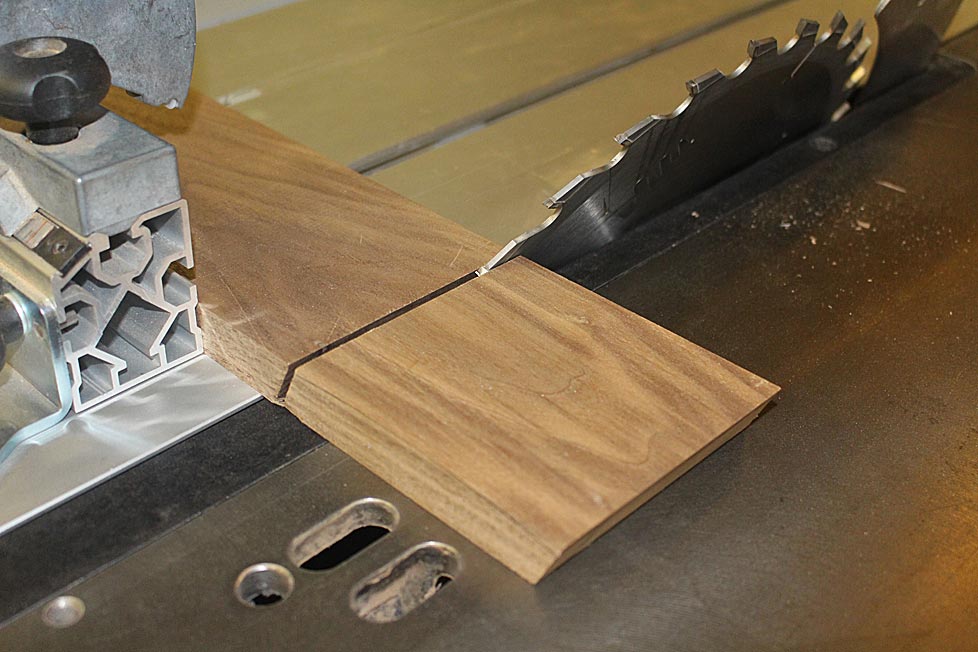
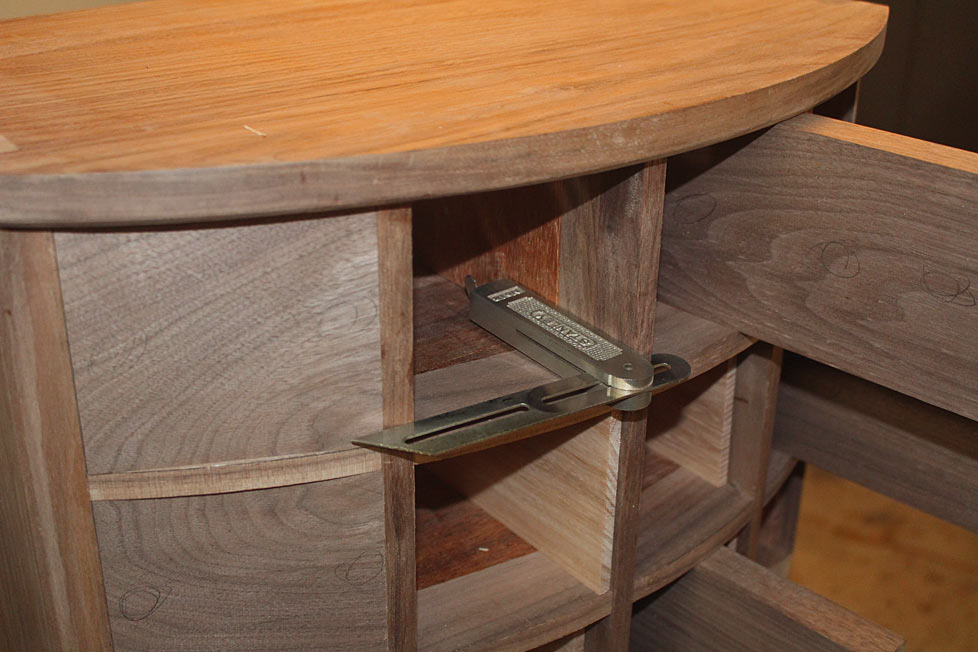
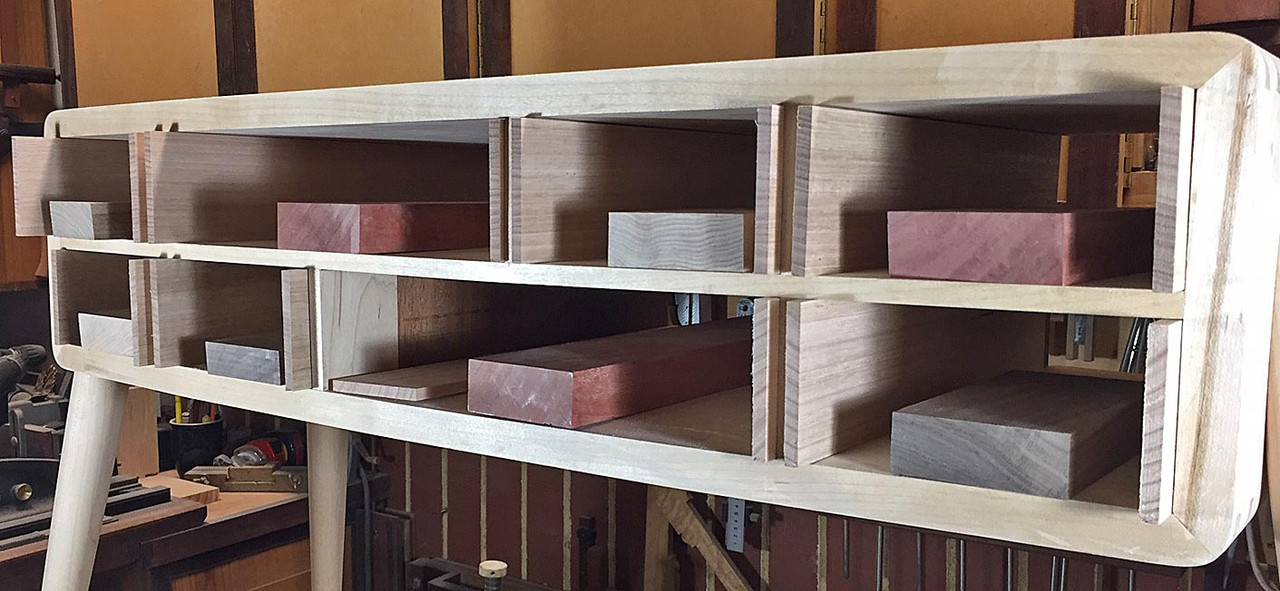
I was planning to next post with the completed Harlequin Side table, however it has been two steps forward and one back. Selecting the drawer fronts .. well, I've cut and recut them a few times, and only now satisfied with the result. It is no small deal each time since a drawer front has to be fitted into a recess that is shaped like a parallelogram. And if the fit is not good enough ... well, a few would-be drawer fronts were discarded.
What parts are needed? Well, the drawer sides are 1/4" thick - too thin for grooves, so there will be slips to support the drawer bottom.
The drawer sides are Tasmanian Oak, which I use frequently, as it is a light wood that allows the drawer fronts to be shown to their best, and it is available quarter sawn. The drawer back will also be Tassie Oak.
The drawer bottoms are solid wood and 1/4" thick. Rather than use Tasmanian Oak, I thought I would add a little life with Tasmanian Blue Gum. It is quite similar is texture and tone (although the photos here do not show this), but has more figure.
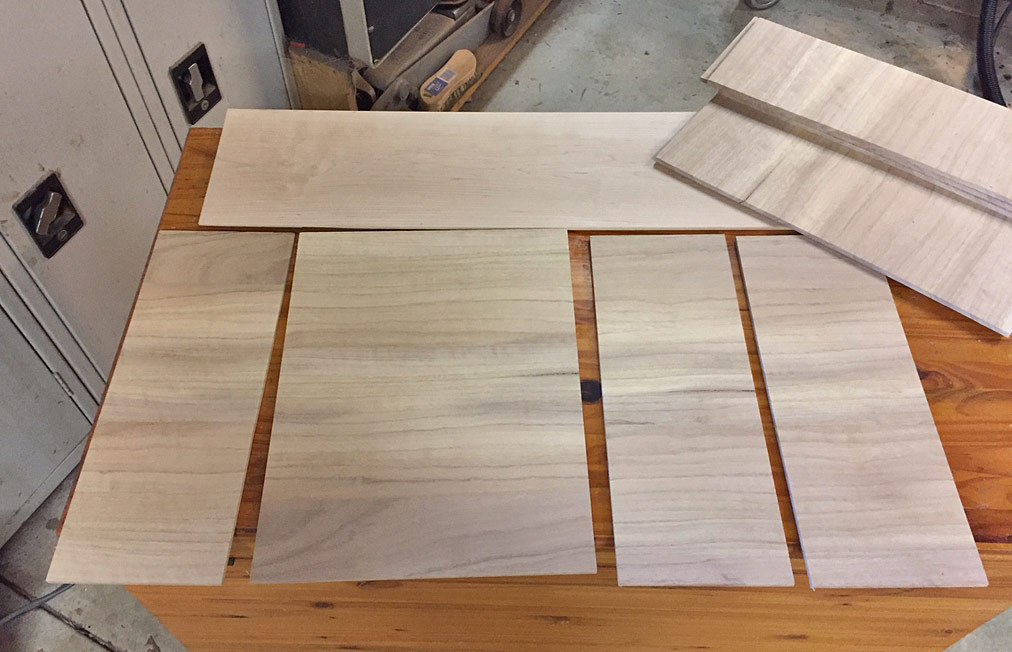
Enough here for 8 drawers ...
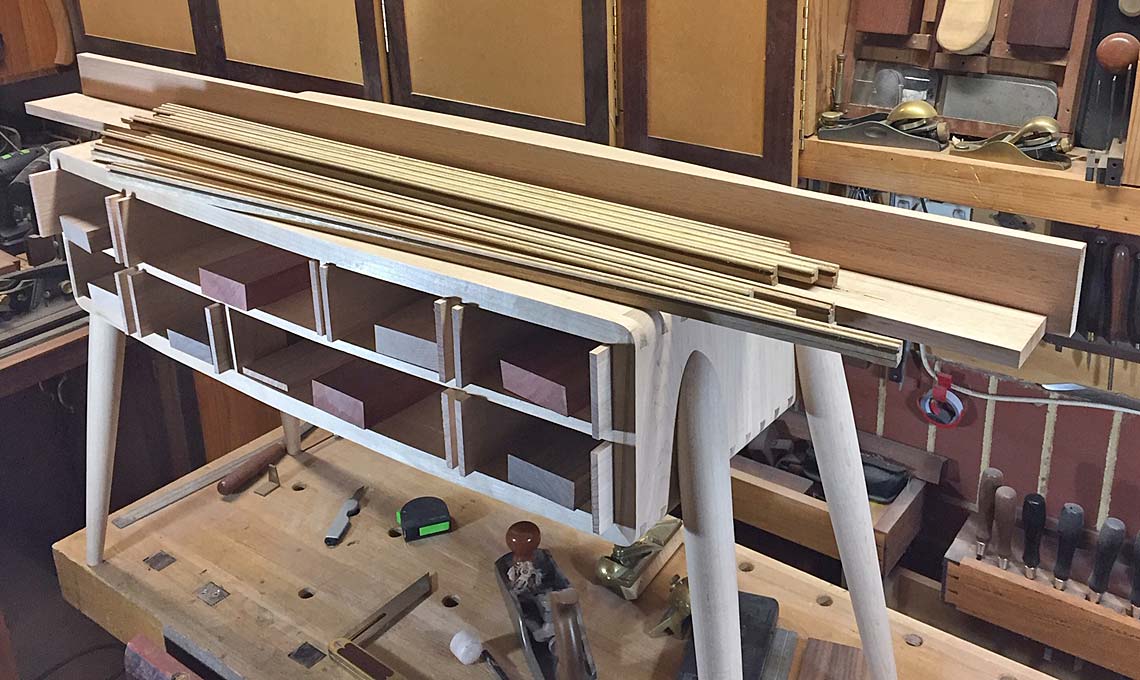
Drawer sides and drawer fronts ...
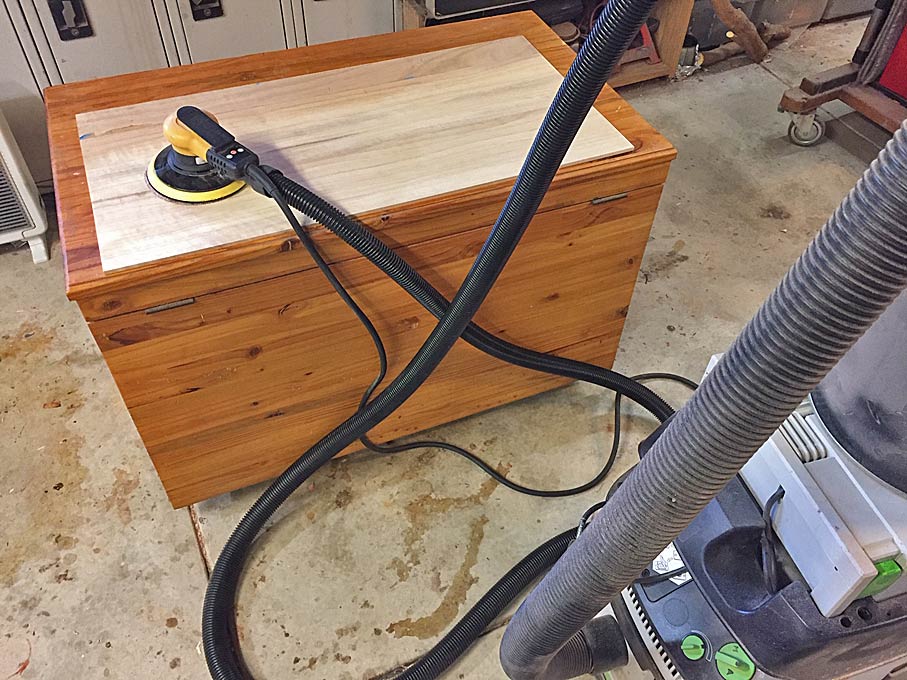
Great sander ... Mirka Ceros ...
These will be the drawer bottoms. The board in the centre is the Hard Maple case back ...
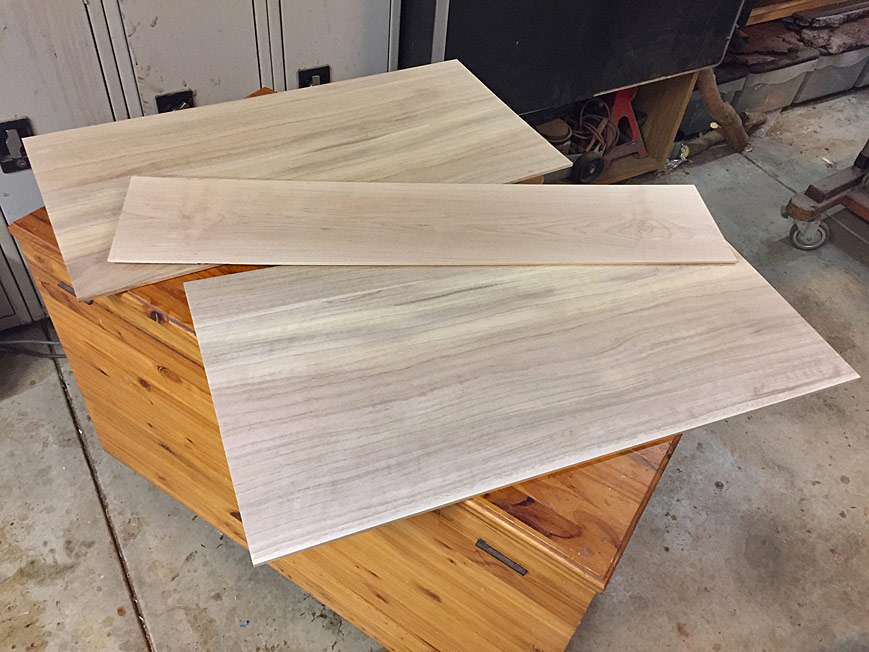
Do you think anyone will notice that the drawer bottoms run sequentially? 
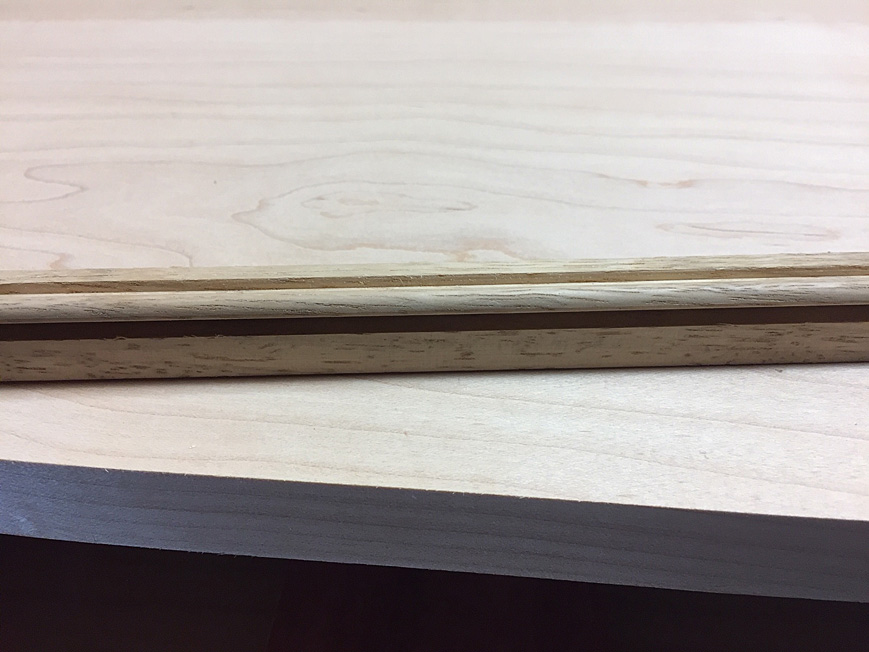
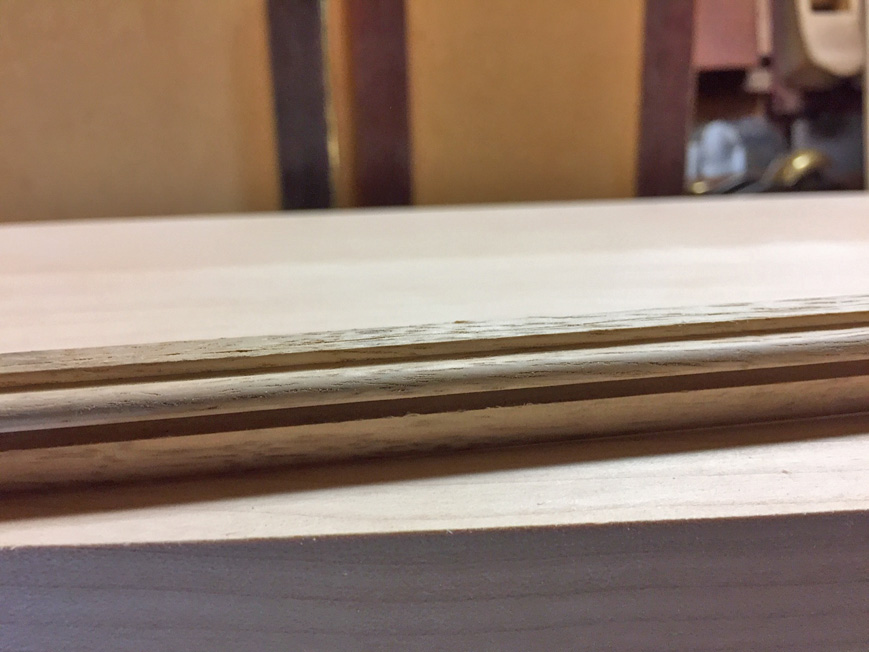
The making of the drawer slips may have some interest. I used Tasmanian Blue Gum (because it links to the drawer bottoms). This is quite interlocked and any planing with a plough to form either grooves or beads would be expected to end unhappily, with much tearout. I have posted this tip before: add a 15 degree backbevel to all plough blades to create a high 60 degree cutting angle.
The 3/16" beads were ploughed with the Veritas Combination Plane ...
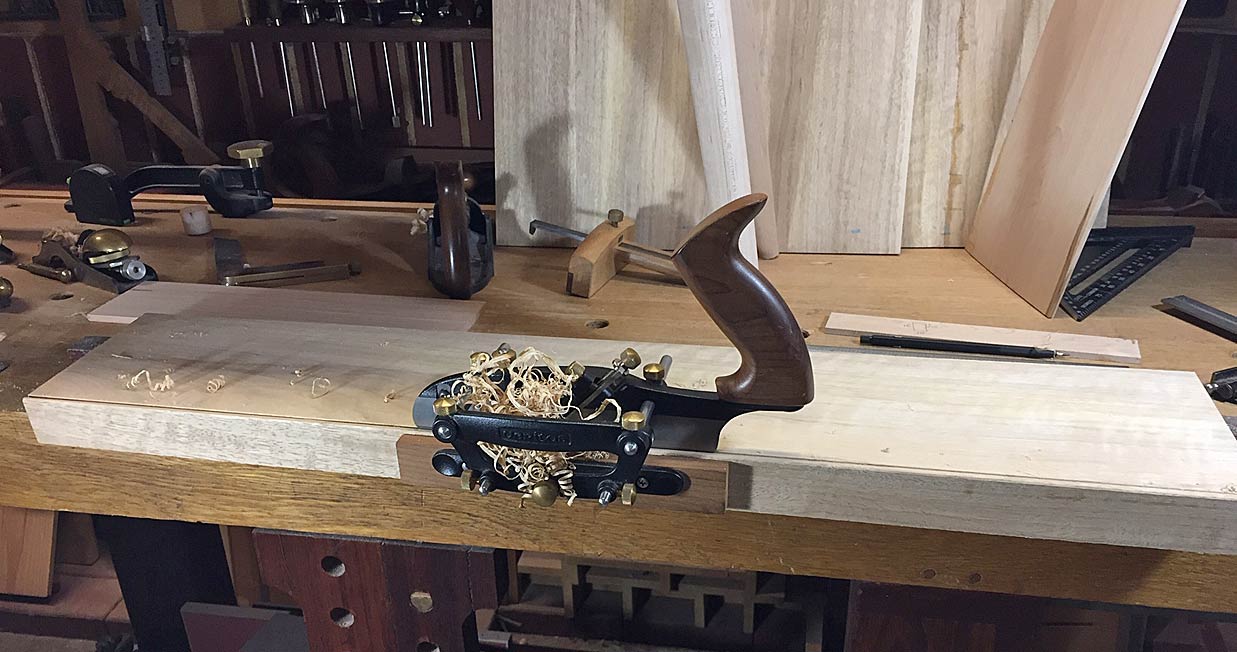
Brilliant finish ...
... and a 1/8" groove for the rebate in the drawer bottom was ploughed by the Veritas Small Plow ...
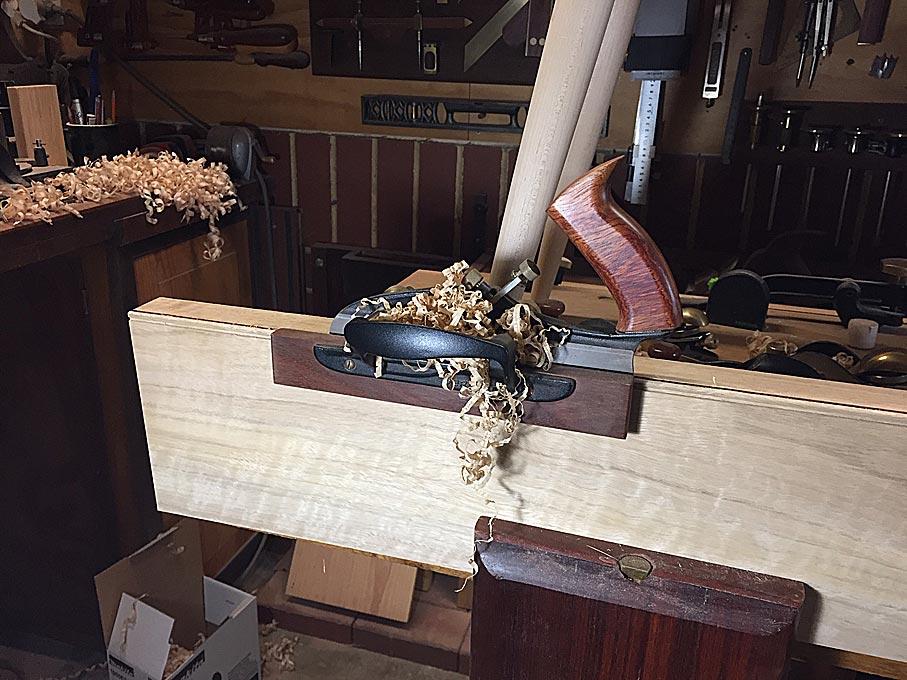
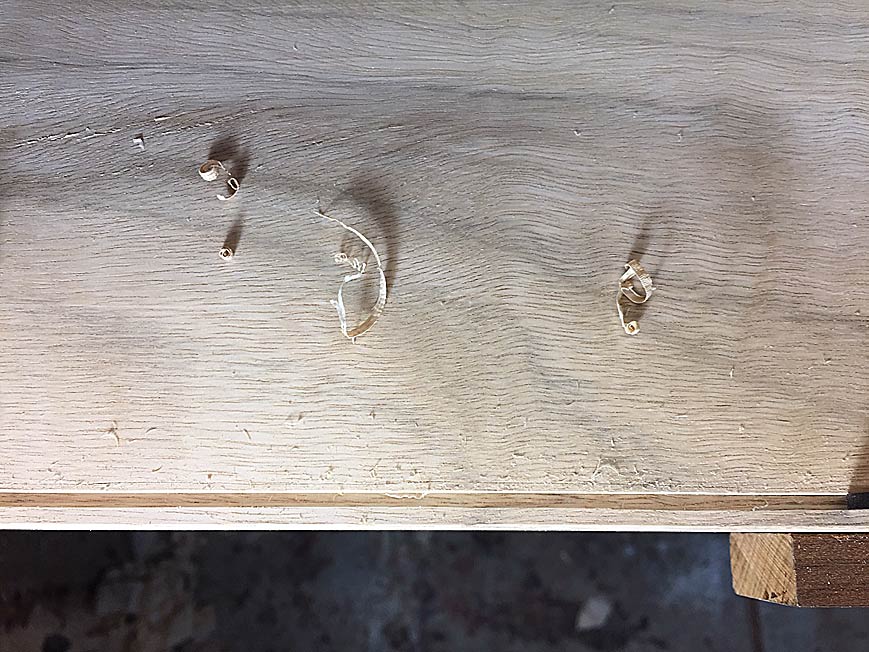
Again, tearout free ...
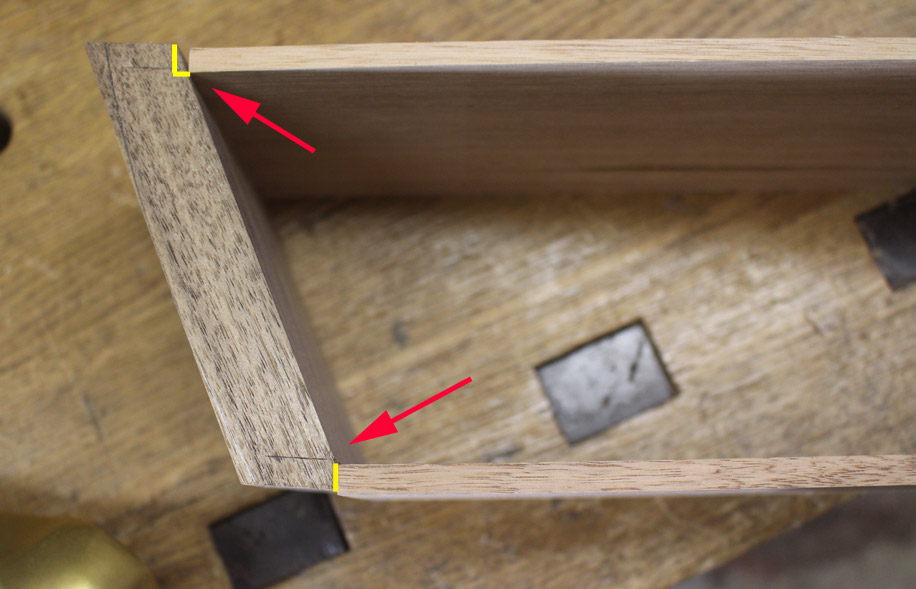
This is a mock up of the intersection of the drawer front (back), drawer side into drawer slip and against a drawer side ...
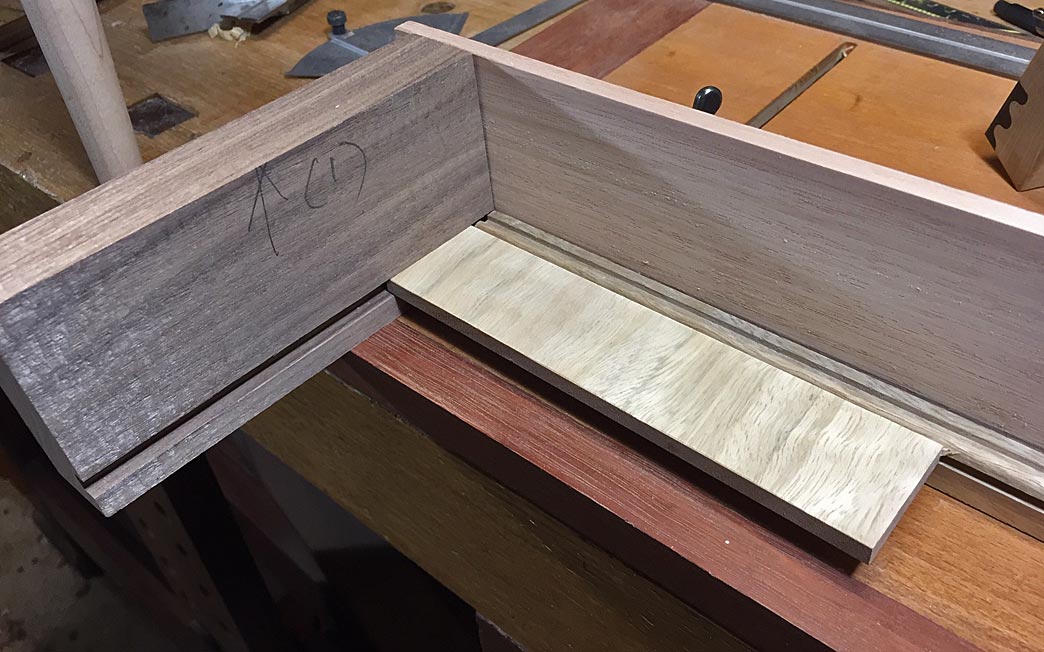
Note that the drawer front is straight/flat at this stage but, once dovetailed, they will be shaped to curve along the bow front of the case.
These are the timbers I have chosen for the drawer fronts. This is what gives the side table the harlequin name. Three timbers: Black Walnut, a pink Jarrah, and figured Hard Maple. Keep in mind that there is no finish at this stage ...
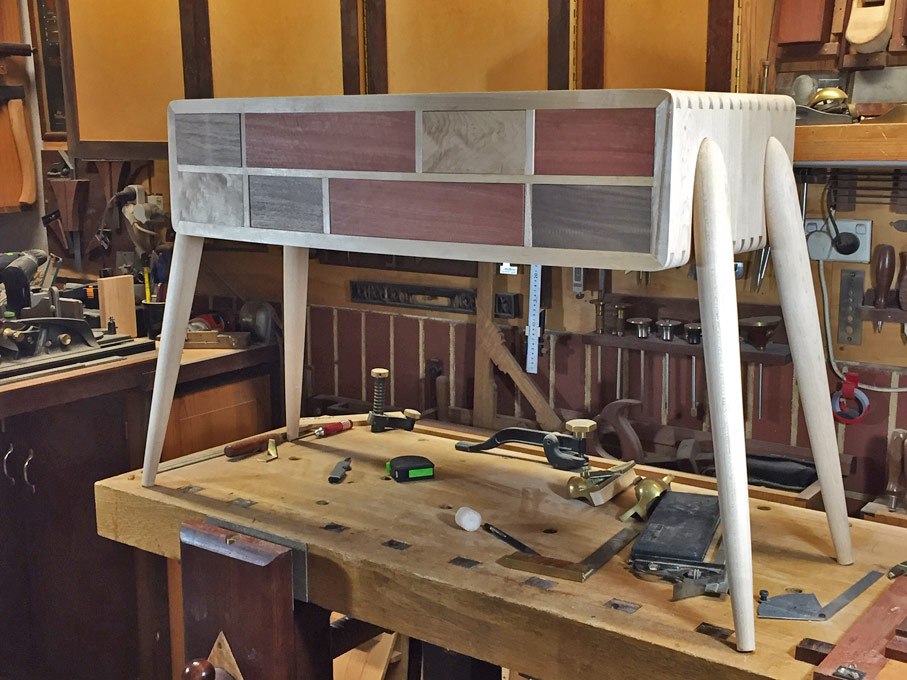
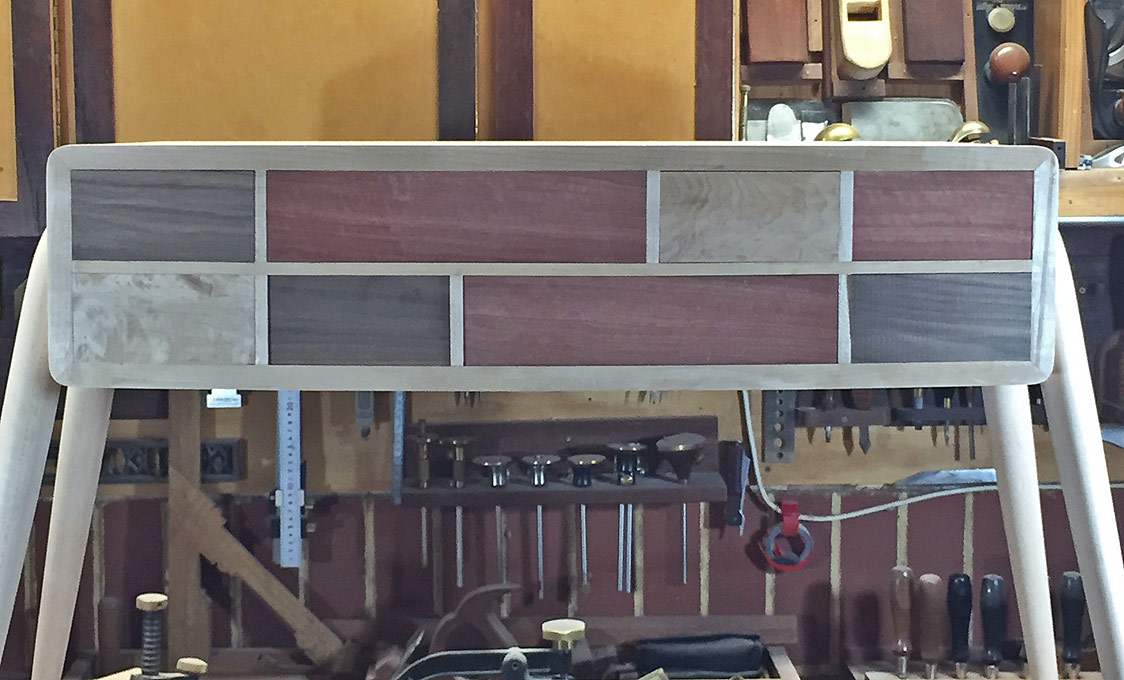
Next time hopefully with everything completed.
Regards from Perth
Derek