WoodCentral Forums

Est. 1998 — 27 years of woodworking knowledge

The Harlequin side table: legs

Posts

The Harlequin side table: legs

#1

The Harlequin side table: legs

Derek Cohen (in Perth, Australia)

The case was completed last time ...
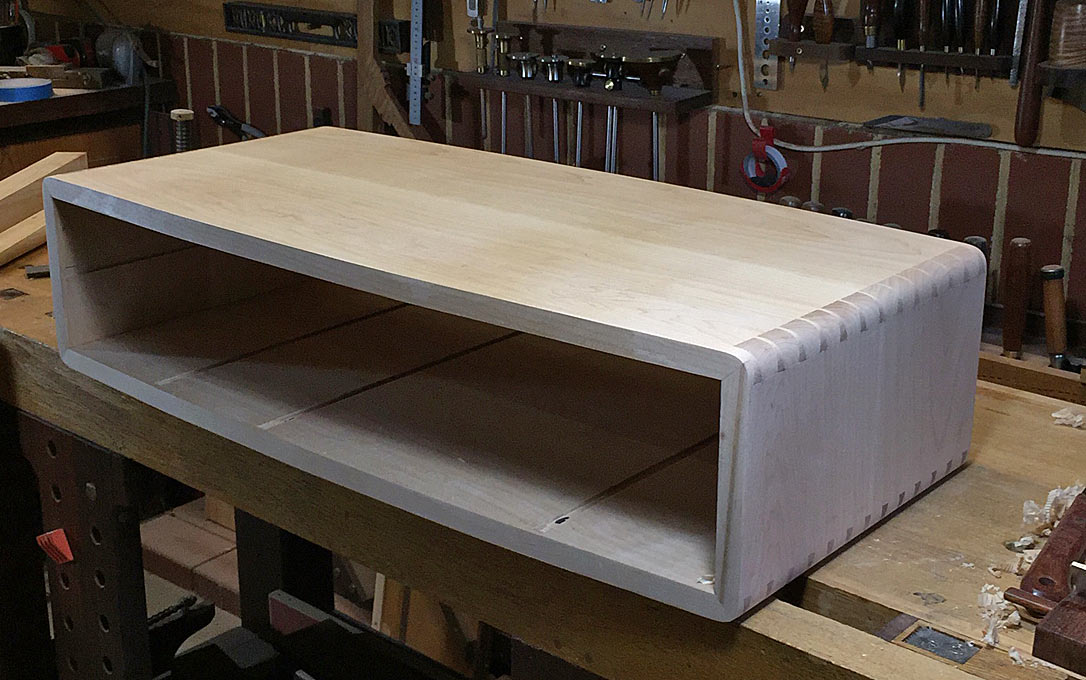

... but before the drawer dividers can be permanently installed, the legs need to be made and attached.

This was the original drawing ...


Some has been retained and some has been changed.

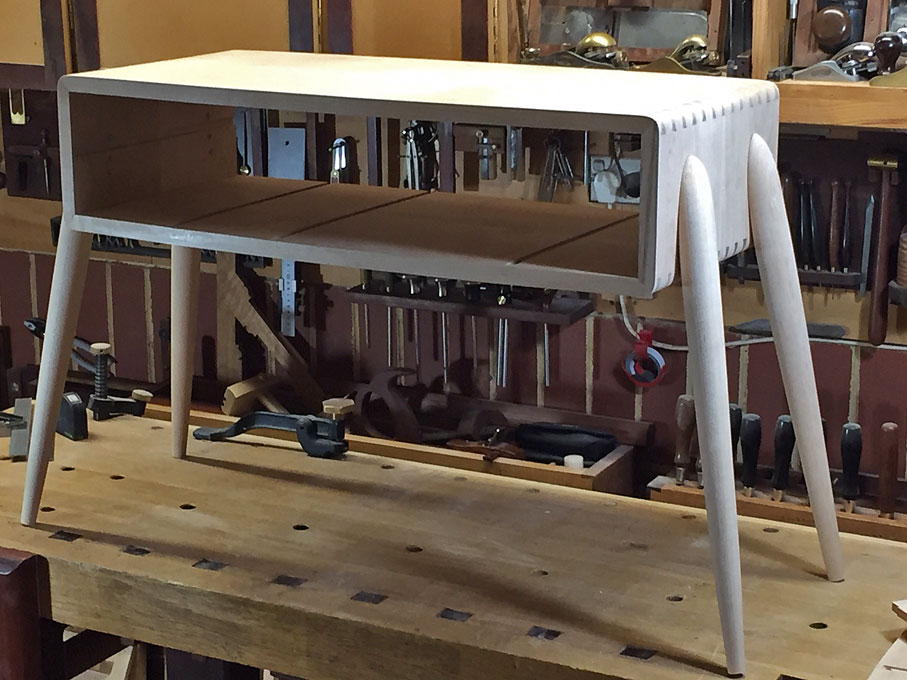
Instead of curved legs, which I later decided did not match the overall style, I decided on round, tapered legs that will splay out from the case.

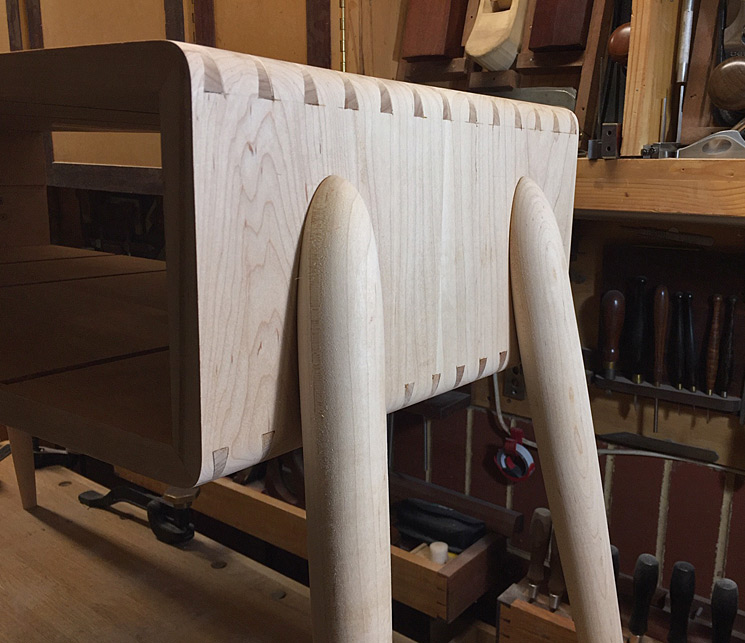
Before turning the legs, the splay was created by tapering the top of the legs on the table saw. The slider uses a Fritz and Frans jig to rip the end at the chosen angle (8 degrees). This ensured that the splay angle would be the same for all legs.


The blanks were then turned to shape. Here I am checking that the near-to-finished legs are the same dimensions and have the same taper angle ...
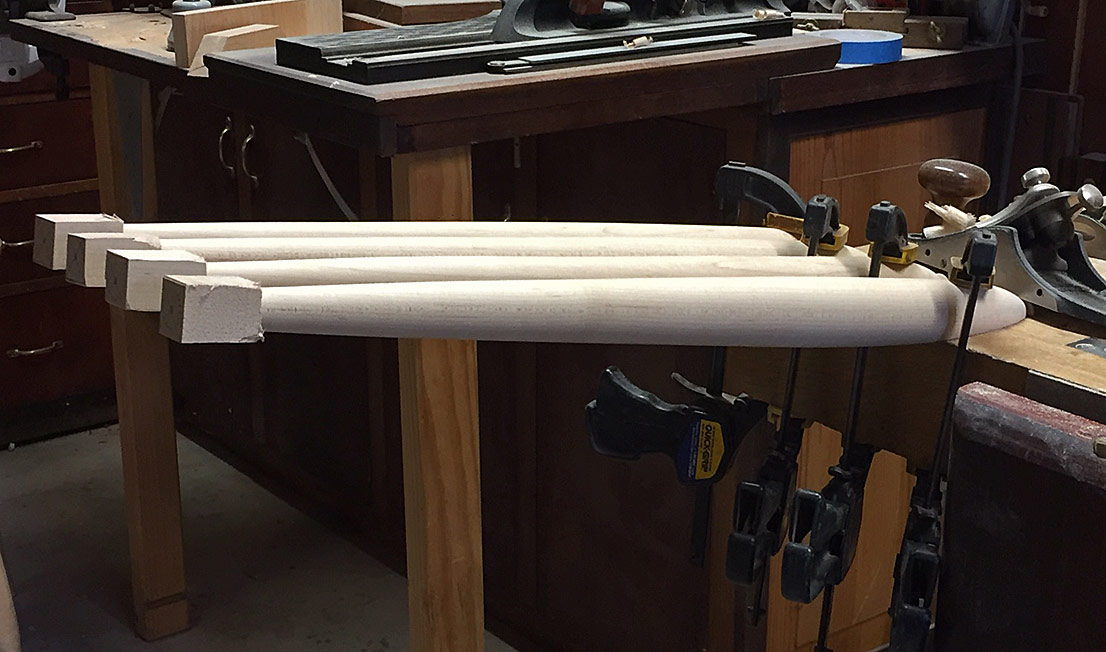

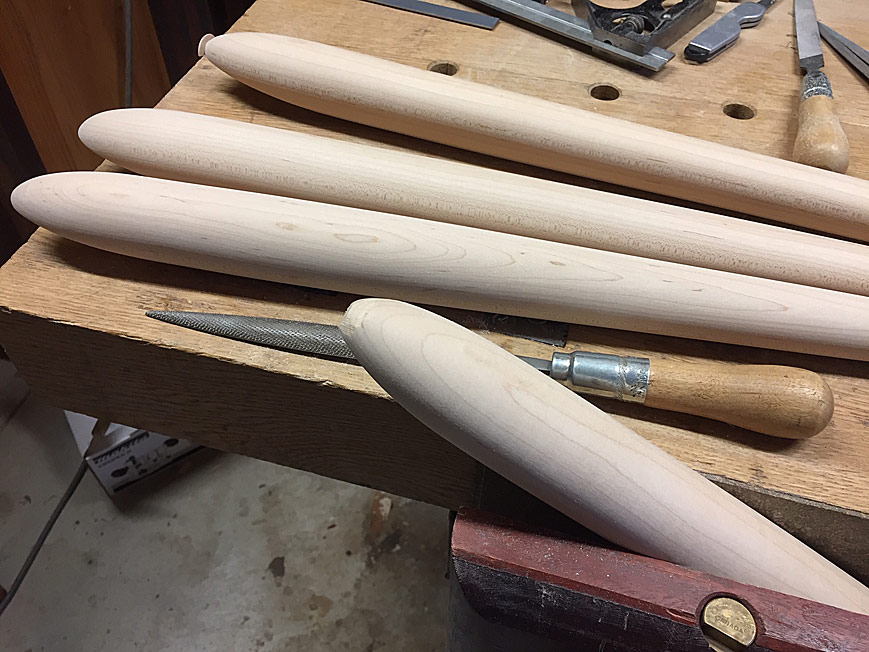
The ends were then cut off and the top was shaped with rasps and sandpaper ...

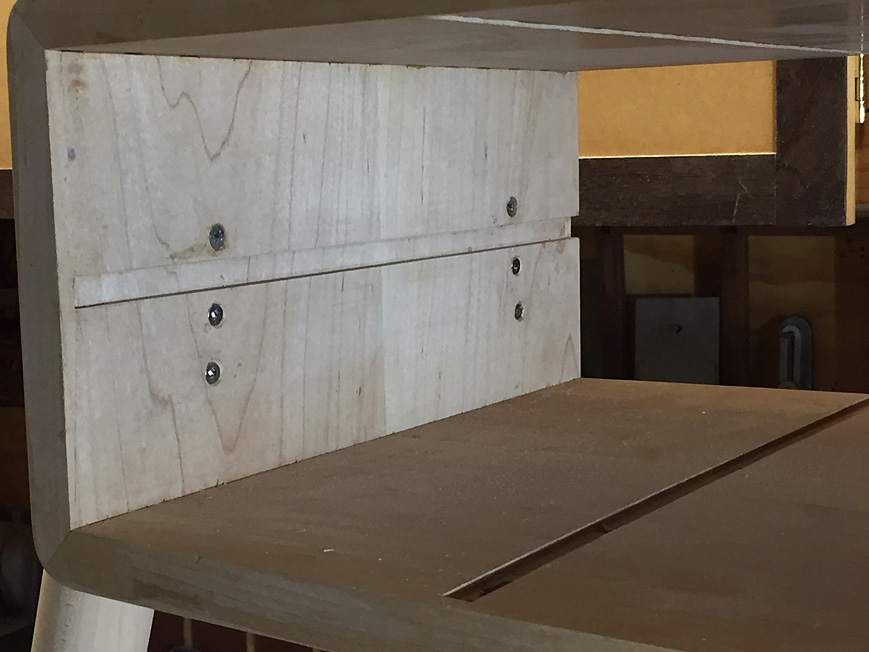
How to attach the legs? Well, that had given me a real headache. I was thinking along the lines of a loose tenon ... overcomplicating matters (as usual). A number suggested simply glueing and screwing. I was skeptical, but of course, a glue joint alone is generally stronger than the wood ... and reason prevailed :)

There are three screws per leg, which were countersunk for the drawers. The glue chosen was Titebond III.
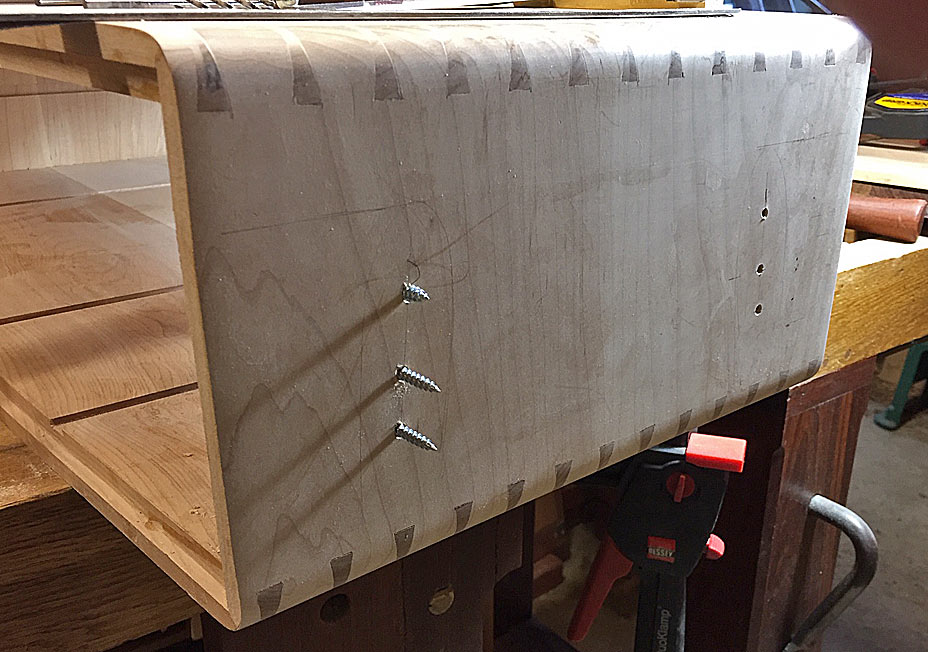

All cleaned up, this is what we have (drumroll) ...
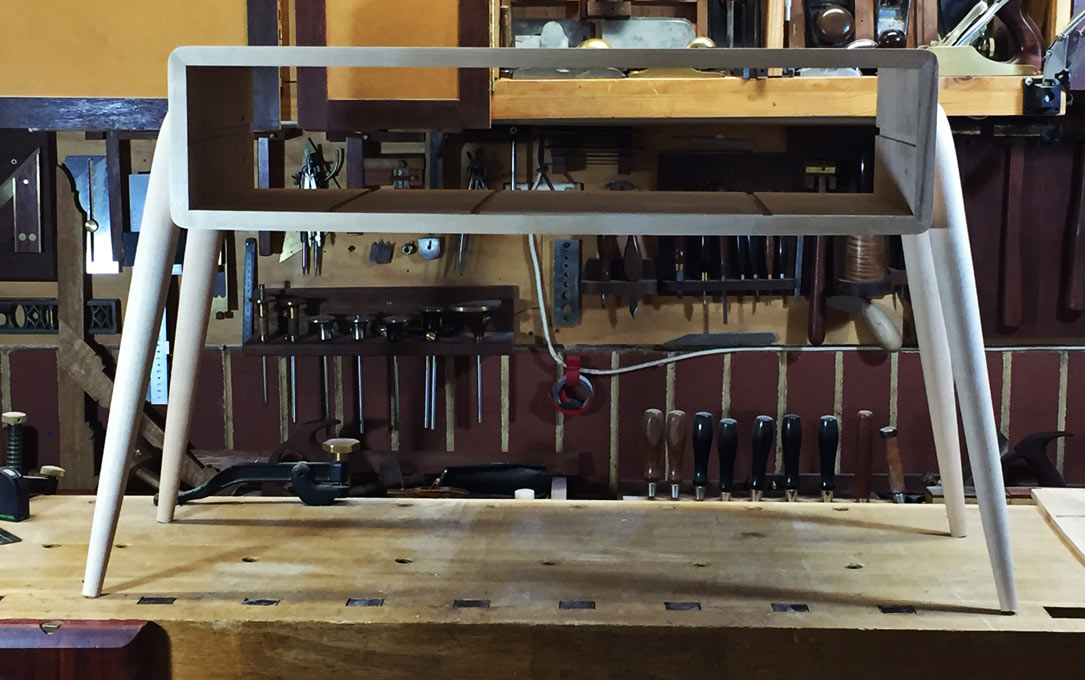


The splay to the side is 8 degree, and from the sides, the legs are aligned with the front and rear of the case.
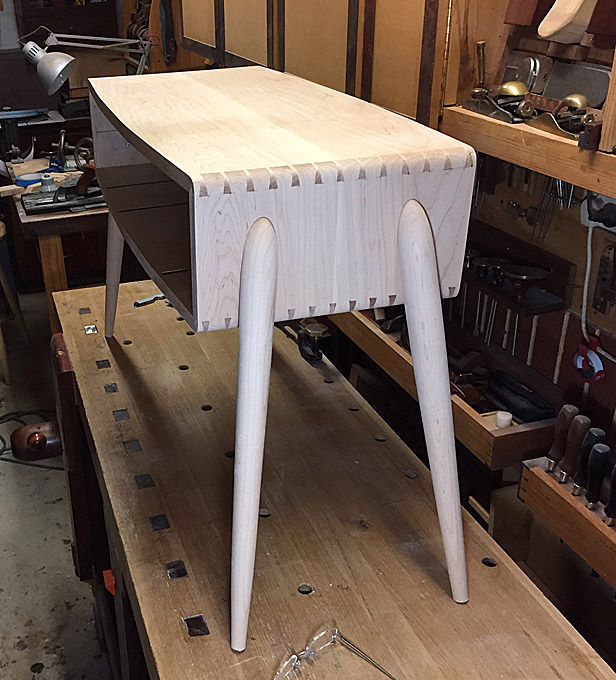

Drawers next :)

Regards from Perth

Derek

Re: The Harlequin side table: legs

#2

Last images for a while

Derek Cohen (in Perth, Australia)

A frustrating Sunday: I began installing the horizontal divider/drawer blade, and my spatial confusion (or lack of concentration) kicked in. In went the divider ... upside down! Well, fortunately it jammed half-way and could not be glued in ...

Knocking it out, however, caused the rear section of the panel (it is made of three boards) to break off. It was glued back again, but the panel needed to dry before starting again, and so I lost my Sunday afternoon. This table is destined for the Perth Wood Show at the start of August, and I am already battling with time as weekends are generally all that are available for woodworking.

Fortunately, I had this afternoon (Monday) off from my practice, and had a couple of hours to try and catch up a little.

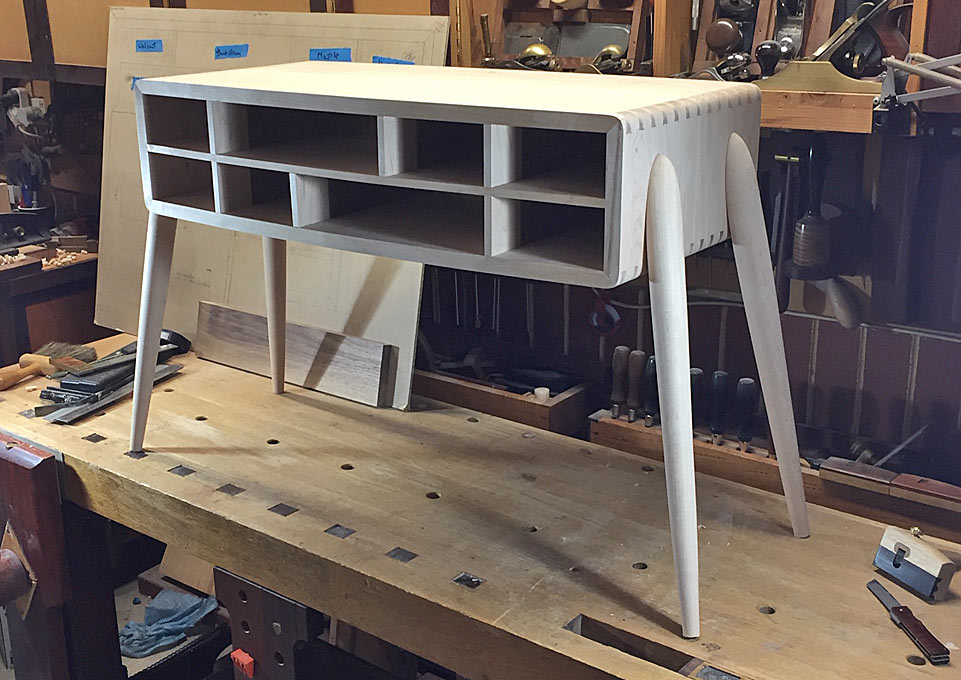
The glue dried, and the panel was fine. It was sanded to 240 grit, and then installed. Ditto the side dividers. All went smoothly ... all lined up and everything is square. Clearly I have been a good boy :)


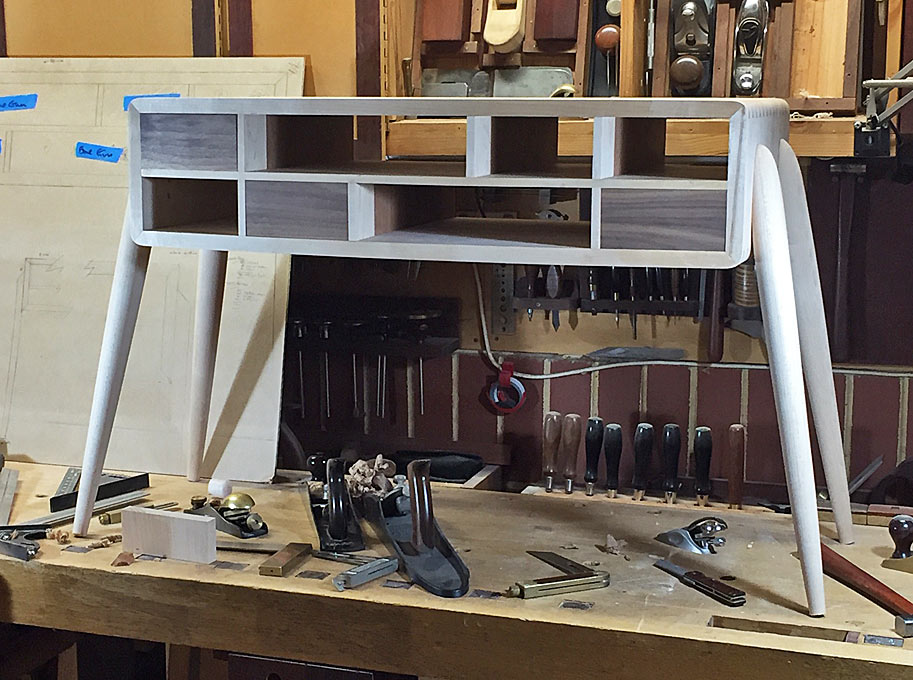
The reason why the table is termed "Harlequin" is that the drawers will be a mix of different timbers: Black Walnut (x3), Figured Hard Maple (x2) (both from the USA), and Tasmanian Blue Gum (x3) (which is local, of course).

The drawer fronts all curve, and I spent the last part of the afternoon cutting out the Walnut blanks. This will will give you an idea of the effect ..


Unless someone is interested in a walk through in dovetailing on the curve (which I have posted here previously), the next images will be the completed table.

Regards from Perth

Derek

Re: The Harlequin side table: legs

#3

Re: Last images for a while

Bill Tindall, E.Tn.

There is probably some design/art word to describe this piece, as least to my eye. It looks like it is ready to take flight, and I don't mean that in a negative way. I hope the addition of the drawers doesn't "ground it". If you set a TV antenna on it it will be bound for Mars.

Means of opening the drawers could make or break it. Good luck with that decision. Somebody needs to invent something that on command pushes the drawer out enough to get a finger in the top and pull.

Re: The Harlequin side table: legs

#4

Re: The Harlequin side table: legs

AZ in Colorado Springs

That looks great! I think the legs you built are superior to the ones in the drawing. Good luck getting everything completed in time for the show.

Re: The Harlequin side table: legs

#5

Bill, a question about finishing walnut

Derek Cohen (in Perth, Australia)

I recall that this is an interest of yours. Black Walnut, in this case, tends to fade/lighten with age, and especially when exposed to sunlight. I want to stabilise the colour of the three walnut drawers in this table. I do not want to darken it (much, if at all).

If I remember correctly, you like to stain walnut. I have read of some using boiled linseed oil and Tru Oil, but these tend to go quite dark. Is the problem photosensitivity? The drawers will not face the windows, but the room is sunny (remember, I live in Perth, Western Australia! :) ).

The Hard Maple will be finished in General Finishes water-based poly. This has been great at preserving the white in the kitchen I built 2 1/2 years ago, plus it will have the protection against water and beer bottle stains from our wild parties. I wonder how the walnut would live with this finish as well?

Suggestions?

Regards from Perth

Derek

👍 This page answered my questions

Your vote helps other woodworkers quickly find the answers and techniques that actually work in the shop.