WoodCentral Forums

Est. 1998 — 27 years of woodworking knowledge

Harlequin side table: rounding the dovetailed ends

Posts

Harlequin side table: rounding the dovetailed ends

#1

Harlequin side table: rounding the dovetailed ends

Derek Cohen (in Perth, Australia)

We left off with the drawer dividers a dry fit in the case ...
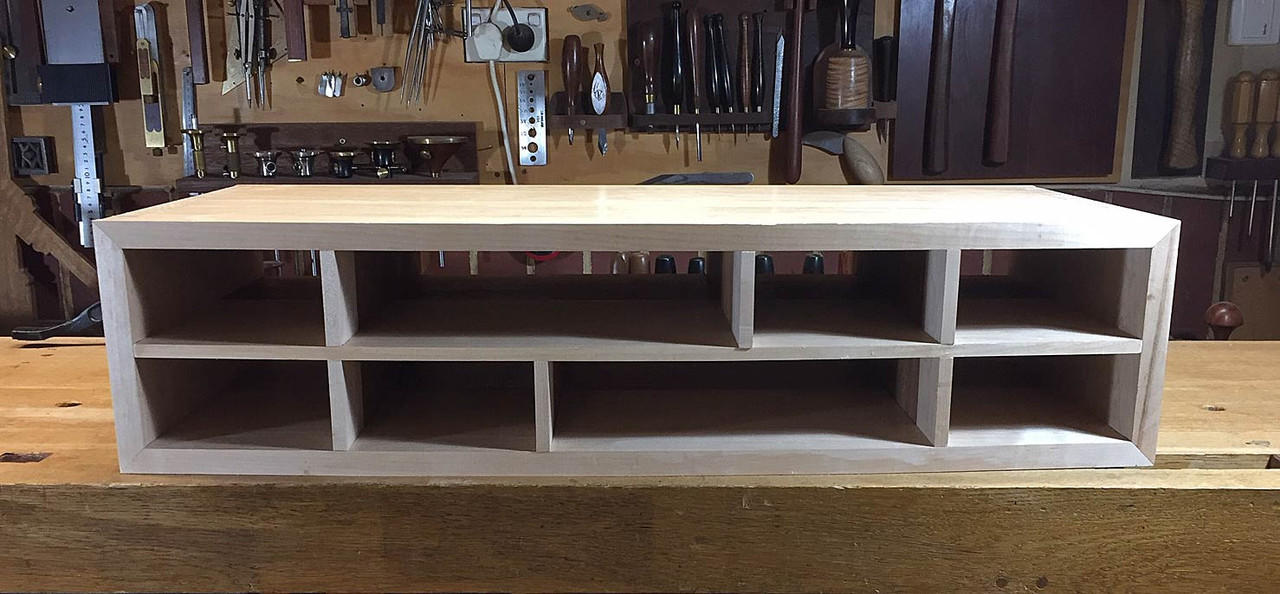

And then this was pulled apart and the case glued up. After a clean up, the ends were looking a little tidier ...
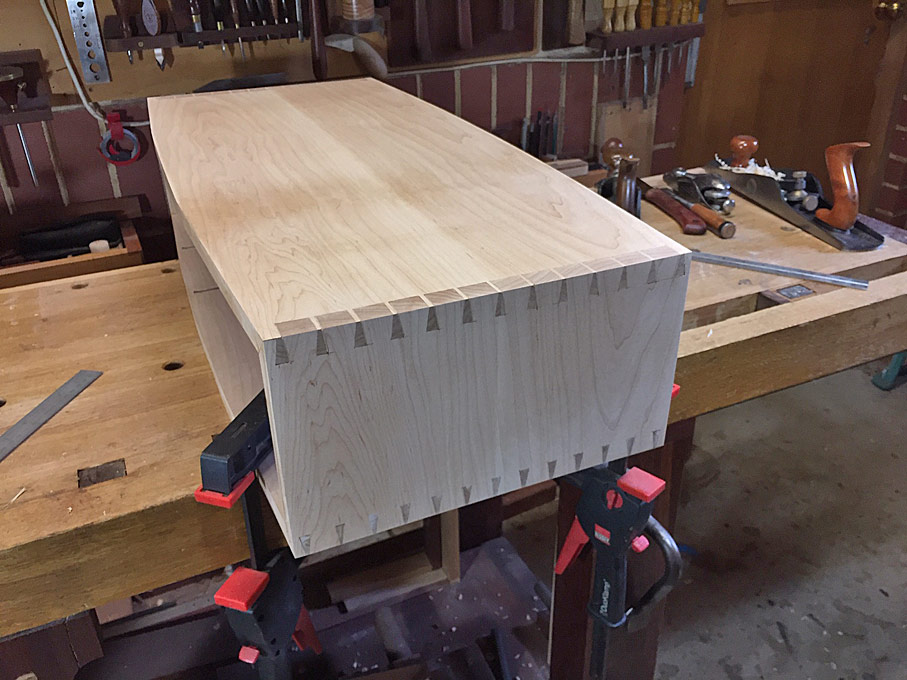

Now we've been through this together with the Jarrah coffee table, but for those who want to know how ...

The ends are marked (with a washer) ..
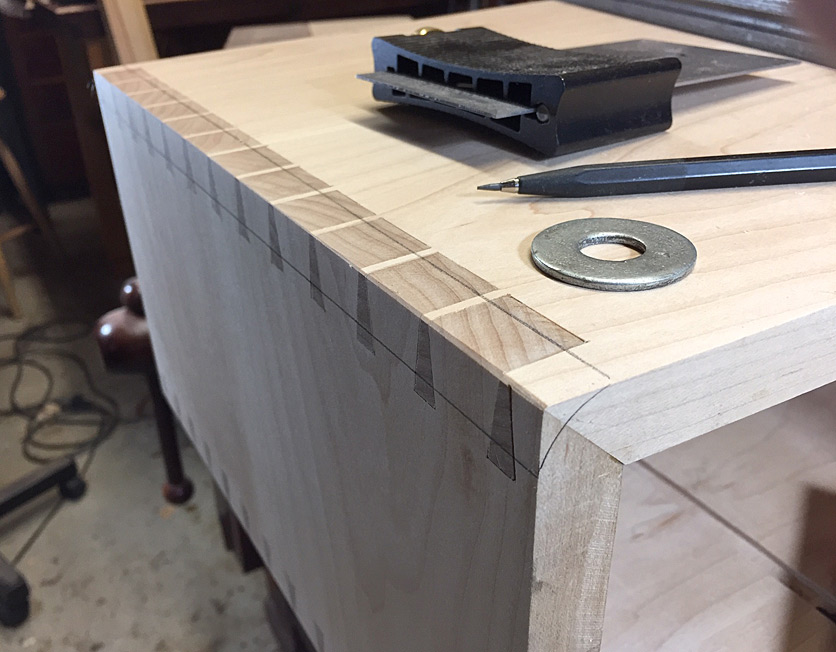

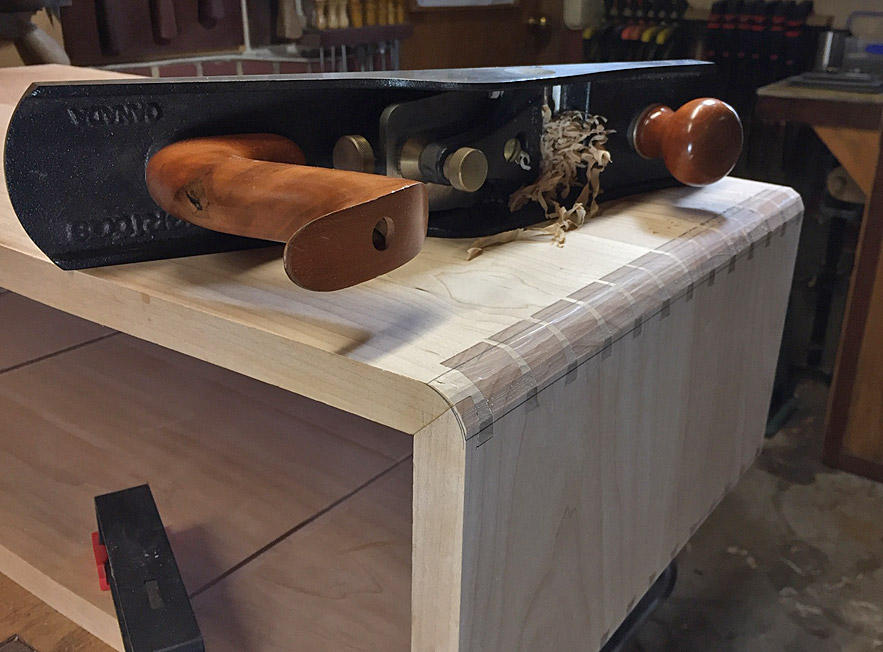
The aim is the remove the waste progressively to the lines ...
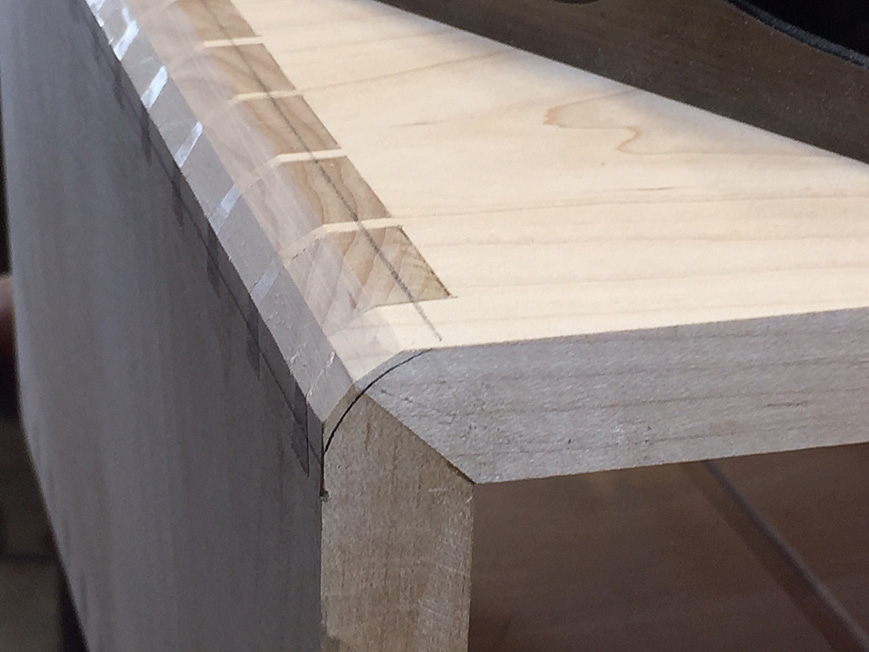

This is quick to do with a low angle jack ...

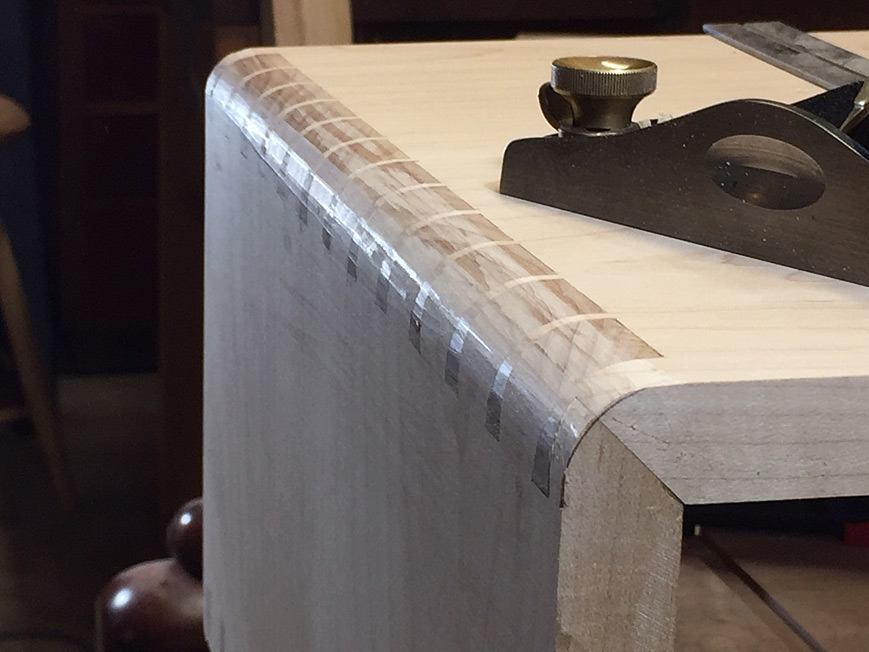
.. and finish with a block plane ...

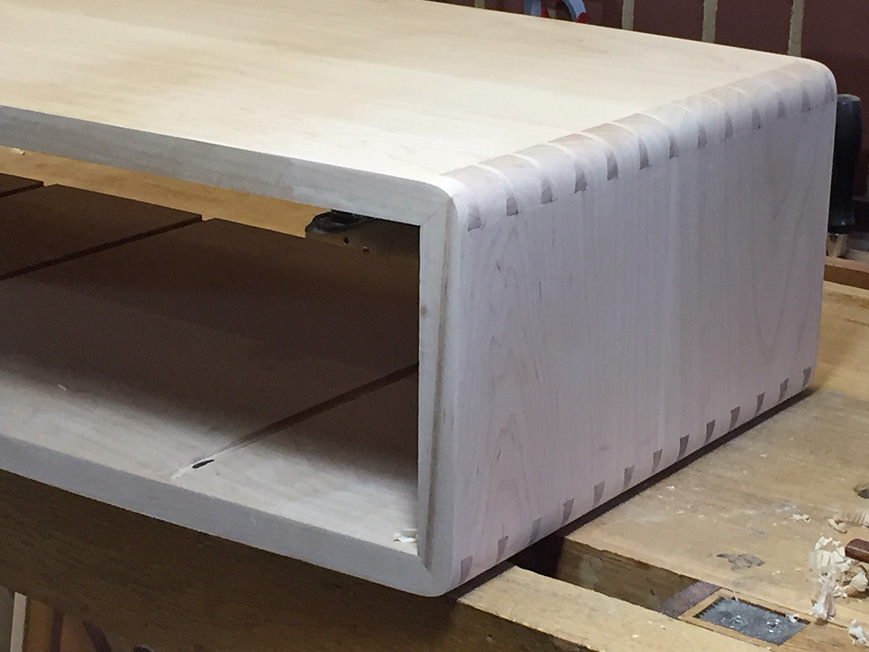
Now finish with sandpaper - 80/120/240 grit ...

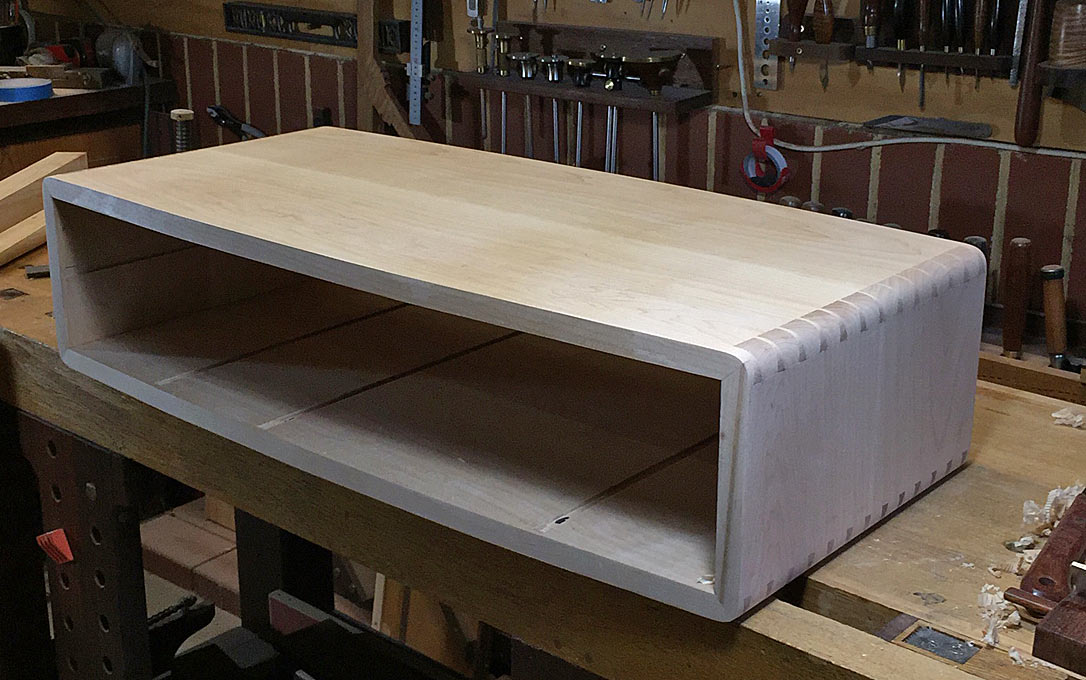
The completed case ...

I spent a few hours today turning a few legs. Rather than show the prototypes, I am hoping that I may have enough time to complete them tomorrow - I have the afternoon off! :) - and then I will post more photos.

Regards from Perth

Derek

Re: Harlequin side table: rounding the dovetailed ends

#2

planing question

Bill Tindall, E.Tn.

What worked best......

plane straight across to make ever more facets, or,

plane with a rolling(spiraling) motion (arcs) as the plane traversed the length of the side so as to not make facets that ran the length of the side?

I need to find some excuse to make a mitered dovetail. I like the looks.

Re: Harlequin side table: rounding the dovetailed ends

#3

Re: planing question

Derek Cohen (in Perth, Australia)

Bill, I do not know any other way to creat the rounded ends by hand (one could use a router is you had the correct radius bit). Planing across the grain, first one one side, then the other (to avoid spelching), is insurance that you maintain an even removal of waste. I would be concerned that rolling (and I assume near the end) takes one off a reference. In any event, the facets become increasingly smaller, and then are easily remed with either a rasp or sandpaper. I much preferred the use here of a power tool, a ROS, for speed. Interestingly, there is probably less dust created with my Mirka sander and Abranet mesh.

The mitred dovetails are a lot more work - you now move from two dimensions to three dimensions. However, in a case front (and back), they create a balanced look. At the rear, they make it so much easily to rebate without concern to gaps at the side or damaging dovetails. No stop rebate needed now, as with a non-mitred end - just plane across. The mitre will hide the ends.

Regards from Perth

Derek

Regards from Perth

Derek

👍 This page answered my questions

Your vote helps other woodworkers quickly find the answers and techniques that actually work in the shop.