WoodCentral Forums

Est. 1998 — 27 years of woodworking knowledge

Harlequin side table

Posts

Harlequin side table

#1

Harlequin side table

Derek Cohen (in Perth, Australia)

(I've posted this on the Hand Tools side as well)

My wife requested a side table for the family room. This will be situated between two arm chairs, and replace the small table (which is too high and dominating) ...
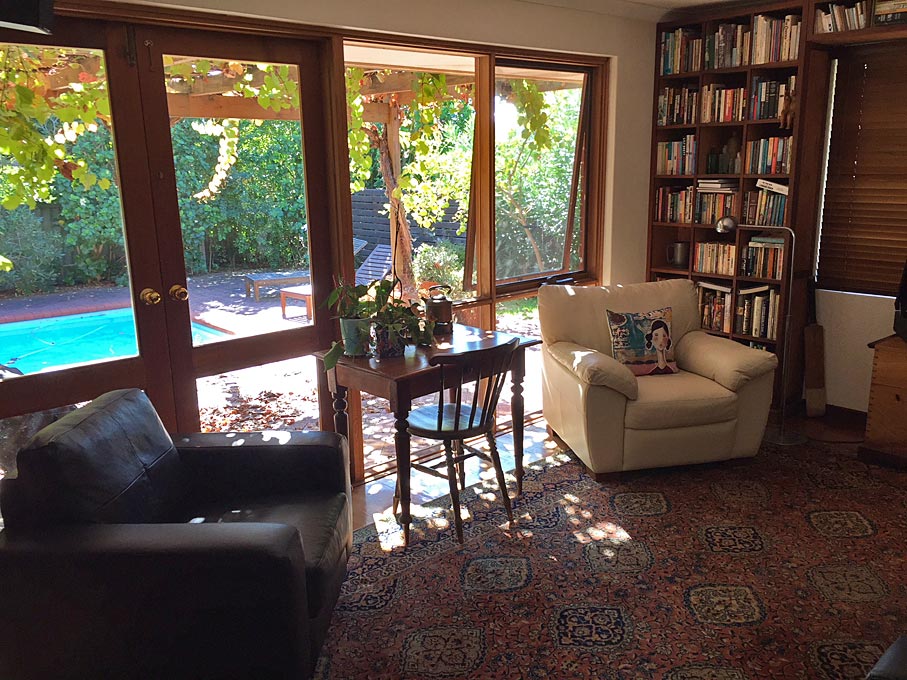

Not just a side table, but it also needed to house her needlework thingies. In other words, shallow drawers for cotton reels and sewing kit. I played around with several ideas, and eventually came up with a design that borrows a little from a piece I recently made.

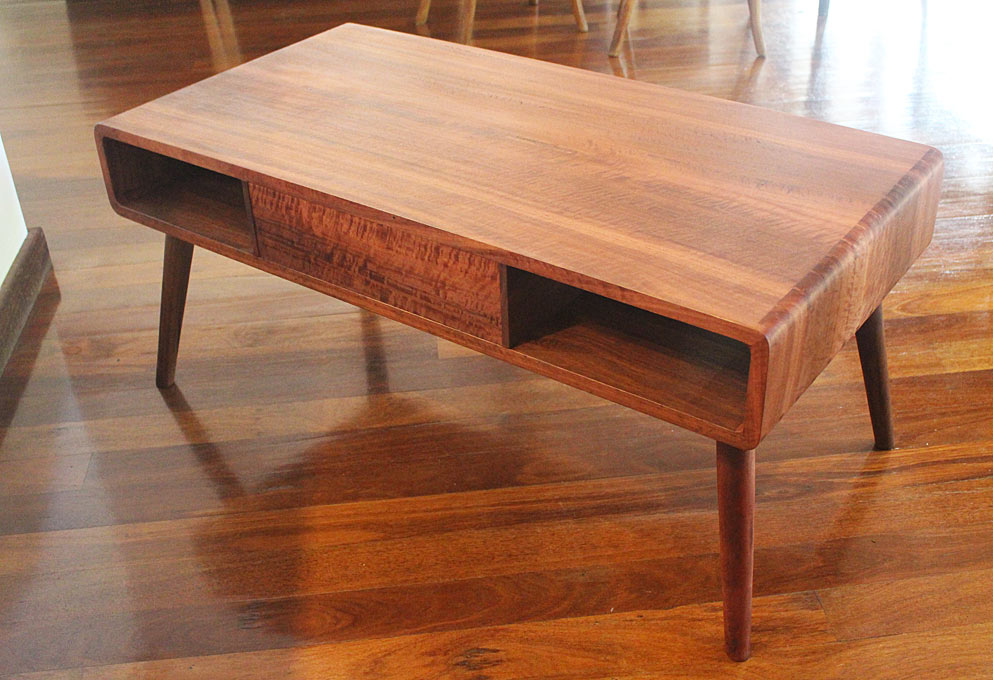
Lynndy liked the softness of the rounded dovetails and overall dimension of this coffee table I built some months back for a nephew ...

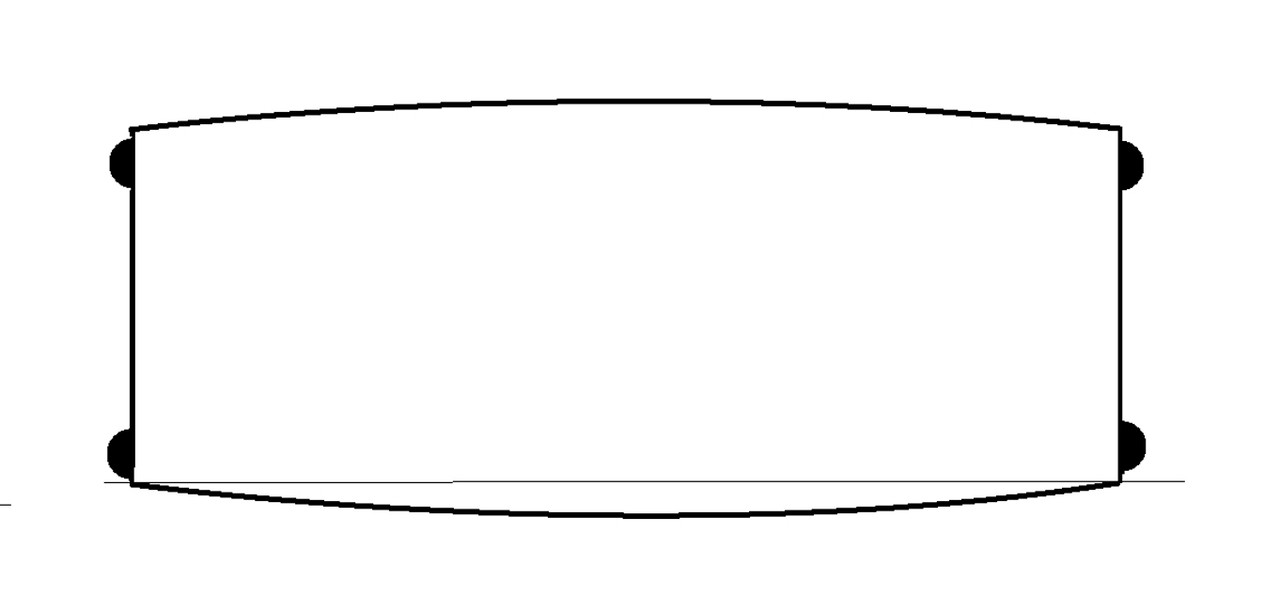
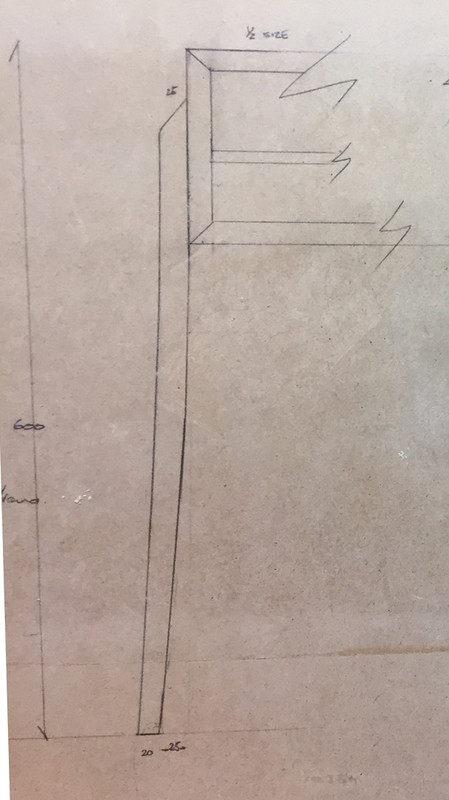
The plan (looking down) would be to create a curved front and back, with round, splayed legs to the outside (an alternative is a straight, tapered round leg) ...

In contrast to the Jarrah in that piece, the carcase will be built in Hard Maple, dovetailed and mitred at each corner. It will feature 8 drawers. All drawer fronts will curve as well. The reason for "Harlequin" in the title is that the drawers will be a mix of woods, as depicted in the elevation of the drawer section ...
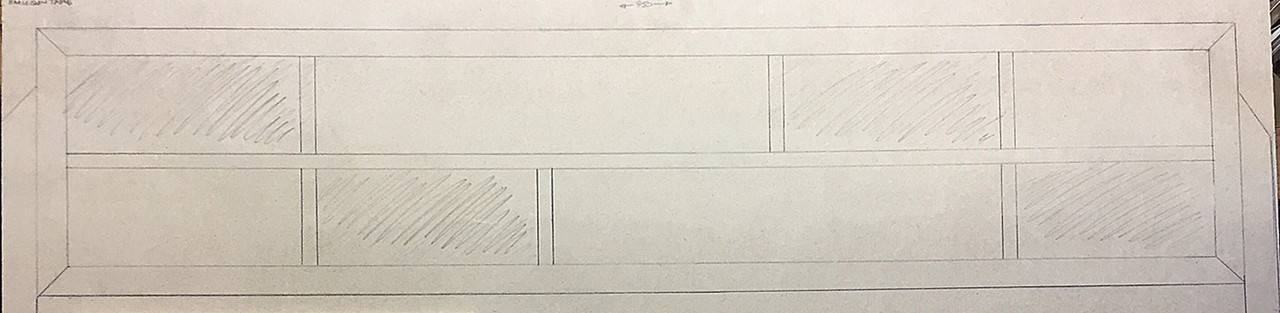

A harlequin design is often thought of as a diamond pattern, but does also include a rectangular checkerboard. Anyway, it's just a name, and I like giving my pieces a name :)

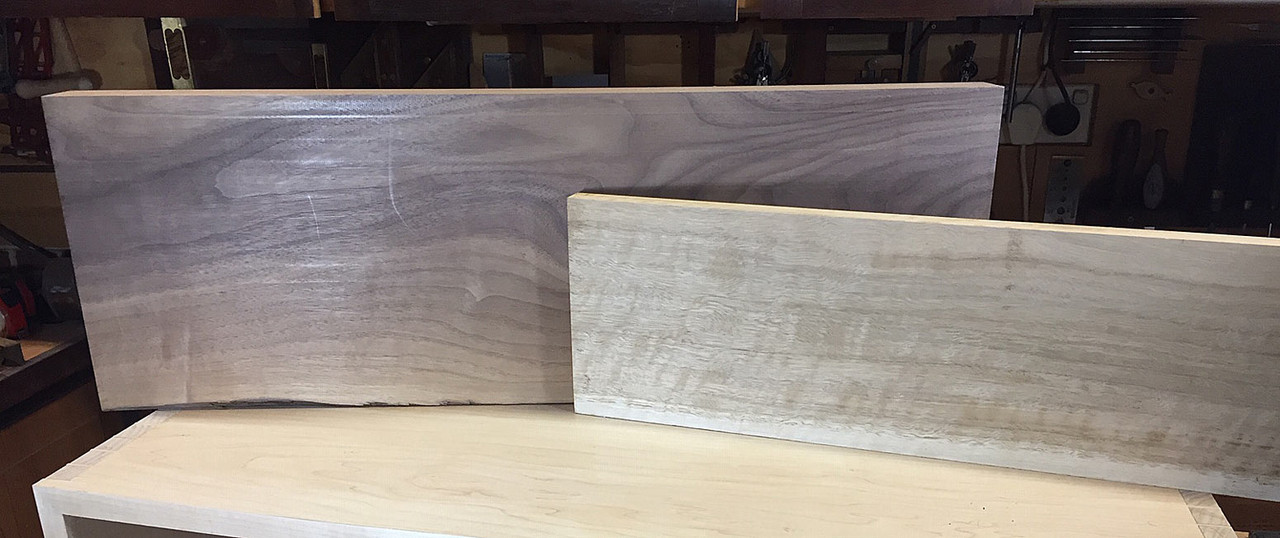
At this stage I have chosen for the drawer fronts Black Walnut and Blue Gum. I may also add in Hard Maple. Always interested in your thoughts here. The Blue Gum is lighter than the Black Walnut and is a good foil against the Hard Maple …

The legs will taper and curve from the carcase, attached with a loose mortice and tenon ...

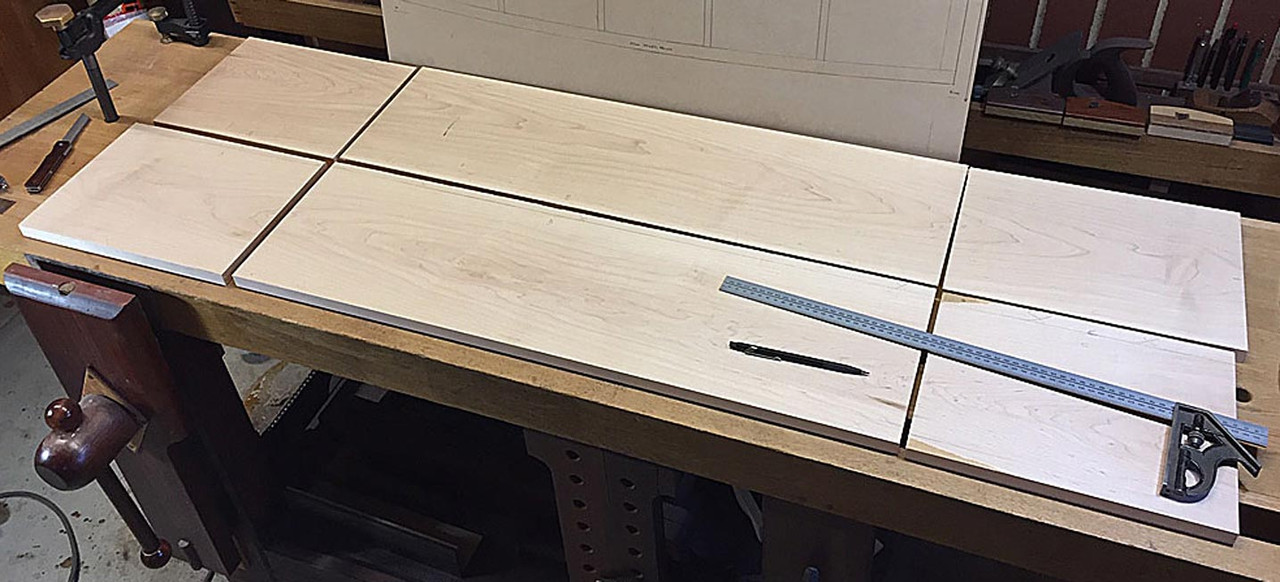
The sides and top were arranged so that the grain flowed continuously. The carcase is 20mm thick, 800mm long and 350 at the wide, centre point ..

The initial dovetail plan was to keep the boards parallel and saw the curves later. It became apparent when joining the first set that this would not work ...
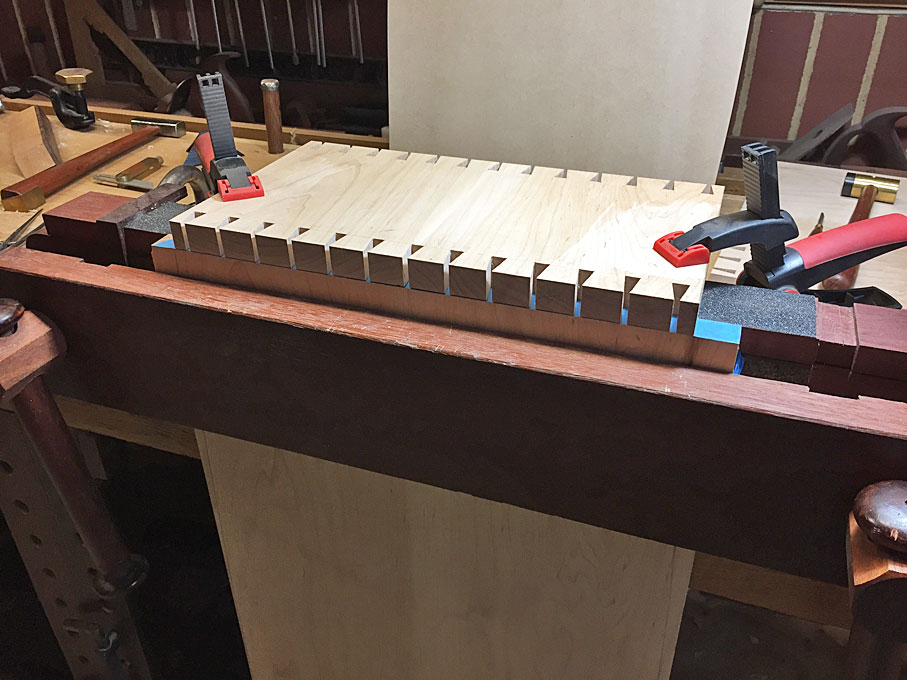

.. there would be too much at the sides to mitre, and so I decided to shape the top and bottom panels at this stage rather than later.
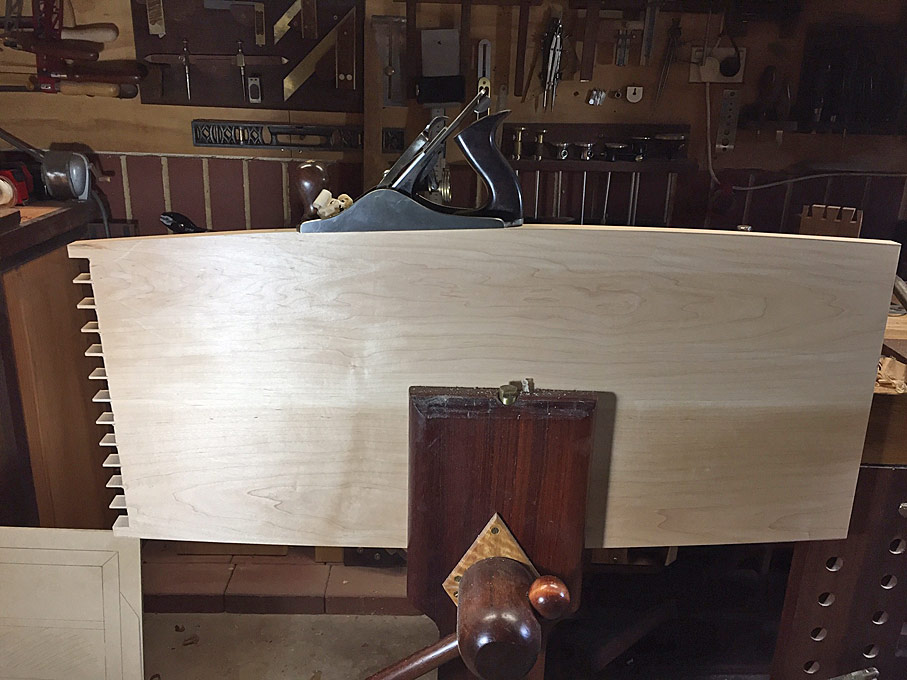
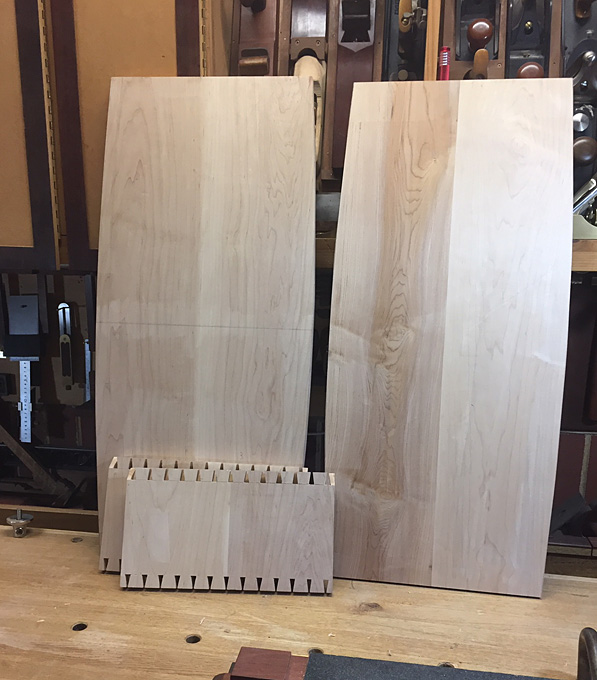

This was the first opportunity to use the modification I made to my Moxon vise (see article: http://www.inthewoodshop.com/ShopMadeTools/NewMoxonMods.html). It now enables the pin- and tail boards to be clamped together to aid in marking out (see earlier photo).

In marking out for mitred corners, the side tails are not sawn out from the front ...
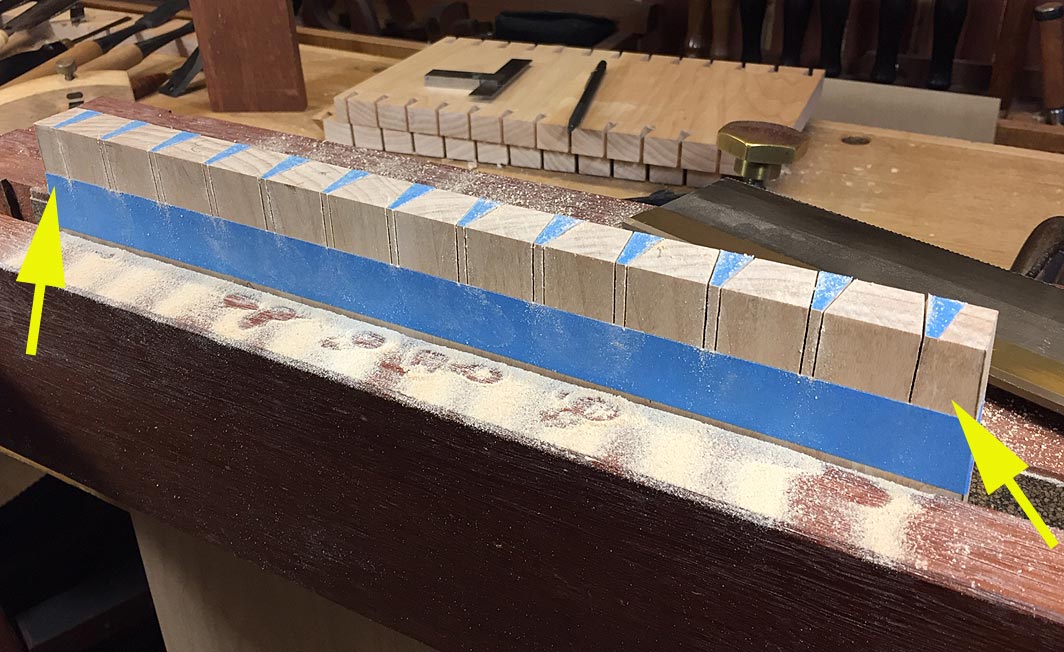

... the board is reversed, and the mitres are marked ...
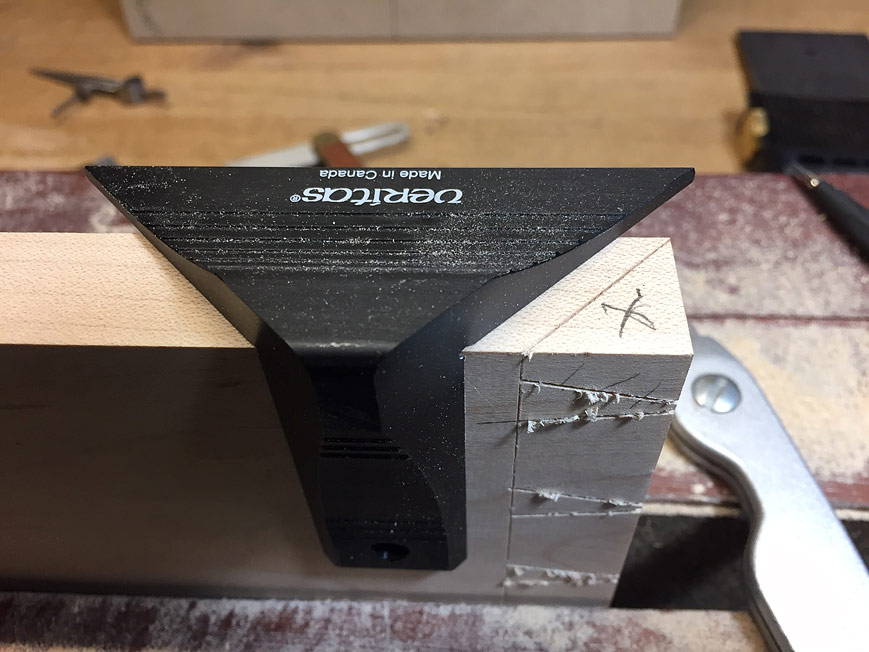

... and sawn ...
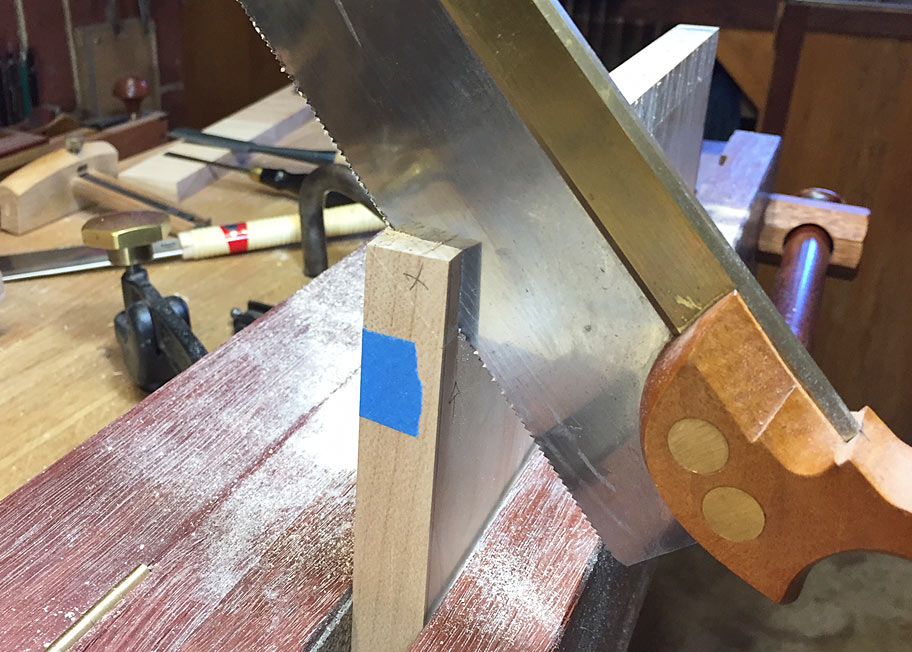

The reason I had wanted to retain square carcase sides was that it would make it easier to square the chisel guide for the mitres. I got around this by squaring them to the front of the carcase ...
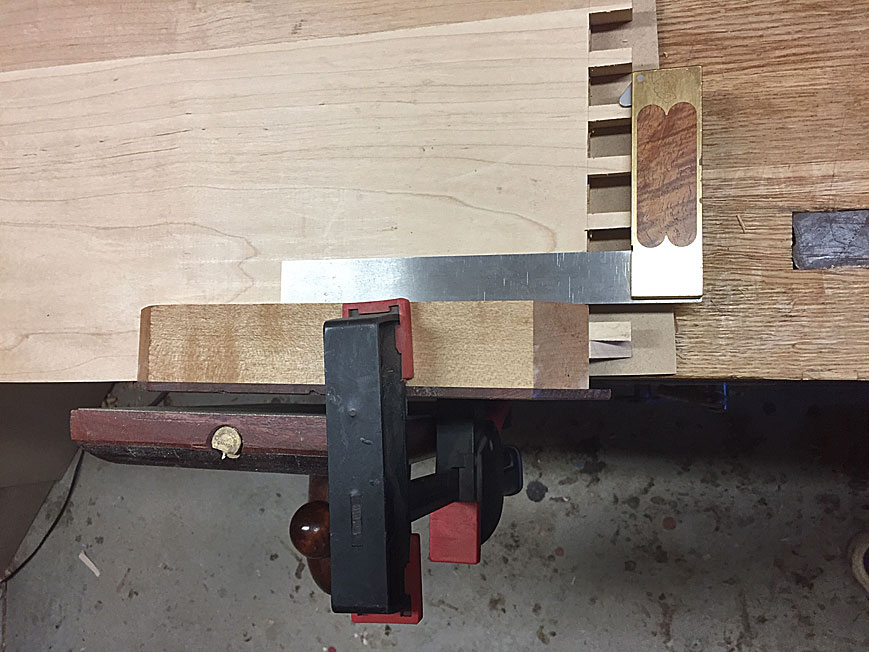

The pin board is seen here ...
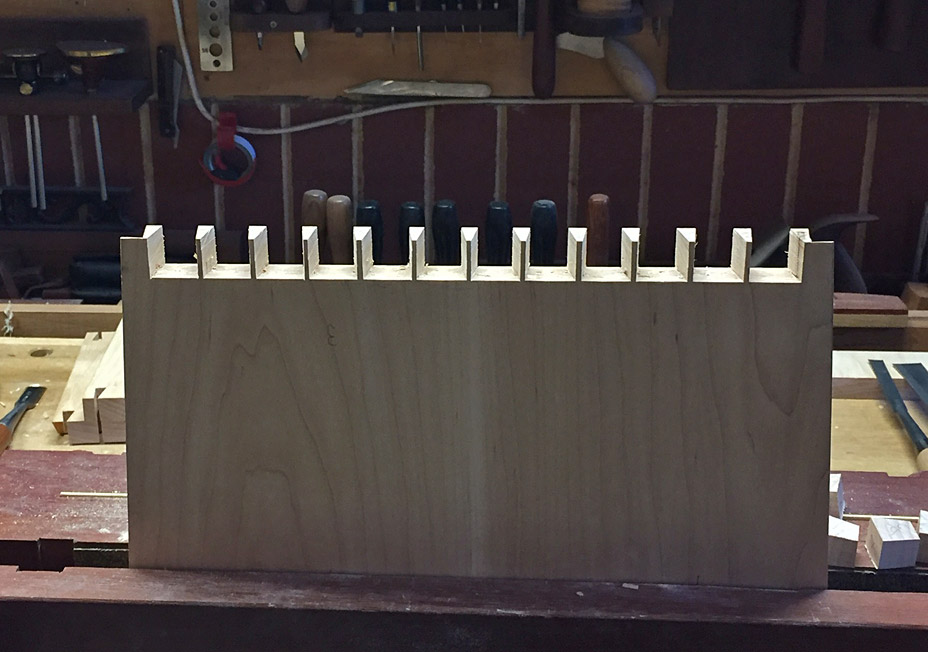

One of the difficulties in fitting this many tails and pins is that any slight errors are magnified. The fit below illustrates that the left side is too tight ...
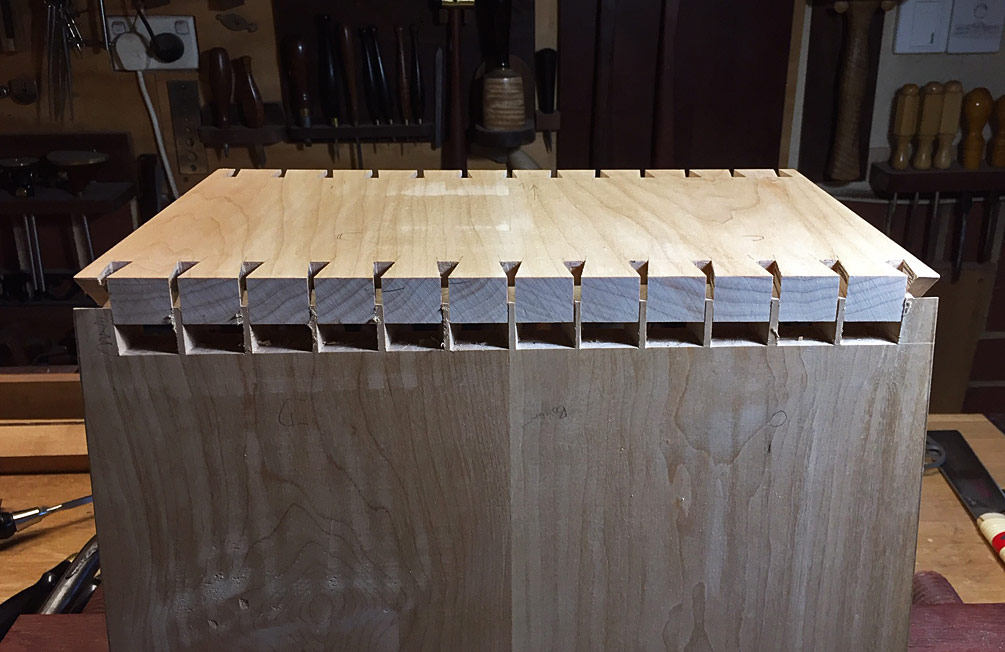

To deal with this, the tails were given a pencil scribbling ...
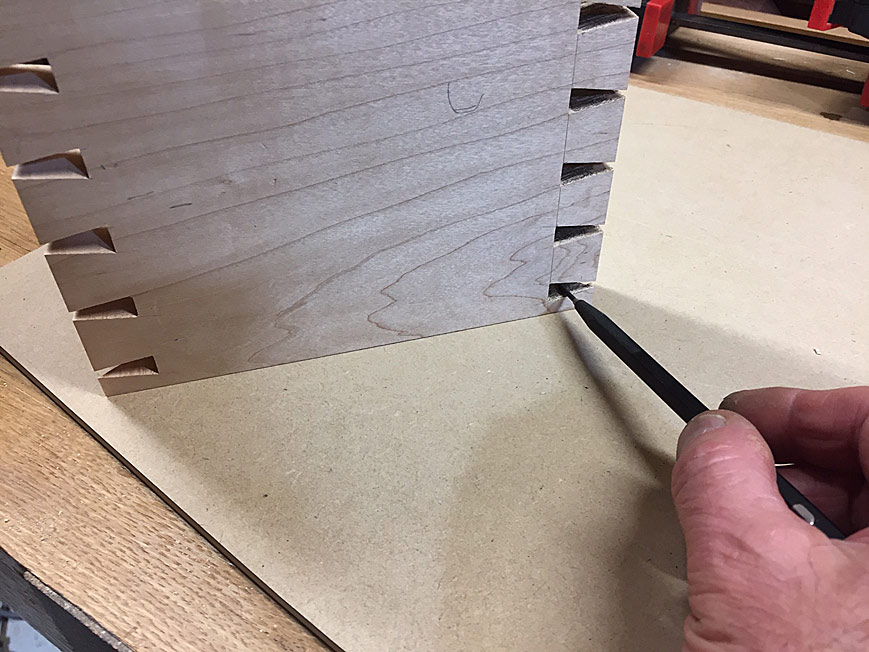

Fitting the board together left this behind ...
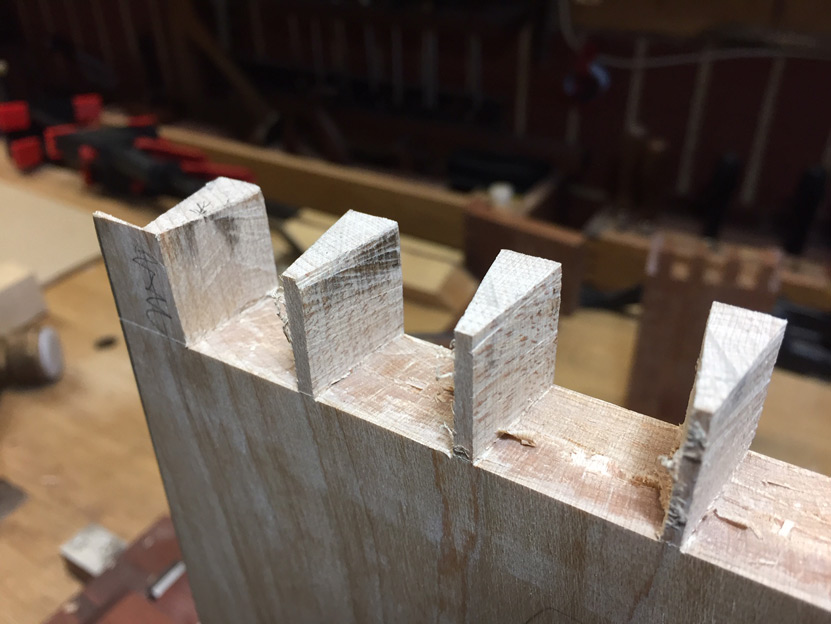

This process needed to be done once more, before the fit was satisfactory ...
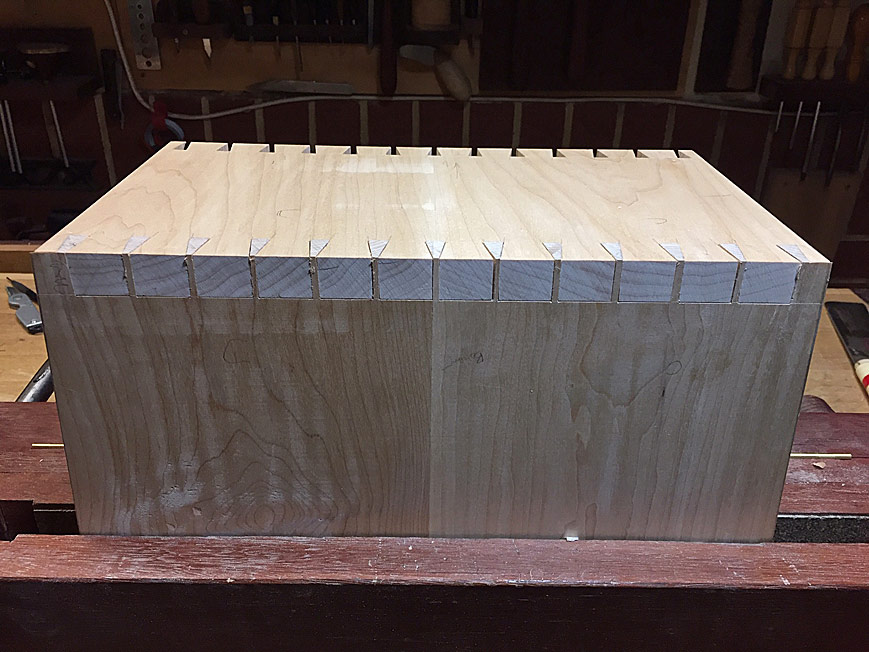

The four sides were dry fitted together, and the front and rear upper and lower panels planed to shape (this was close but not enough) …
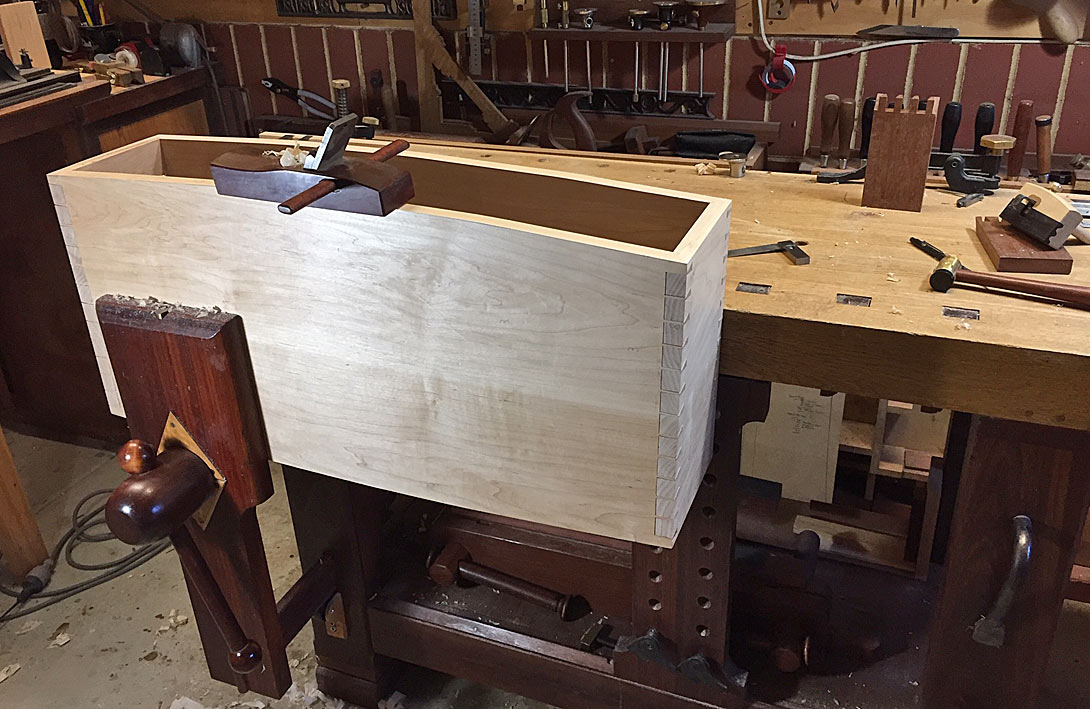

All is coplanar …
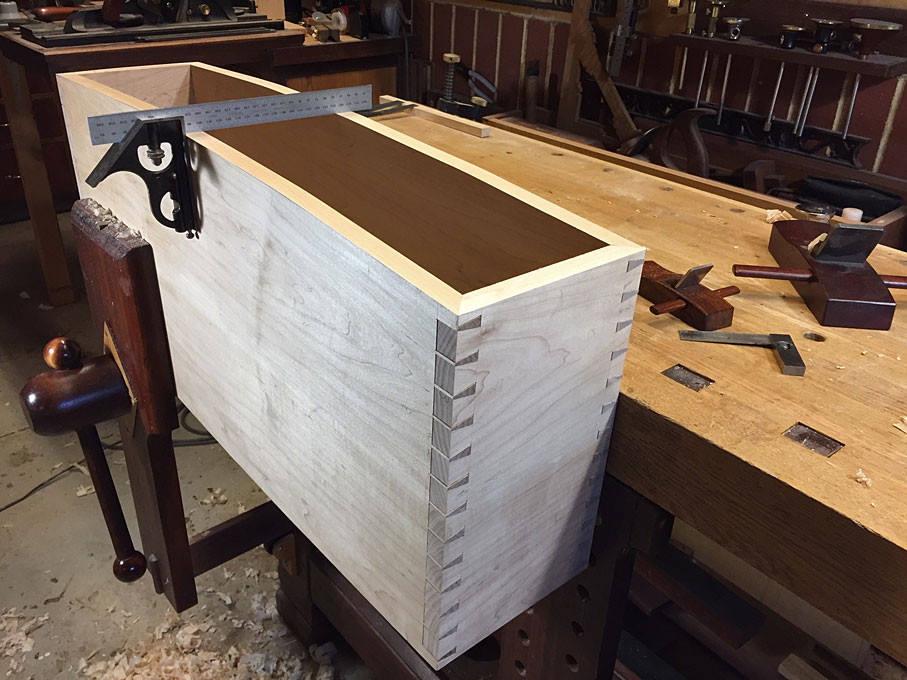

Where we are up to at the end of today …
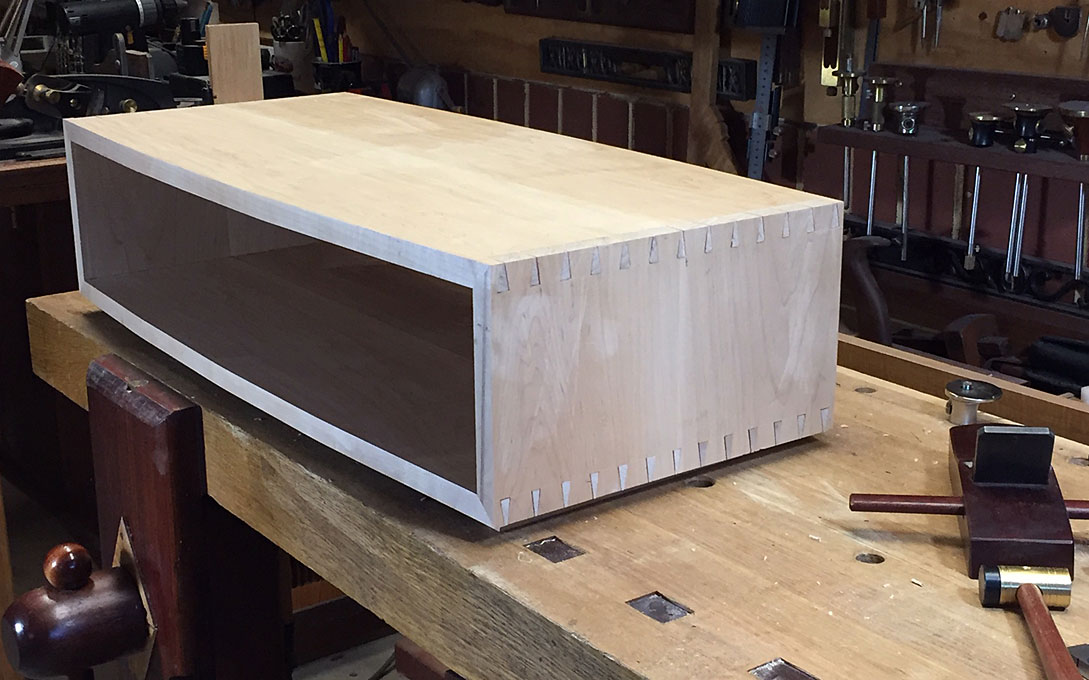

One set of mitred corners …
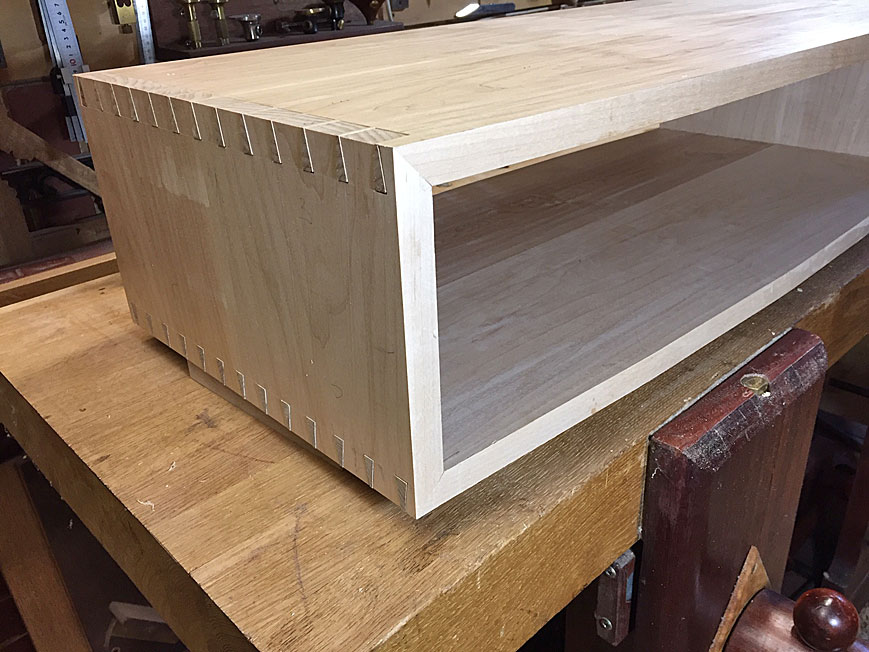

… and the other …
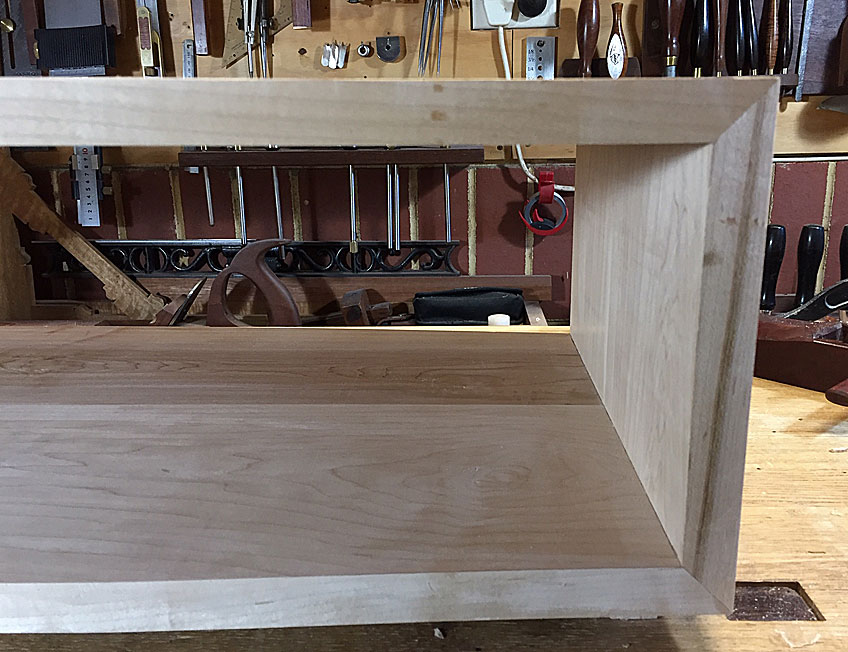

Next up is building the internal dividers for the drawers.

Regards from Perth

Derek

Re: Harlequin side table

#2

Kneale Brownson

Re: Harlequin side table

Kneale Brownson

Very nice work. I'll have to hide this from my bride, the knitting and sewing lady.

Re: Harlequin side table

#3

Kneale Brownson

I was expecting a colorful hat with many tassels


Re: Harlequin side table

#4

JL

Very nice concept


Re: Harlequin side table

#5

Re: Harlequin side table

Don Stephan

Impressive design, workmanship, photog, and writeup as always. Impressive how much you can accomplish in 4 hours!

Re: Harlequin side table

#6

Re: Harlequin side table

Derek Cohen (in Perth, Australia)

It was definitely less than 4 hours, Don. These projects do not take that long now that I have a new remote control with a "pause life" button! :)

One weekend was just preparing the boards and templates. Another weekend and a half went in dovetailing the sides. Today I need to prepare the boards for the internal dividers, their templates, and see how far I can get with housing/joinery.

Regards from Perth

Derek

Re: Harlequin side table

#7

comments and questions

Bill Tindall, E.Tn.

1. How do you lay out the dovetails? When they show like on this piece they must be uniform in size and spacing, not more or less like I make drawers..

2. I am not a fan of mixed wood pieces. To my eye they often don't work. When they do work they can be spectacular but I don't have the artistic foresight to ensure a favorable result. Skaggs does. That said, maple and walnut can make an attractive combination with minimal risk of clash. Be aware that many woods change color, adding additional risk to multispecies combinations.

3. I worry about the "lead" trick for finding tight dovetails. Glue will not stick to an area that has been shaded with graphite. I wonder if colored chalk would be a better choice? In the Headley shop they bonk on the tails with a steel hammer. Tight tails sound different. It works for me with drawer sides.

Re: Harlequin side table

#8

Re: comments and questions

Derek Cohen (in Perth, Australia)

All glues do not stick to graphite? I am planning on using Titebond liquid hide glue.

Chalk sounds a better idea, but what will be strong enough to be spread in a thin/small holder (to get into the tail area)?

The issue with the dovetails is that there are many, and they are made with as much precision that I can muster (not a lot). This is not the place for sawing them by eye. Add the mitred ends into the mix, and it makes it a little trickier. Dovetailing in light maple means that gaps will show.

The mixing of woods is just a fun idea. It's a fun piece. The woods chosen are all compatible. It will be a gentle mix - nothing glaring. If it looks like shyte, then I will simply make new drawers. It's just wood.

Regards from Perth

Derek

Re: Harlequin side table

#9

Re: comments and questions

Bill Tindall, E.Tn.

All glues do not stick to graphite? Likely no glue sticks to graphite. But more relevant, graphite doesn't stick to graphite so a glue to graphite, to graphite, to glue, assembly will be a lubricant.

Chalk sounds a better idea, but what will be strong enough to be spread in a thin/small holder (to get into the tail area)? Powdered chalk and a brush? Dry Tempra paint and a brush? Don't know but worth thinking about.

The issue with the dovetails is that there are many, Indeed and the question was how you lay them out so nicely?

Re: Harlequin side table

#10

Re: comments and questions

Derek Cohen (in Perth, Australia)

Bill, sorry I did not answer the question about laying out the dovetails.

This was done with a compass. Since the boards were the same, the markings were transferred to each end.

Regards from Perth

Derek

Re: Harlequin side table

#11

Re: comments and questions

Don Stephan

Somewhat similar no doubt, but I use two dividers as explained and demonstrated by Rob Cosman in his dovetailing DVD I bought a number of years ago.

Re: Harlequin side table

#12

Clint Searl

Re: Harlequin side table

Clint Searl

More dovetails than I've ever made or will make in my lifetime. Nyuk nyuk

👍 This page answered my questions

Your vote helps other woodworkers quickly find the answers and techniques that actually work in the shop.