WoodCentral Forums

Est. 1998 — 27 years of woodworking knowledge

Coffee Table for my nephew - #5

Posts

Coffee Table for my nephew - #5

#1

Coffee Table for my nephew - #5

Derek Cohen (in Perth, Australia)

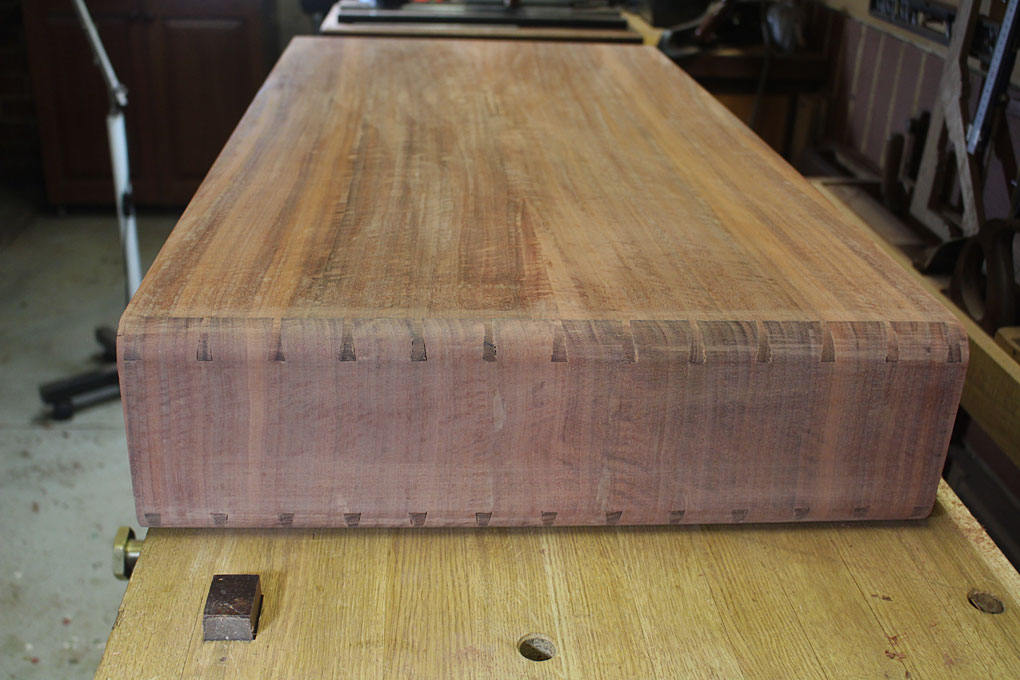
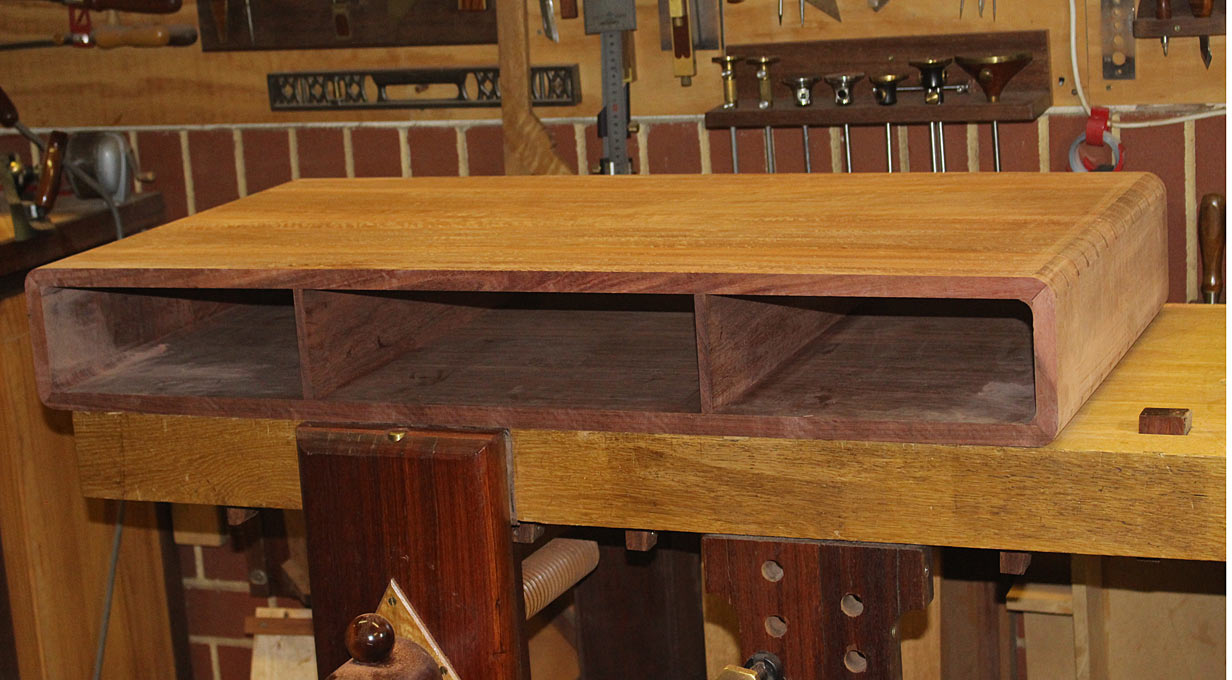
When we left off, it was with the carcase together ...

Step 1: clean up the carcase

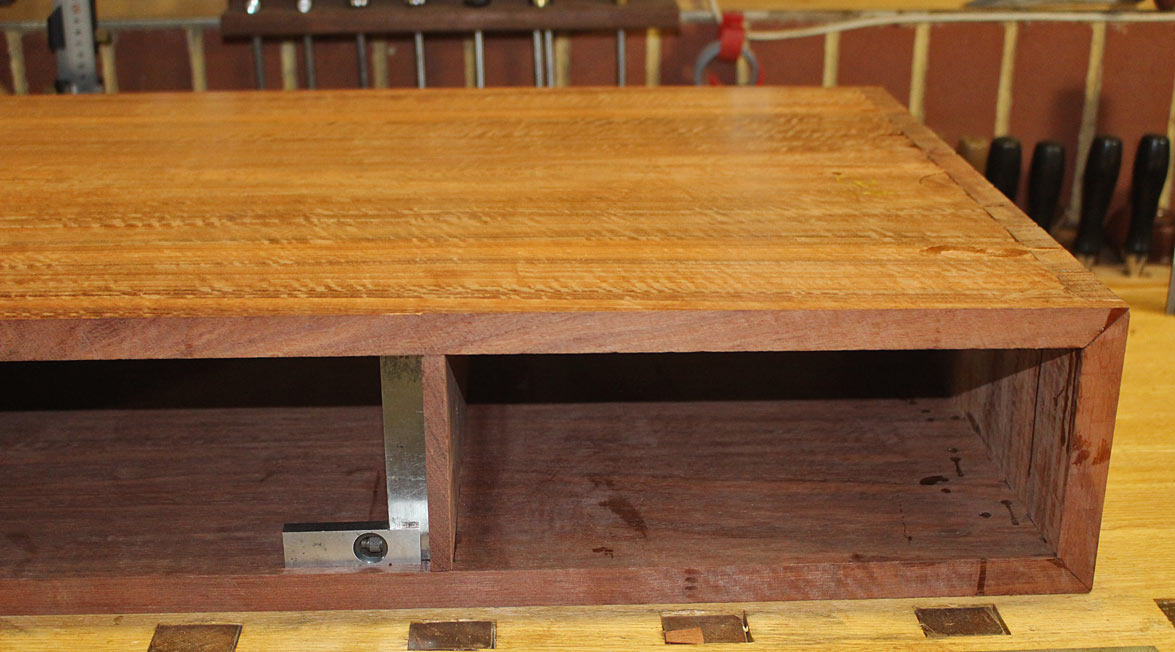
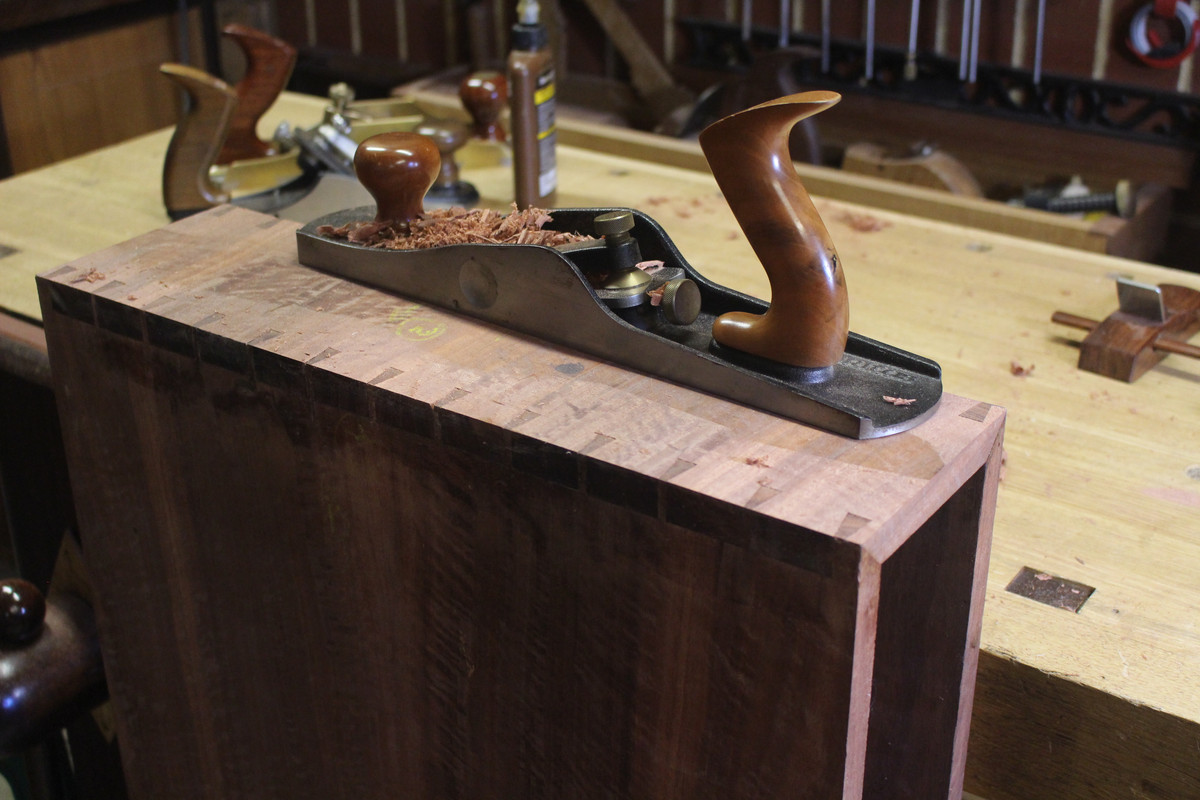
Low angle plane for the end grain and cross grain ends ..

Then the face grain top and bottom ..
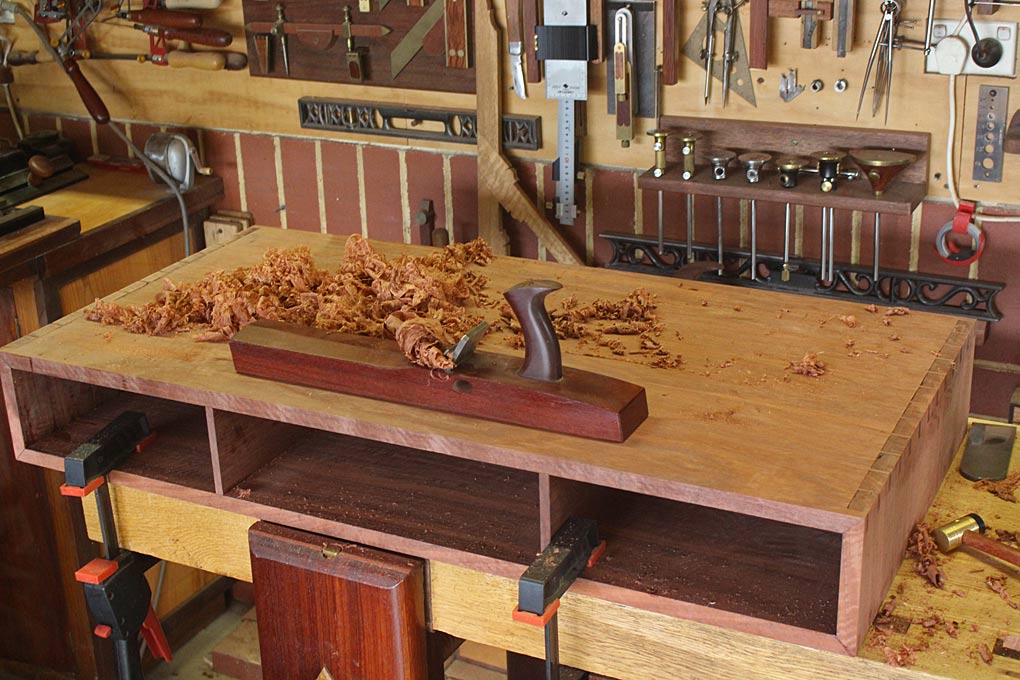

And I had a chance to use a small BU infill smoother I made several years ago on the edges. Perfect for one-handed smoothing ...
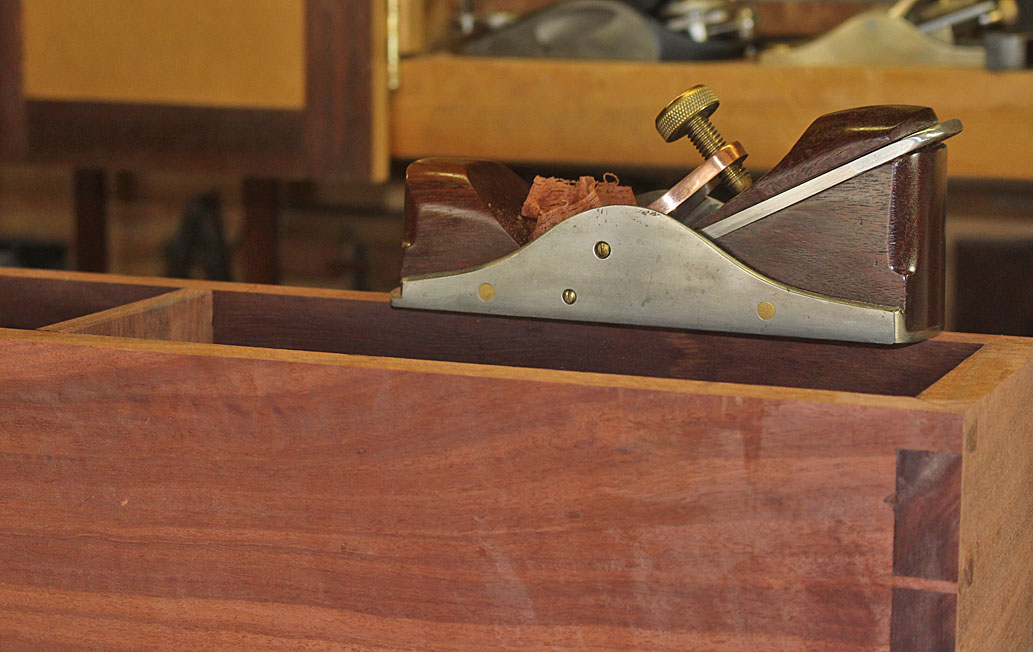

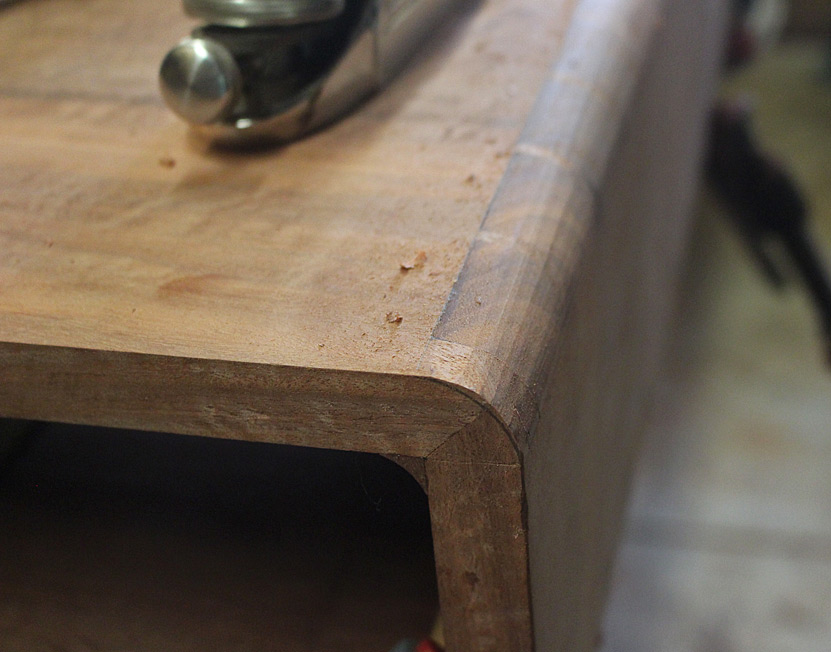
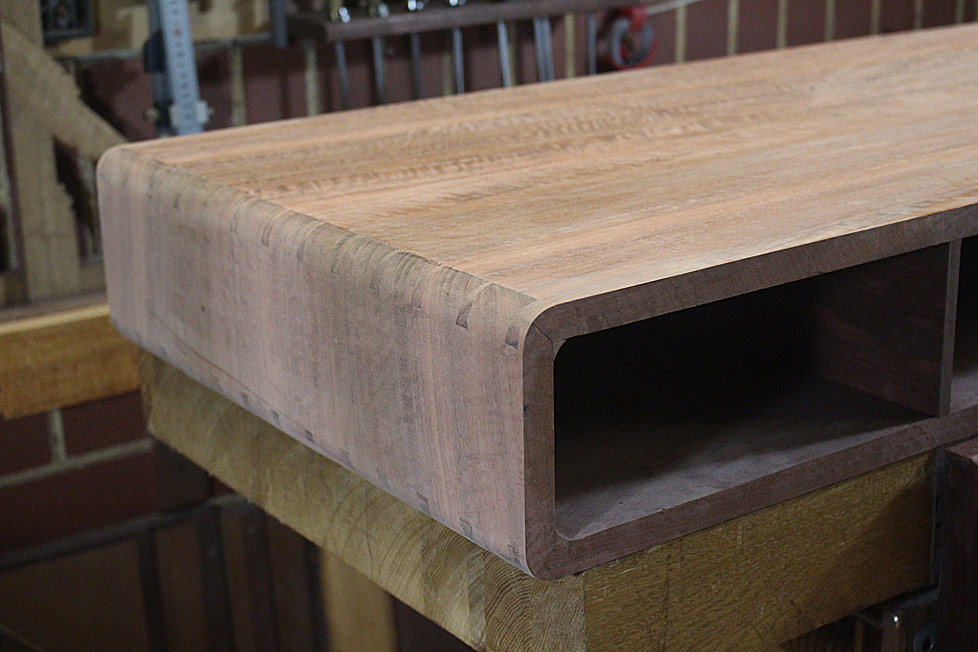
Step 2: Time to round the ends.

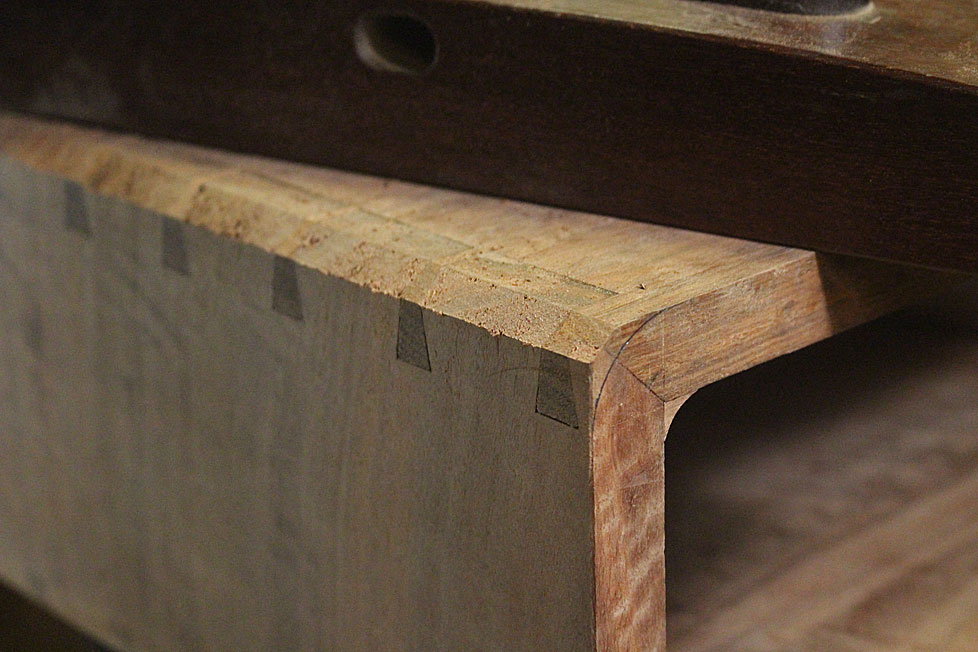
In the test piece, it looked like this ..
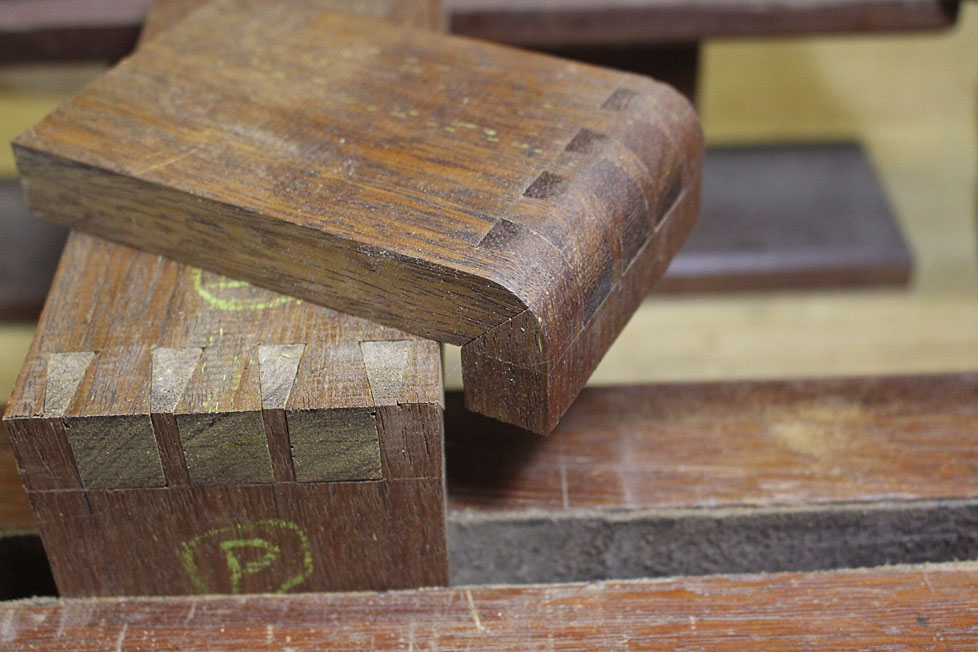

This lacked the inside hollowed filet. The build today starts with the making of the filet.

The first decision was that this had to be made of end grain. If it was made of side grain, the sides of the filet would be end grain, which would clash - darken - with the side grain of the carcase when a finish is applied. Fortunately, I had this one last offcut. Just enough ...
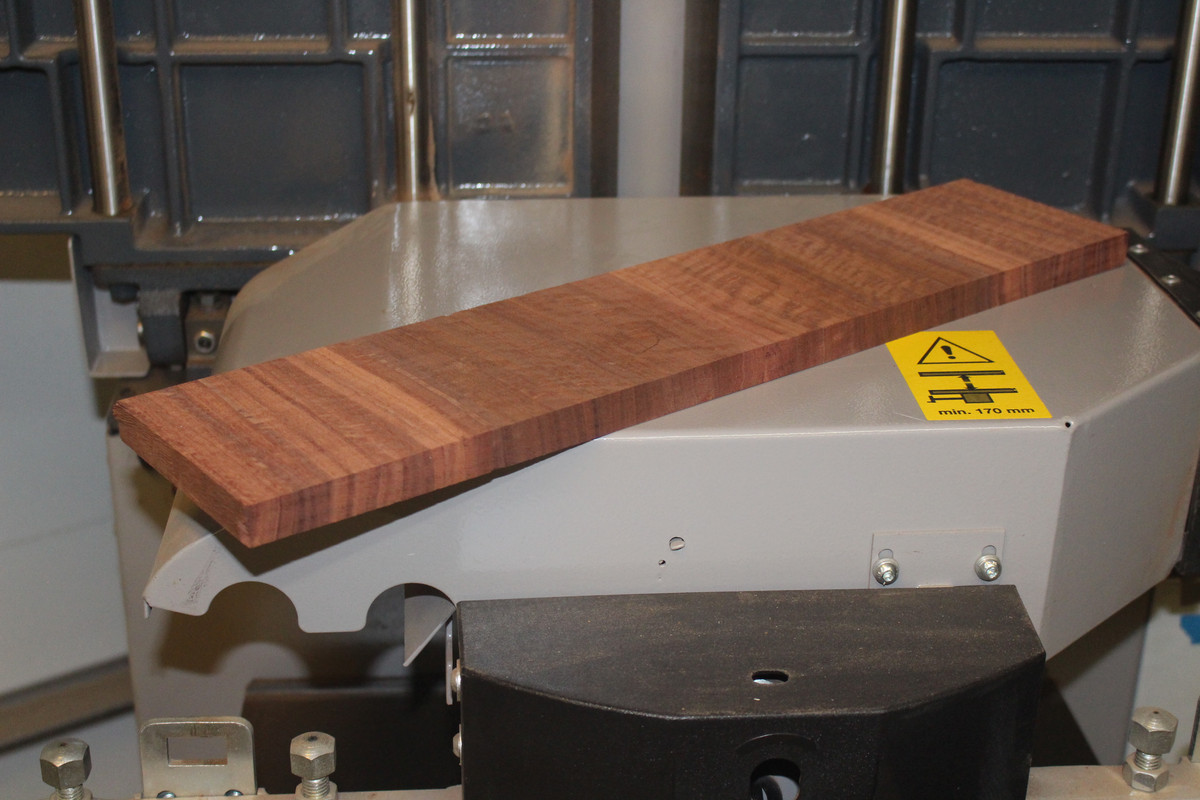

The filet is triangular with a hollow on the outside. I first tried shaping this with a hollow plane on a sticking board, having sliced off a triangular section on the table saw. It was impossible to do. No way to hold the wood and plane it. I tried a number of variations. I won't go there. They were all impossible. You do it, you're a better man - or woman - than me. You're probably better anyway :)

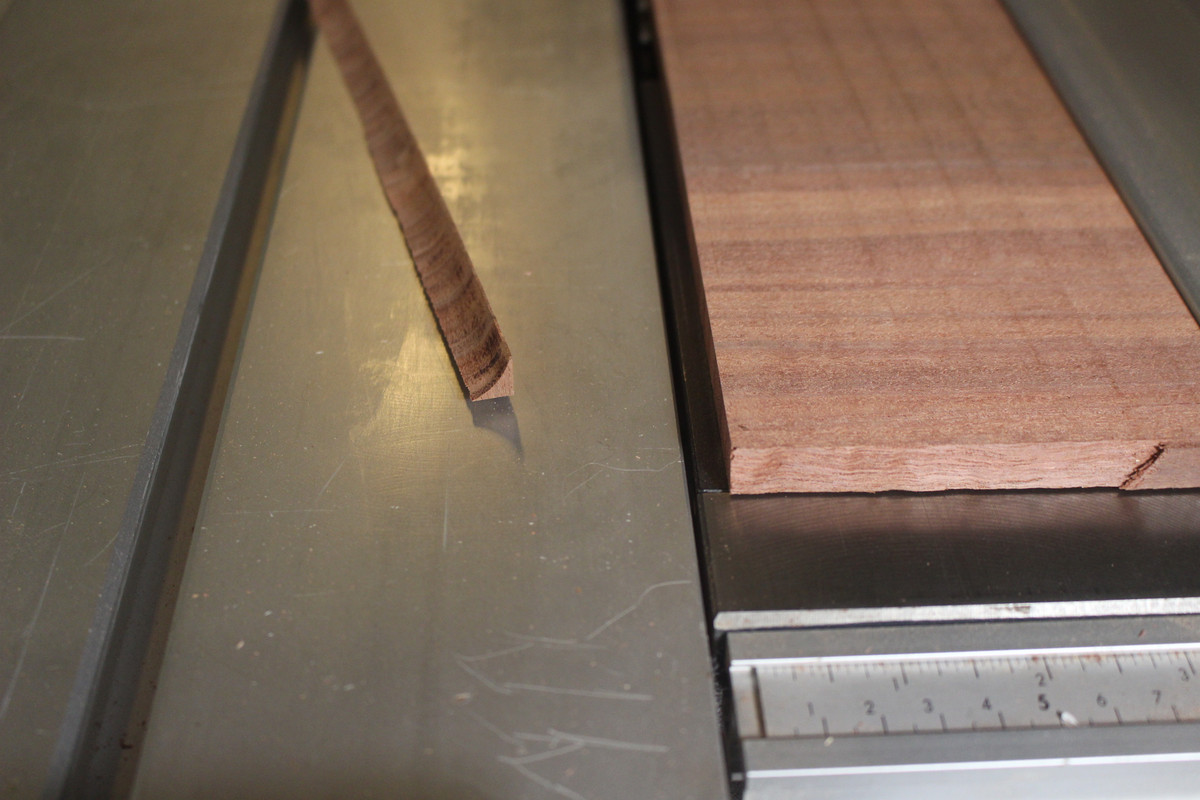
Finally I came up with this. Start with ripping a 45 degree bevel on the table saw (slider here, with board held in a Fritz and Franz jig) ...
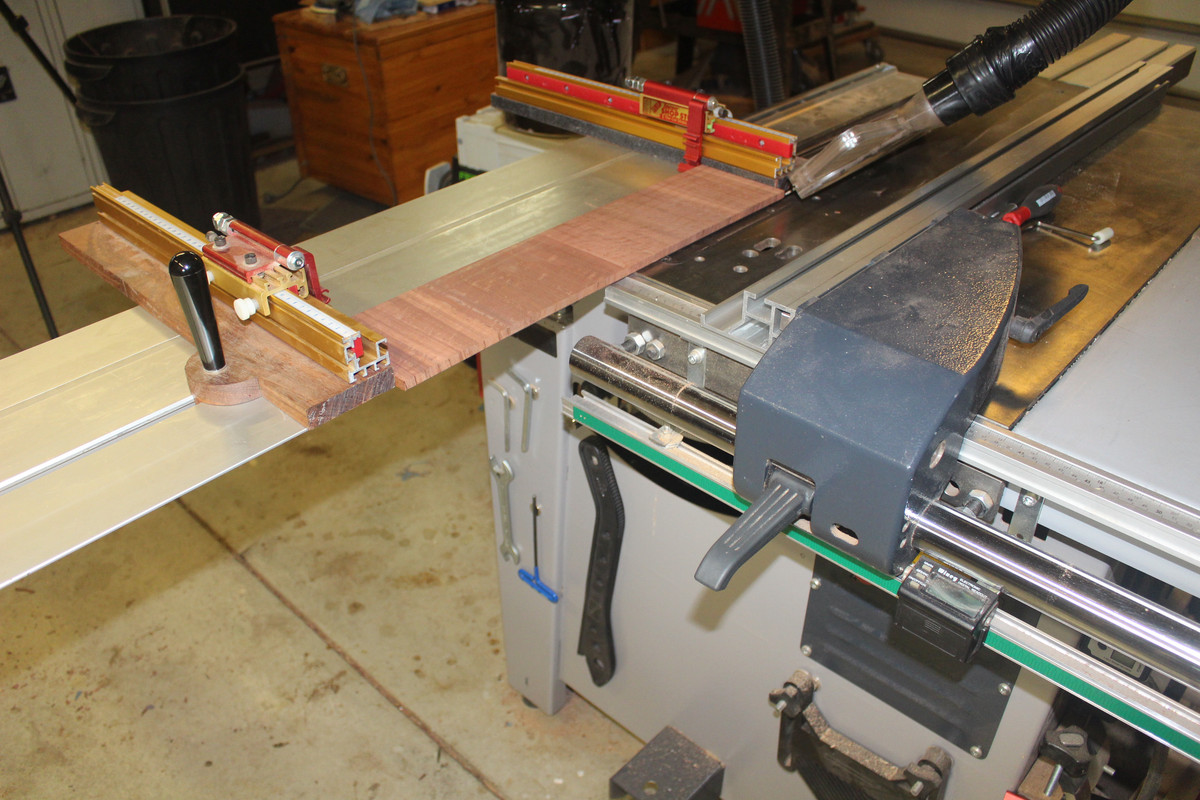

The router table is set up with a round nose bit ...
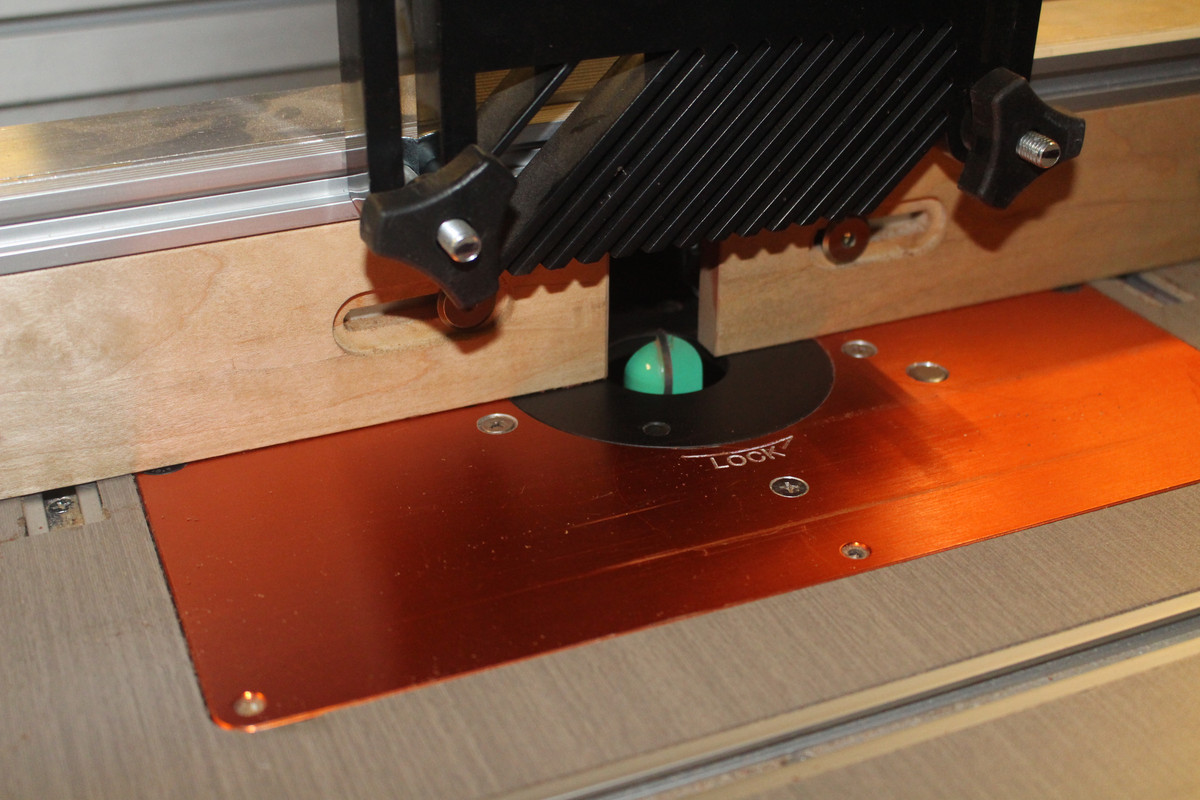

The mitre can be run past this and the bit will shape a round hollow ..


Now saw this off on the table saw ...
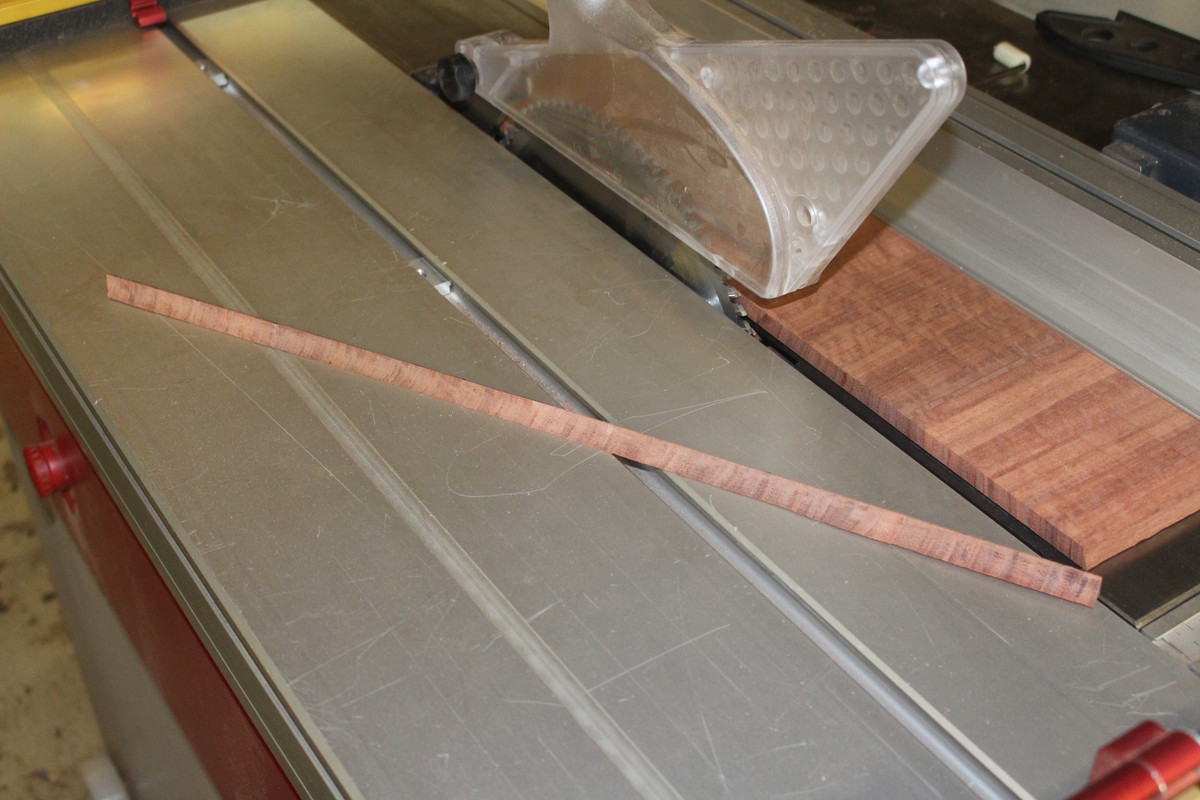


I made a bunch of them (as they are a little fragile) ...
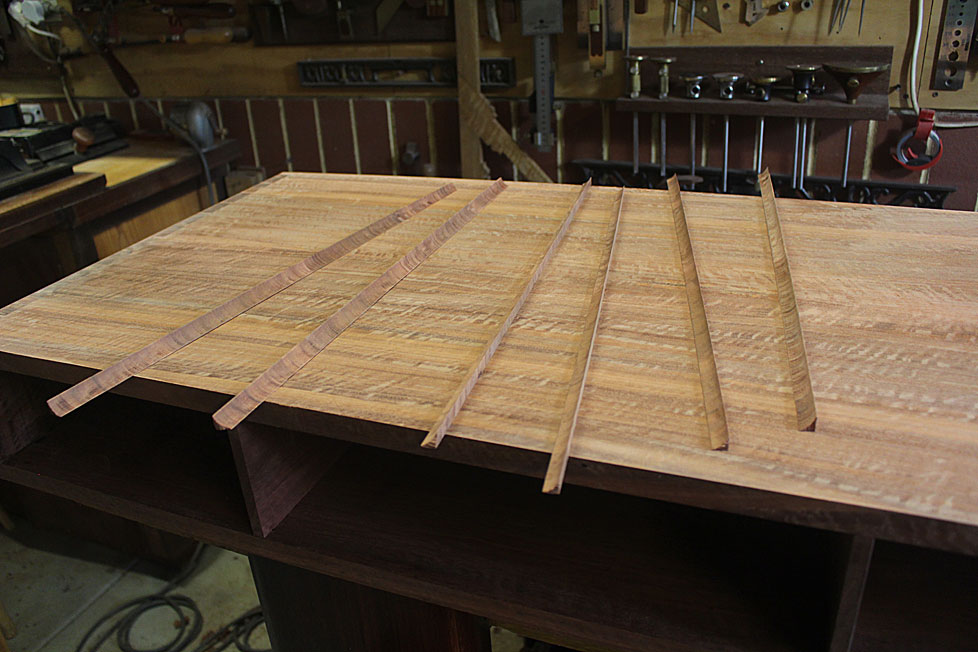

Before glueing them in, each was sanded - 80/120/240 grit on a dowel, with the filet held on the sticking board ..
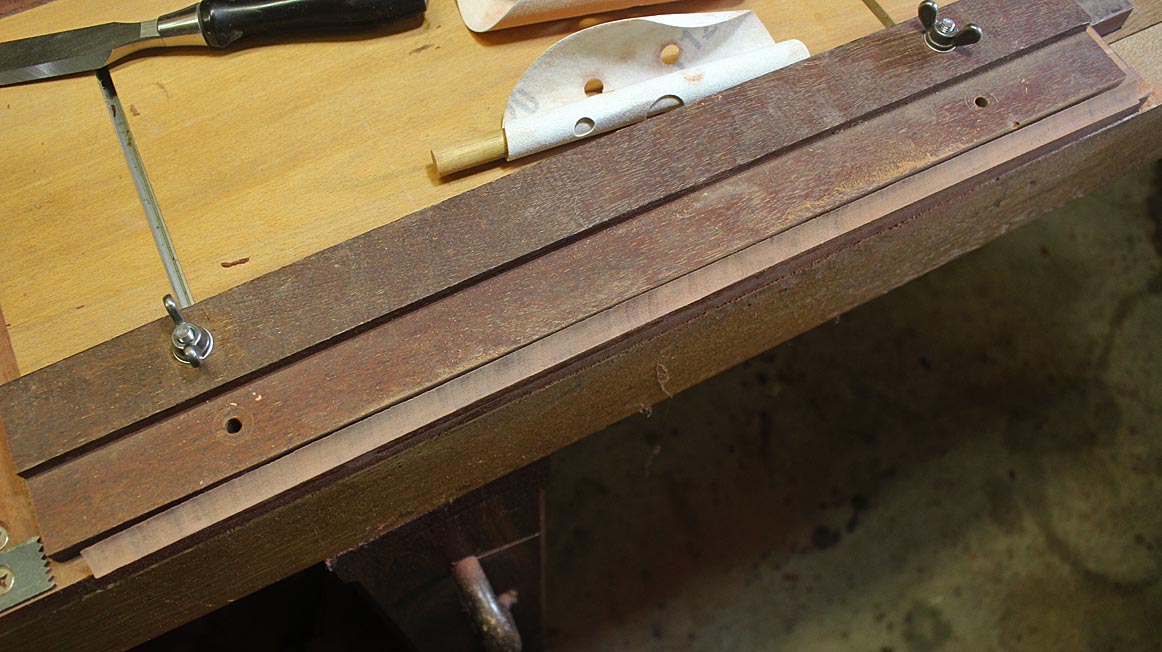

The filets were then glued in (Titebond hide glue for everything). A dowel was used to place pressure evenly on the corners ...
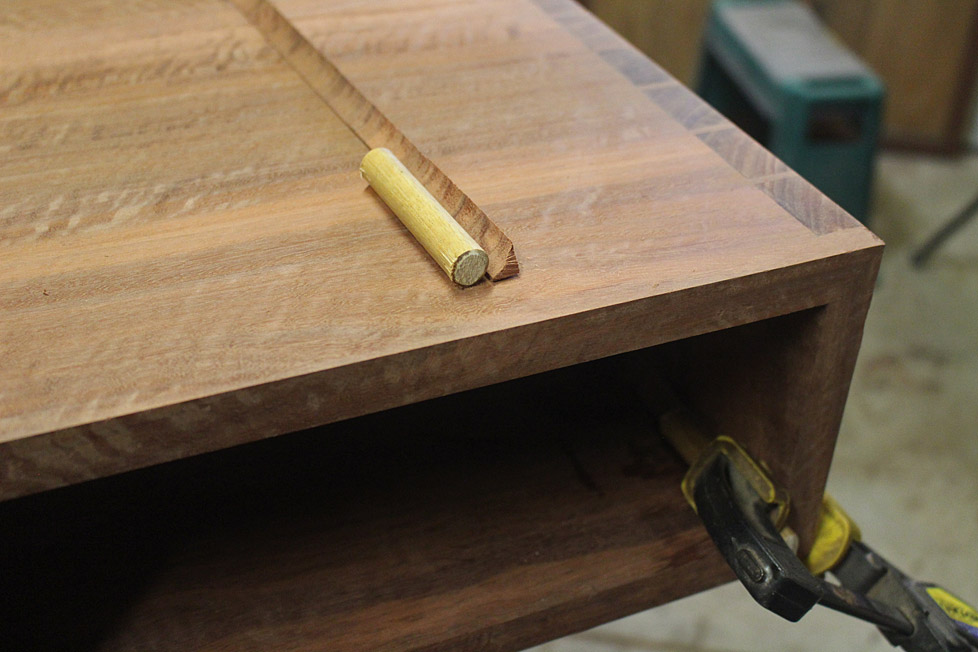

Step 3: shape the ends

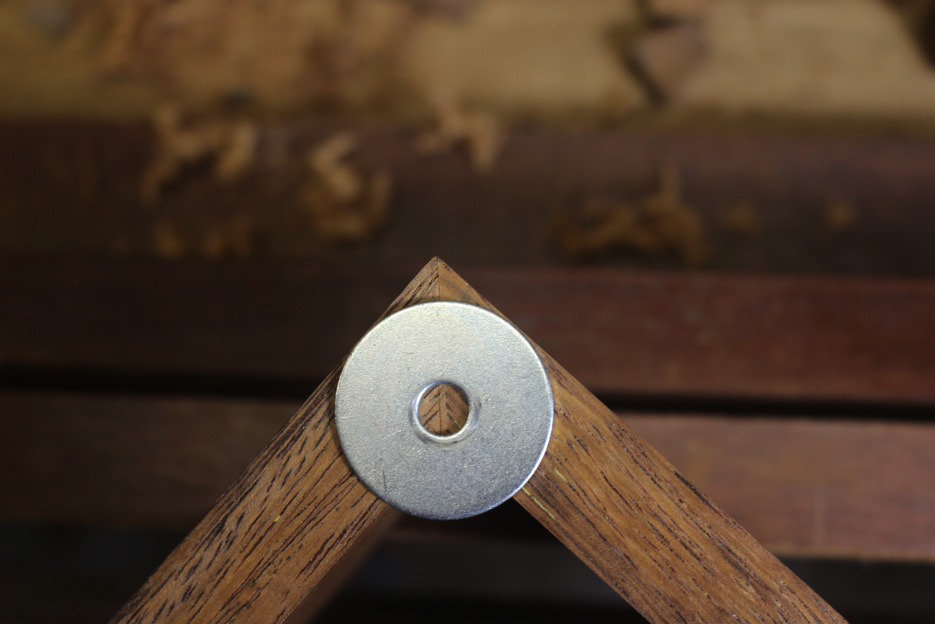
I used a larger washer than this one this time to mark out the curve (as the radius needed to be reduced) ...

Then began planing ...
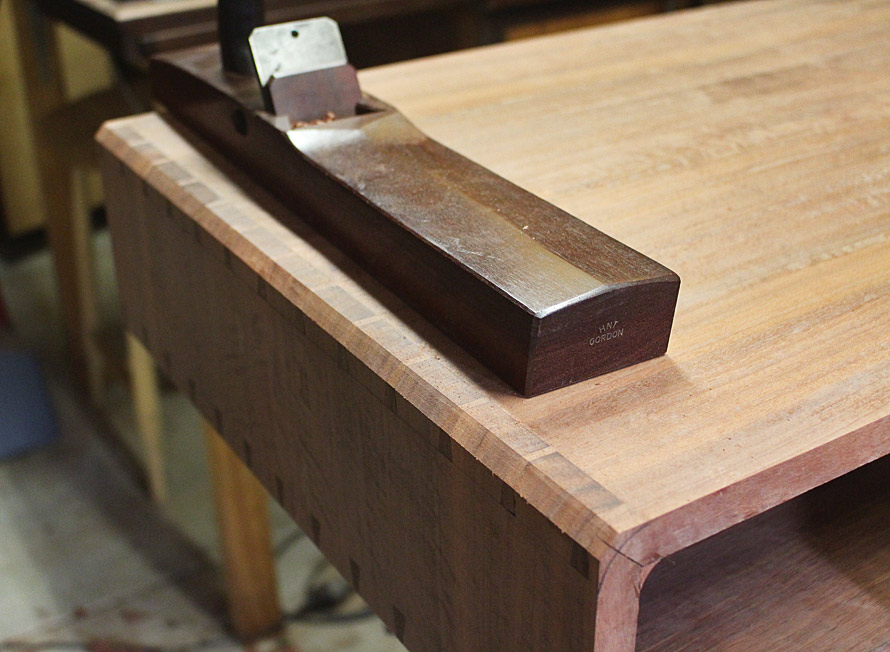


Refined with a block plane ...
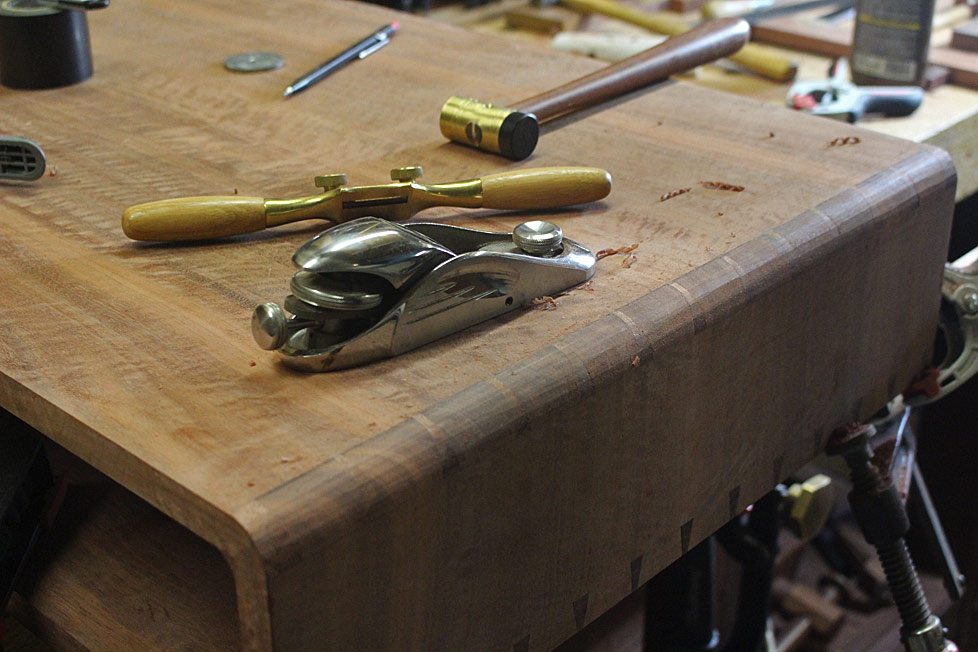


... and finished with sandpaper.


That's it for today. Next I begin the tapered and splayed legs.

Regards from Perth

Derek

Re: Coffee Table for my nephew - #5

#2

Wow! That's impressive, just the way I....

Barry Irby

would have done it if I had either the skills or the tools. Beautiful.

Impressed with your collection of planes also. I just bought two to restore and now realize I should throw them away and start over.

Thanks for posting, I learn a lot from your builds.

Re: Coffee Table for my nephew - #5

#3

Indeed impressive

Bill Tindall, E.Tn.

It is difficult to end a radius made free-hand exactly in the right spot, ie 90 degrees and even more so to keep it uniform over a length. No doubt the dovetails provided a target.

Re: Coffee Table for my nephew - #5

#4

Re: Ha! I love it! Great job, Derek.


Re: Coffee Table for my nephew - #5

#5

Re: Coffee Table for my nephew - #5

Don Stephan

Inspiring work as always, but don't you ever sleep?

Re: Coffee Table for my nephew - #5

#6

Excellent job!!  Lucky nephew.


Re: Coffee Table for my nephew - #5

#7

Re: Coffee Table for my nephew - #5

Derek Cohen (in Perth, Australia)

Ha, Don! :)

I am on leave from my practice at present. For a couple of weeks from Christmas. In Oz this is known as the "Silly Season". Nothing gets done until February. This year we are at home, not travelling. So nice! The wedding is the beginning of February, so I have about 10 days to wrap this up (as well as chores around the house .. ugh).

Regards from Perth

Derek

Re: Coffee Table for my nephew - #5

#8

Re: Coffee Table for my nephew - #5

Brad Chenoweth

Derek, someday I hope your nephew can appreciate the fact that he has a piece executed by a woodworker whose skills far exceed those of us mere mortals. Simply outstanding!

Re: Coffee Table for my nephew - #5

#9

Engineering the drawer question

Bill Tindall, E.Tn.

Soon drawers will be upon you. Something functioning as a "kicker" will need to be arranged. Left side of the drawer is conventional and I presume will be fitted conventionally. What about the right side? Not so easy fitting a quarter round drawer top to a quarter round opening with optimum clearance its length. Or just the back and front could be fitted for clearance and the middle purposely lowered a bit to ensure it is lower than the front and back. Or, this side of the drawer could just be lowered, with a rounded or even square edge and rely on the back of the drawer and case top to function as the kicker. What is the plan for this function?

Re: Coffee Table for my nephew - #5

#10

Re: Engineering the drawer question

Derek Cohen (in Perth, Australia)

Hi Bill

You are reading my mind!

While I am in process of making the (splayed) legs and rails, I know I will soon need to make a final decision about the drawer(s).

It is only the centre section that is involved. That is what I referred to as a drawer case.

The choice is (a) one long drawer (with a central divider) that is opened and closed from either side, or (b) two short drawers which meet in the centre, each opened from one side.

I do not want to have handles/pulls. So, choice "a" would be opened by pushing the drawer from the opposite side of the table. Choice "b" would have a kicker each (I have these, originally intended and unused for a past project), and simply require a push to cause them to spring open.

My preferred option is "b", but there are problems: The width of the table is 500mm. The width of a drawer would be about 330mm, and the depth would be about 20mm. That is a recipe for racking. Also, there would not be much usable length/space inside the (short) drawer.

So, at this stage, my option is "a" - one long drawer that spans the table. As it would have a half blind "drawer front" at each side, it will be enclosed much like a box. The drawer bottom would need to be made of ply to avoid the issues of expansion.

I would prefer to be able to open the drawer from each side in a more traditional manner, but cannot come up with an idea (that I like). I'm trying to avoid anything that protrudes. I have thought of yacht folding handles (such as the ones on campaign furniture). These stand out too much. Lynndy says "drill a hole", and I reply is censored. Any thoughts?

Regards from Perth

Derek

Re: Coffee Table for my nephew - #5

#11

Now that is a lot of questions

Bill Tindall, E.Tn.

How will this table be used? Personally I am not smitten by providing drawer access on both sides. But then my opinion is a result of not imagining a use for this table that would benefit from drawer access on each side.

Access from both sides in reality leads effectively to the utility two, not very deep drawer spaces you wisely rejected. What would get stored on the "north" side vs the "south" side? His and hers remotes?

My opinions are free and worth as much. Cubby holes accumulate unattractive junk. I would be building three drawers for the three openings and opening them with a creative "hole" as your loved one wisely suggested. These drawer faces would be as plain a grain as I could find to contrast with the busy top.

I don't know how one would stop a single spanning drawer in registration with the face, yet have it open on either side. Without a stop the drawer in use will usually be unattractively more or less closed.

Re: Coffee Table for my nephew - #5

#12

Clint Searl

Re: Engineering the drawer question

Clint Searl

Drawers without hardware pulls are like hairdressers without tattoos. They're just meant to go together.

Re: Coffee Table for my nephew - #5

#13

Re: Engineering the drawer question

George Koch

Derek, I would suggest one thru drawer accessible from both sides, utilizing rare earth magnets as stops and hand holes to mimic the overall shape of the table side profile instead of pulls. Great workmanship and tutorial!

Re: Coffee Table for my nephew - #5

#14

Re: Engineering the drawer question *LINK*

Sgian Dubh

"I do not want to have handles/pulls."

Rout slots perhaps 50- 60 mm long in the underside of the carcase across the width, set back 20 or 30 mm from the front edge(s). Add some form of tab to engage finger or fingers to the underside of the drawer bottom set to coincide near the end of the slot nearest the table's centre. To open, reach under, put finger(s) behind tab, pull forward.

For a single drawer opening both ways, all that's needed is a sprung loaded mechanism to engage with a detent mounted just inside the drawer side bottoms, or drawer slips. Something like a spring plunger, see link, or a modified ball catch might do the trick.

I slightly disagree with Clint. Drawers with, or without pulls can look just right, all depending upon the design context, and my hairdresser would probably take umbrage if I told her she's needing to get a few tattoos to look the part, ha, ha. Slainte.


https://uk.rs-online.com/web/p/ball-spring-plungers/0478743/

Re: Coffee Table for my nephew - #5

#15

Re: Engineering the drawer question

Derek Cohen (in Perth, Australia)

Hi George

I have been considering rare earth magnets, as well as ball stops.

It is still a toss up between no handle vs a slot in the middle of the drawer (shaped to mimic the front of the table).

Regards from Perth

Derek

Re: Coffee Table for my nephew - #5

#16

Clint Searl

Re: Engineering the drawer question

Clint Searl

Some designs beg for interest.

Re: Coffee Table for my nephew - #5

#17

A third option ...

Derek Cohen (in Perth, Australia)

Just thought of another way to do this.

Single drawer, opening one side. Spring-loaded to open (push it in, and it springs open). No drawer handle required. The other side of the table (where there would be a drawer) is enclosed by an identical "drawer front". Both sides look the same. Only one side opens.

Regards from Perth

Derek

Re: Coffee Table for my nephew - #5

#18

Building on your idea

Bill Tindall, E.Tn.

I would cut out the front of the case bottom under the drawer to expose the bottom edge of the drawer front and profile the back of the drawer bottom at this point to be comfy for the fingers pulling the drawer out. The cut out would lead the person desiring to open the drawer to the means to do it.

I do like any solution that leaves the drawer front plain.

Not fond of any sort of fastener that needs to be tugged to open either a drawer or door. Just don't like the feel. It is why I am fond of Krenov door "latches". I think quality work should open and close smoothly. (We all have our notions!)

Re: Coffee Table for my nephew - #5

#19

Drill or shape a finger hole


Re: Coffee Table for my nephew - #5

#20

which would require commercial drawer runners

Ian Neuhaus

Derek, the "push to open" and similar drawer systems rely in the low friction properties of ball bearing drawer runners to work.

I can see a world of frustration in the future should you fit a similar system to a drawer running inside a box.

A way around the problem is to build a single divided drawer spanning the entire width but deliberately recess the drawer 1/2" to 3/4" each end so that "almost closed" is in effect closed. The resulting shadow line from the top would then conceal a finger pull attached to the top of each side. Make the pull from aged bronze and engrave yours and Lynndy's names on one as the "givers", and the nephew's and finance's names on the other as the "recipients". i.e. make a feature of the necessity.

👍 This page answered my questions

Your vote helps other woodworkers quickly find the answers and techniques that actually work in the shop.