Making mortices and tenons
Derek Cohen (in Perth, Australia)
A short while ago, Bill asked for our favourite methods for mortice and tenon joinery. I gave a couple, both hand- and power versions. Generally I decide on one or the other according to my mood, the alignment of the planets, how many joints there are, and and quickly it needs to be done. I was building a coffee table for my son this weekend, and decided to use the power method. Here are photos for your amusement.
Mortices are made with a router using a simple jig. I've used a number of jigs over a few decades, and this is by far the best of all . The router fence is captured in a slot at the rear, and the work piece is held below with a couple of clamps. It takes seconds to set up ...
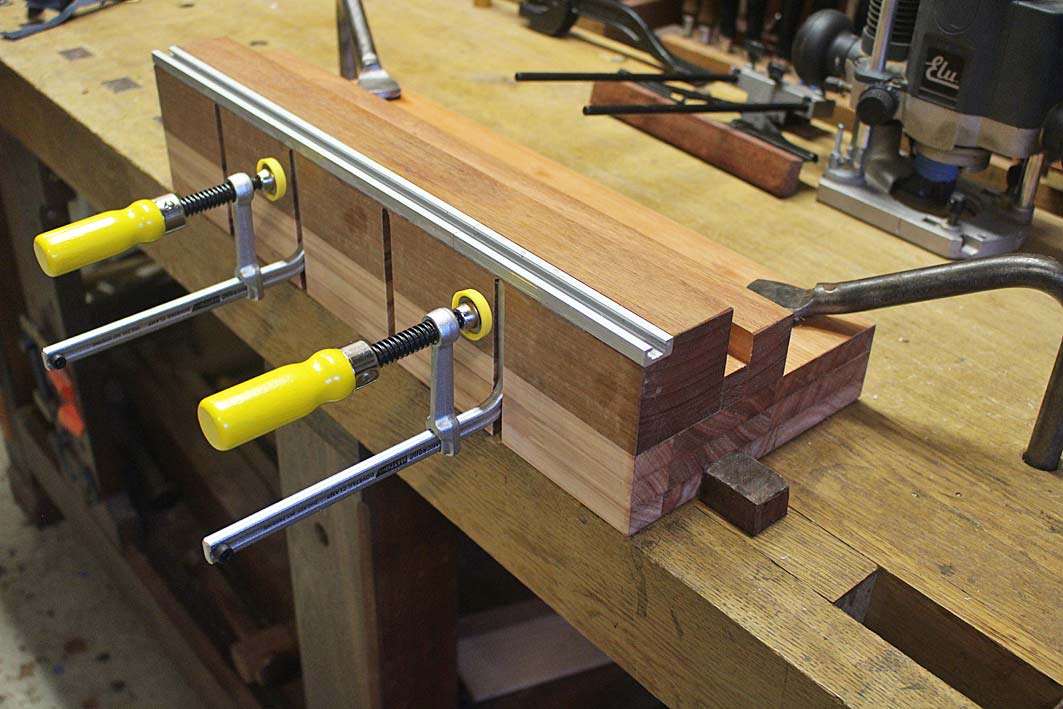
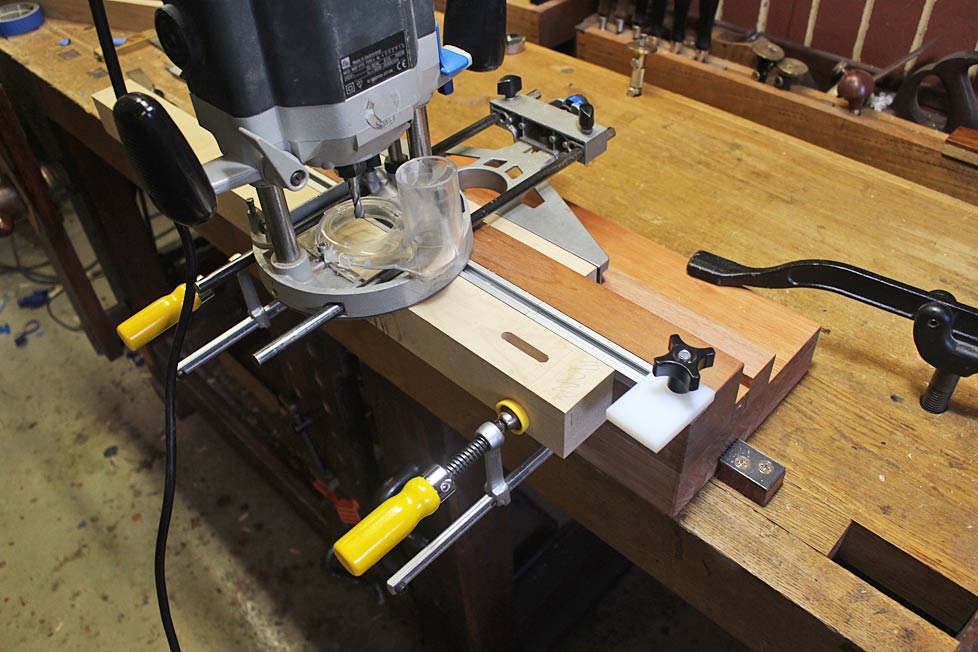
In this instance the router uses a 8mm or 5/16" wide mortice using a spiral upcut bit.
I will generally cut the mortices first, whether hand- or power. It does not make a lot of difference since both are marked out with a mortice gauge from a reference side. The mortice/tenon is centred (where the design calls for this) by eye. This means that it is not quite centre - but that is fine as long as all markings follow the same reference side.
These legs are going to be turned on the lathe, which is why they look a little unusual at this stage. Of relevance here is that the ends of the mortice are squared with a chisel ...
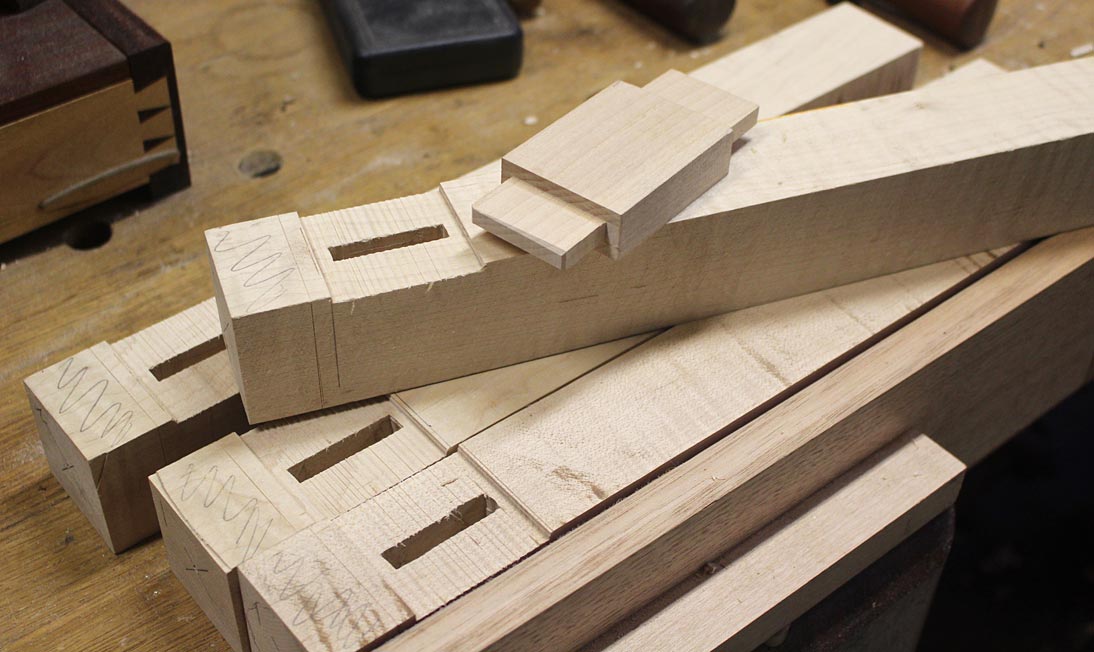
I do make a practice tenon to check fit ...
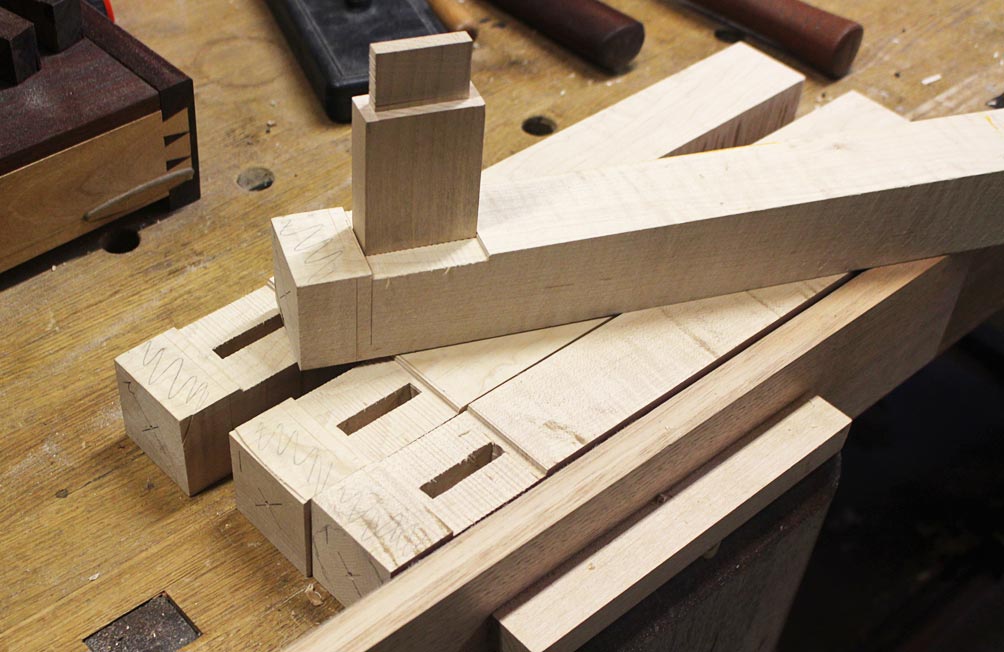
Making the tenons involves the table saw and bandsaw. First the shoulders are defined on the table saw ...
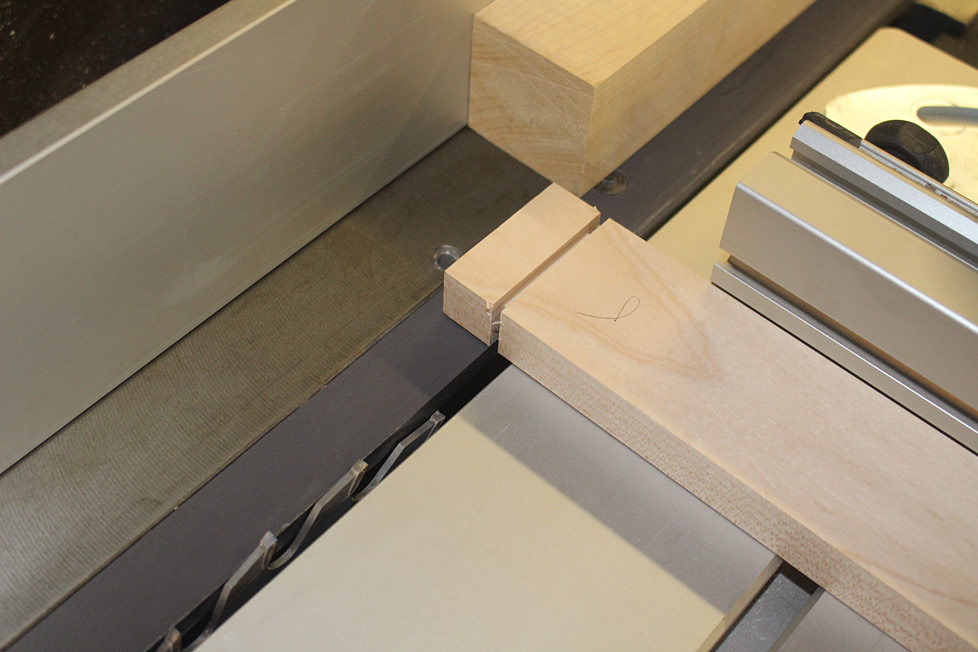
Set up the blade to the height of the cheek from the reference side (This may or may not - likely not - be the same for the non-reference side. It is not vital). Complete the saw cuts on all four sides (the practice was made this way, and this enabled the length of the mortice to be determined).
Next I cut the cheeks on the bandsaw, and return to the table saw, but one could do all the table saw work at the one time.
The bandsaw is set up to saw the cheek furthest from the fence. The reference side faces the fence.
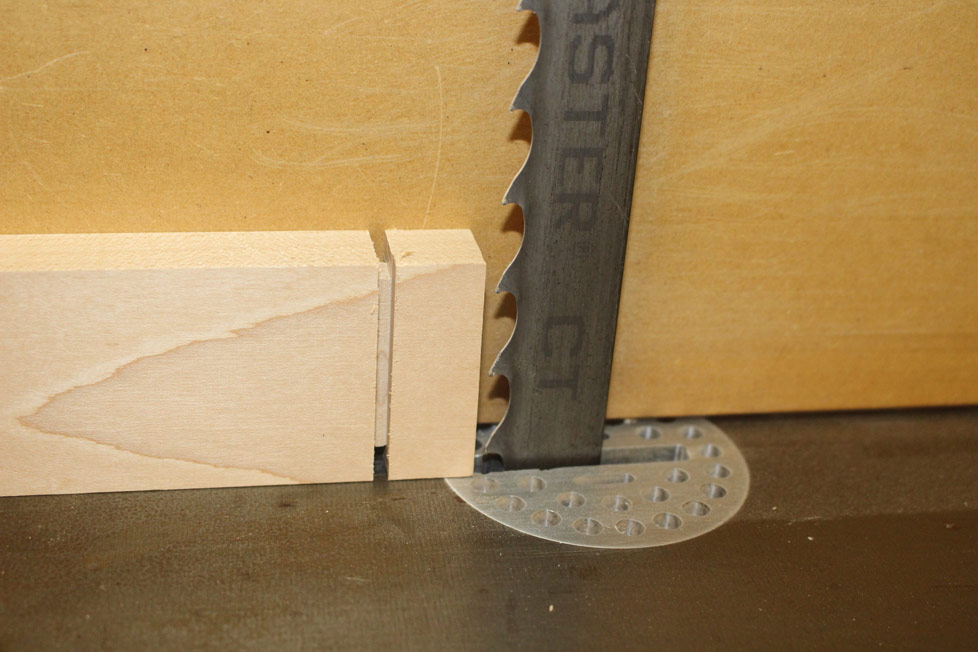
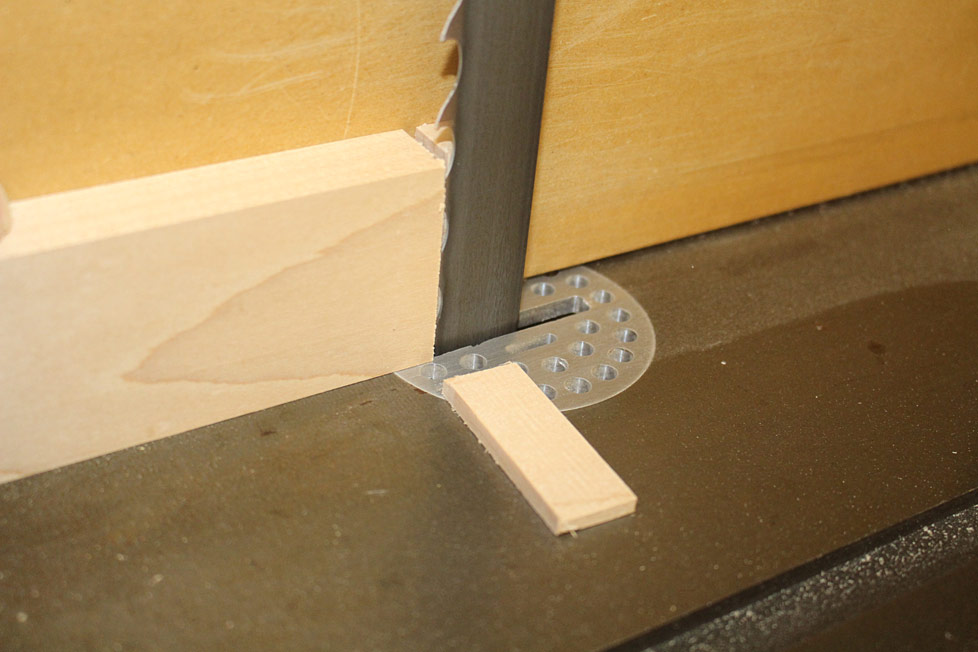
I have made a few spacers. This one is for a 8mm or 5/16" wide tenon/mortice. The measurement is the width plus the width of the bandsaw blade.
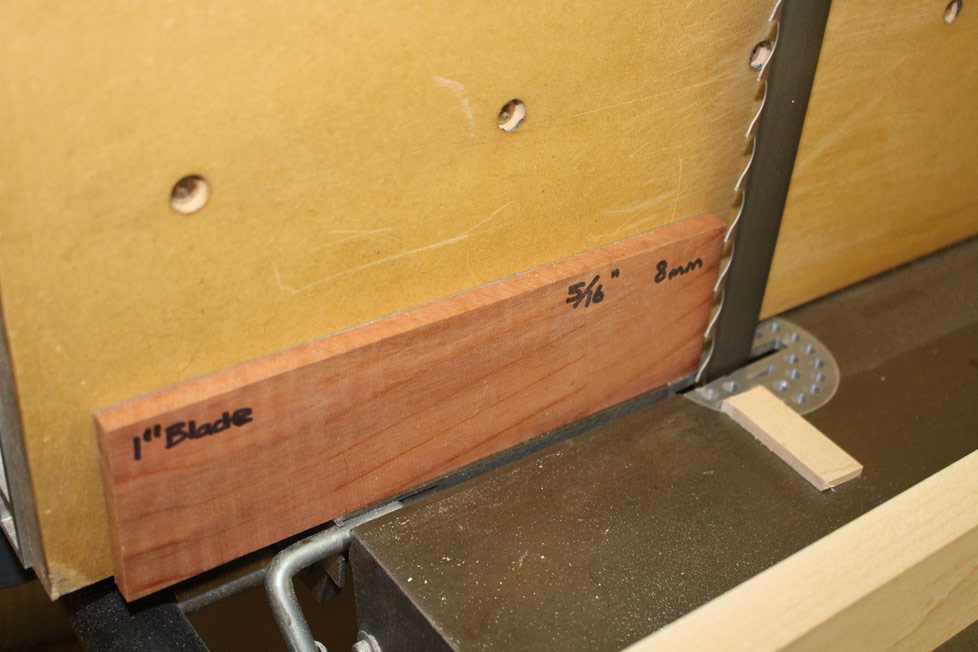
Place the spacer against the fence, and saw the other cheek without moving the fence ...
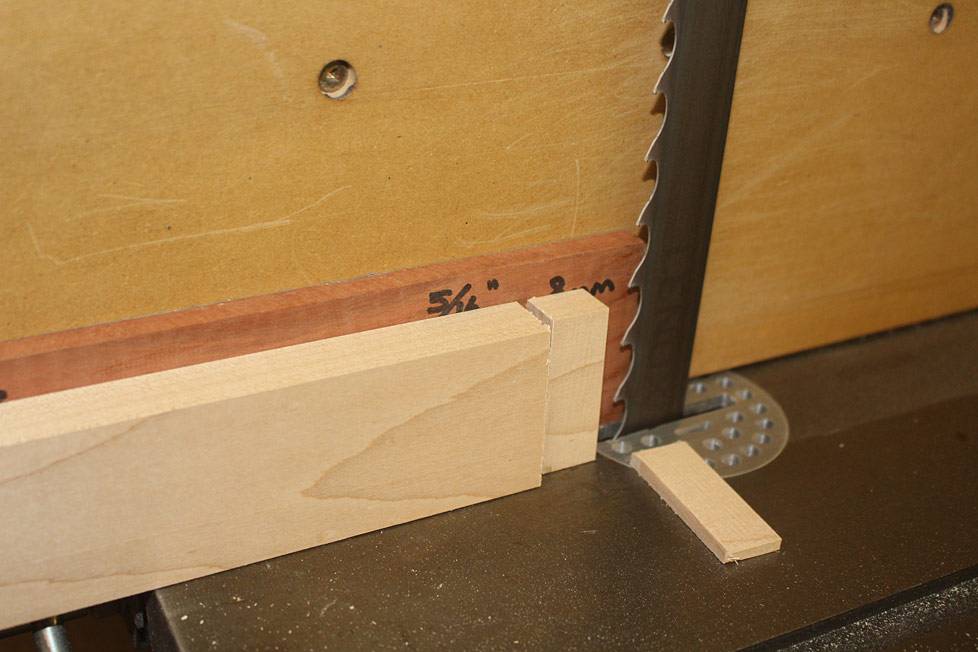
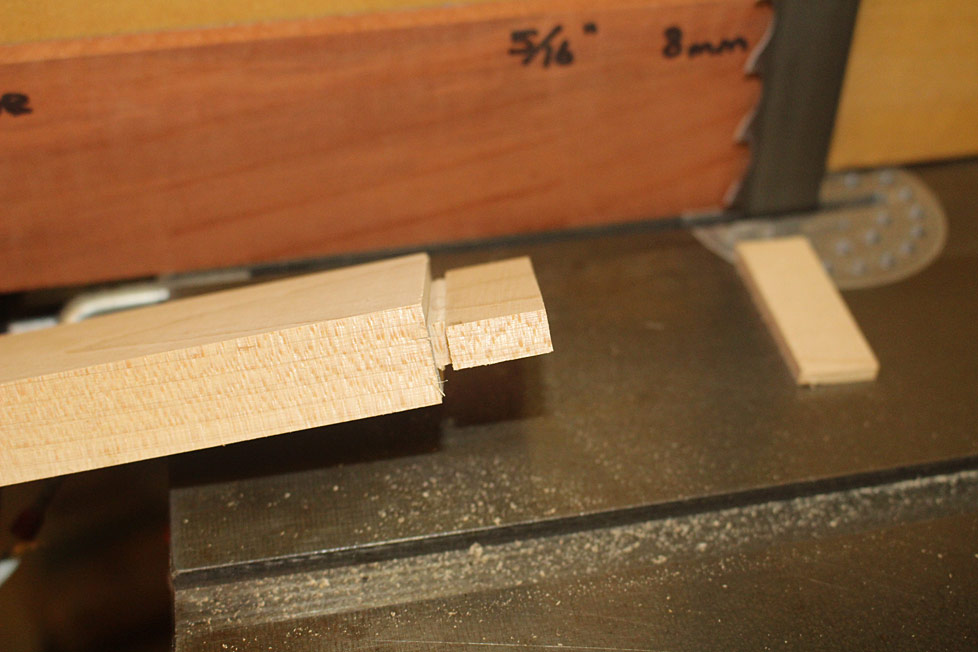
You can see that the beauty ends of the tenon still need to be removed. This is where I return to the table saw (as mentioned, this could have been done at the same time as the shoulders).
Positioning the mitre fence at the centre of the blade, simply push the tenon across. It should require a single past to remove all the waste ...
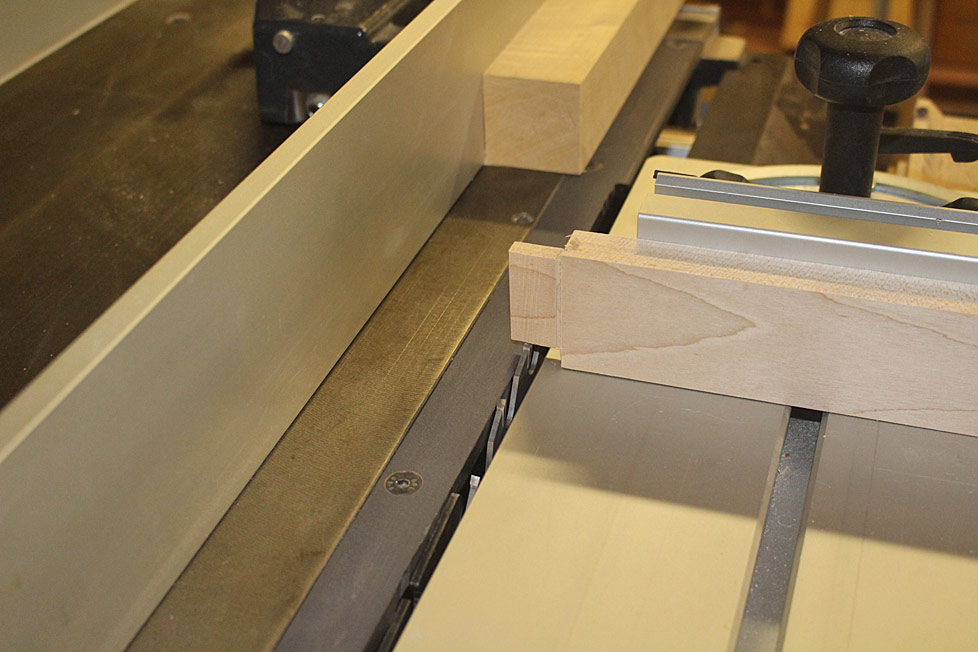
One cheek on the reference side should be clean at the corner, however the non-reference side is likely to have a little waste remaining ...
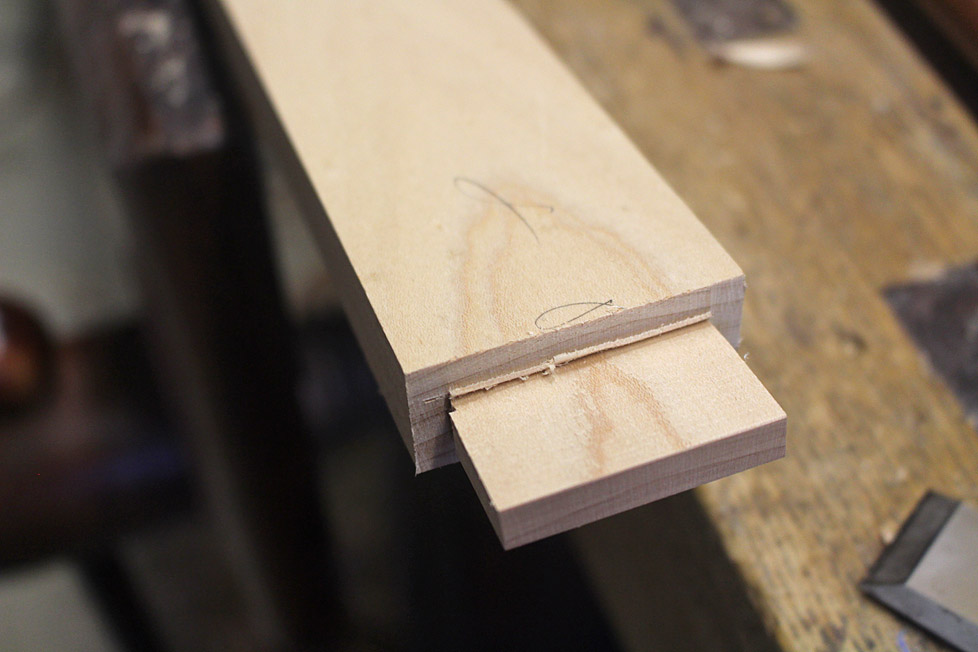
Simply remove this with a chisel ..
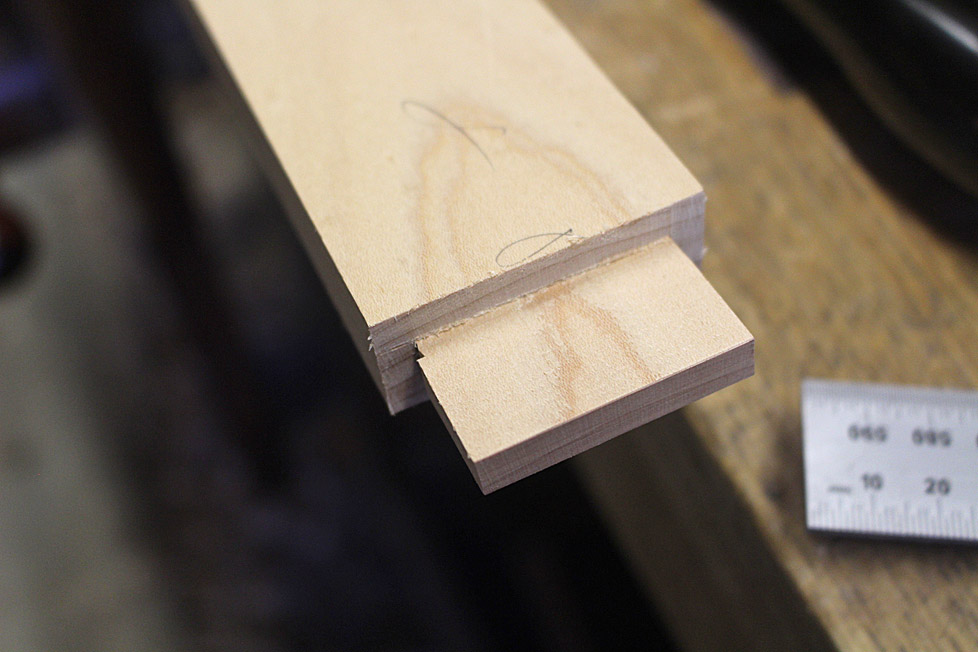
It may end the other way, that is, with a slight groove. I really would not be concerned - no one will see this, and it will not detract from the joint's strength.
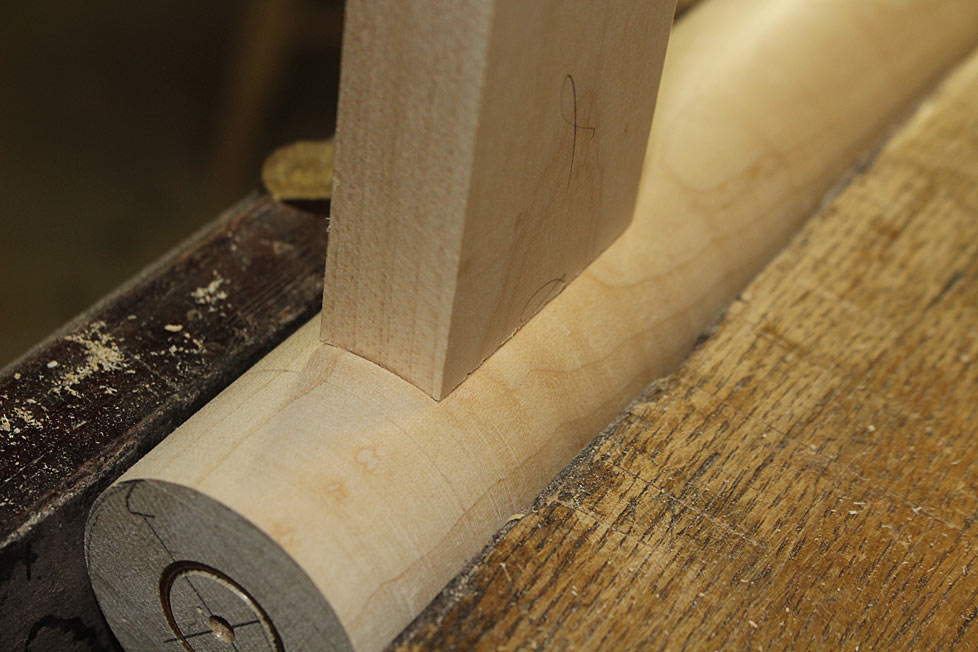
Here is the mating of the mortice and tenon in this build ...
Regards from Perth
Derek


