WoodCentral Forums

Est. 1998 — 27 years of woodworking knowledge

Apothecary chest - shaping the drawer fronts (2)

Posts

Apothecary chest - shaping the drawer fronts (2)

#1

Apothecary chest - shaping the drawer fronts (2)

Derek Cohen (in Perth, Australia)

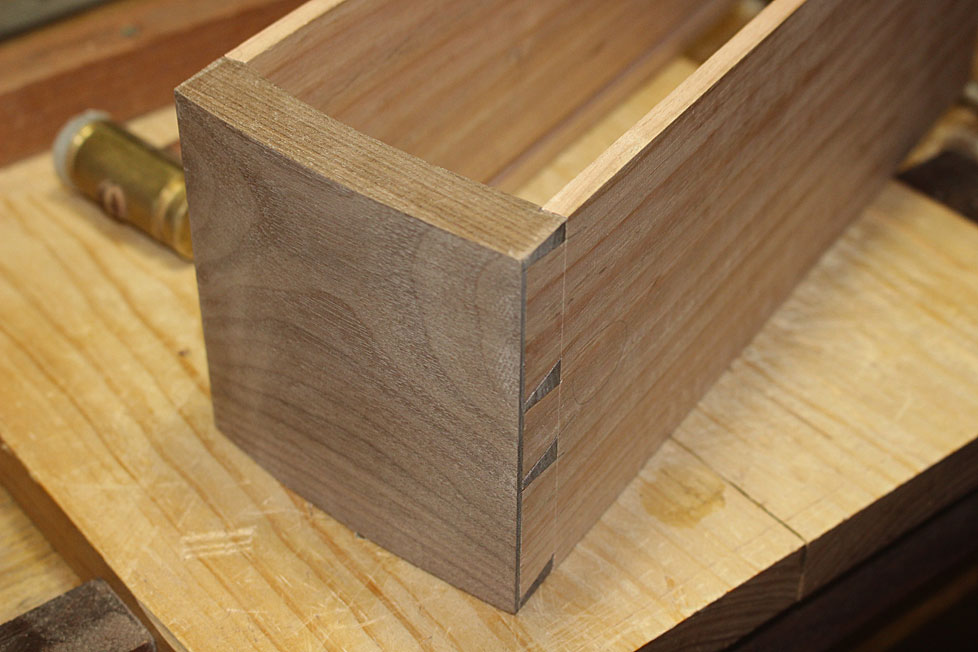
Shaping the curved faces of the drawers was a lot of work, and I was very pleased to see it done. Dusty and dirty.Not fun. Now the inside faces need to be done, and this will complete the the third stage of building the drawers (the first stage was to fit parallelogram-shaped drawer fronts into their recesses, and the second stage was dovetailing the fronts).

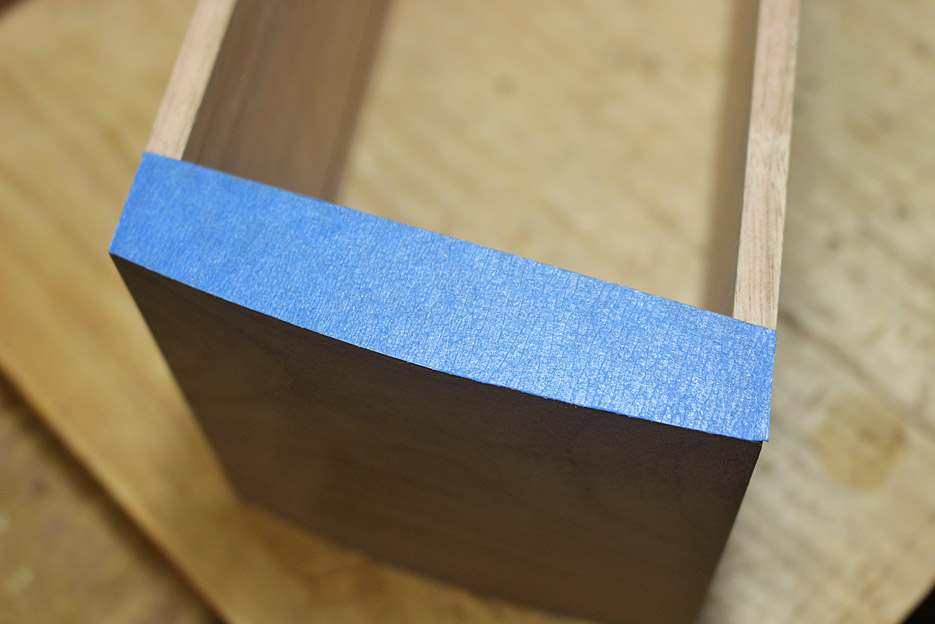
The drawer front shaped on the outside only ...

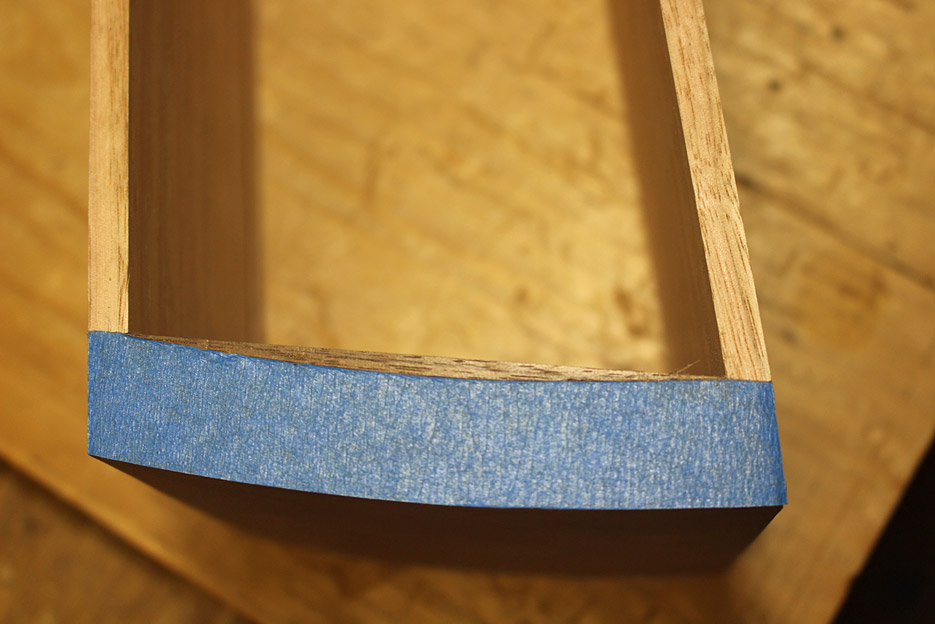
Blue tape (what else! :) ) is added to upper and lower edges ...

The inside curve is scribed ...
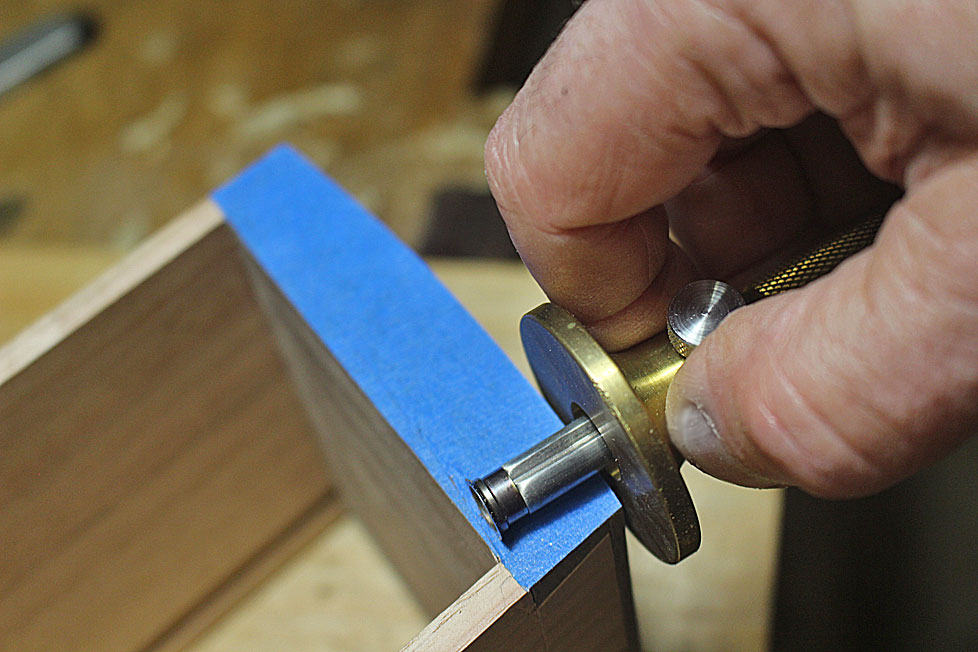


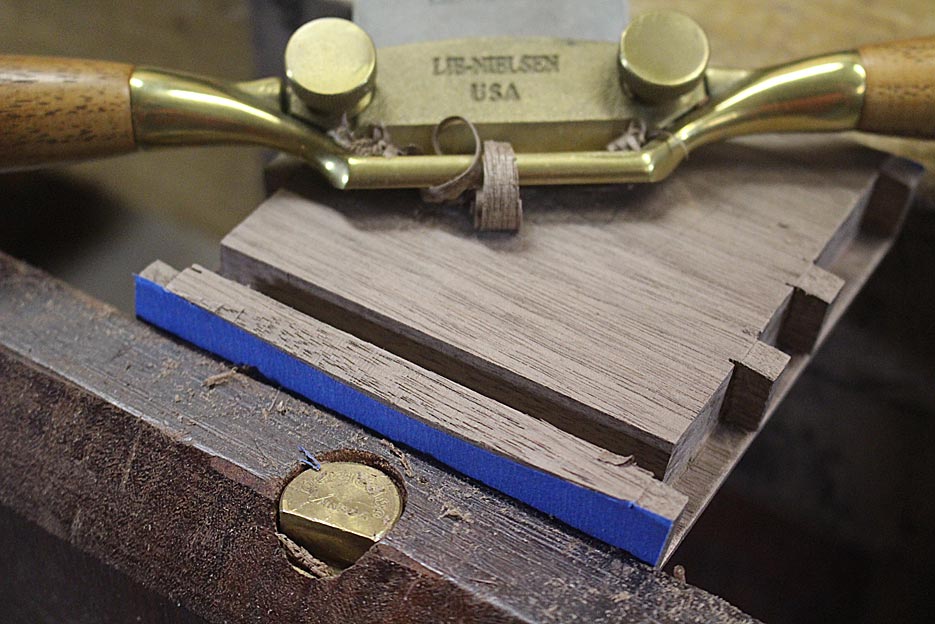
Pulled apart, the rear of the drawer front is chamfered with a round bottomed spokeshave to prevent spelching ...

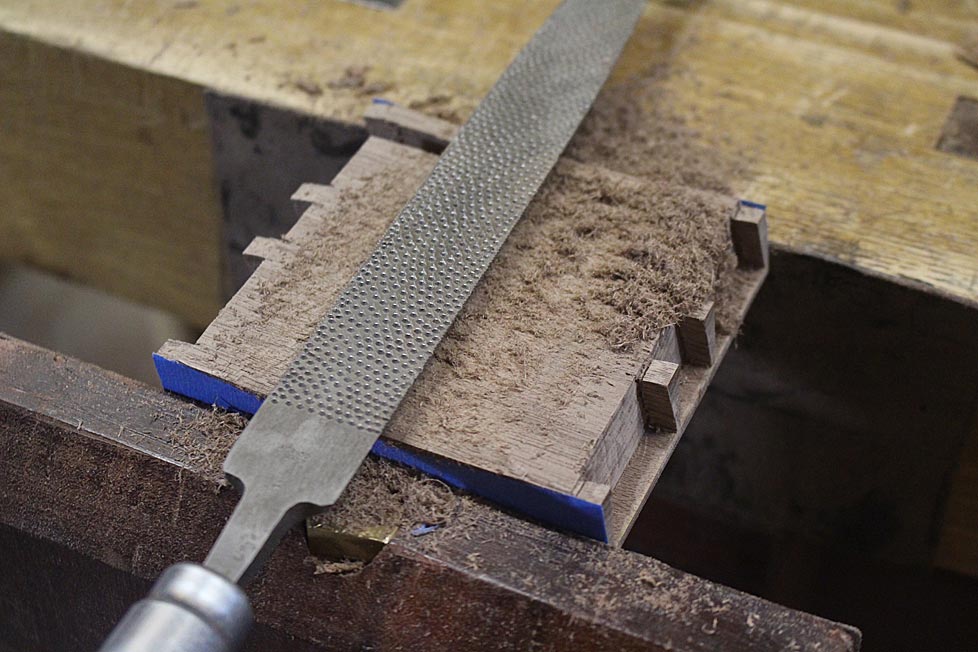
The waste is removed with rasps - this is an Auriou 10 grain ...

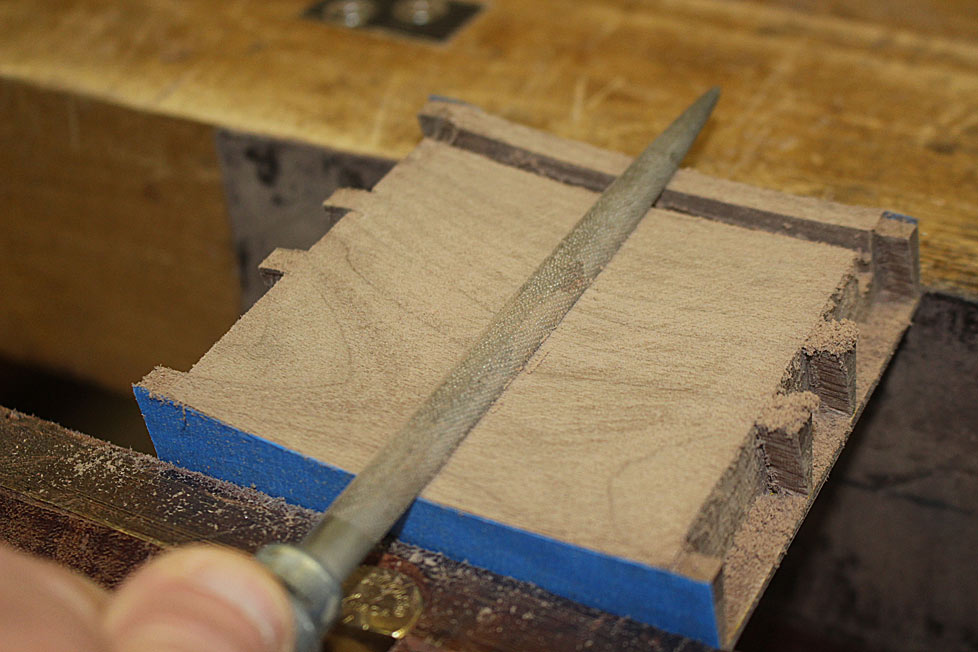
Three rasps in all are used to remove and smooth, ending with this 15 grain ..

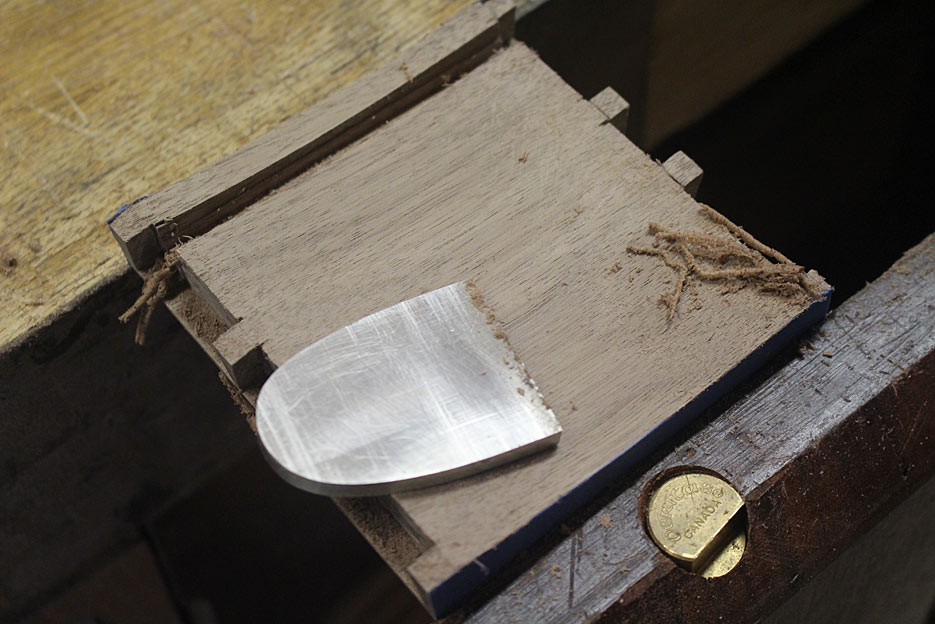
The surface is refined and finished with a scraper ..

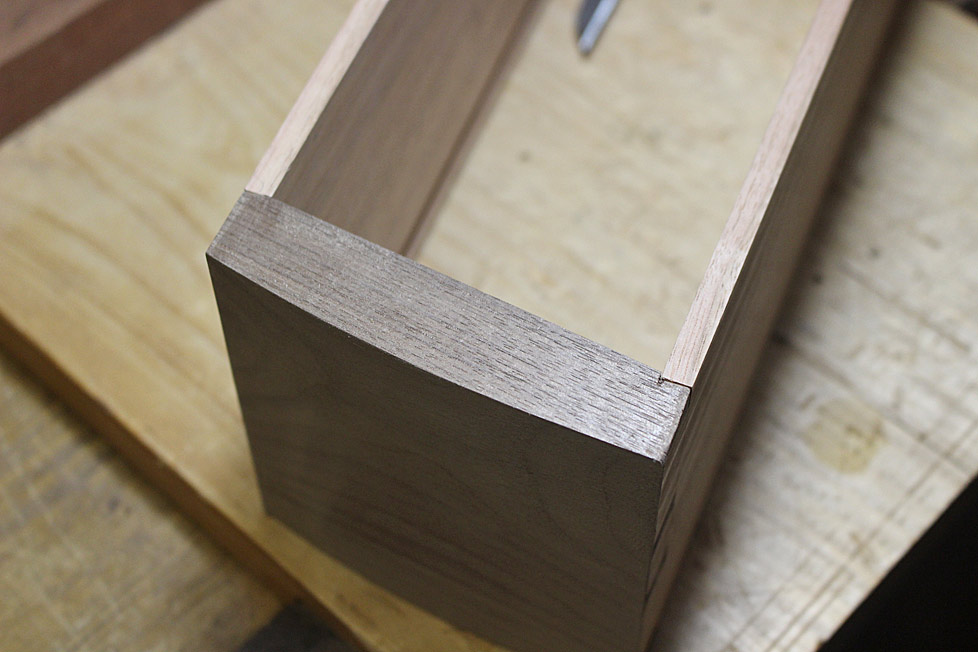
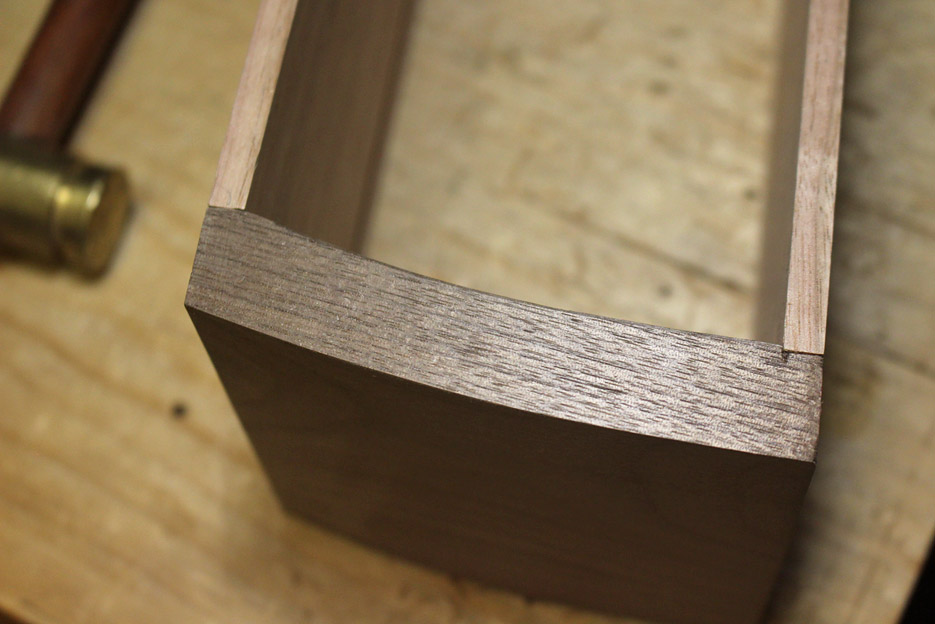
Final shots of the completed drawer front ...


Regards from Perth

Derek

Re: Apothecary chest - shaping the drawer fronts (2)

#2

I'll bet that was slow

Bill Tindall, E.Tn.

A band saw makes a dandy "carving tool" and the scratches it leaves are guides for the next refining step. I am surprised you didn't begin establishing the arcs with some application of the band saw, either chiseling or sawing or combination of each. Surely you have a hand plane with an arced sole that would have refined the coarse band saw blade removal surface making shavings instead of file dust.

Re: Apothecary chest - shaping the drawer fronts (2)

#3

Re: I'll bet that was slow

Derek Cohen (in Perth, Australia)

Bill, I would have liked to have used the bandsaw, however there simply was not enough waste to cut .... but which left plenty to rasp away ..


Regards from Perth

Derek

Re: Apothecary chest - shaping the drawer fronts (2)

#4

I tried band saw

Bill Tindall, E.Tn.


It seemed that the procedure I was taught to make bow front drawers would work for this small bow front drawer. I tried it. My "drawer front" (a waste block I used as a backer on the drill press) was 6" tall but higher would not have yielded a different result. My arc began at 1/4" and tapered to 0. It sawed easily with a 1/4" 6 tpi blade which was what was in the saw at the time. The waste piece is on edge behind the "drawer front". It planed easy to smooth the arc. The whole of it took two minutes at most (I only planed 1/2 the arc). This result would need to be further refined with file or sand paper.

It may seem impossible but planing a convex surface is easy. I was told so by Steve Hamilton (Headley shop). When it came time to do a bow front indeed it was easy. On a bow front the concave side is similarly band sawed and then spoke shaved which is vastly harder than hand planing the convex side. I might try a plane with a radius sole next time and plane diagonal to drawer length.

If the arc was less than a blade width I would have made chiseling cuts perpendicular to the tangent of the arc to waste away material.

Re: Apothecary chest - shaping the drawer fronts (2)

#5

Re: I tried band saw

Derek Cohen (in Perth, Australia)

It may seem impossible but planing a convex surface is easy.

Thanks for raising this, Bill :)

I have done both sides with planes before ...


In the current situation, the drawers are so small, that is it tricky to hold and plane. The area to plane is 100mm wide, but only 25-30mm deep. You end upmchopping with the plane. In this situation, for myself, it was easier - and more predictable - to use a rasp. At another time I would have preferred a plane.

Regards from Perth

Derek

Re: Apothecary chest - shaping the drawer fronts (2)

#6

Re: Apothecary chest - shaping the drawer fronts (

Barry Irby

I know you are a hand tool guy, but what is the radius of that arc?

How about setting a router up on a swing arm the length of the radius and clamping the pieces below and swinging it back and forth to clear most of the waste?

(I would rather spend a year building a contraption than just doing the job in a day.)

👍 This page answered my questions

Your vote helps other woodworkers quickly find the answers and techniques that actually work in the shop.