WoodCentral Forums

Est. 1998 — 27 years of woodworking knowledge

Tips for installing case moldings

Posts

Tips for installing case moldings

#1

Tips for installing case moldings

Bill Tindall, E.Tn.

PIC 1&2


The first two pictures show the result.

There are two challenges. The arches need to fit the distance between the drawer dividers and the corner miters need to fit well.

To begin with the molding that is arched, miters are cut on one end of oversized pieces that will become one side and the front. This corner, left in the picture, is dry fit with clamps as illustrated in PIC 3.


At this point the other end of each piece overhangs the cabinet (it’s oversized).

Note that I have the cabinet on a dolly with easy to roll wheels that can be securely locked as needed. Also I have a kneeling pad for working off the floor.

The molding that has the arches will need to be reliably removed and then repositioned on the cabinet as part of locating and cutting the arcs. Locating pins in the form of cut-off brads are driven into the fame. When the left corner miter is dry fit well, the front piece is pressed into the cut brads and the location of the vertical drawer dividers can then be scribed. This front piece is removed, the arc for the drawers marked, sawed and smoothed as shown in PIC 4


It is then repositioned on the case with the aid of the pins, its length marked and the right miter sawed a bit long. By trial, bits are shaved off the miter until an acceptable fit is made with the right side. The front molding is then glued and bradded in place, PIC 5.


The side moldings are then cut to length and glued and bradded in place.

I cut corners where it doesn’t show but I strive for perfection on molding miters. The process I use for “wrapping” molding around a case will be illustrated for the molding applied to the arched molding. It depends on dry fitting mitered molding pieces left long during the fitting process. The process enables miter angles to be empirically adjusted to fit the case. My process is slow but sure and depends only on patience, not skill or experience.

To begin, miters are cut on one end of the front and side molding sticks, which are left longer than the finished length. In this case I have started on the right side6.


Because these pieces are left long there is sufficient stick length to diddle with the miter angles, and stick position until the fit is acceptable.


What’s this?! It is a pencil mark across the molding and cabinet. It is an index mark that I use to tell me how much I have moved this piece in the course of diddling with its locating to get the miter to line up. Don’t overlook how accurate something can be moved if there is a similar index mark to judge the adjustment.

When the dry fit is good enough, the front molding is clamped into position. The right side molding has glue applied and it is clamped and braded in place, using the clamped front molding to fix its location. The length of the side can be cut to length before installation, or after with a hand saw. Brad and glue locations depend on the case side. This case is frame and panel so I can glue the entire length of the molding.

The result is shown in PIC 8 ( the front molding has been slid away for the picture to show that it has not been attached yet.) Note the angled pencil mark. I have cut miters the wrong way. The pencil mark helps to get them the correct orientation.


Next a miter is cut on the left side molding stick, again left over length. The miter on the left side of the front molding is shaved away with miter saw or plane until a dry fit with the two side moldings are is acceptable. The front molding is then glued and bradded in place. Finally the left side molding is added.

PIC 9


I cut miters with a sled and adjust with a hand plane.

Re: Tips for installing case moldings

#2

Barry.....

Bill Tindall, E.Tn.

Note the abundant use of the clamps you questioned.

Re: Tips for installing case moldings

#3

Re: Barry.....

Barry Irby

I did note them. Then went a looked up the cost. The Bessey version was close to $40 each. Going to have to save my pennies. I will add a few to my collection as finances permit.

Come to think of it, I have several pipe clamp versions. They will flop in more directions than seems possible. Pretty useless.

I have about twenty C-clamps that serve the purpose for me.

Re: Tips for installing case moldings

#4

Re: Barry.....

Bill Tindall, E.Tn.

Did you miss the post where I said I bought them at Woodworker Supply? Not $40.

Once you own some quick adjusting F clamps you will never use a C clamp again.

Re: Tips for installing case moldings

#5

Re: Barry.....Whoa, very confusing....

Barry Irby

I see some of yours are green, apparently WoodTek from Woodworker supply? But you have several types/colors, different brands?

I see they are about $25 each at WoodWorkers Supply. More palatable than $40. Then I looked on Amazon and E-bay. Overwhelming. Prices range from $3 to more than $100. I am skeptical of the really cheap ones because if they don't work reasonably well they are a 100% waste of money.

What are your criteria for your favorite ones? What length of the bar. Seems 6" to 12" would be about right. How about the depth? Seems something around 5" would be more useful that 2 1/2". Do you have a brand? How about any that are really bad?

Re: Tips for installing case moldings

#6

what you need depends on what you do

Bill Tindall, E.Tn.

Not shown in this collection are 4- 6 x 12" clamps that I only occasionally use.

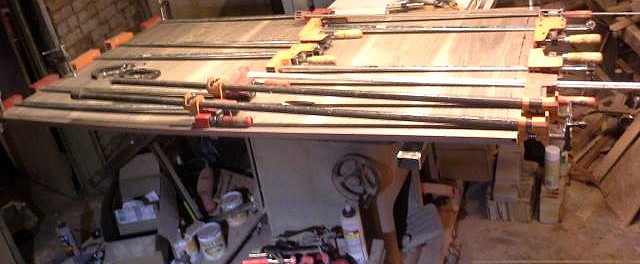
I use the most 3 x 8". All the clamps in the PIC are 8". Clamps with the locking device on the shaft lock best. The blue ones on the end from Lowes? I don't like very well. I have bought Pony (highest quality of mine), Woodworker Supply, Lee Valley, Pigeon Forge Tool store and maybe other places. In a box unused are some without the shaft locking device. They have a more flimsy shaft.

Re: Tips for installing case moldings

#7

Alan Young

Excellent Tutorial!


Re: Tips for installing case moldings

#8

thank you

Bill Tindall, E.Tn.

There is all manner of discussion of dovetails that nobody notices, but I can't recall a molding discussion, that everyone sees. I don't know how my self-taught method compares to others.

For all the operations I have seen experienced professional woodworkers do, applying molding and getting it right is not one of them. I don't know what the people that know what they are doing do to get a good fit on a corner that might not be perfectly square, and with what they cut and adjust the miter.

Re: Tips for installing case moldings

#9

Alan Young

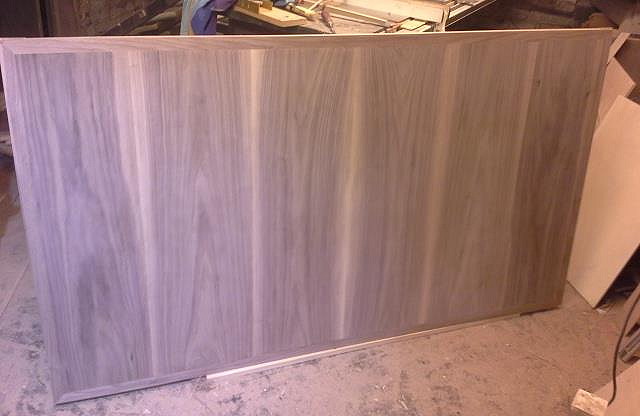
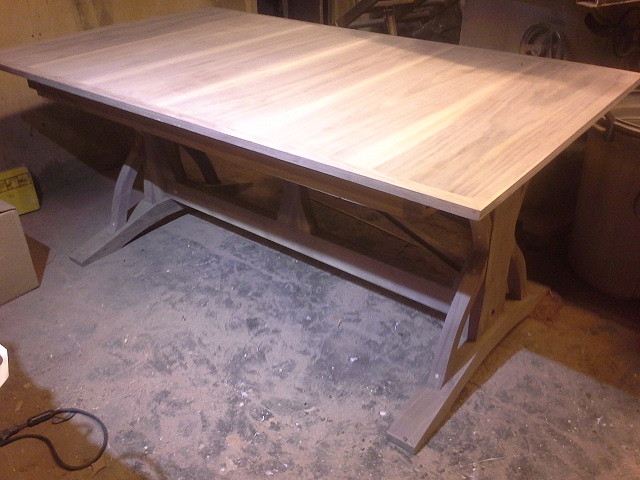
Yours is the method I used making this table top

Alan Young

The veneered plywood substrate was cut square with a track saw-the corners all nearly dead 45 degree angles---


As you mention "patience" is the operative word. I did not use cut brads for positioning or alignment and thus care must be taken when gluing each trim piece. Even if the piece has been checked for accuracy numerous times-it is possible to apply too much glue or neglect to maintain the trim's position-ie without cut nails-you must watch that the trim doesn't slide out of position as you apply pressure to the clamps.


I glued one side at a time-keeping watch over each end to make sure it remained in position-after a short period- 10? minutes-the movement will stop-for good or bad...When I got to the last corner I cut a shorter piece to check that the 45 degree angle on my saw didn't need any adjustment-I can't remember if it did or not but it is much better to use 6" of scrap to alter the last corner if need be than end up messing with the full length piece.


Re: Tips for installing case moldings

#10

good point to emphasize

Bill Tindall, E.Tn.

"When I got to the last corner I cut a shorter piece to check that the 45 degree angle on my saw didn't need any adjustment"

I glossed over the fact that either the actual trim piece cut too long, or a test piece, is used to check each miter as one progresses around the case (or top), to see if the angle needs adjusting. Try as one may, a case piece is often not exactly 90 degrees on corners, though in the current case it was near enough- by luck or more experience.

The strategy can be summarized- keep sticks long(when possible) until the miter angle is confirmed, or use a test stick for confirmation.

And again to emphasize your point, it is easy to move a stick either from nailing or clamping. It happened to me on the front trim piece and I had to remove, scrape the glue off and reglue. I usually do not nail until glue has set enough to prevent skidding from nailing.

Re: Tips for installing case moldings

#12

Alan Young

Re: how do you cut miters?

Alan Young

I use my SCMS- I need to make a table saw jig like yours!

This adds to the discussion-My previous saw had "just a tad" of wobble or something that caused a cut that was just short of the intended mark. I learned to visually accommodate this (Probably should have diagnosed the issue and fixed it-!)...I have a different saw now the seems quite accurate-but I still haven't been trained to "Trust" the mark ....I always seek up on the cuts as far as length goes. It is quite amazing what the hand and I can do when the left hand is ever so slightly moving the work piece under the not-activated saw blade. This saw seems to be very good at the designated angle increments but if my project is out of square I adjust the angle as necessary-using as noted previously, a scrap piece till the angles match at the joint.

I am not ashamed to say that on occasion I need to make these sorts of "adjustments" whether it's becasue of my tool's abilities or my own-I am prepared to make necessary alterations.

-Alan

Re: Tips for installing case moldings

#13

adjusting that last whisker

Bill Tindall, E.Tn.

A shooting board or donkey ear, depending on the molding profile, is a safe way to sneak up on a fit. However, the top veneer on my piece would not work in either and I had to do as you do, careful sawing.

I will make a mark on the molding and a corresponding mark on the sled, similar to mark shown in post, and slide the mitered piece relative to these marks. Easy to predictably slide 1/4 line width this way to remove some tiny fraction of an inch.

I have seen people adjust on a disk sander but mine fills the shop with dust and I don't like using it.

👍 This page answered my questions

Your vote helps other woodworkers quickly find the answers and techniques that actually work in the shop.