Home Articles Forums Gallery Marketplace Videos

WoodCentral Forums

Knowledge You Can Build On — Est. 1998

Urban Salvaged Hardwood Slabs, Milled In-House from Rare Trees. Shop Unique Walnut Stock.

Apothecary chest - beginning the drawers

Posts

Apothecary chest - beginning the drawers

#1

Apothecary chest - beginning the drawers

Derek Cohen (in Perth, Australia)

This is just a taste of what I will be doing for a few more weekends.

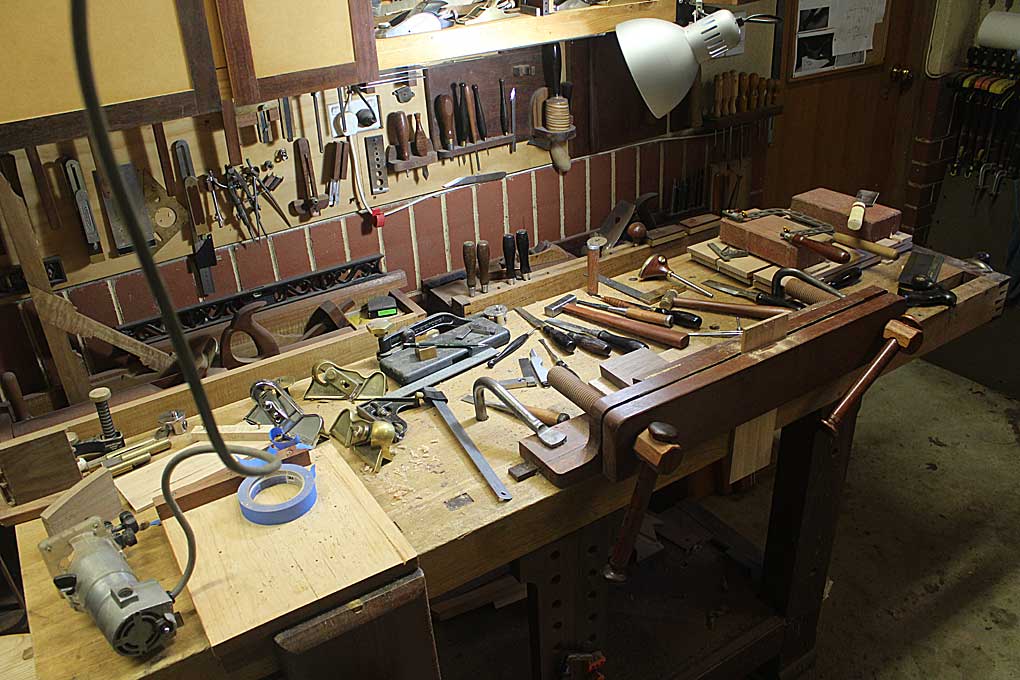
A bench shot for those that like to see how others work ...

Below I have a few shots of the dovetailing (again). These are more to show specific strategies used, rather than dovetailing as a procedure.

The drawer fronts are moved a couple of mm past the front of the drawer blades, and marked all round ...
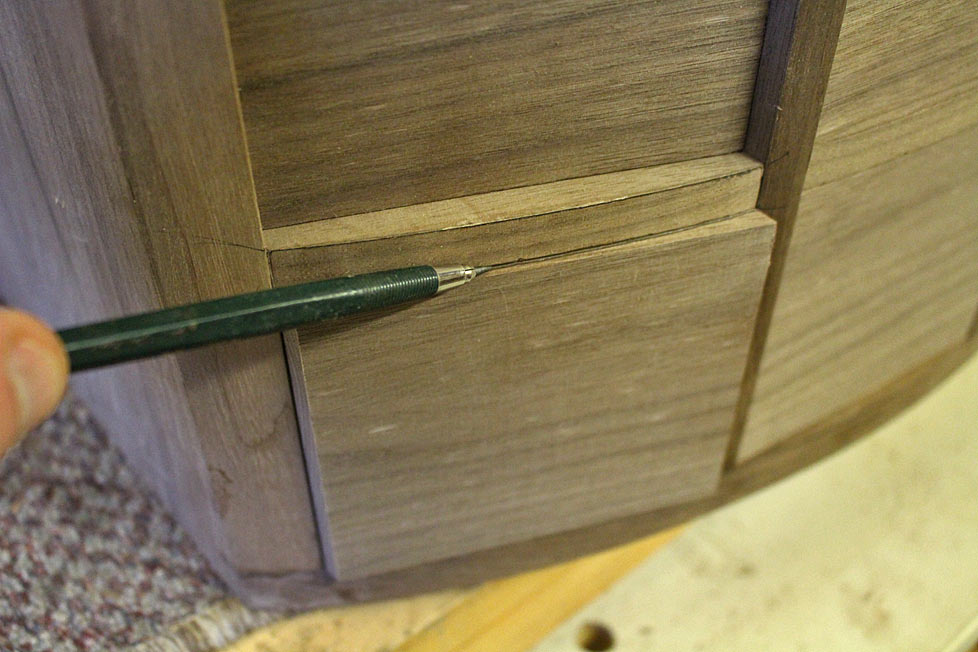
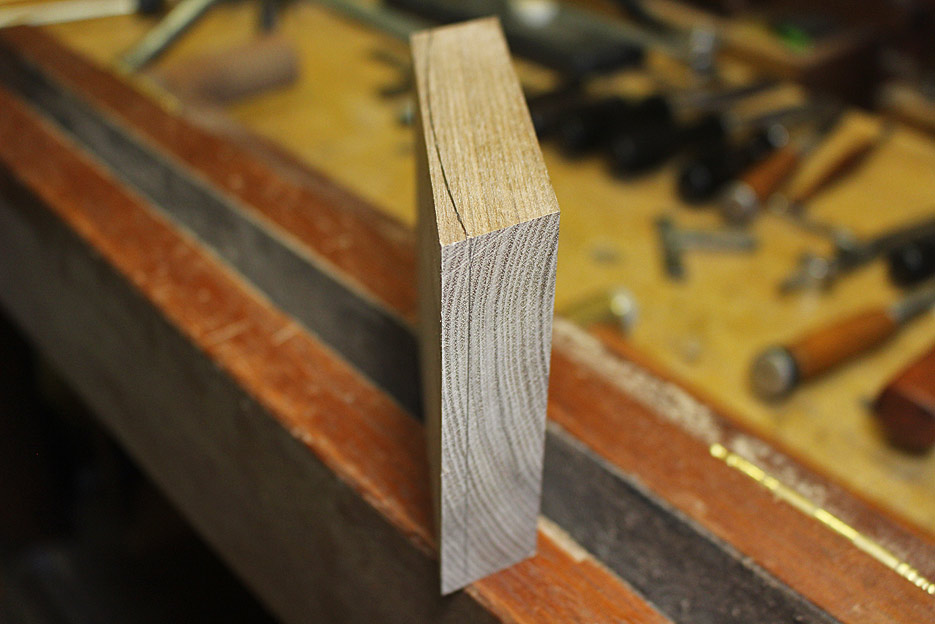

In an early post I showed how a bevel was formed on the drawer front to create a square junction with the drawer side. The bevel is seen below the blue tape ...
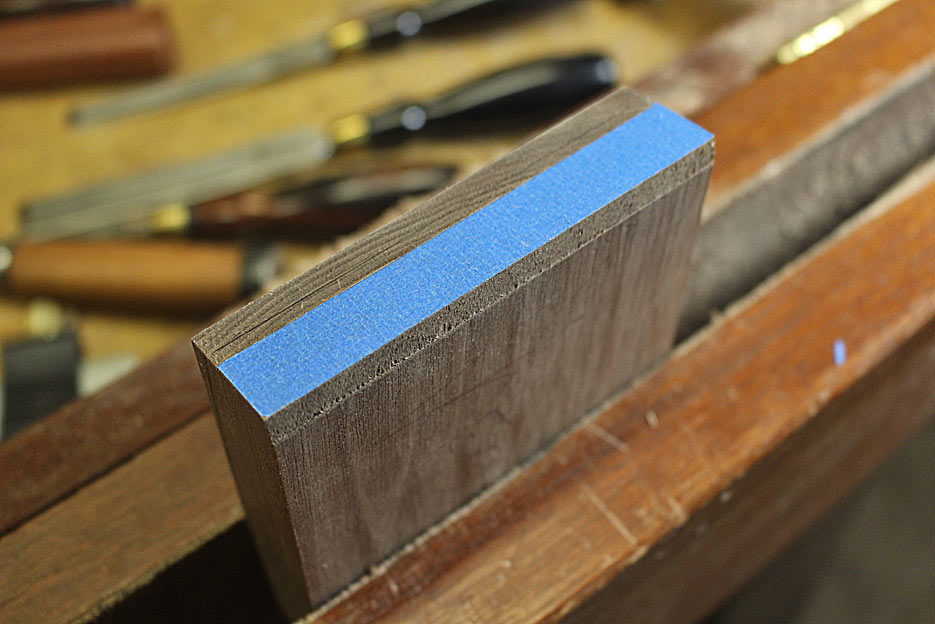

The ends of the drawer front angle, and it is not possible to use a jig to align it with a side. I never do this anyway, and simply use a wide chisel ...
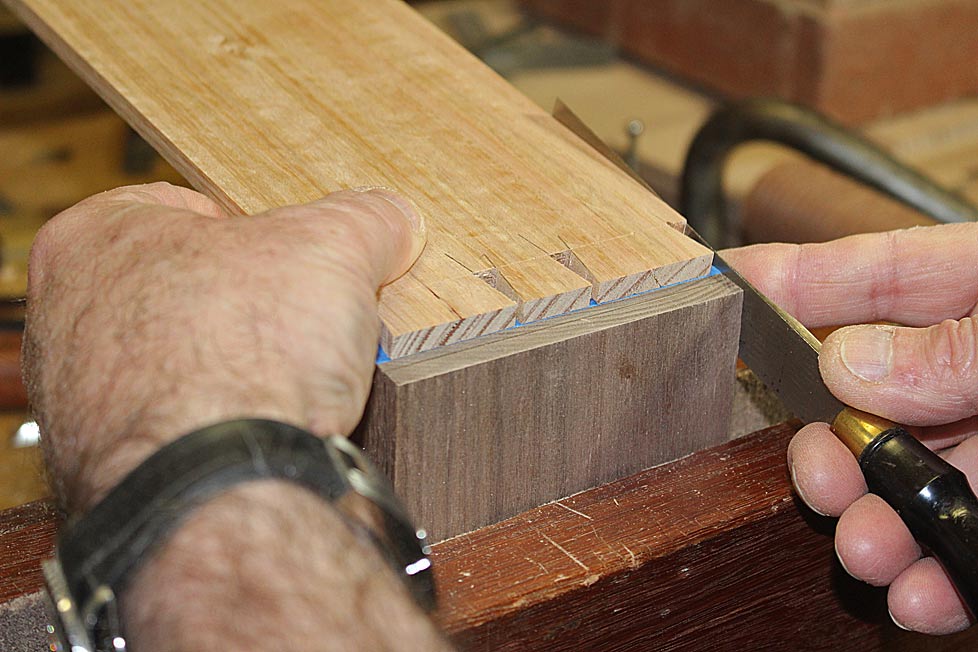

It's a bit of a balancing act, but the blue tape acts like a non slip, and the knife only has to make one cutting stroke to sever the layer of tape. This reduces the chance of movement and error ...
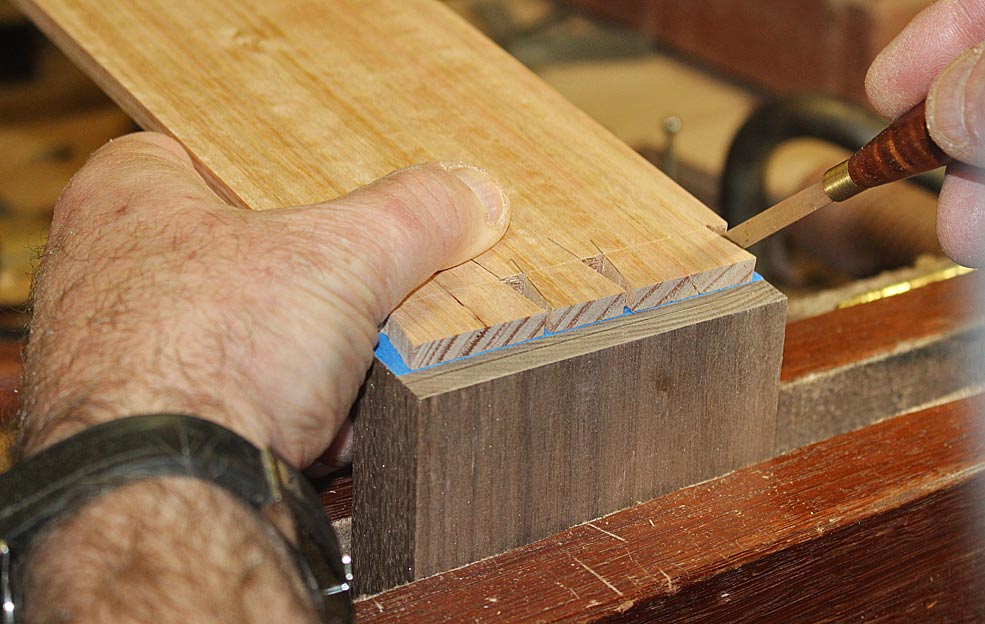

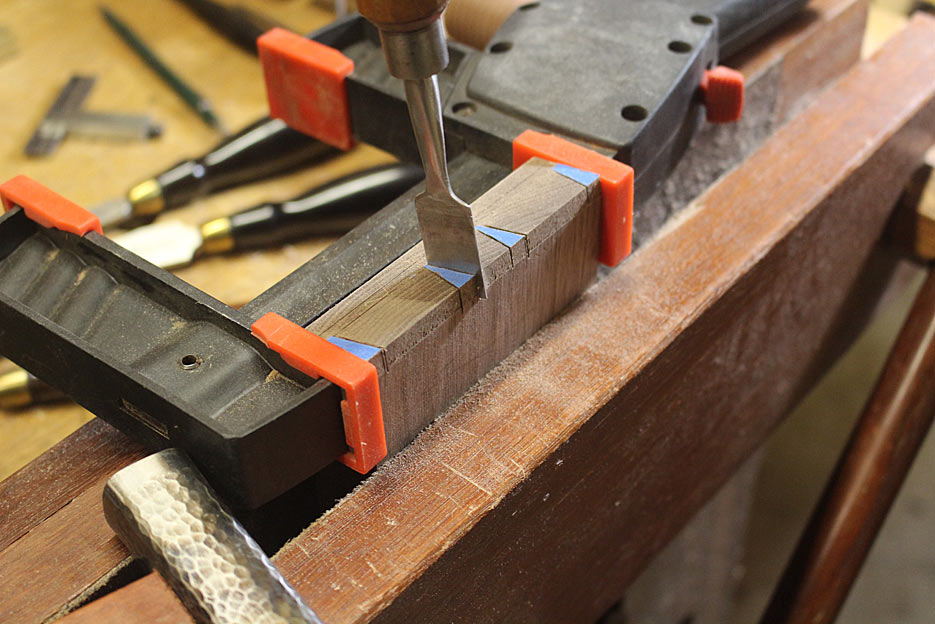
The kerfs are sawn, and then deepened with a kerfing chisel. Note that the ends of the board are supported by a clamp to prevent splitting ...

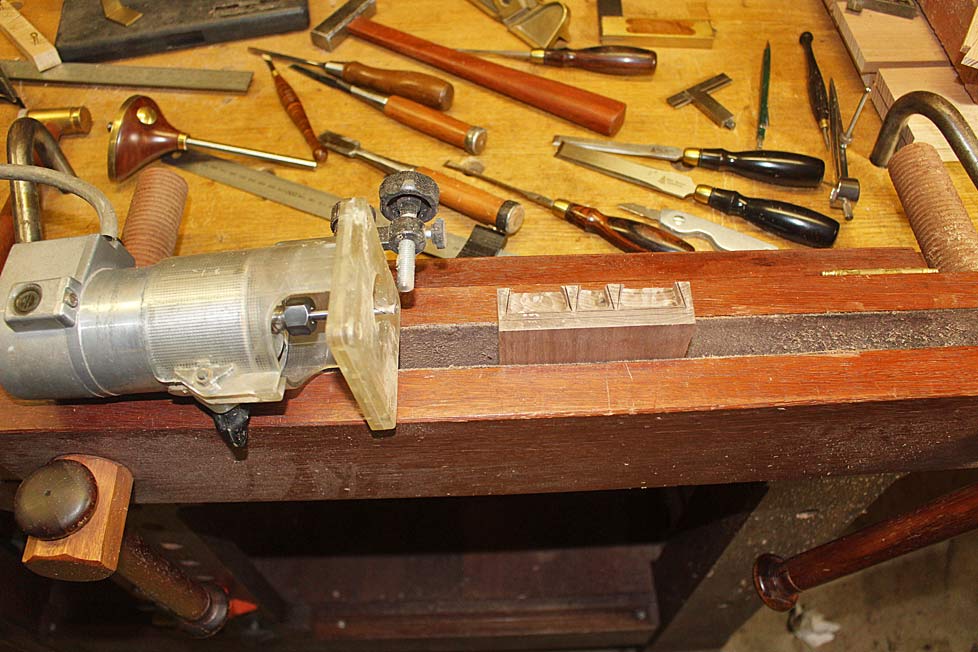
Rather than chop out the waste, I used a trim router to remove move of it. This saved a lot of time ...
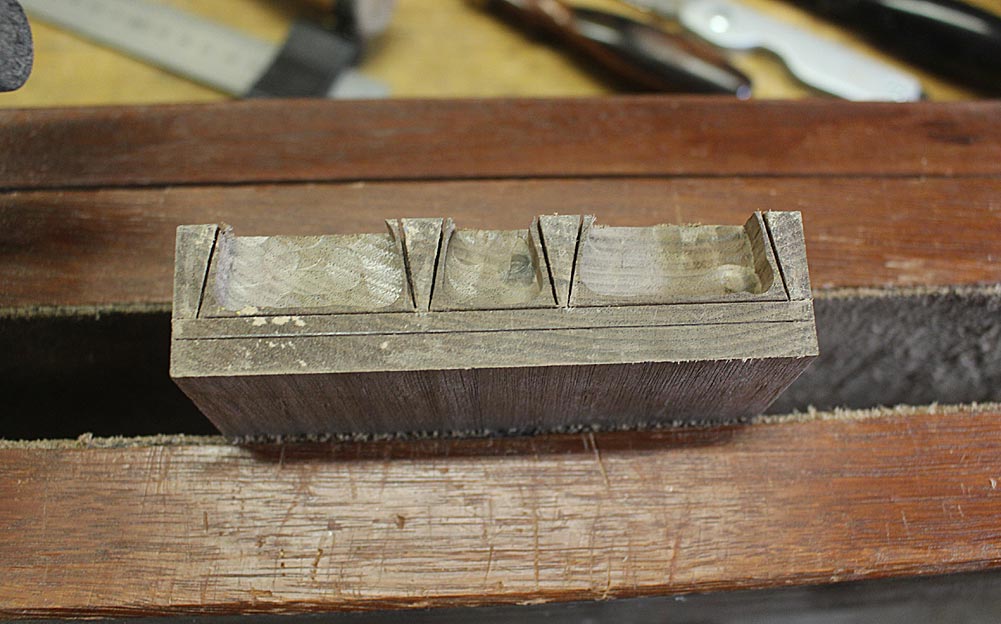

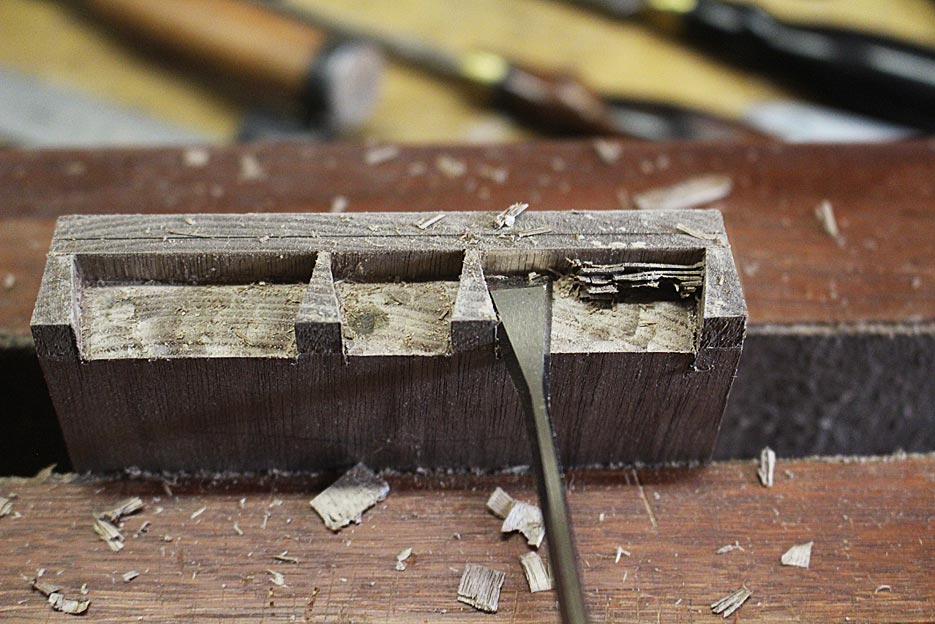
When removing the remaining waste, I found that the thinner blades of the Blue Spruce "dovetail" chisels worked best to pare away thin slices to the line..
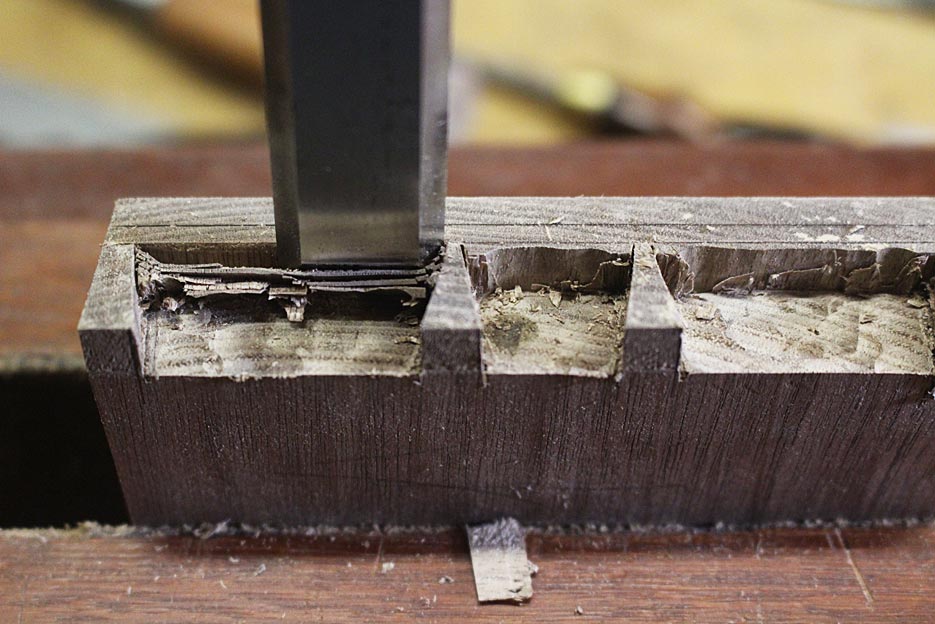

The Blue Spruce fishtail chisel is my favourite for clearing the corners of sockets ...

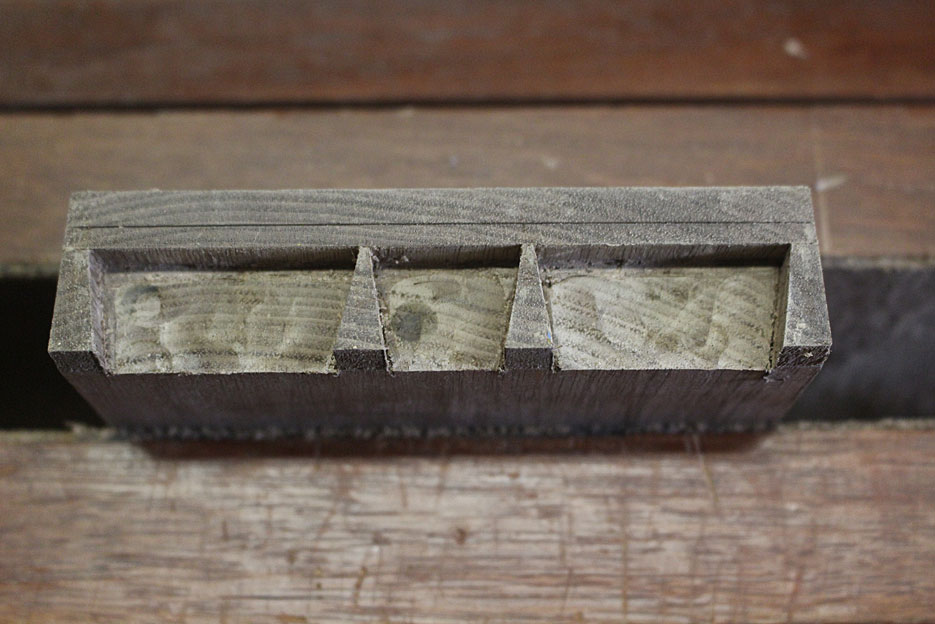
The completed socket ..

I counted on the parts going together off the saw, that is, no fine tuning for a fit. There is just not enough time for correcting the fit. This was the last drawer for the weekend. Much the same as the others. Just pushed together - no clean up ...
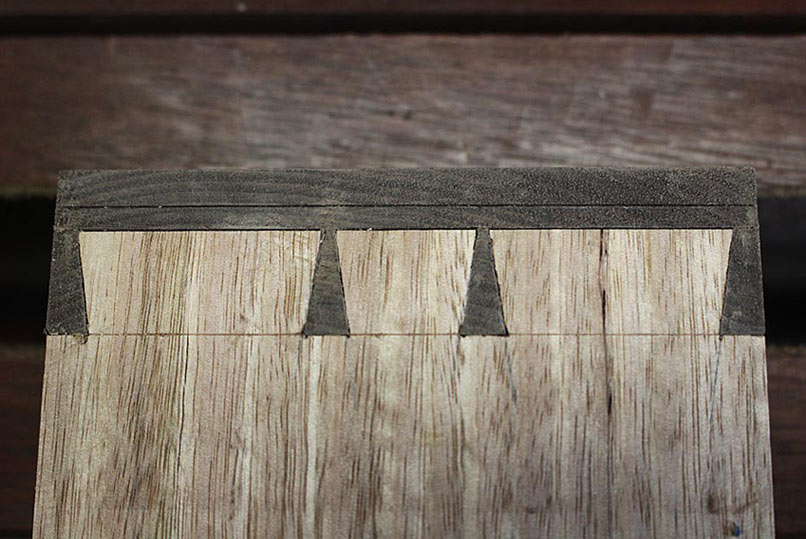

This was the first row, shown here to get a better view of the design ...
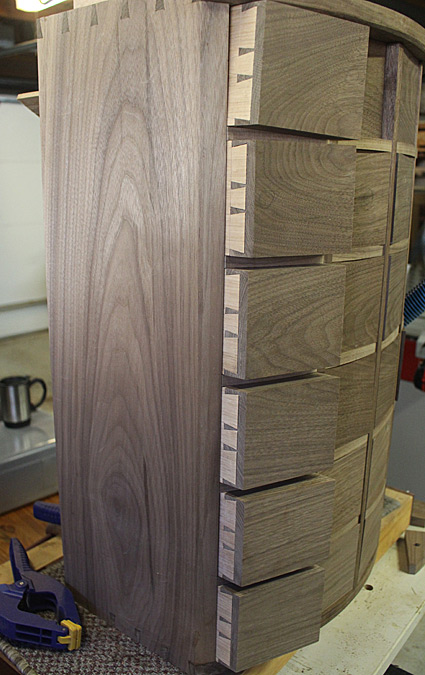

This is two rows - of drawers dovetailed on one corner only. And these twelve required an average of 1 hour each to complete ...
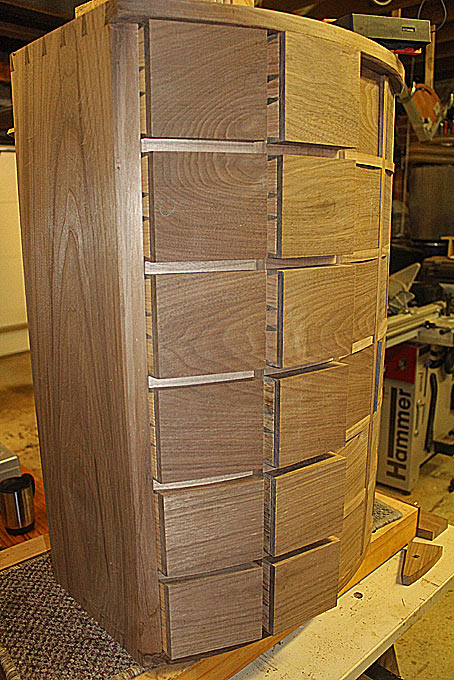

The next weekend should see the remaining drawers complete this dovetailed end. I am hoping that I shall find a way to speed the time taken for dovetailing, but I am estimating that it will require a further 3 weekends to complete the drawers.

Regards from Perth

Derek

Re: Apothecary chest - beginning the drawers

#2

Re: Apothecary chest - beginning the drawers

Gerry in the Columbia Valley

Thanks for your posts, Derek. I particularly enjoy your detailed pictures of your work, it gives me the opportunity to admire your skill and craftsmanship. I no longer am able to have a shop so I spend some time vicariously through your posts. Thanks

Gerry, who's moved to the Columbia Valley.

Re: Apothecary chest - beginning the drawers

#3

Re: Apothecary chest - beginning the drawers

Brian Holcombe

I’ve been following with interest. I actually think the way you’ve planned these drawers out is quite good and the results speak for themselves.

Beautiful work!

Re: Apothecary chest - beginning the drawers

#4

Ellis Walentine

Couple things...

Ellis Walentine

Nice presentation, Derek, and a magnum opus for sure. I had two thoughts I thought I'd air here. One has to do with cleaning out the sockets with a laminate trimmer. I learn things the hard way, and I've done operations like this before and had the corner of the workpiece dive into the opening in the trimmer base. Was this not a problem for you, or do you have a technique that gives you a margin of safety? My instinct is to hold the work with a skirt around it, level with the endgrain surface, to give the trimmer a solid platform to ride on.

My other question has to do with the fact that all the drawers are the same height. Would that be part of the definition of this type of furniture? I never thought much about it, but my father had a drugstore, and I've inherited a couple old style (1960 vintage?) apothecary chests, made of hard maple with lipped drawers and modular dividers inside. All those drawers are interchangeable. So, I am just wondering about this form as you understand it.

What are the sides made of, by the way. I'm sure it's been discussed, but I'm on the fly here and seem to have forgotten.

Ellis

Re: Apothecary chest - beginning the drawers

#5

Alan Young

Re: Couple things...

Alan Young

I think the router has a stop mounted on the side that allows the router to run the entire length of the staging-otherwise yes that is a narrow stage board and the router could tip out of alignment...


Re: Apothecary chest - beginning the drawers

#6

Re: Couple things...

Derek Cohen (in Perth, Australia)

Hi Ellis

Do I have a special technique? I think it is called white-knuckling! :)

I did consider adding a skirt, but there is an issue in that the side of the board is angled, and this makes it difficult to create a platform. And then the rows have slight differences in their angles. The two inner rows and the two outer rows are very close, but still very slightly different.

It is more of an issue laterally. The depth can be controlled with a fence I built on the router. So I hold the router very carefully to ensure that it does not drop to one side. Fortunately it is light and small. So far there has not been a mishap (touch wood)!

Your second question about the drawers being interchangeable is partly answered. The drawers have the same height and width, with minor variations, and each row is possibly interchangeable. The minor variations may interfere with this, however, since the drawers are build with tight tolerances - rather a smidgeon too tight at this stage. I wonder if the drawers on your apothecary chest were on the loose side to ensure ease of placement?

Regards from Perth

Derek

Re: Apothecary chest - beginning the drawers

#9

Re: Couple things...

Derek Cohen (in Perth, Australia)

That is correct, Alan. I picked up this little Makita palm/trim router some months back for about $20 or so. It works beautifully. However it did not come with a fence. I made one that is a single point (essentially a bolt that screws in/out). It works well.

Regards from Perth

Derek
