WoodCentral Forums

Est. 1998 — 27 years of woodworking knowledge

About that gap

Posts

About that gap

#1

About that gap

Joe in a Cleveland suburb

Thanks everybody for taking the time to read and respond to my question.

I got it to work, but I still can't understand how, when I joint one edge of a board, then rip that board with the jointed edge against the fence, I was getting a board with one edge with a curve. I've been using this jointer and TS for 20+ years and never recall having this problem.

Pretty sure, since it wasn't a consistent problem and didn't happen to each board, either the board just hated me or there was user error going on.

I slowed down, took my time, and tied one last joint/rip. Actually it was a couple last times. But I got it. I think I was not being consistent in my feed through the jointer. Both the feed rate and downward pressure.

Frustrating to say the least. A waste of time I don't have. I need to reevaluate my approach I guess. Maybe getting sloppy and trying to work too fast.

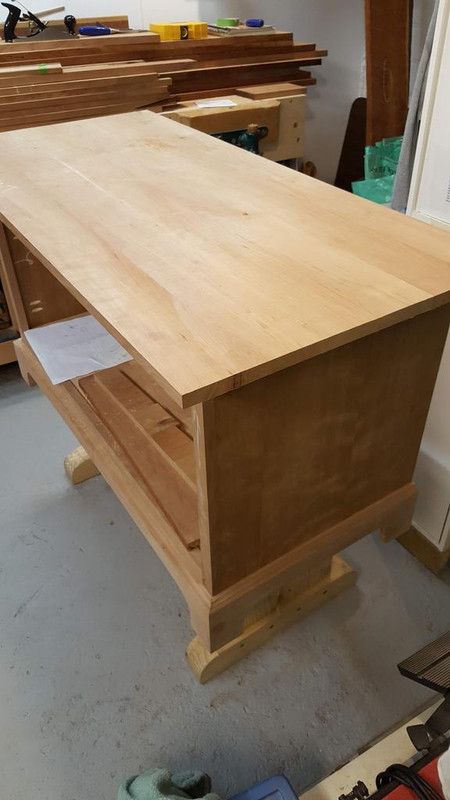
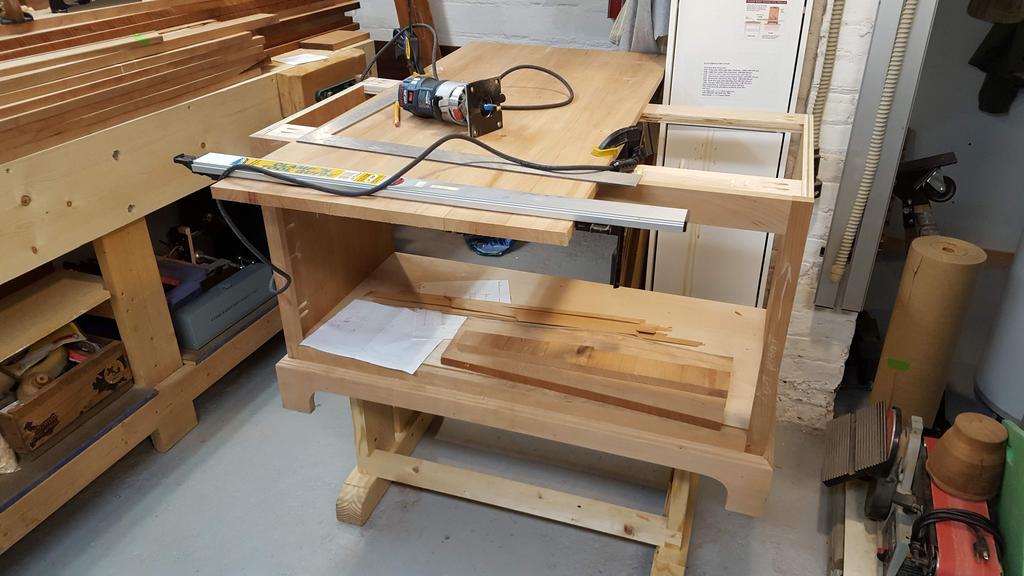
In the end, it will be fine for what I am making - a simple tv stand. Not fine furniture.

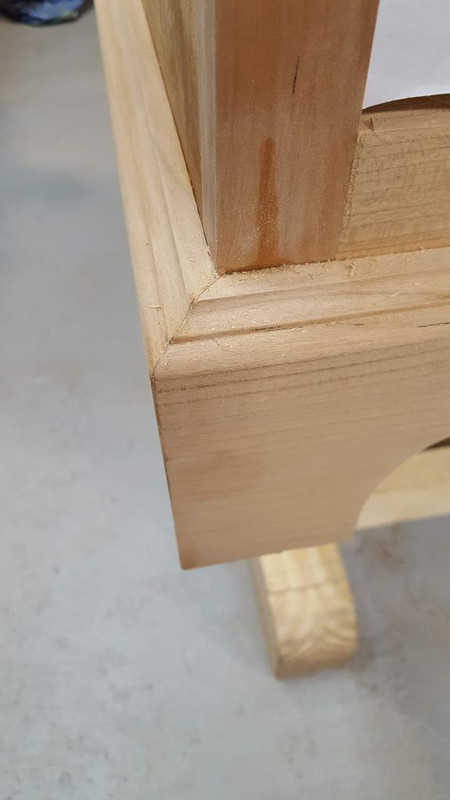
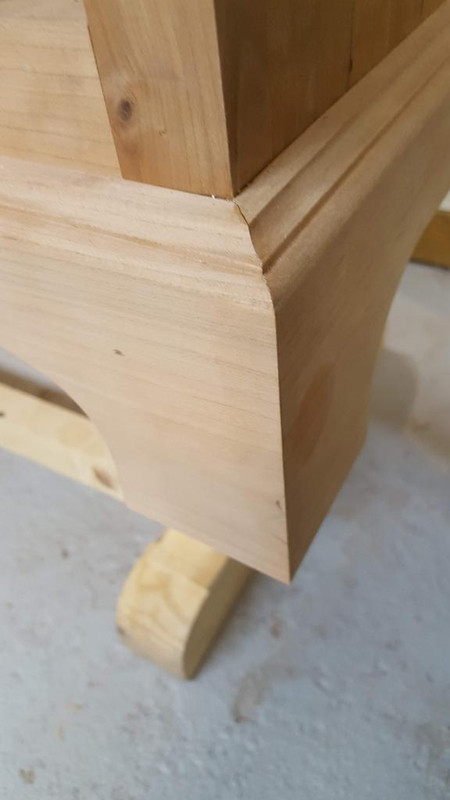
Here are a few pics. I included a couple of the mitered joint I asked about a couple weeks ago. Thanks for the advice on that too. Bill T. Thanks, it helped.

After glue-up, then some flattening with hand planes, it's looking ok.

Thanks.

Pic #1

Pic #2

Pic #3

Pic #4


Pic #5

Re: About that gap

#2

What caused the gap?

Bill Tindall, E.Tn.

Was one, or more, edge concave of convex? The solution to each situation is fundamentally different. Also not clear is whether you jointed after the sawing. Lack of details made diagnosing this problem speculative.

How I prepare edges:

If both edges are straight, but rough, I simply joint each edge. For each successive board in a panel I alternate whether the show face is against the fence to cancel any error caused by the fence not being exactly orthogonal to the blade tip.

If one edge is concave and the other convex (because the board is crooked) I joint the concave edge and saw the convex edged because it is easier to straighten a convex edge by ripping. Then I joint the sawed edge.

Feed rate has no effect on the straightness of result but may affect tear-out. I joint grain reversals at a snails pace to prevent tear-out and resume a steady feed in the straight grain sections.

This discussion illustrates that machines don't do all the work, nor run successfully on autopilot.

Re: About that gap

#3

Re: What caused the gap?

Joe in a Cleveland suburb

Things are getting a little mixed up in my head now, but...

"Was one, or more, edge concave of convex? "

One edge, the jointed edge was concave.

Also not clear is whether you jointed after the sawing.

I did not joint after sawing. I jointed one edge, then put that jointed edge against the table saw rip fence the get a clean straight parallel opposing edge. I used a glue line rip blade.

If both edges are straight, but rough, I simply joint each edge. For each successive board in a panel I alternate whether the show face is against the fence to cancel any error caused by the fence not being exactly orthogonal to the blade tip.

For some reason I was not jointing the sawn edge. Maybe I was creating a problem somehow by not doing that. Normally I would joint both edge. I alternate the boards as you describe.

Re: About that gap

#4

glue line rips

Bill Tindall, E.Tn.

A blade capable of a glue line rips so limited for all other sawing operations that I don't keep one on the saw. While I have one and use it for special occasions I don't think it makes good sense to use one as you reported- joint one side, saw the other.

Furniture factories have glue line ripped for a long time. But their machines are huge and free of vibration, saw deflection, and a host of factors that challenge a home shop table saw for glue line ripping.

Re: About that gap

#5

Another way toward parallel edges

Brian Holcombe

Use the planer. My planer opens to 9.5”, so everything that size and under gets a parallel edge planed rather than sawed. The edge finish is wonderful and the result is without error.

Re: About that gap

#6

Re: Another way toward parallel edges

Joe in a Cleveland suburb

Hi Brian.

"Use the planer."

I've done that quite a bit. I always thought it was cheating though, so I never mention it...

:D

Re: About that gap

#7

Kneale Brownson

LOL!!!

Kneale Brownson

I'd be proud of the wood in your pictures, Joe.

Re: About that gap

#8

Re: About that gap

TomD

The proper set-up for a jointer is to create a concave edge over length, as is also the case for a hand plane, but the spring should be very slight. Assuming everything else is equal, you can get a change in the cut as the blade dulls, this can work in different ways depending on how high the blades are above the outfeed to start with.

The comic book view of how a jointer works is that a perfectly straight edge is fed off a perfectly level infeed to a blade that is at the height of the outfeed so that a thickness of wood is removed. That is thicknessing, and smoothing not jointing. And given that a lot of the wood that we get is pretty clean to start with, it will work well enough. I prefer to set my jointers up to work from the center of the board out. That may be why the European jointers have a gap. I have owned several of both types and I have kept my General so I have to deal with the swinging guard. Either way I work out to the ends, with a set spring that I can always clip off at the end if I want to. When working from the center, you can basically apply any board of any shape and convert it to a straight edge, without looking at it. Though in cabinet work there can be many reasons to size up the board very carefully and make best use of the material at hand.

👍 This page answered my questions

Your vote helps other woodworkers quickly find the answers and techniques that actually work in the shop.