French Feet - Part I
Hank Knight
I mentioned in a post earlier that I have long admired French feet on American Federal furniture. I have searched high and low and found very little published on how to make them. A while back, I mentioned this to Bill Tindall. Bill learned to make French feet at the Headley shop in Virginia and kindly offered to teach me. Everything I'm about to post, I learned form Bill - Thanks Bill! I hope this is helpful to any of you who, like me, have been frustrated in your efforts to find information on the construction of French feet.
This is Part I. It takes us through laminating the graceful curve that characterizes the form. Later in the sequence of tasks in my desk build, I will apply a piece on the front of the foot that replicates the curve on the front and completes the curved side of the foot. I can't do the until I've completed and installed all of the drawer dividers, the bottom and the writing surface of the desk. I'll post Part II then.
The construction begins with a 2 1/2" deep saw kerf cut 3/32" from the show face of each side panel. I posted about this earlier, but here's a photo:
[url=https://flic.kr/p/24SHzWC]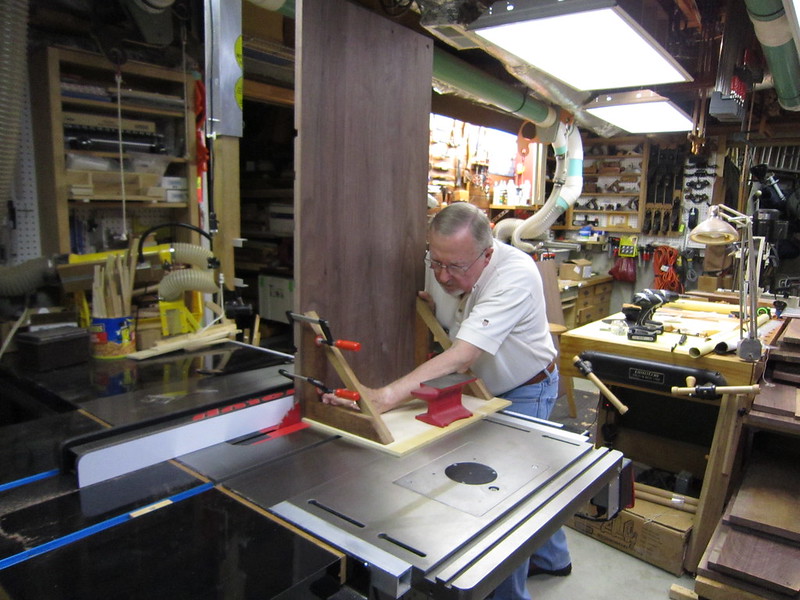 [/url][url=https://flic.kr/p/24SHzWC]IMG_3898[/url] by [url=https://www.flickr.com/photos/158680038@N03/]Hank Knight[/url], on Flickr
While it looks unwieldy to guide a 2' X 4' panel through the saw (and it is), it's easier to guide the full panel against the saw fence than it is to saw the kerf in each foot after the scrolls have been cut in the bottom of the panels, so I did this operation early on.
After shaping the scrolls, the panel is ready for the lamination process:
[url=https://flic.kr/p/255Tzdm]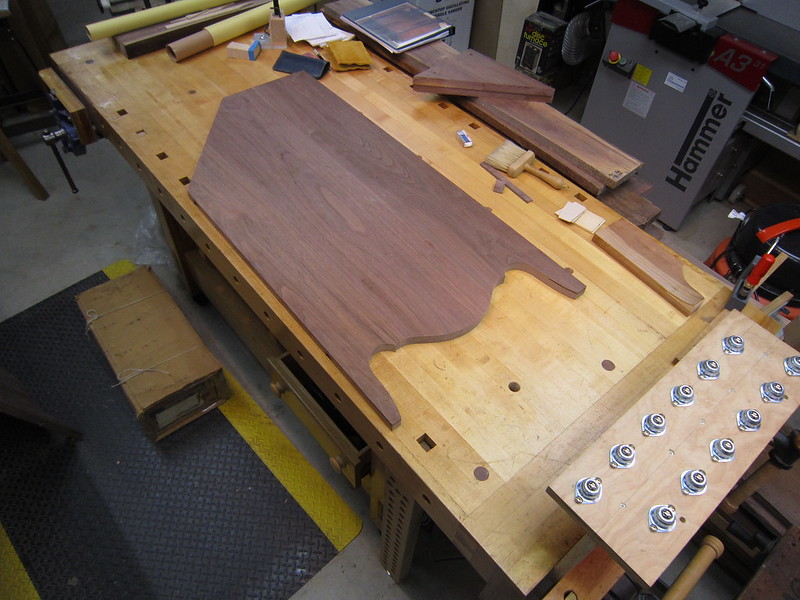 [/url][url=https://flic.kr/p/255Tzdm]IMG_3916[/url] by [url=https://www.flickr.com/photos/158680038@N03/]Hank Knight[/url], on Flickr
Using a template I made, I marked a curve on some 7/8" thick walnut cutoffs from each side panel and cut them on the bandsaw. These are the wedges that I will glue into the saw kerf to form the curve of the foot. I cleaned them up on the spindle sander and then shaped the curved cutoffs to match the wedges. The cutoffs will be the cauls I will use to apply even pressure to the curved insert for the glue-up.
[url=https://flic.kr/p/KQqDp7]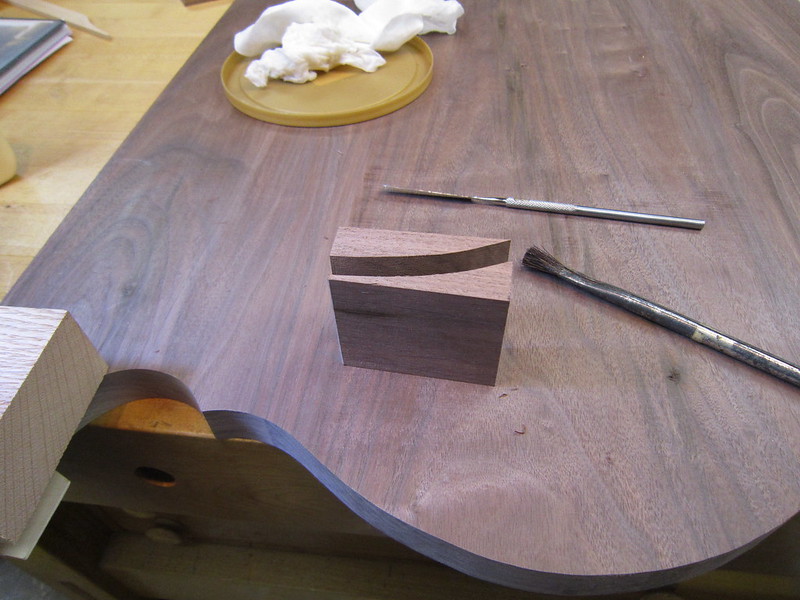 [/url][url=https://flic.kr/p/KQqDp7]IMG_3917[/url] by [url=https://www.flickr.com/photos/158680038@N03/]Hank Knight[/url], on Flickr
To prevent the side from splitting when I force the curved insert into the saw kerf, I clamped a stout block across the foot at the end of the saw kerf.
[url=https://flic.kr/p/27TVt5j]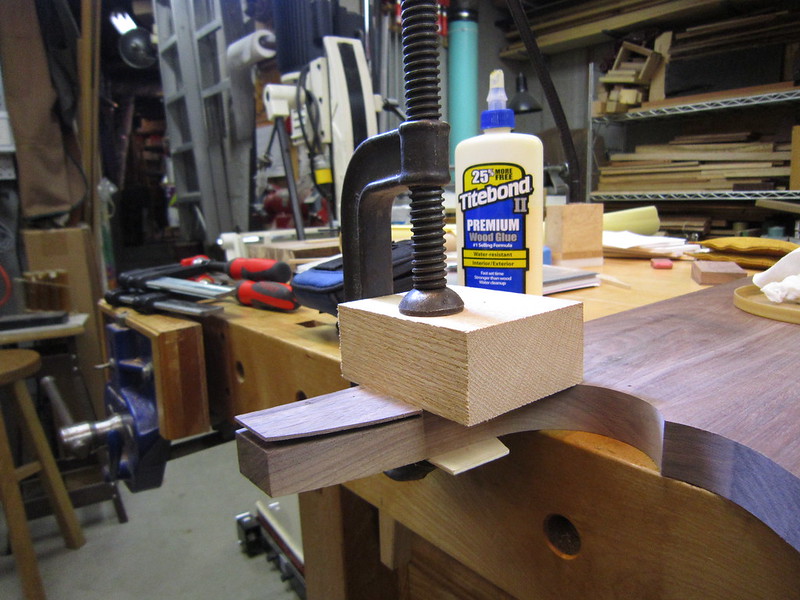 [/url][url=https://flic.kr/p/27TVt5j]IMG_3918[/url] by [url=https://www.flickr.com/photos/158680038@N03/]Hank Knight[/url], on Flickr
Then I applied glue to the inside of the saw kerf and both sides of the curved wedge. I placed couple of layers of wax paper between the face of the leg and the caul to prevent glueing the caul to the leg and inserted the wedge into the kerf, making sure it bottomed out at the end of the kerf. I applied heavy clamp pressure to the caul to force the thin face of the leg against the curved wedge and set the assembly aside overnight.
[url=https://flic.kr/p/25dBVU5]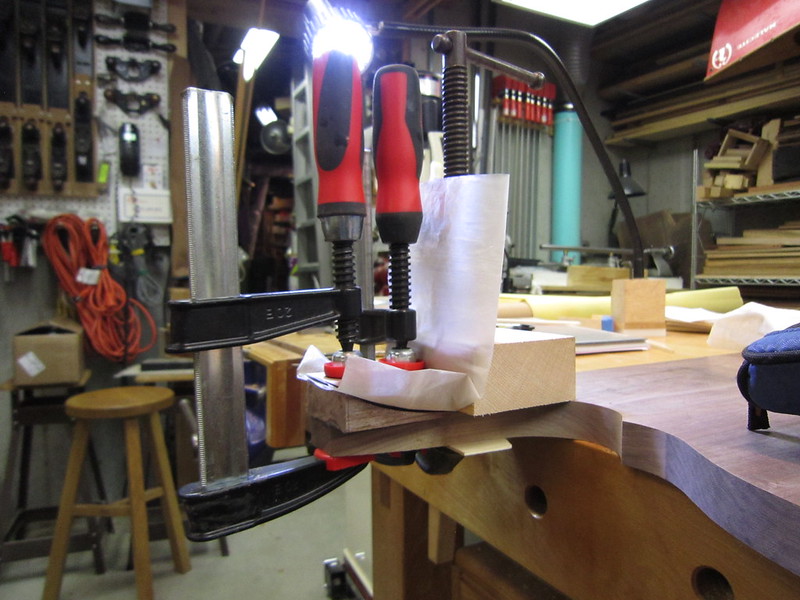 [/url][url=https://flic.kr/p/25dBVU5]IMG_3919[/url] by [url=https://www.flickr.com/photos/158680038@N03/]Hank Knight[/url], on Flickr
[url=https://flic.kr/p/27YpprX]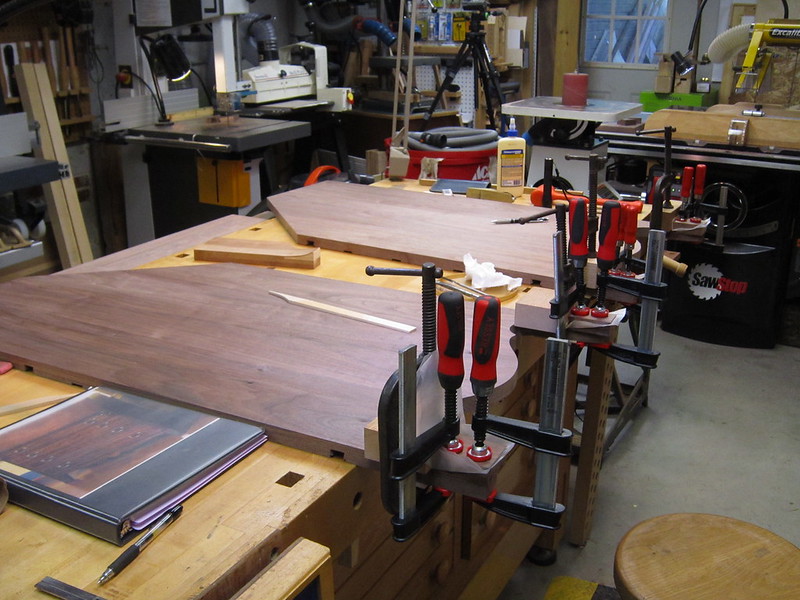 [/url][url=https://flic.kr/p/27YpprX]IMG_3921[/url] by [url=https://www.flickr.com/photos/158680038@N03/]Hank Knight[/url], on Flickr
I took the clamps off this morning and everything looked good:
[url=https://flic.kr/p/25dC7ow]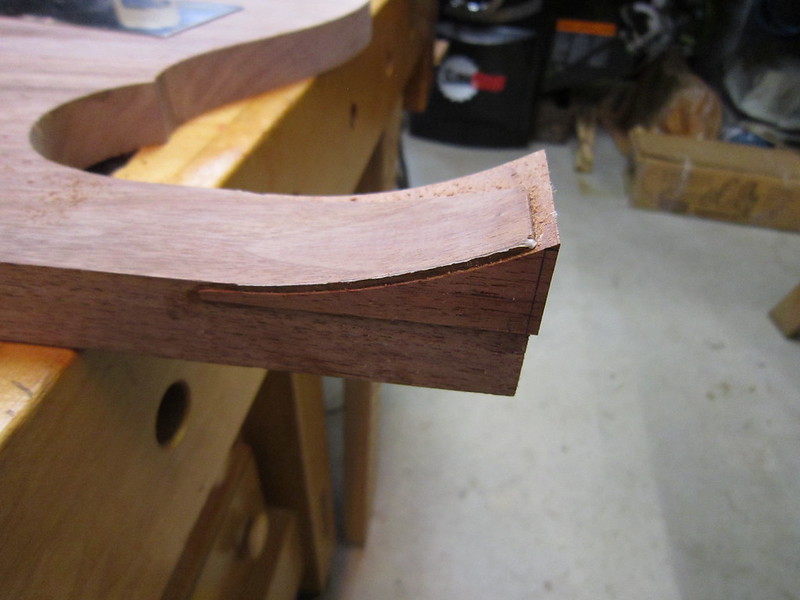 [/url][url=https://flic.kr/p/25dC7ow]IMG_3923[/url] by [url=https://www.flickr.com/photos/158680038@N03/]Hank Knight[/url], on Flickr
A little clean-up work with a small draw knife:
[url=https://flic.kr/p/26SWdHN]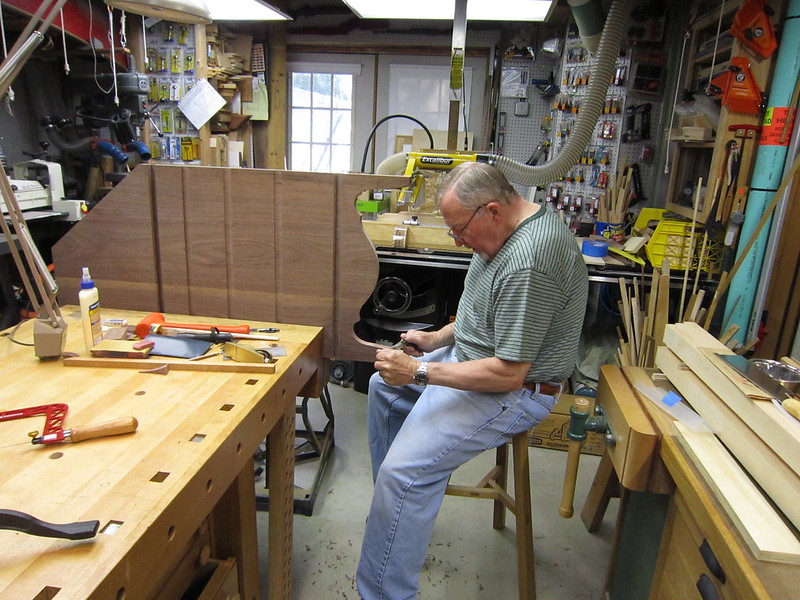 [/url][url=https://flic.kr/p/26SWdHN]IMG_3926[/url] by [url=https://www.flickr.com/photos/158680038@N03/]Hank Knight[/url], on Flickr
And a low angle block plane:
[url=https://flic.kr/p/27TW41f]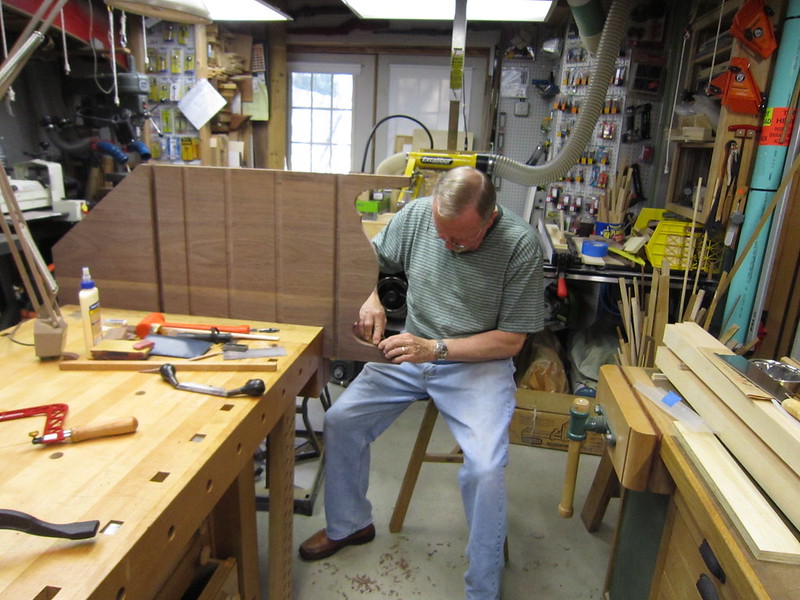 [/url][url=https://flic.kr/p/27TW41f]IMG_3927[/url] by [url=https://www.flickr.com/photos/158680038@N03/]Hank Knight[/url], on Flickr
And Voila! French feet - well almost.
[url=https://flic.kr/p/KQrAeC]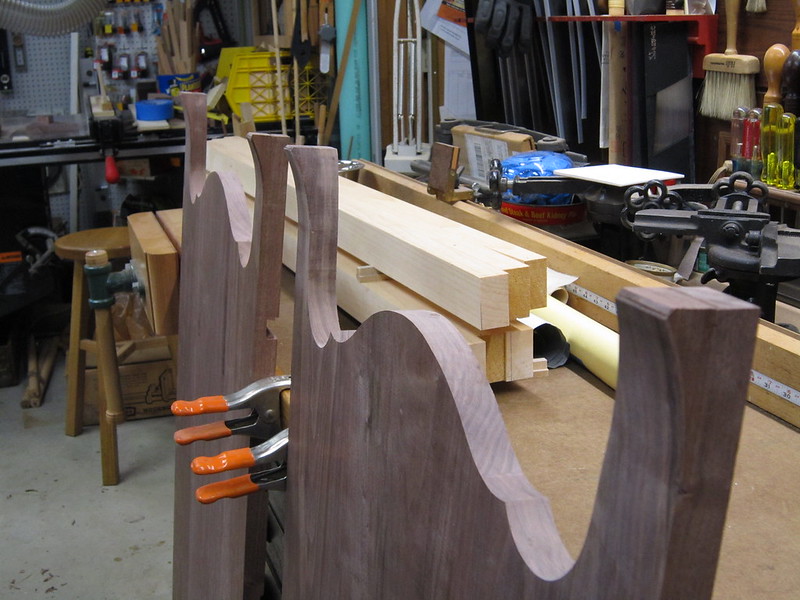 [/url][url=https://flic.kr/p/KQrAeC]IMG_3930[/url] by [url=https://www.flickr.com/photos/158680038@N03/]Hank Knight[/url], on Flickr
[url=https://flic.kr/p/27Yq1bB]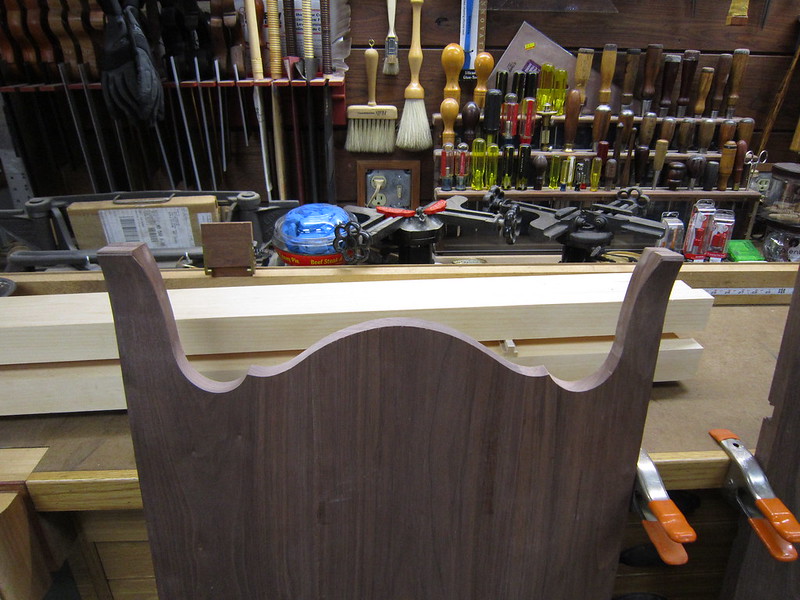 [/url][url=https://flic.kr/p/27Yq1bB]IMG_3931[/url] by [url=https://www.flickr.com/photos/158680038@N03/]Hank Knight[/url], on Flickr
Notice in the photo above that the leg on the right is smaller (narrower) than the one on the left. The leg on the left is the back leg. It only flares in one direction (to the side), unless, for some reason, the builder wants to finish the back with flared legs. My desk will sit with it's back to a wall, so legs that flare to the rear will get in the way.
The front legs flare in two directions: to the side and also to the front. When I finished gluing up the sides of the desk, I ripped a 1/4" strip off the front of each side that will be reapplied later to hide the joinery for the bottom, the writing surface and the drawer dividers. Then I will shape two pieces that complete the leg curves at both the front and the sides and taper to meet the 1/4" thick applied strips and glue them to the front of each leg. They will complete the front legs. More about that later in Part II.
I hope you found this as enjoyable as found the work.
Hank
