Desk Progress
Hank Knight
Must be the warm weather. I made some good progress this weekend on my desk. I glued up the side panels and cut the dados and sockets for the sliding dovetails in them several months ago.
[url=https://flic.kr/p/27y4WQy]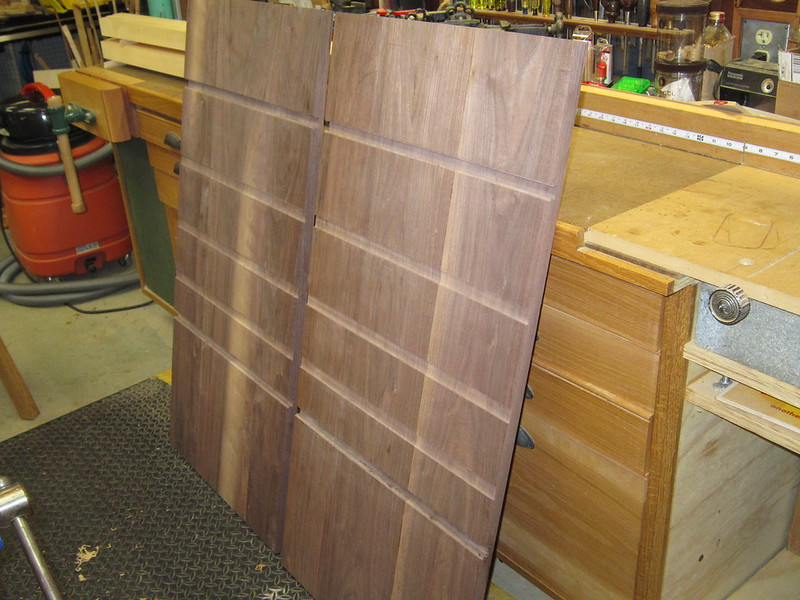 [/url][url=https://flic.kr/p/27y4WQy]IMG_3903[/url] by [url=https://www.flickr.com/photos/158680038@N03/]Hank Knight[/url], on Flickr
I've been fiddling with the design and worrying about the mess I made of one of the sockets ever since - until the last few days. I posted about repairing the socket slip-up and cutting the kerfs for the wedges to flair the French feet a couple of days ago. This weekend I went to work on shaping the sides.
First I screwed the two sides together face-to-face and cut the front angle for the slant top. I couldn't figure out a convenient way to do it on my table saw so I cut the sides simultaneously with my track saw. It worked great and the saw gave me a very clean cut.
Then I made a template for the scroll at the bottom of the sides. I had spent considerable time refining the scrolls for both the front and sides and was grateful for my wife's input on the aesthetics.
[url=https://flic.kr/p/KGGLrj]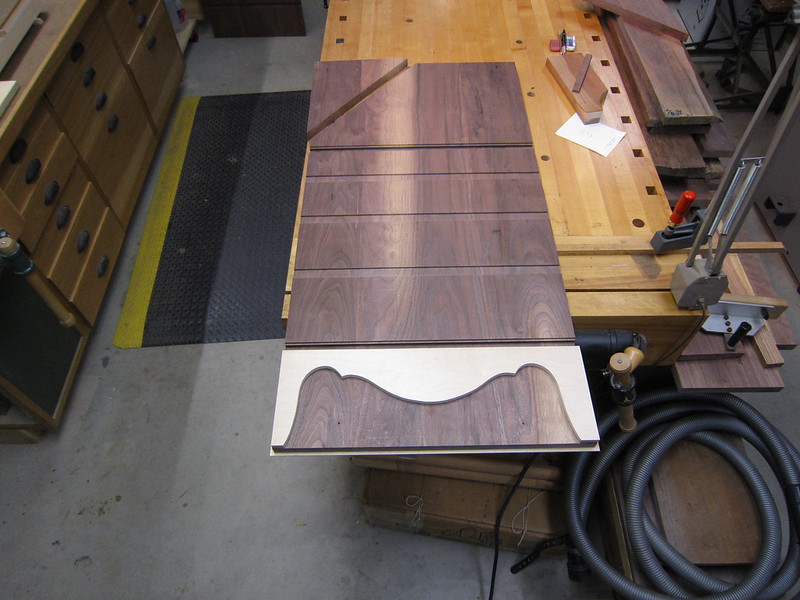 [/url][url=https://flic.kr/p/KGGLrj]IMG_3907[/url] by [url=https://www.flickr.com/photos/158680038@N03/]Hank Knight[/url], on Flickr
The thin face on the legs resulting from he deep saw kerf looked pretty delicate, so I made an insert to give them some support during the cutting of the scroll.
[url=https://flic.kr/p/27L6ECh]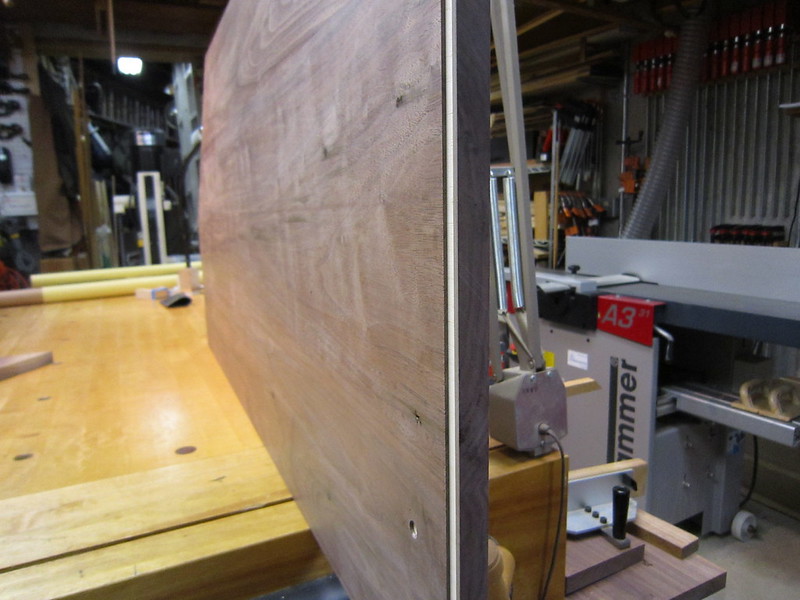 [/url][url=https://flic.kr/p/27L6ECh]IMG_3909[/url] by [url=https://www.flickr.com/photos/158680038@N03/]Hank Knight[/url], on Flickr
Next I marked the scroll on each side from the template and rough cut near the line with a jig saw ...
[url=https://flic.kr/p/26JRgAE]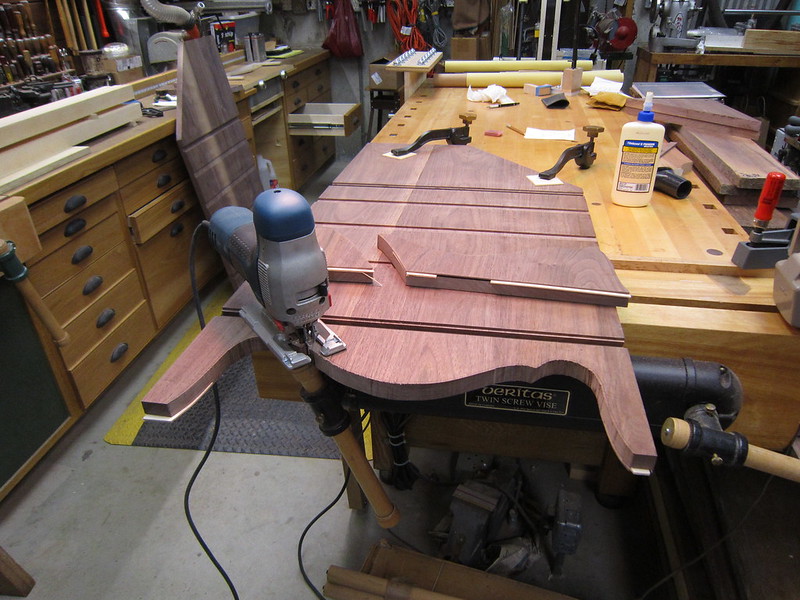 [/url][url=https://flic.kr/p/26JRgAE]IMG_3911[/url] by [url=https://www.flickr.com/photos/158680038@N03/]Hank Knight[/url], on Flickr
... and sanded to the line with a spindle sander.
[url=https://flic.kr/p/26JR9E5]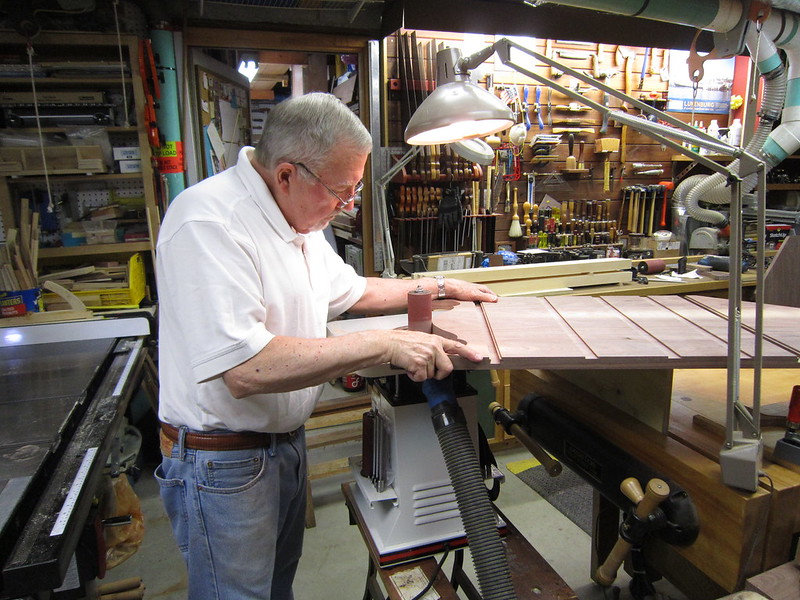 [/url][url=https://flic.kr/p/26JR9E5]IMG_3914[/url] by [url=https://www.flickr.com/photos/158680038@N03/]Hank Knight[/url], on Flickr
The sides turned out great.
[url=https://flic.kr/p/255Tzdm]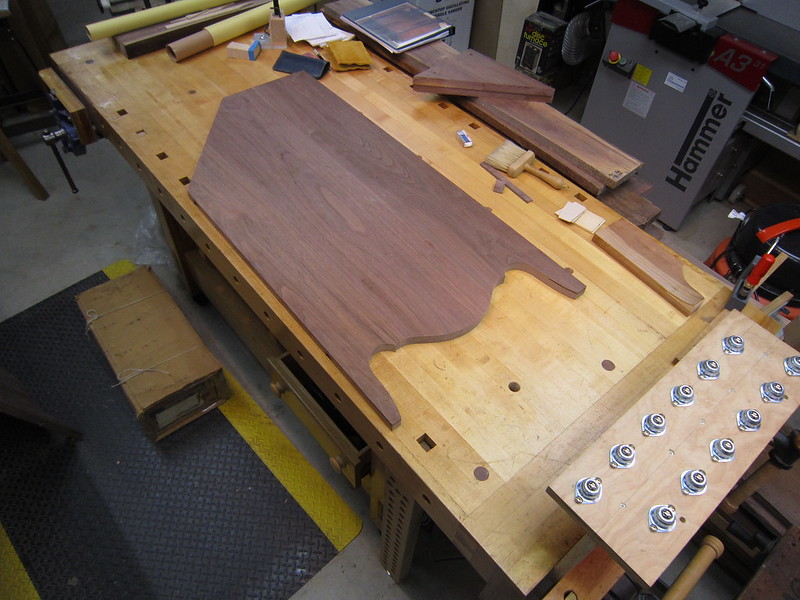 [/url][url=https://flic.kr/p/255Tzdm]IMG_3916[/url] by [url=https://www.flickr.com/photos/158680038@N03/]Hank Knight[/url], on Flickr
Whew! Now on to the foot flares.

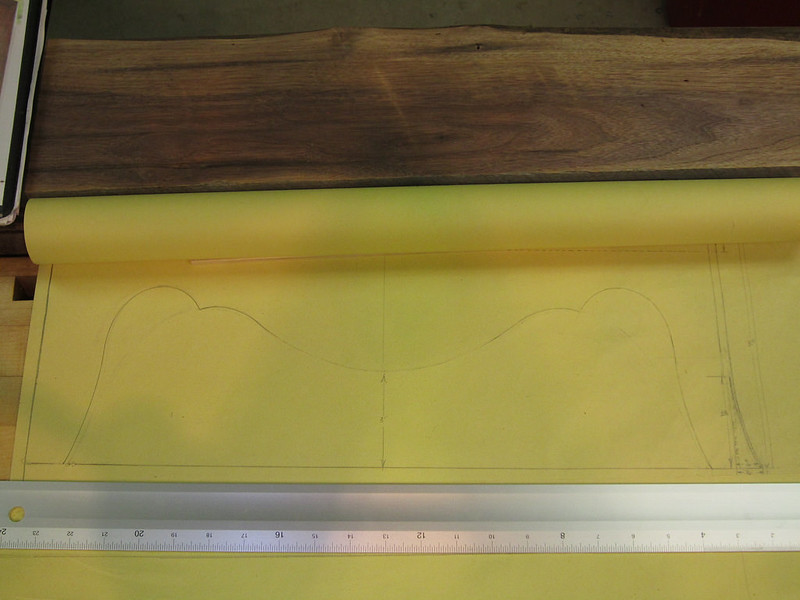 [/url][url=https://flic.kr/p/KGYoLJ]42369744252_05e9c7e1b1_b[/url] by [url=https://www.flickr.com/photos/158680038@N03/]Hank Knight[/url], on Flickr