WoodCentral Forums

Est. 1998 — 27 years of woodworking knowledge

Apothecary chest - part eight

Posts

Apothecary chest - part eight

#1

Apothecary chest - part eight

Derek Cohen (in Perth, Australia)

Part eight - I think that this is the 7th weekend of the build. The plan is to start building the drawers, or at least have a plan for the drawers. There is not as much time available this weekend as I would have liked.

First, I needed to complete the drawer sides. About one half of the sides prepared were glued from two sections. The joins needed to be smoothed to leave each side appearing seamless.

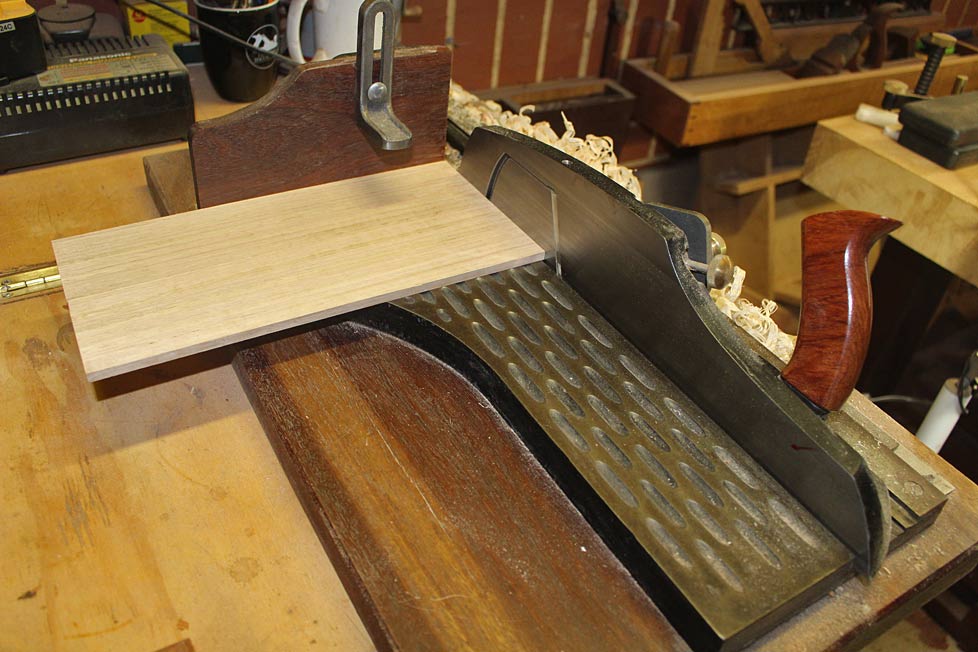
I started out using a scraper ..
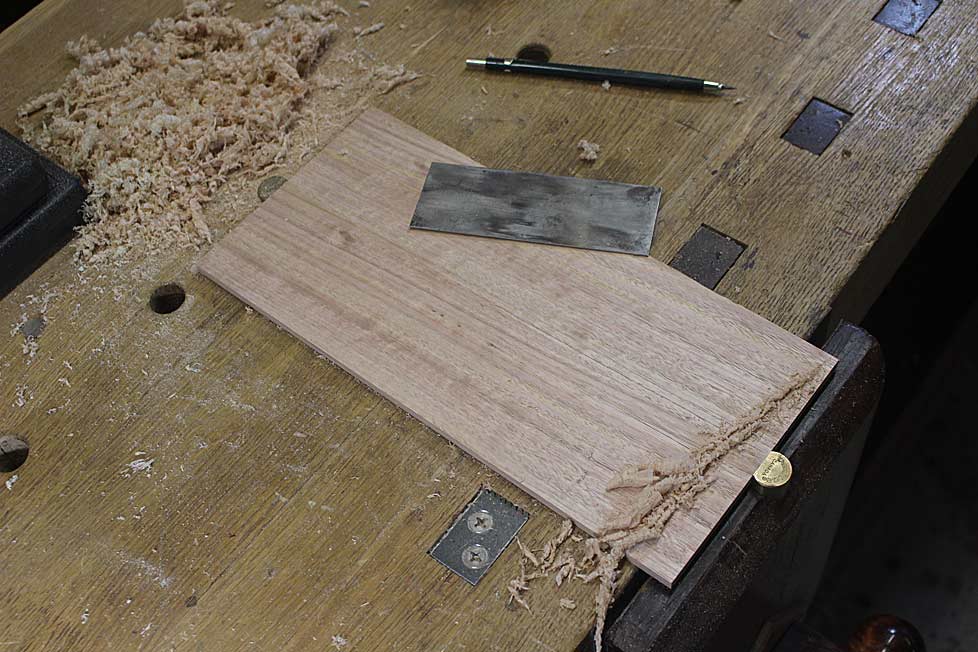

.. and ended using a smoother, which was quicker. The smoother was set to take extremely fine shavings - which came off like fine hair - as I did not want to remove any more of the 1/4" thickness than absolutely necessary (the boards began a smidgeon over 1/4", and so ended up close to dammit) ..
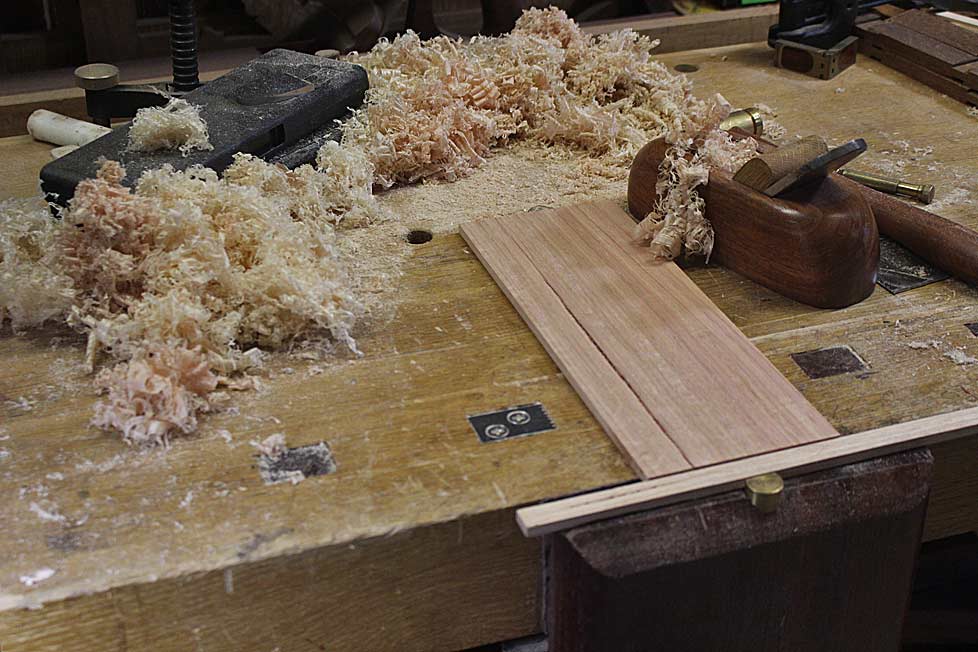

The sides were jointed square on two sides ...
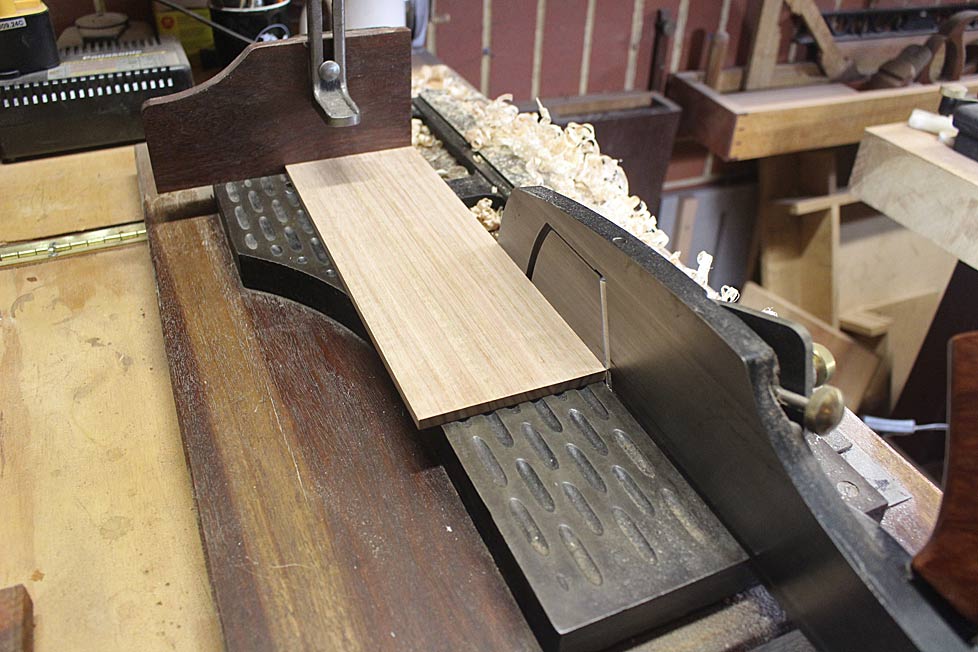


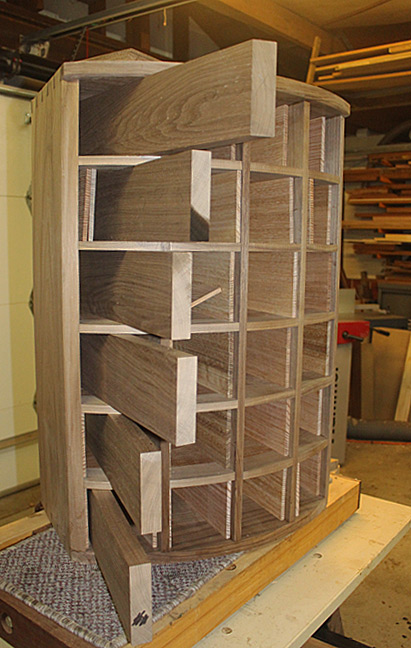
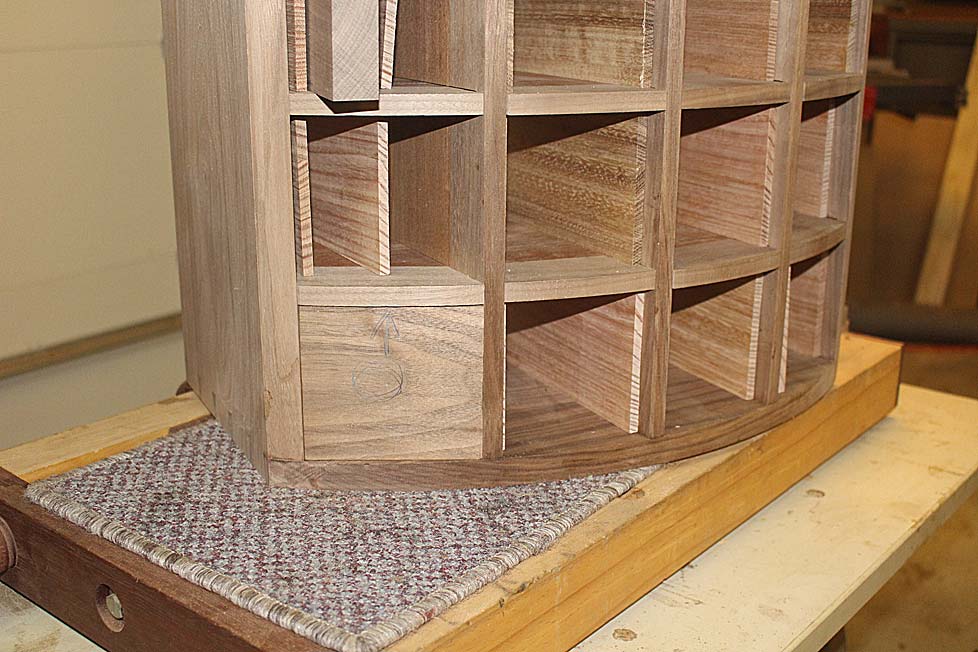
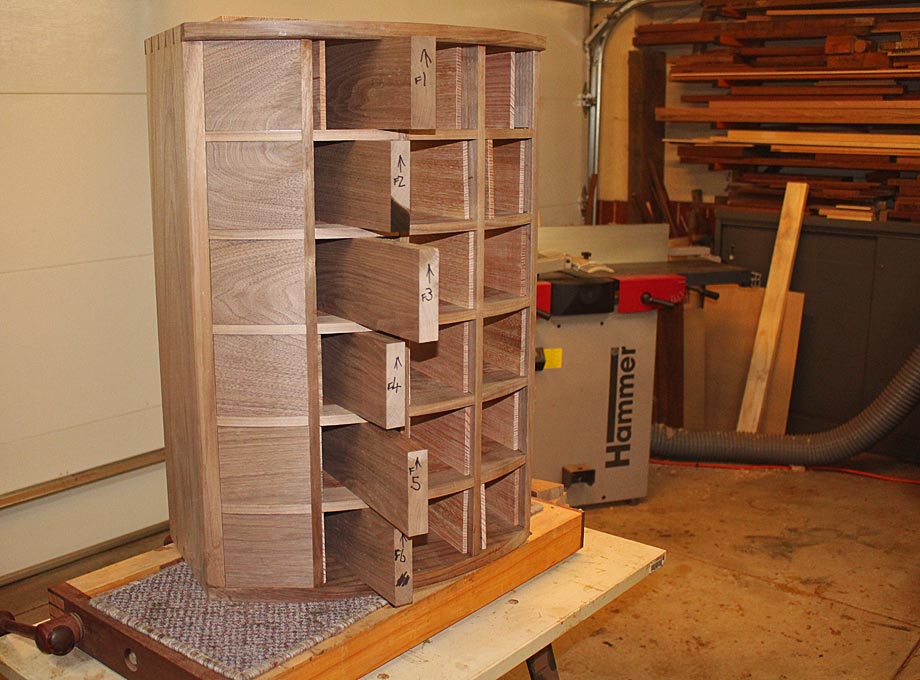
... and then fitted to the cabinet ...
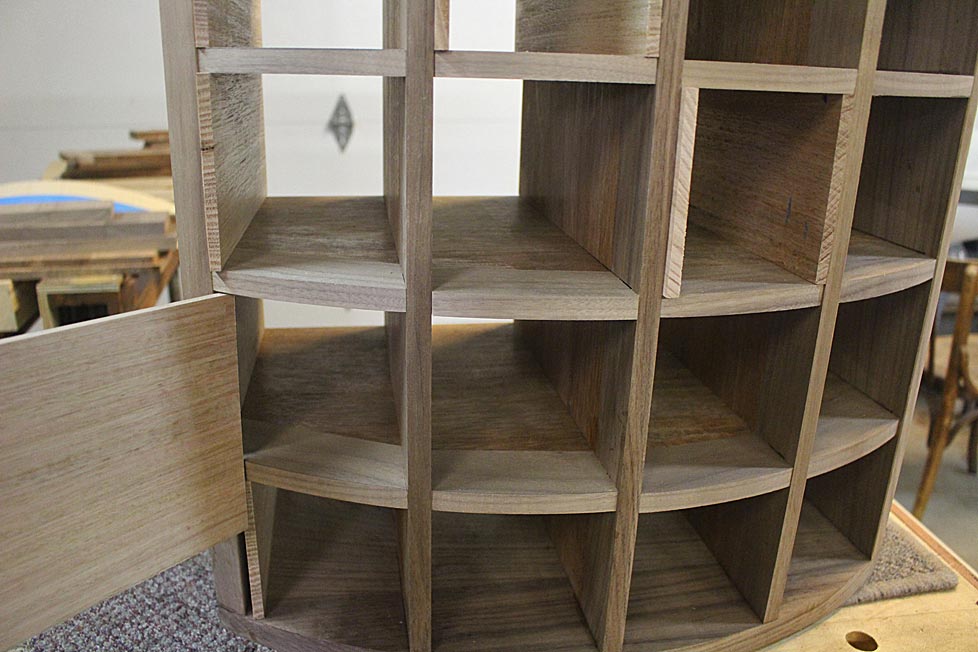

It took most of Saturday, but finally ...
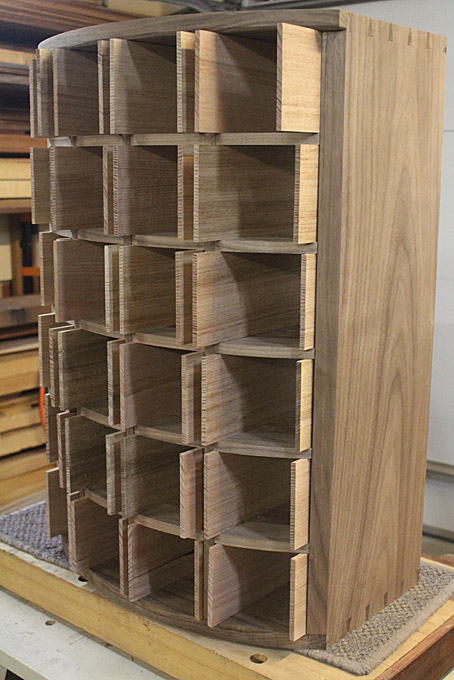

Sunday afternoon arrived and I was back in the workshop. The goal here was to see if my devilish plan for dovetailing curved drawer fronts would work. The following is a test, so let me know what you think and whether you can come up with an easier strategy.

Each row of drawers with be made from a single black walnut board, and so the figure will flow without interruption. Actually, the boards used made two rows each, and all the drawer fronts will come from the same original board.

For now I am using a scrap to test the method. Briefly, the drawer front will remain flat until the sides are dovetailed on, and the curve will be added later.

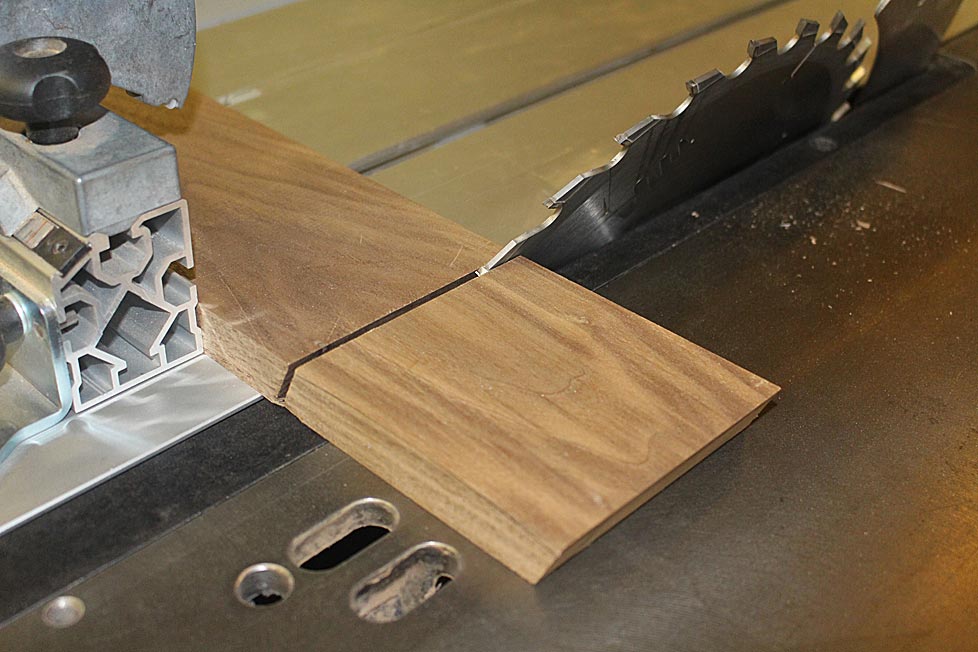
The first task is to fit the drawer front into the drawer opening, and this requires that the sides are mitred. This was done on the table saw ...

This is the fit into the drawer opening ...
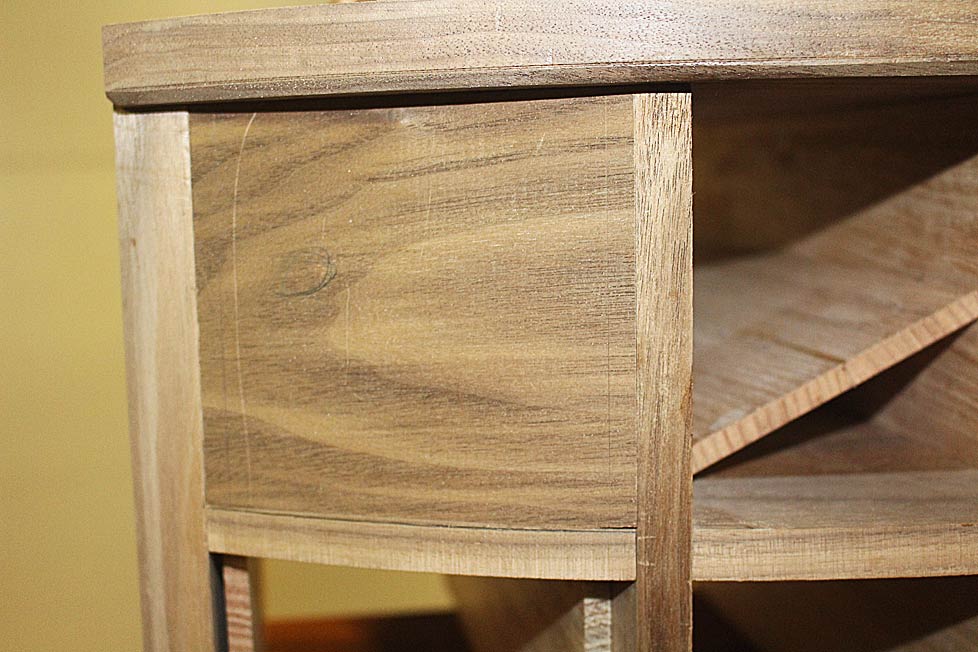

The curve can be added by sliding out the drawer front and tracing along the drawer blade ...
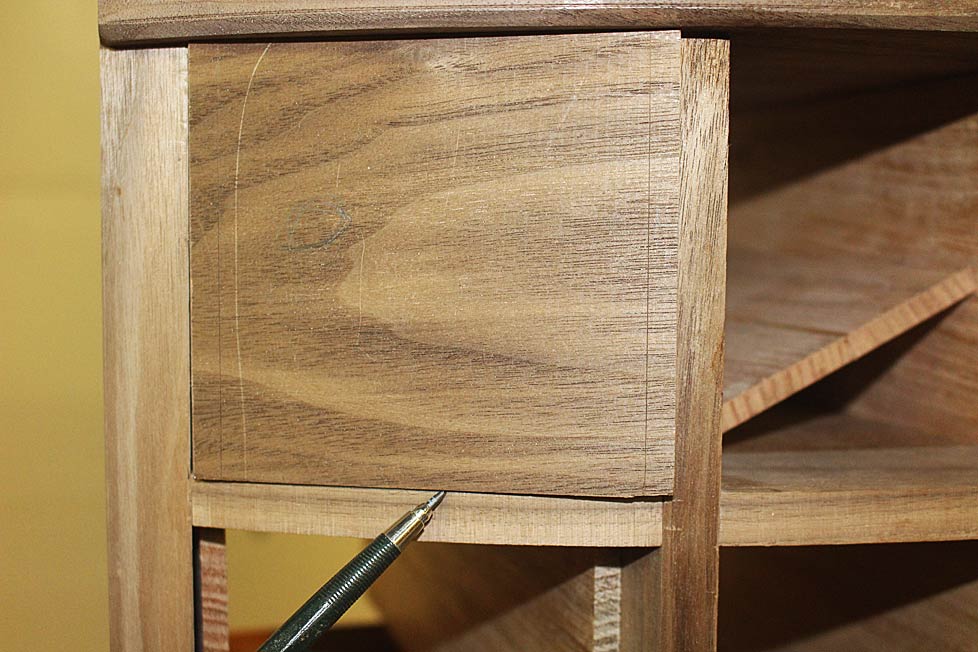


That will be shaped later. For now the challenge is two-fold: firstly, the mitres complicate how the dovetails will join the two parts. In the photo below, what will happen if the walnut receives sockets (as in half-blind dovetails), the tails will extend over the drawer front and into the drawer.
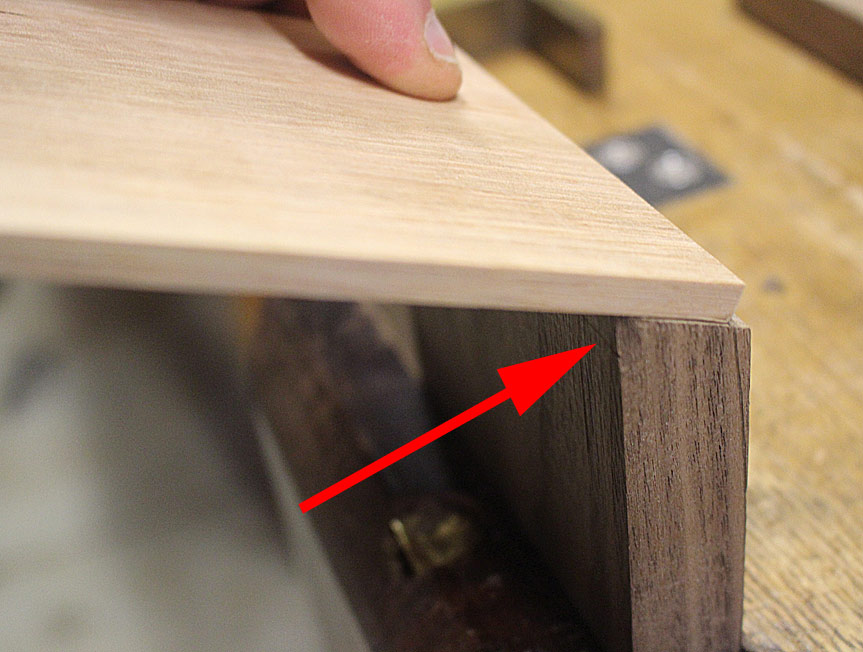

The solution I came up with was to mitre one side of the drawer front, and rebate the other side ...
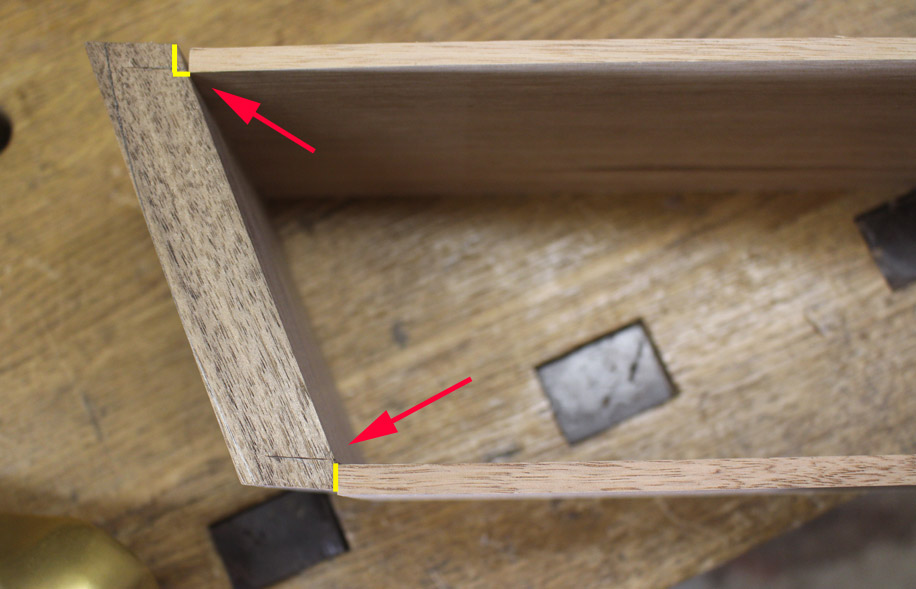

I concentrated on the mitred side today as this is the more difficult of the two.

The first step was to mark the width of the drawer side ...
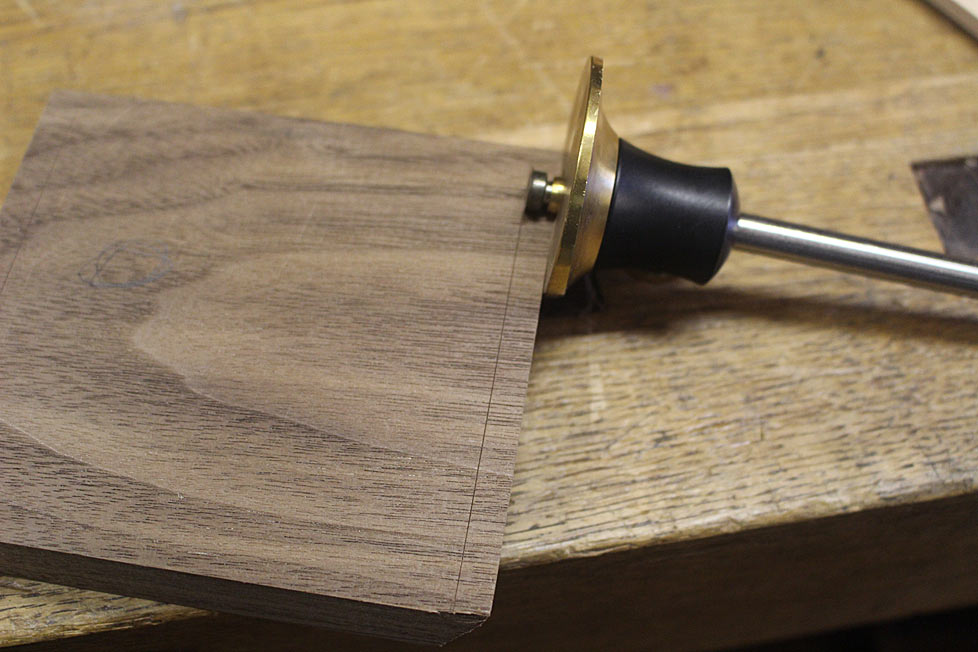

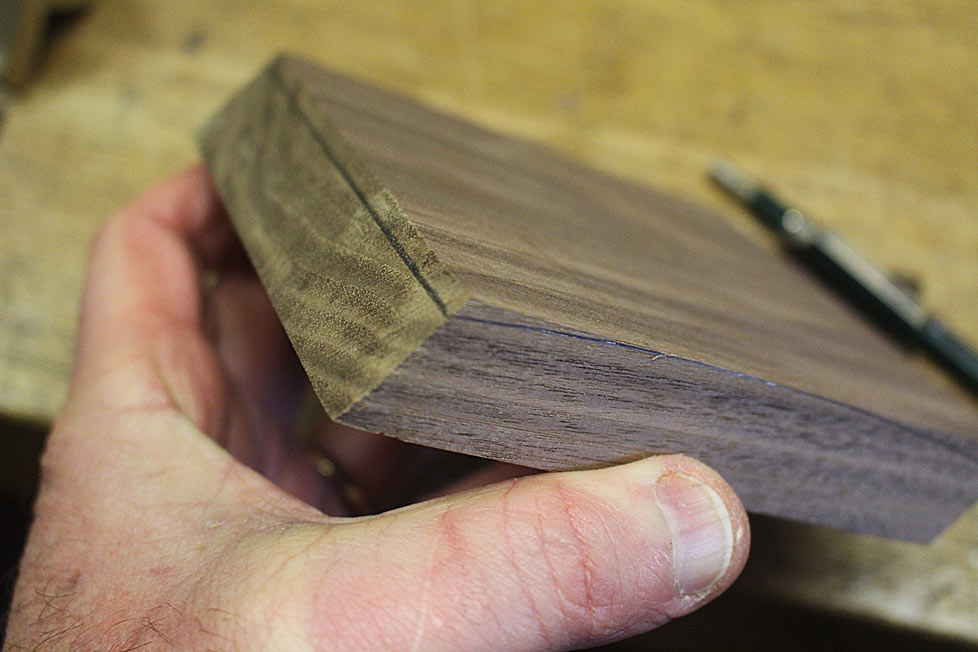
The second was to use edge planes (these are by LN) to add a mitre that was square with the angled side ...
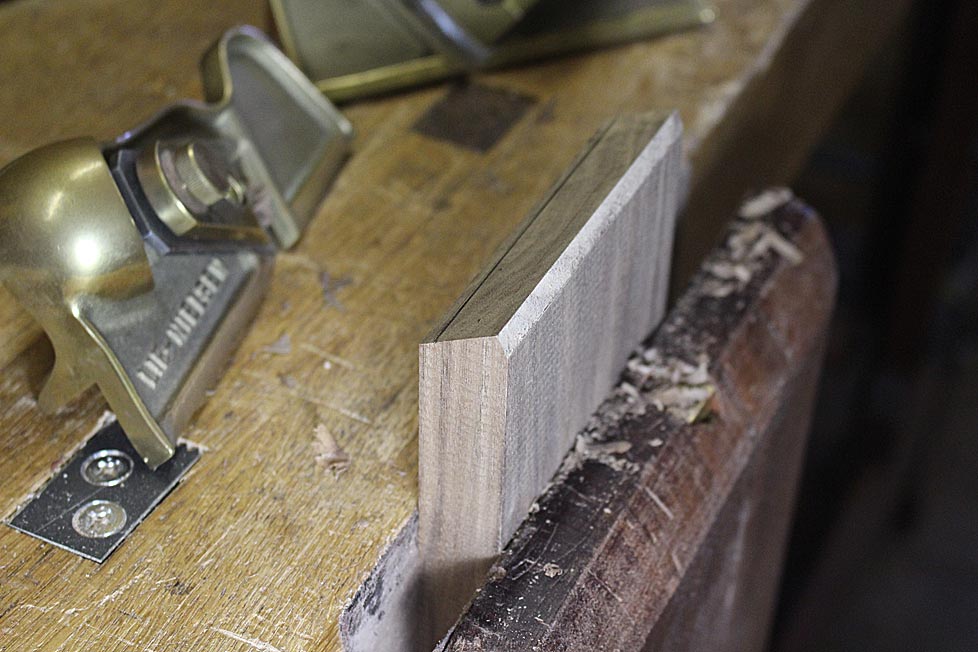

The second challenge would be to secure and transfer the tails to the pin board, then to saw and chisel the sockets. Here is the first challenge ...
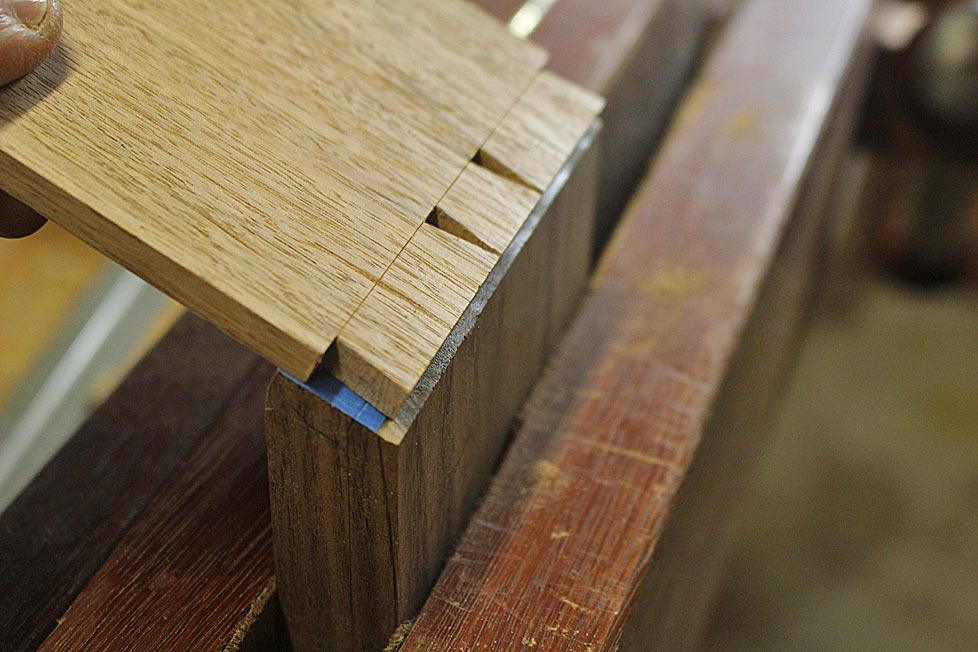

Trying to hold the tail board at an angle, and steady so that it did not move while the tails could be traced to the pin board ... well, I needed another set of hands!

I finally came up with a solution, recalling Alan Peters/Rob Cosman's rabbet trick. In this case, I added two layers of blue tape to create a fence ...
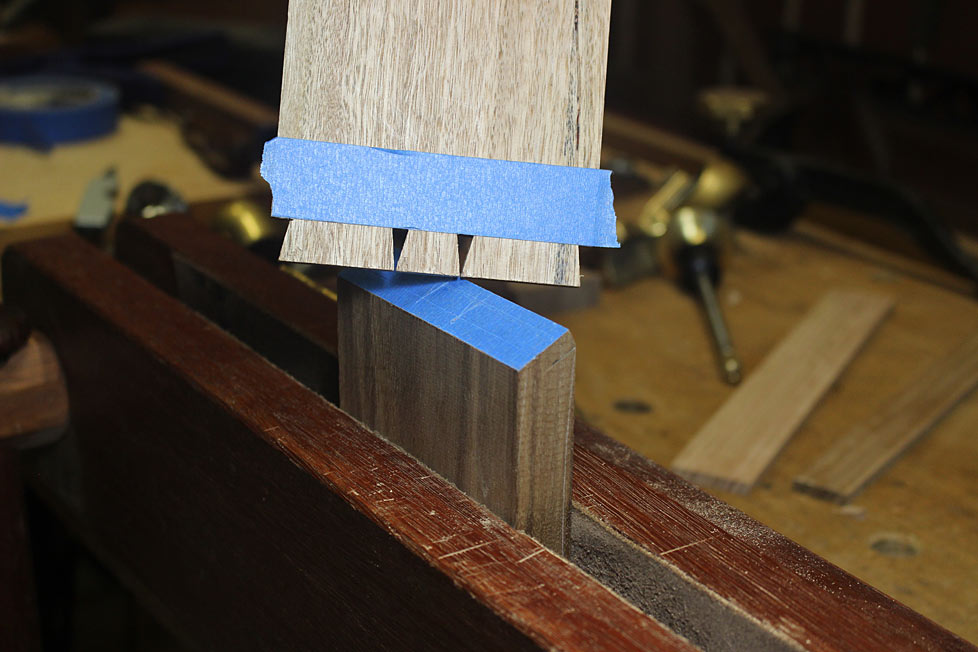

This made it possible to stabilise the parts ...
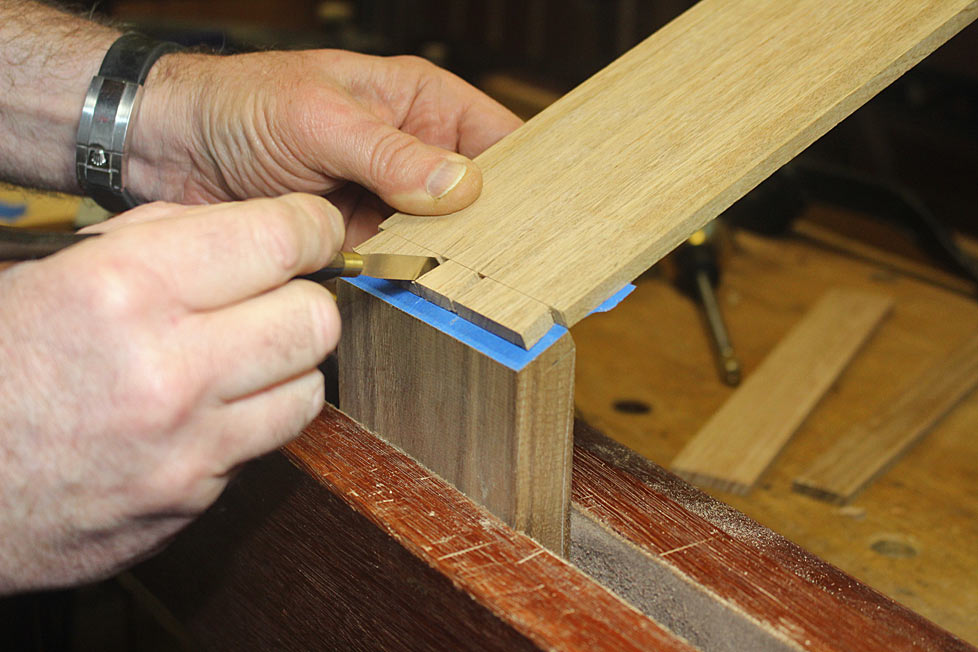

Using blue tape to transfer the markings ...
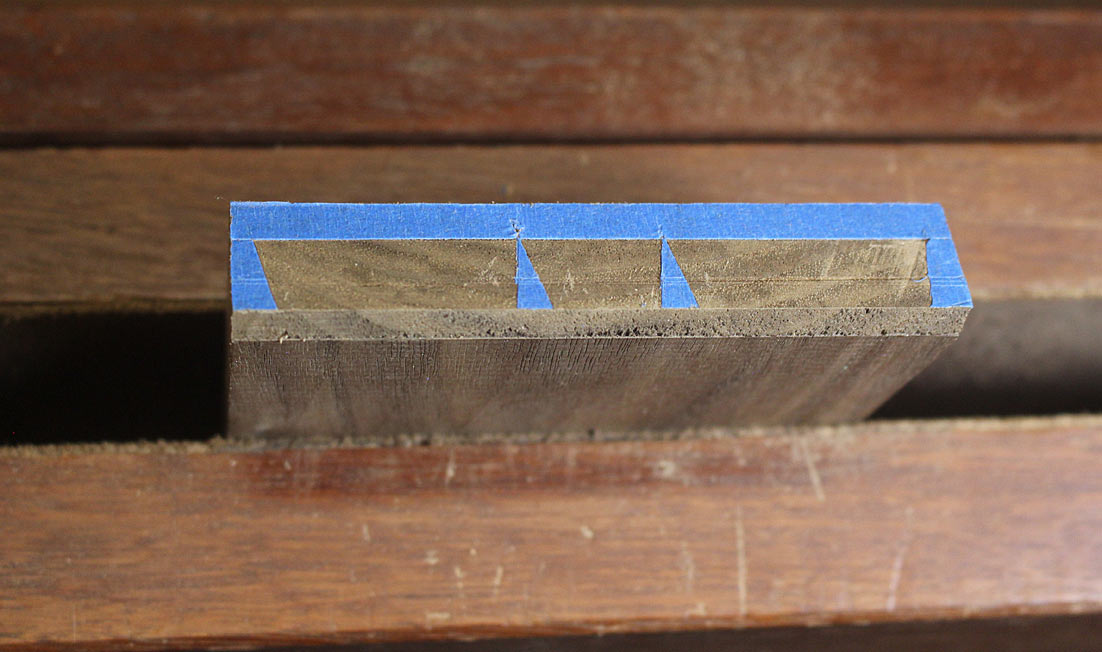

Sawn ...
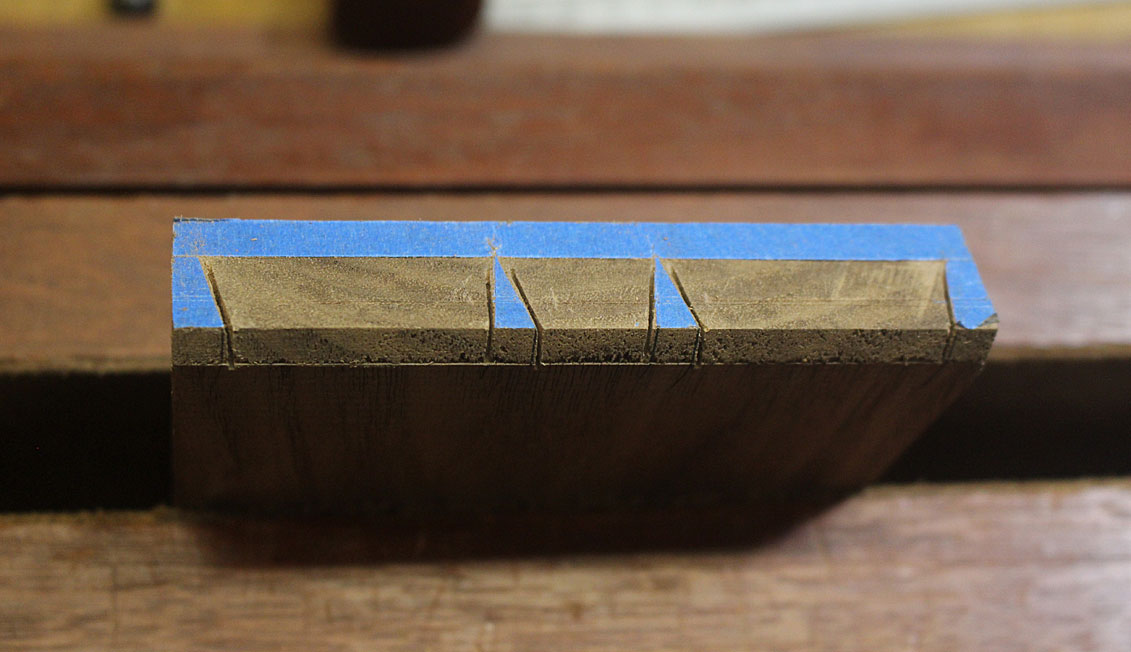

Kerfs deepened at the baseline end with a kerfing chisel ...
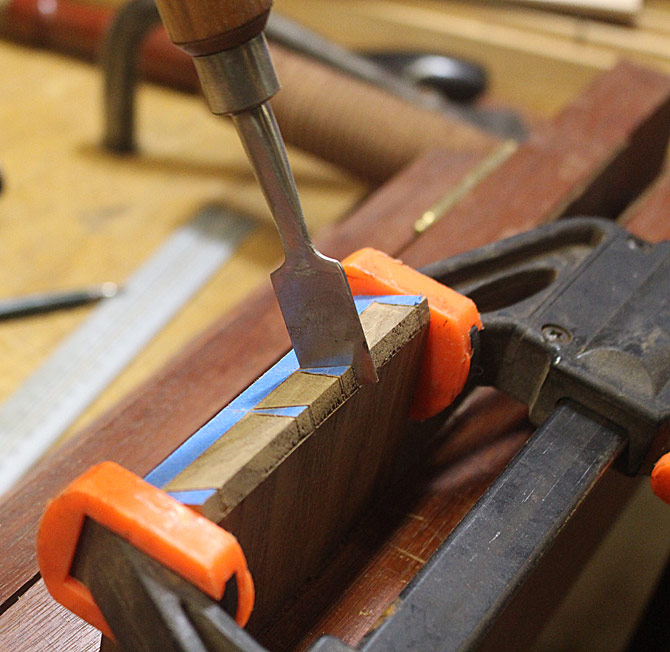

Clearly my chisels were not sharp enough as the walnut was crumbling ...
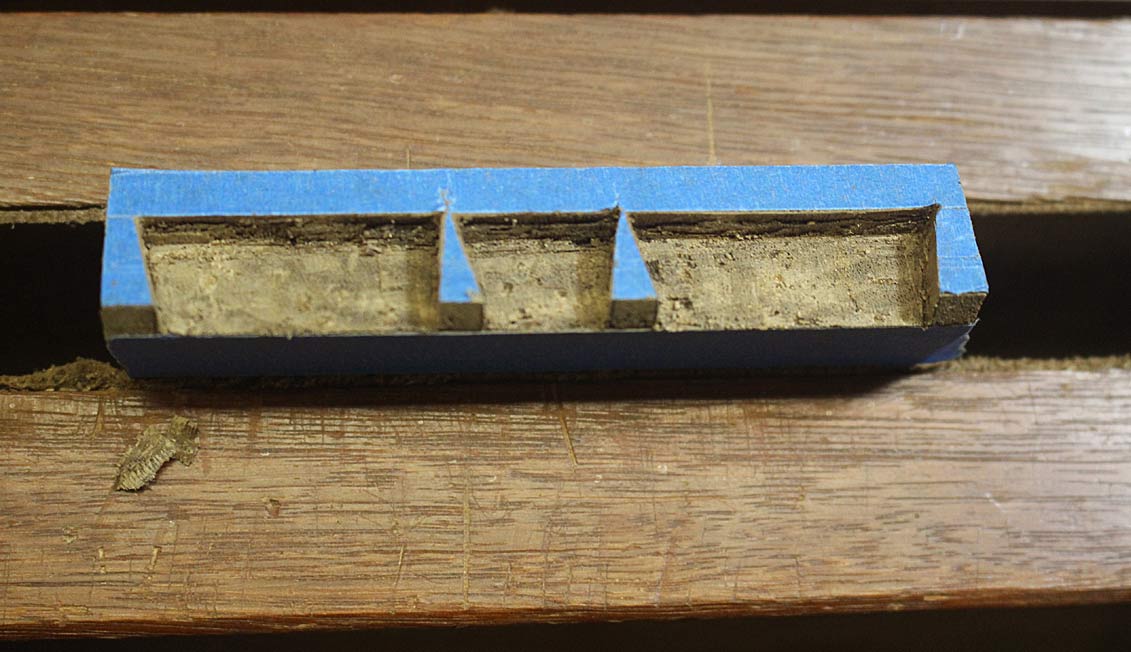

It cleaned up enough to pound the drawer side on ..
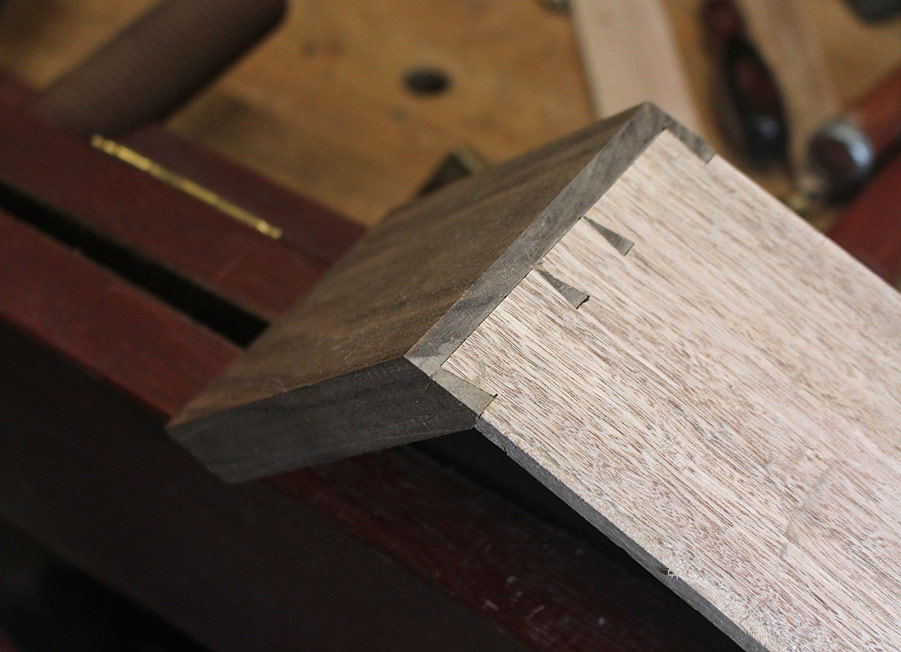

What was reassuring was the tight corners.

The "drawer" was slid into the drawer opening ...
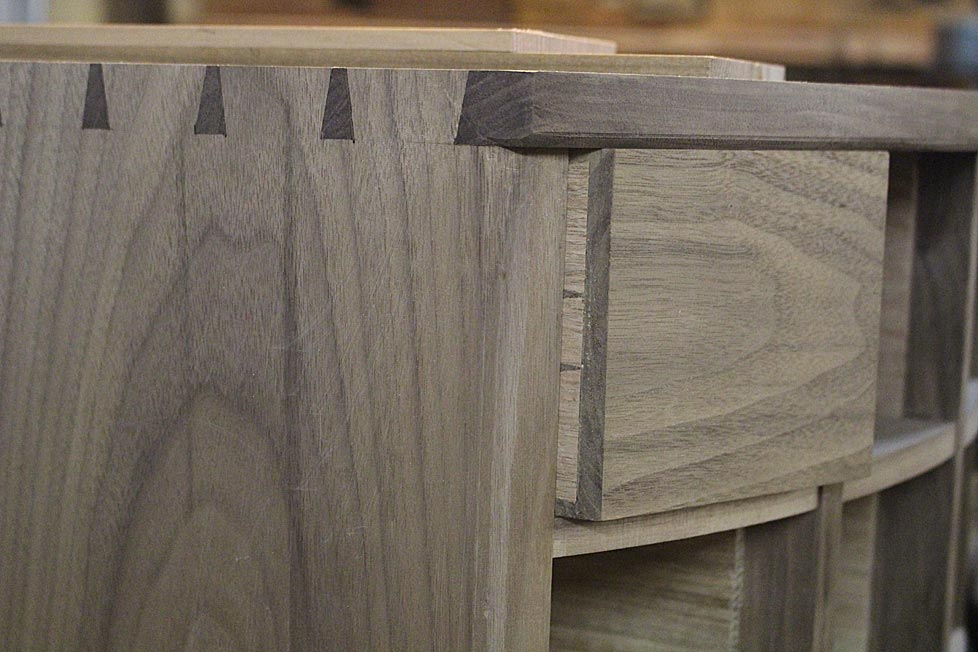

A bit more practicing, and I will be ready for the real thing.

Any thoughts how else this could be done?

Regards from Perth

Derek

Re: Apothecary chest - part eight

#2

That's a complicated way to make bow front drawers

Bill Tindall, E.Tn.

I admire your solution to the problem but I would not have risked screwing up something in the complexity of your process. Vastly easier, at least easier on the mind, to keep the inside of the drawer front orthogonal to the ends until the dovetails are cut.


To that end the fronts could be made just like a conventional bow front dresser. A substrate would be assembled thick enough to achieve the depth of the arc of the front and as long as the total of the drawer width opening. The arc would be marked on the outside of the front before the dividers were install, and the arc band sawed, then veneered. The drawer fronts would then be sawed from this assembly, dovetails excavated and then the inside arc sawed to yield a curved front with dovetail sockets orthogonal to the side opening. Or at least that is how I made a simper version of this project and how the process was suggested to me by the Headley shop.

Re: Apothecary chest - part eight

#3

Re: Apothecary chest - part eight and a bit

Derek Cohen (in Perth, Australia)

Today was a public holiday in Western Australia (WA Day), and so I managed a few hours in the workshop this afternoon ("arvo", which is afternoon in Australian). The morning was filled with writing bloody reports. Aren't I the lucky one! It was great to escape back to the build.

I wanted to show some of the other preliminary tasks that are needed before one can begin dovetailing the drawers.

Here are the collective drawer fronts. They have been sized for height ...


The original rough sawn board of black walnut was cut into three sections, and each section is enough for two rows. The rows were separated, and will be used sequentially. This is shown above.

The original test drawer front served as a template for width ..


The plan is to work with one vertical row at a time, since each will have the same width. This will reduce set up time fitting each drawer blank.

Here is the template drawer front fitted to the lower most drawer ...


All the drawers in this row have the same width.

Fitting the drawer front involves (1) sizing the height ... this was done (above), then (2) mitering the sides to fit the drawer opening.

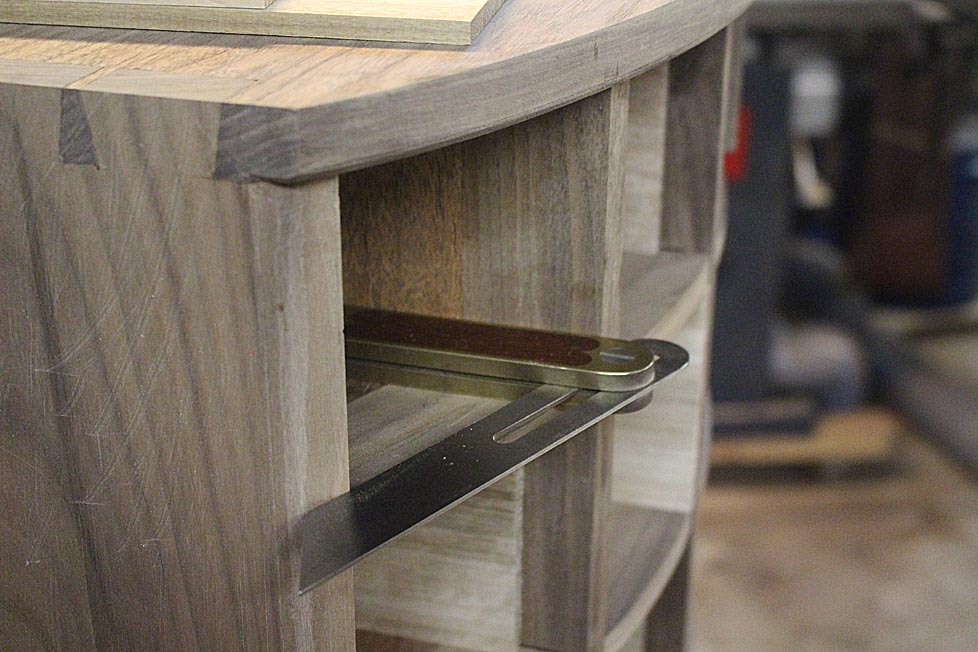
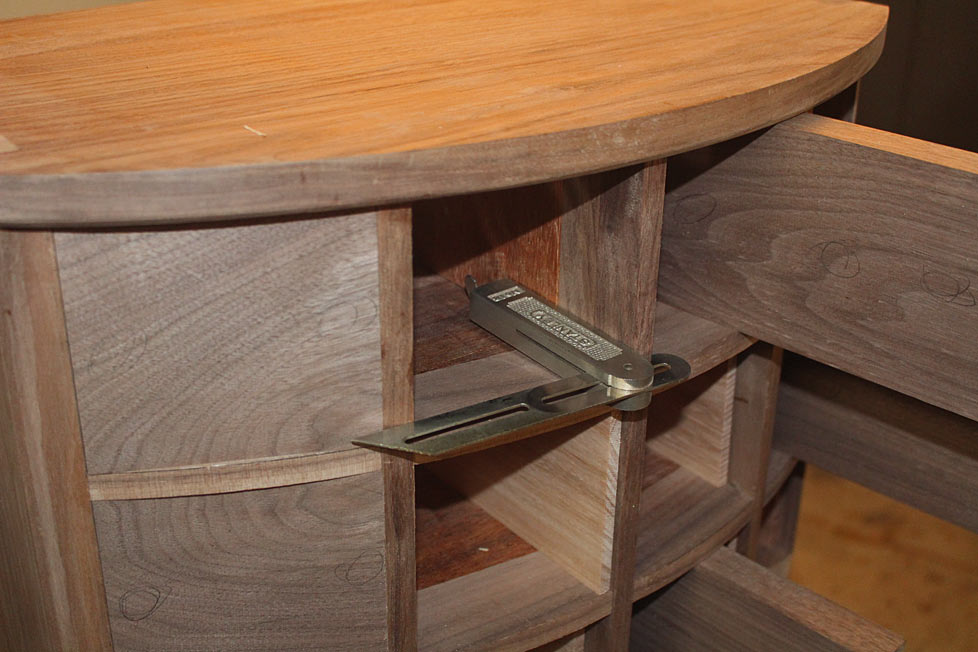
Begin by obtaining the angle across the opening ...


That was for the first row.


This is for the second row.

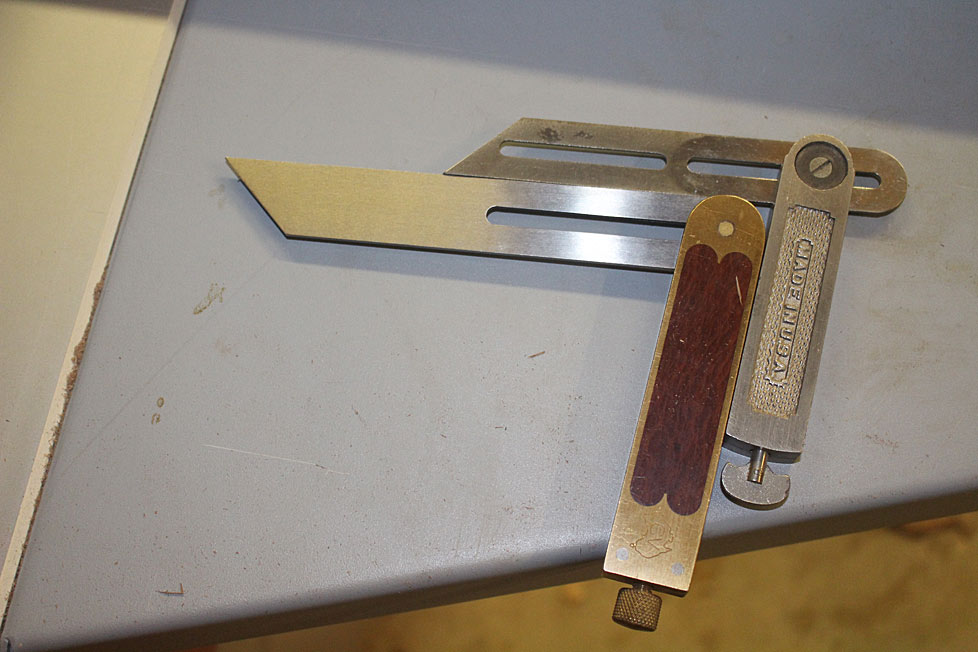
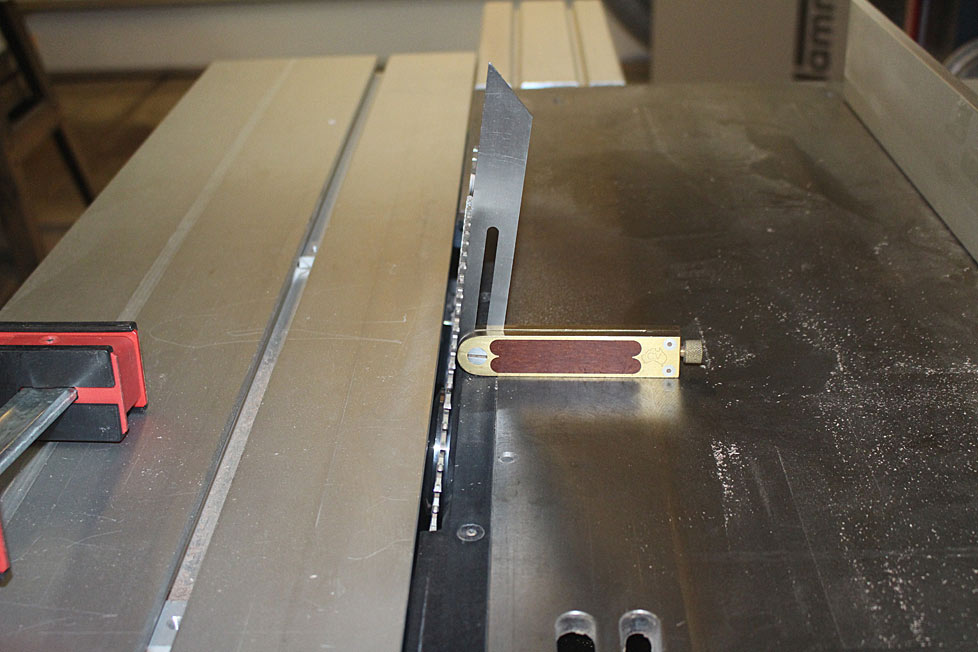
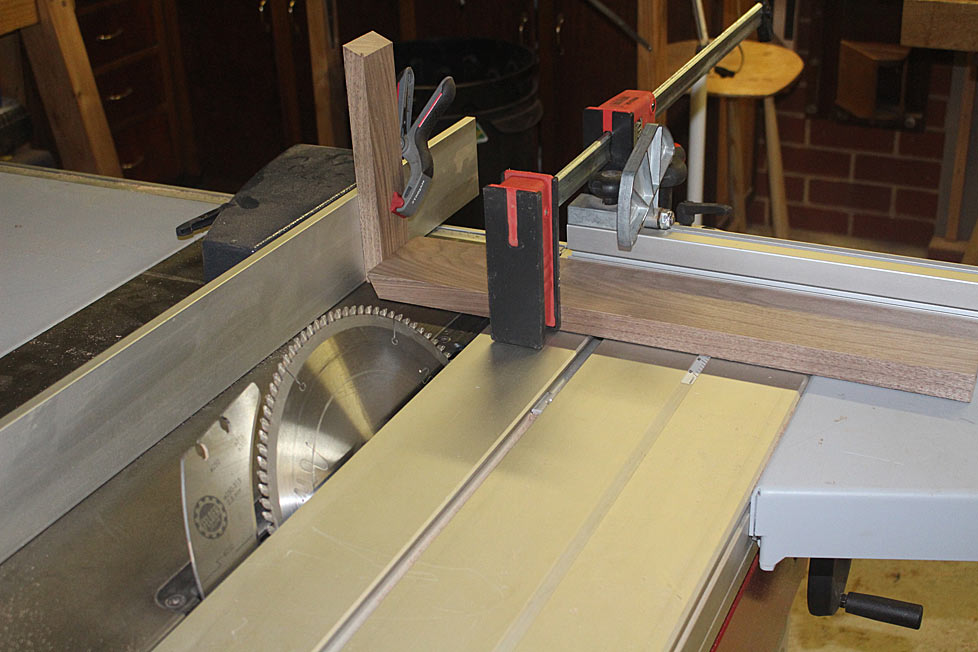
Transfer the angle to a second sliding bevel (to set the blade angle on my table saw) ...


Cut the angle on one end, and then set up the table saw for a repeat saw cut ...


The first row is done ...


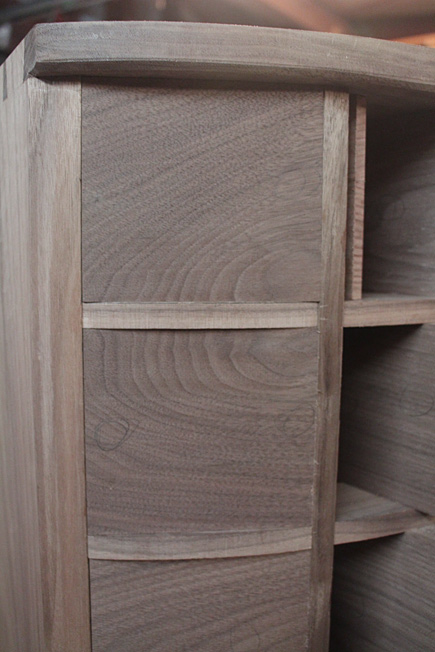
A close up of some figure ...


I was looking at the effect of the straight drawers fronts against the curved drawer blades. It was interesting ... no, I'm sticking to curved drawers.

More next week.

Regards from Perth

Derek

Re: Apothecary chest - part eight

#4

Re: That's a complicated way to make bow front dra

Derek Cohen (in Perth, Australia)

Hi Bill

I went through a similar issue with the Lingerie Chest, which had bowed and tapered drawers.

The problem I have in using your method is that the blanks for the drawer fronts are 25mm thick. The test board was 20mm thick, so I have a little more, but not enough to carve away as you might. There is a 5-6 mm loss in width when the curving is added.

I did realise today that the one side did not need a rebate to fit the dovetails. That will make for less work. I'll show you later.

Regards from Perth

Derek

Re: Apothecary chest - part eight

#5

you missed a critical point

Bill Tindall, E.Tn.

In typical Period construction a bow front is veneered. One valuable walnut board would produce sufficient veneer to have matched drawer fronts overall.

The thickness sufficient to cut the bow is achieved by gluing up whatever works well and is inexpensive, in our case yellow poplar or pine. Our frugal ancestors would never have cut the bow from solid "show" wood, nor afforded your complicated joinery. Then sequential (typical) veneer is glued to the face of these substrates. The inside was typically not veneered, but could be.

for those following........I admire your successful execution of the complex dovetails, but a bow front doesn't have to be so complicated to make.

Re: Apothecary chest - part eight

#6

Re: you missed a critical point

Derek Cohen (in Perth, Australia)

Bill, I did consider veneer - in fact, I did so for the curved rails on the sofa table last year. The truth is that I lack confidence for making repeatable - and reliable - curves on a form. I've made demilune tables, but these were stand alone. Veneered curved drawer fronts ... well they unnerve me. So I opted to shape solid wood.

Regards from Perth

Derek

Re: Apothecary chest - part eight

#7

Re: you missed a critical point

Ian Neuhaus

Hi Derek, you commented

I did consider veneer - in fact, I did so for the curved rails on the sofa table last year. The truth is that I lack confidence for making repeatable - and reliable - curves on a form... So I opted to shape solid wood.

The option I would suggest -- and what I believe Bill is also suggesting -- is making the curved drawer fronts from solid secondary wood shaped to fit the curve of the opening.

If you so desired, the inside of the drawer front could also be curved.

Veneer is then be applied to the outside of the drawer front.

The only issue with this approach is protecting the edge of the veneer -- which traditionally was done using a cock bead.

(I case I don't mention it on the Aussie forum)

On your test front, it's not clear to me if the length of the half lap is the same either side of the drawer. On first glance it appears that AFTER SHAPING the lap will be longer on one side of the drawer

Re: Apothecary chest - part eight

#8

what makes it easy

Bill Tindall, E.Tn.

When Steve Hamilton (Headley Shop) told me how to do a bow front drawer I thought, I can't do that. At the time I was even more inept at hand tools than I am now. How would I ever get the arced surface to be veneered smooth and of proper shape?

There is a factor that makes it easy. The billet to be the drawer front, or drawer fronts is it is to be divided among smaller drawers across the front, is fitted into the sum of the opening (remove dividers if there are any). Mark the arc of the bow. If you can accurately band saw the arc the rest is trivial. Band saw to the marked line.


Mount the billet in a vice and simply plane away the parallel band saw tooth marks. When they are just gone it is done and of the proper shape. The planing was trivial even for me for the multitude of guide lines made by the band saw teeth ensured success. I was astonished at how quick and easy the whole process was. I have now repeated it for many drawers and never had any difficulty (until I got to the dovetails :) ).

Re: Apothecary chest - part eight

#9

cock beading may not be necessay.   

Bill Tindall, E.Tn.

The need for cock beading a veneered front is over stated in my opinion, especially so when home made thicker veneer is used, as well as modern glue and vacuum bagging. If well stuck, the veneered edge is unlikely to delaminate or chip. I have chests of drawers in service in grand children's rooms for several years now with no evidence of problems from lack of a cock bead.

The top drawers in this piece are veneered, for example.


Re: Apothecary chest - part eight

#10

Re: That's a complicated way to make bow front dra

Brian Holcombe

I like the sound of Bill’s approach, However, Unless the billets are also walnut, it’s going to be a complicated matter to glue it up if you want walnut to show at the end grain and along the top edge.

Re: Apothecary chest - part eight

#11

Re: you missed a critical point

Derek Cohen (in Perth, Australia)

The option I would suggest -- and what I believe Bill is also suggesting -- is making the curved drawer fronts from solid secondary wood shaped to fit the curve of the opening.

If you so desired, the inside of the drawer front could also be curved.

Veneer is then be applied to the outside of the drawer front.

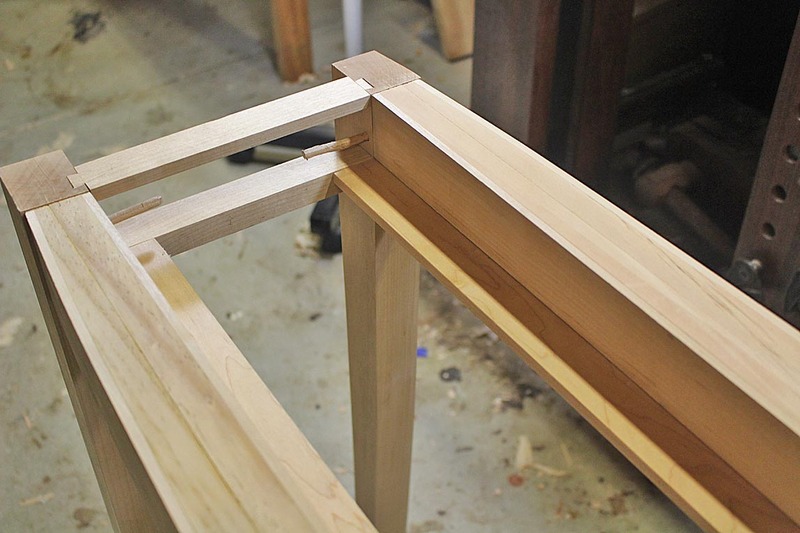
Ian, I understand that. I can, and have, done this before. Here's the recent example I mentioned ..


This is really just a way of saving the good wood, but it adds extra steps to disguise the method.

There is no need if there is sufficient wood for the drawer fronts, and which I budgeted for.

Regards from Perth

Derek

Re: Apothecary chest - part eight

#12

Re: what makes it easy

Derek Cohen (in Perth, Australia)

Bill, as I mentioned to Ian, I understand that process well, and am comfortable with it.


However, doing it a few times when the construction is thick is one thing; doing it 24 times is another. It was a consideration at the start of the build, and the dovetailing strategy I chose was the alternative I preferred. It is probably 6 of one and a half dozen of the other.

The process I am less comfortable with is a complete lamination, where one has then to deal with springback.

Regards from Perth

Derek

Re: Apothecary chest - part eight

#13

top edge not a problem

Bill Tindall, E.Tn.

a 1/4" piece of primary wood can be added to the top of the secondary substrate. The end grain is another matter. I have seen a solution for the end grain, that I don't remember and didn't like...which is why I didn't bother to commit to memory or ever use. It didn't seem worth the effort. But I build to a lesser standard so it would not be a concern to me. A bit of dark stain on the poplar end grain and who would notice but the discriminating maker?

Re: Apothecary chest - part eight

#14

Re: top edge not a problem

Brian Holcombe

Depending on the project, I feel, more-so than if people will notice. It wouldn’t bother me to see it was veneered over a lesser material but actually a lower grade of walnut can be quite reasonably priced and a viable solution.

Re: Apothecary chest - part eight

#15

"Grade" and utlizing low grade lumber

Bill Tindall, E.Tn.

If much cherry or walnut is worked, and bought in bulk by grade, soon an accumulation of wood is at hand that doesn't look good enough for show surfaces. For example, on the recent chest of drawers I built for son in law I finally utilized in interior parts a "top graded" walnut board that was nearly 100% steamed sap wood and ugly grain to boot. It would have been even more suitable as the lumber core of a veneered project. The sappy boards from the cherry logs sawed for other son in law's chest of drawers have become secondary wood in the interior. Drawer interior parts are another good use of such lumber.

Some clarification on the meanings “low grade”. Grade has a precise meaning by National Hardwood Lumber Association(NHLA) grading standards. It is simply derived from the per cent yield of a board when defect-free cuttings are cut away from the defects. According to grading standards things like, rot, knots, stain, splits, worm holes, bark, are defects that can lower NHLA grade. Attributes that are a defect to the discriminating woodworker- sap wood, grain pattern and other color variation- are not a NHLA defect.

Low grade lumber, by NHLA definition, likely yields such small defect-free cuttings as to be useless for the show surfaces of larger projects- tops, sides, drawer fronts. We generate more than enough of these small pieces as cut offs in building larger pieces. However, in a 1000 bdft pack of top NHLA grade hardwood there will be lumber we will not choose to use in a show surface because of color or grain. We might call this lumber “low grade”.

However, I buy very cheap low NHLA grade #2 common poplar because many interior parts can be made from small clear cuttings. With many boards to choose from I get as good or better per cent yield for this application than I get from top grade walnut used for a larger project.

Those that buy from places that allow self-picking of boards don’t face these issues. What to do with the ”low grade” pieces from a commercial bundle of NHLA top graded lumber is left for the store to deal with. These places usually price accordingly.

As an aside, some large manufacturers of hardwood lumber are not sorting their product by the 4 or 5 commonly encountered NHLA grades. I was told at a visit to Baillie Lumber that they sort oak into 50+ "grades" for special customer needs. A distributor buying from Baillie by NHLA grade will be screwed because all the wider boards will be picked out and sold as a "10 and wider" special grade. (been there and done that!).

Re: Apothecary chest - part eight

#16

Re: "Grade" and utlizing low grade lumber

Brian Holcombe

Appreciate the industry insights Bill, thank you!

I mean to use it in the sense that a boring and otherwise inexpensive board could be used as a substrate.

Re: Apothecary chest - part eight

#17

Re: "Grade" and utlizing low grade lumber

Bill Tindall, E.Tn.

yes, I understood your post.

When supplies are tight lumber manufacturers will take every advantage of the grading standards to include some boards that for us are unusable in show surfaces. The advantage of buying in bulk by grade is price. The disadvantage is the buyer needs to learn to use what is in the bundle.

As you pointed out there are uses for sound but "low grade" lumber, by visual standards. This lumber is not useless. It remains up to the buyer to determine if it is good value buying in bulk by grade.

👍 This page answered my questions

Your vote helps other woodworkers quickly find the answers and techniques that actually work in the shop.