WoodCentral Forums

Est. 1998 — 27 years of woodworking knowledge

Apothecary chest - part six

Posts

Apothecary chest - part six

#1

Apothecary chest - part six

Derek Cohen (in Perth, Australia)

Well the carcase was finally glued up, everything square as can be ... and I forgot to take a photo of this! :)

However, while planing the outside, I discovered that the black walnut required nothing more advanced than a simple single-blade common angle plane. Many years ago I received a smoother from Steve Knight. This was the first occasion I got to use it.
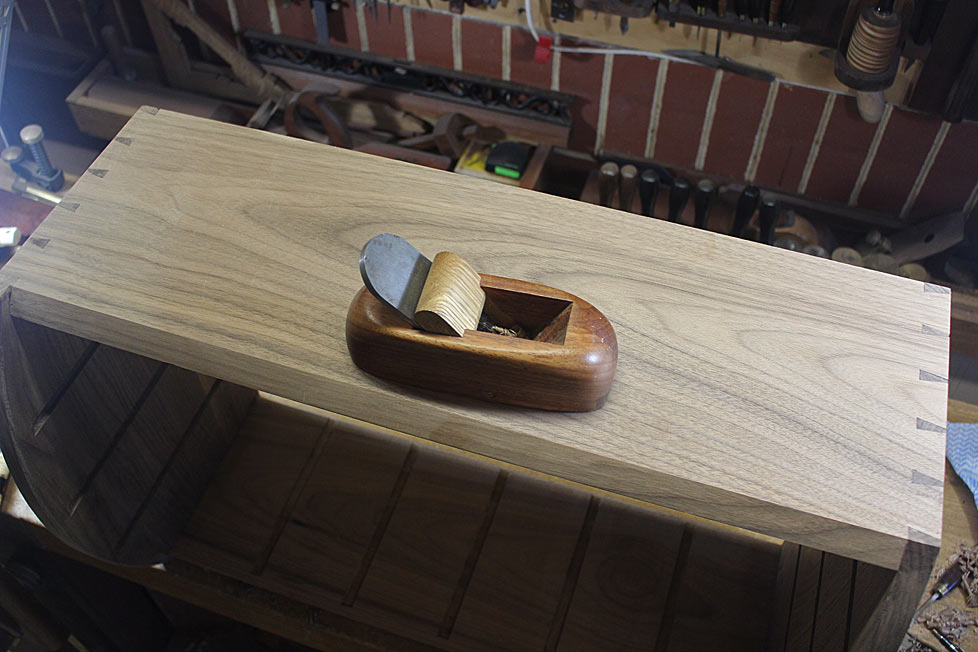

Just wonderful to work this wood!

The next step was to complete the vertical dividers. These were inserted and, with some relief, these were square as well. A reward for attention to detail?

The photo below shows the next steps: the stopped dados need to be extended, and the faces of the dividers need to be shaped to match the angles of the carcase.

The dados are marked to 12mm from the edge ...
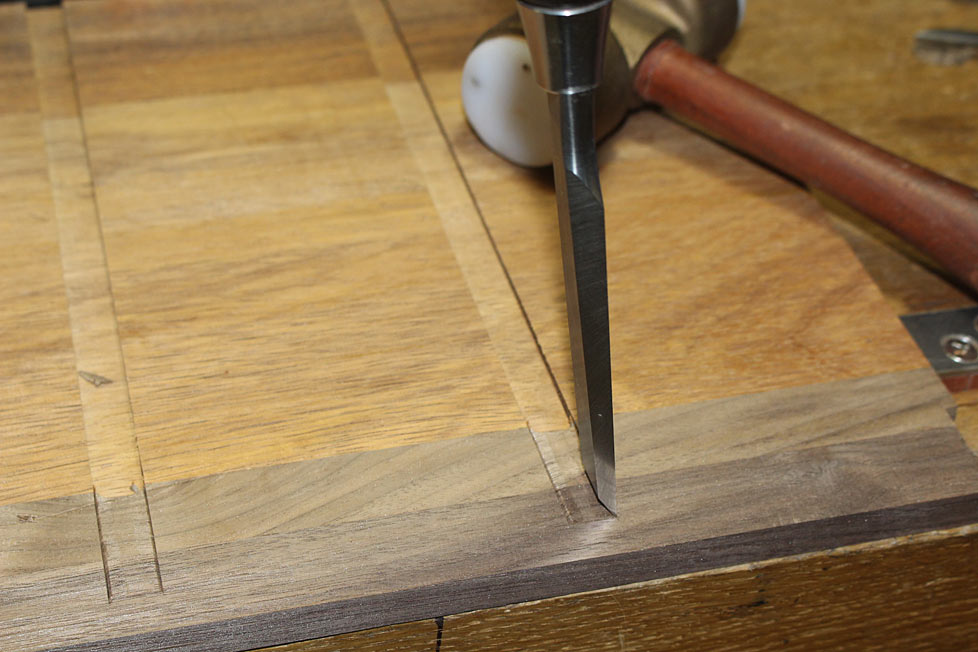

... and chiselled and pared away ...
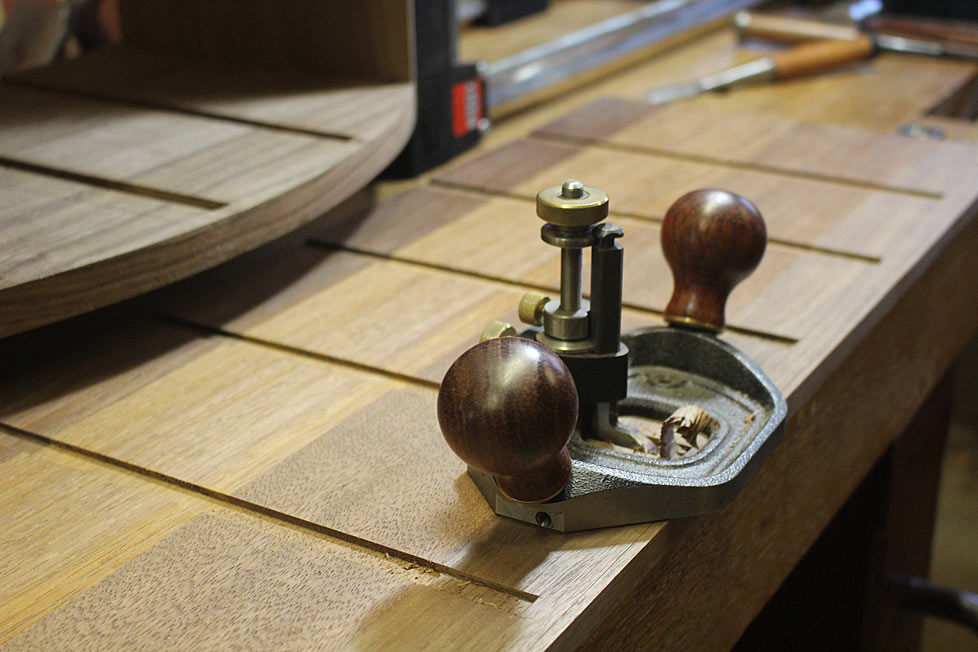

These were then glued in place (yes, I got that one! :) ) ...


During the dry fit I had been careful to fit them flush with the rear rebates, and then saw them parallel. This made it easier to ensure that they were glued square (since the fronts could be flush with the lower edge of the carcase, but not the upper edge, which has an overhang) ...
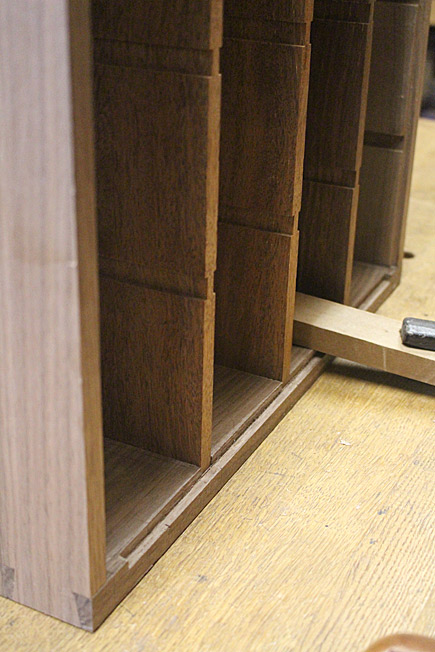
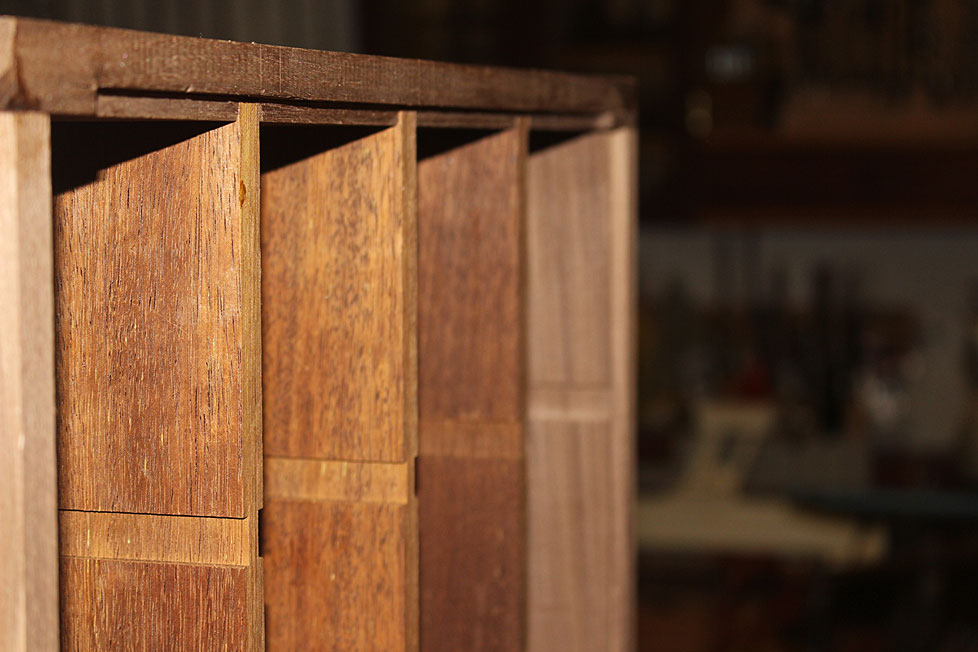

Time now to install the drawer blades. These were positioned loose, as before ...
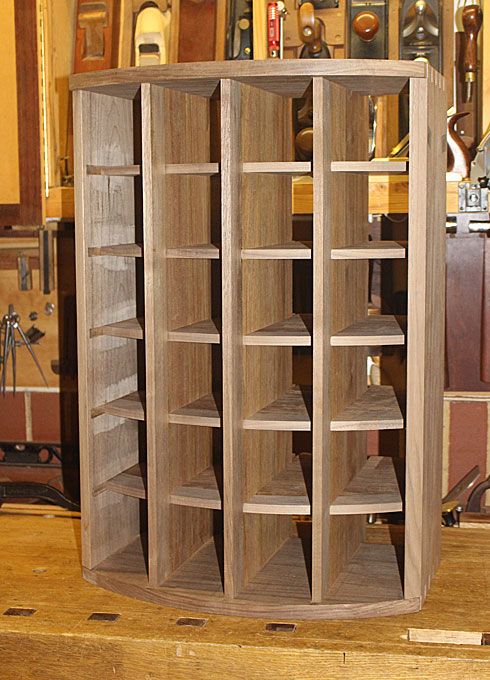

To fit them to the stopped dados, the front was marked out ...
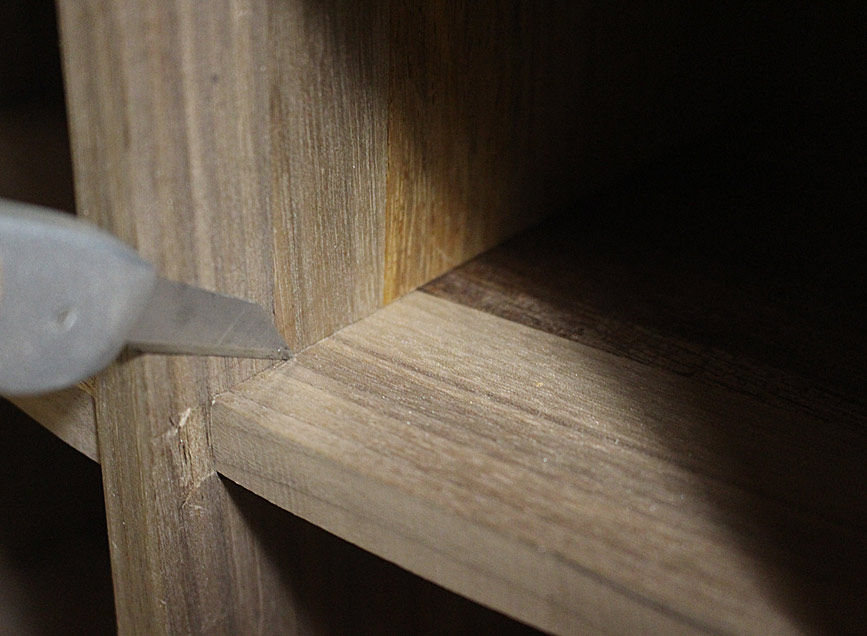

Below the rebates are marked and knife walls cut ..
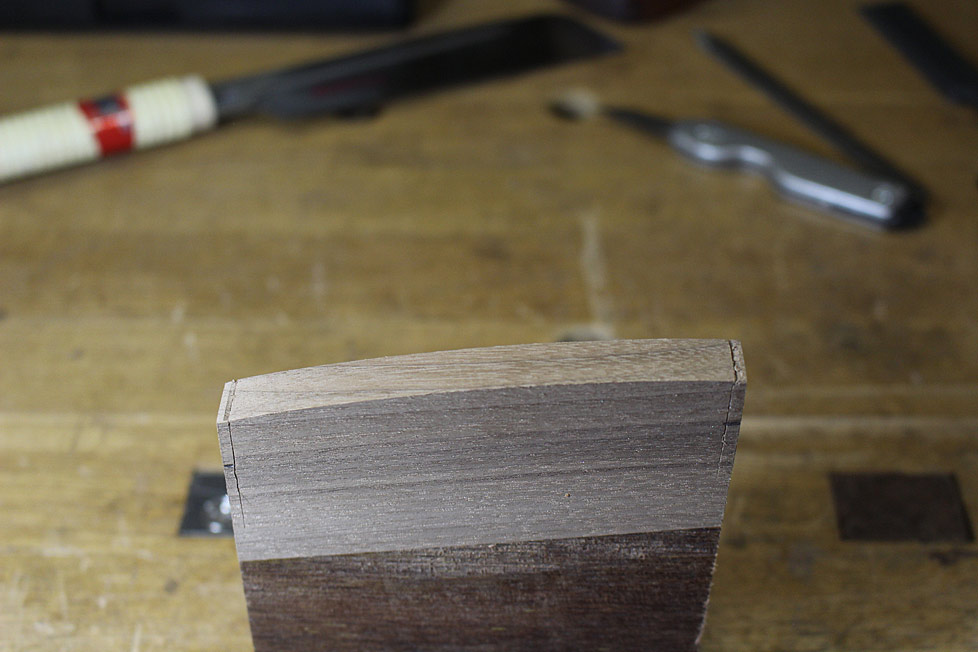

The first saw cut is across the top to establish the face ...
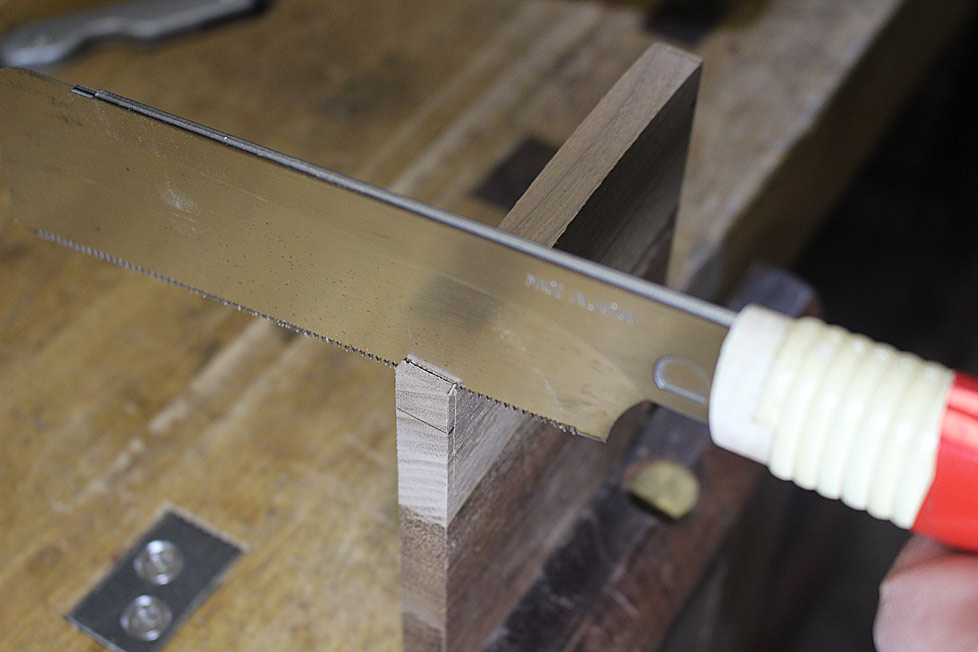

Then saw diagonally along the vertical line ...
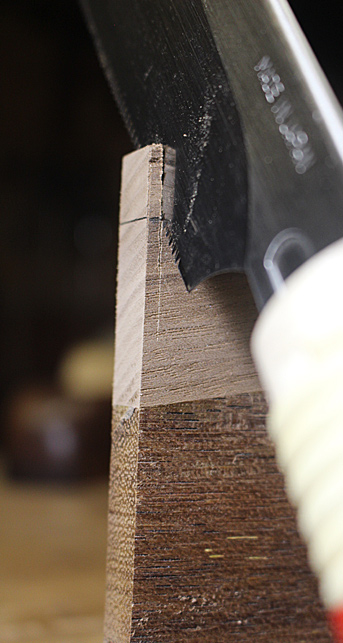

.. before finishing on the horizontal ...
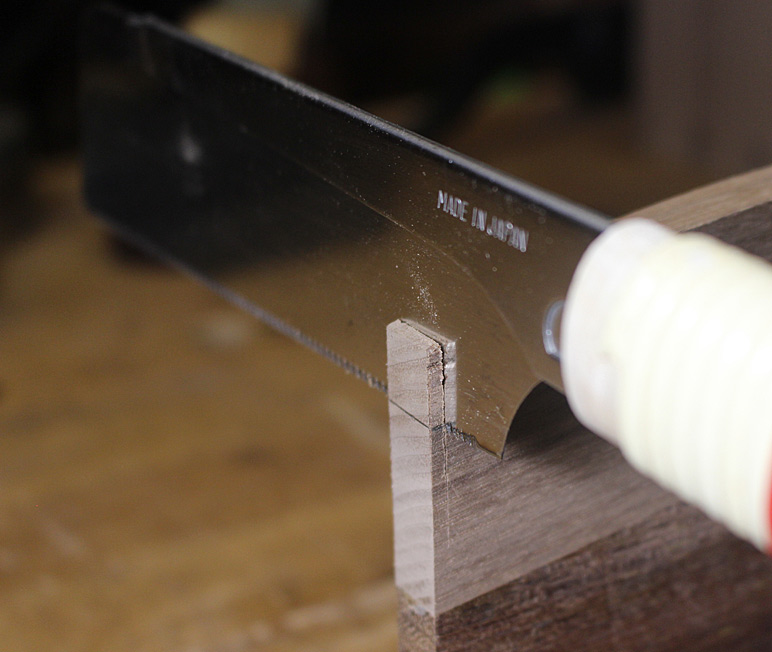

This will maximise obtaining a straight saw cut.
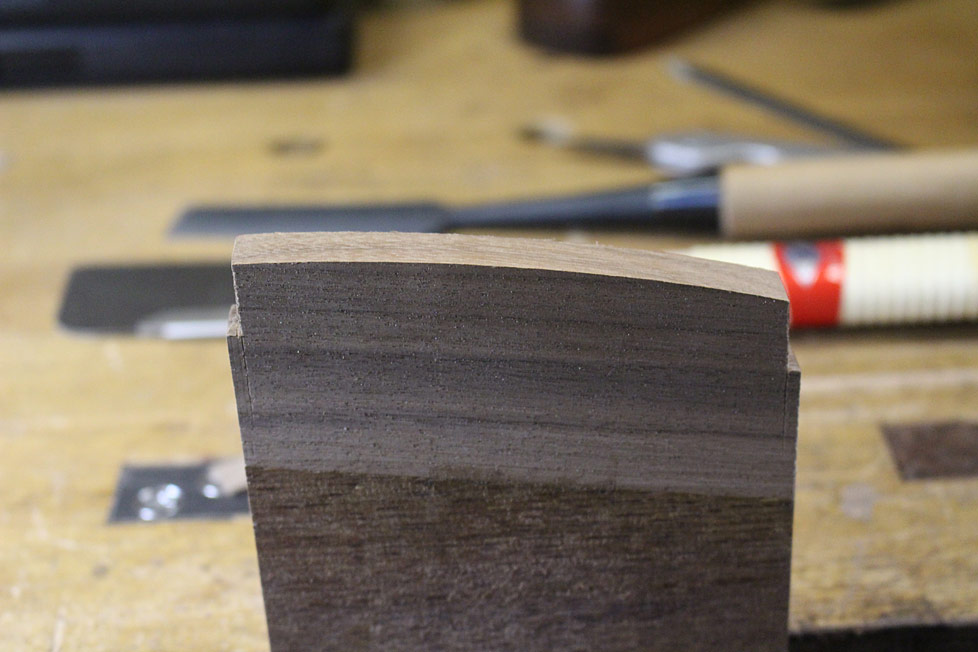

This is the fit once all is done ...
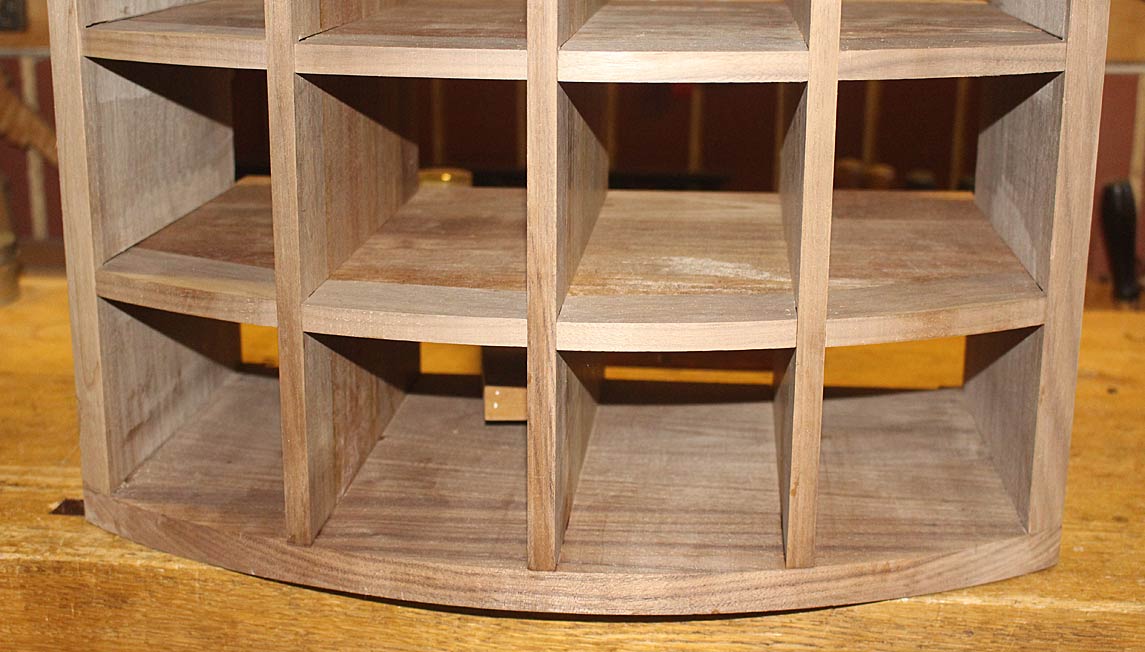


The drawer blades will remain loose until the drawers are completed, since they still need to be used as a template for each drawer.
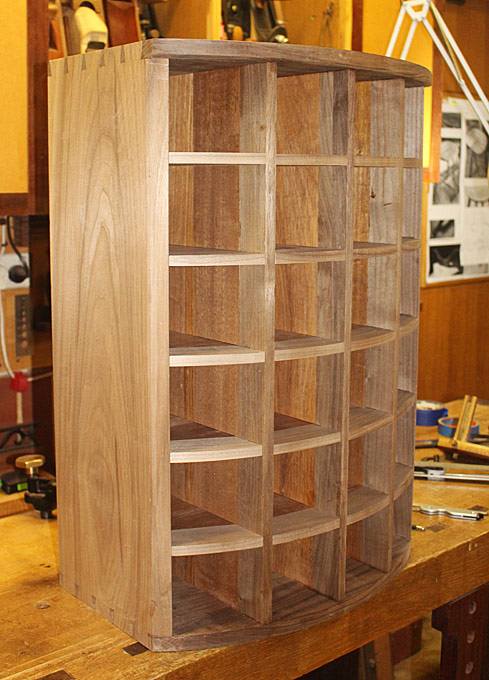

At the rear of the cabinet, the drawer blades are marked for length and sawn flush (in the photo below, half are flush, with half to go) ...
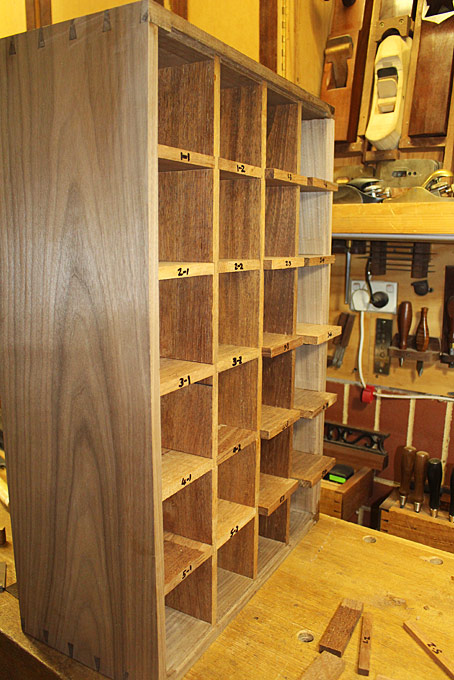

All done. Each is marked for repositioning ...
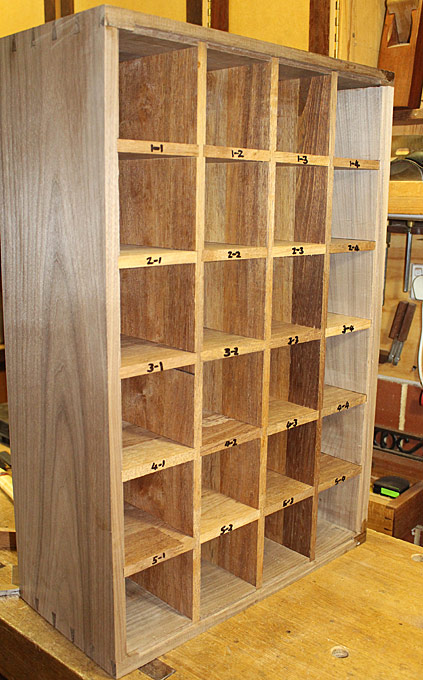

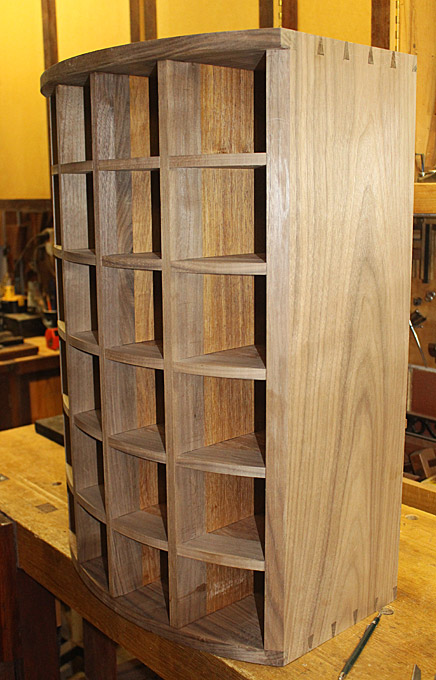
So that is it for this past weekend. The drawers are next. Curved fronts and compound dovetails. How much fun is that! :)

Regards from Perth

Derek

Re: Apothecary chest - part six

#2

Ellis Walentine

Re: Apothecary chest - part six

Ellis Walentine

Nice work, Derek. There's no way to short-cut all the custom sizing and fitting on a case like this. The drawers are going to be "fun" for sure. The sweetness is when you can stand back and admire and use this major opus. You do manage to challenge yourself. :)

Ellis

Re: Apothecary chest - part six

#4

Re: Apothecary chest - part six

Henry (Raleigh NC)

Derek

Don't mistake lack of comments or questions for lack of interest. I have been following your detailed threads on this build closely. I am not so much a hand-tool woodworker, but I am learning plenty from your process descriptions, mistakes, and recovery. Keep at it please, I love the detail.

Henry

Re: Apothecary chest - part six

#5

Re: Apothecary chest - part six

Derek Cohen (in Perth, Australia)

Thanks Henry. I always hope that the posts will generate discussion - of design elements, joinery, etc. After all, this is the drive behind my on-line builds. It seems that the more I post, the less responses there are. I assume that there is some interest. I still hope for discussion.

Regards from Perth

Derek

Re: Apothecary chest - part six

#6

Re.: I'm with Henry

Hank Knight

Derek,

I too have been following this build with great interest; and your repair of the miss-cut drawer blade dados inspired my repair of a similar, but more complicated error on my current project. I'm building a slant top desk. The writing surface and the desk bottom are joined to the sides with full width sliding dovetails. When I cut one of the the female sockets for the writing surface, I failed to lock the depth adjustment on my router. The socket ended up 3/16" deeper at the back of the case than at the front. What to do? Your fix was my answer. I cut a thin blank that fit the dovetailed socket perfectly and glued it in place last night. This morning, I will re cut the socket, being sure to lock in the depth of cut first! The repair procedure was fairly obvious, but the dovetail had me flummoxed, especially since the depth of the miss-cut channel was not exactly linear (as I cut the original socket, I put more hand pressure on the router as I went along which produced something of a curved channel). The thin blanks were flexible enough to conform to the curve. I think and hope that I will have a clean, properly cut female socket by this afternoon. Thanks for the inspiration!

Re: Apothecary chest - part six

#8

Re: Re.: I'm with Henry

Hank Knight

Derek,

My progress is glacial. People would likely forget what my project is between posts. At the moment, all I have is two sides with dados for drawer runners and dovetail sockets for the bottom and writing surface - less than interesting. I'll post some photos when I've made more progress.

Meanwhile, I'm looking forward to the next installment of your apothecary chest.

Hank

👍 This page answered my questions

Your vote helps other woodworkers quickly find the answers and techniques that actually work in the shop.