Sofa Table - part II
Derek Cohen (in Perth, Australia)
In part I, work had begun on the boat-shaped sofa table ...
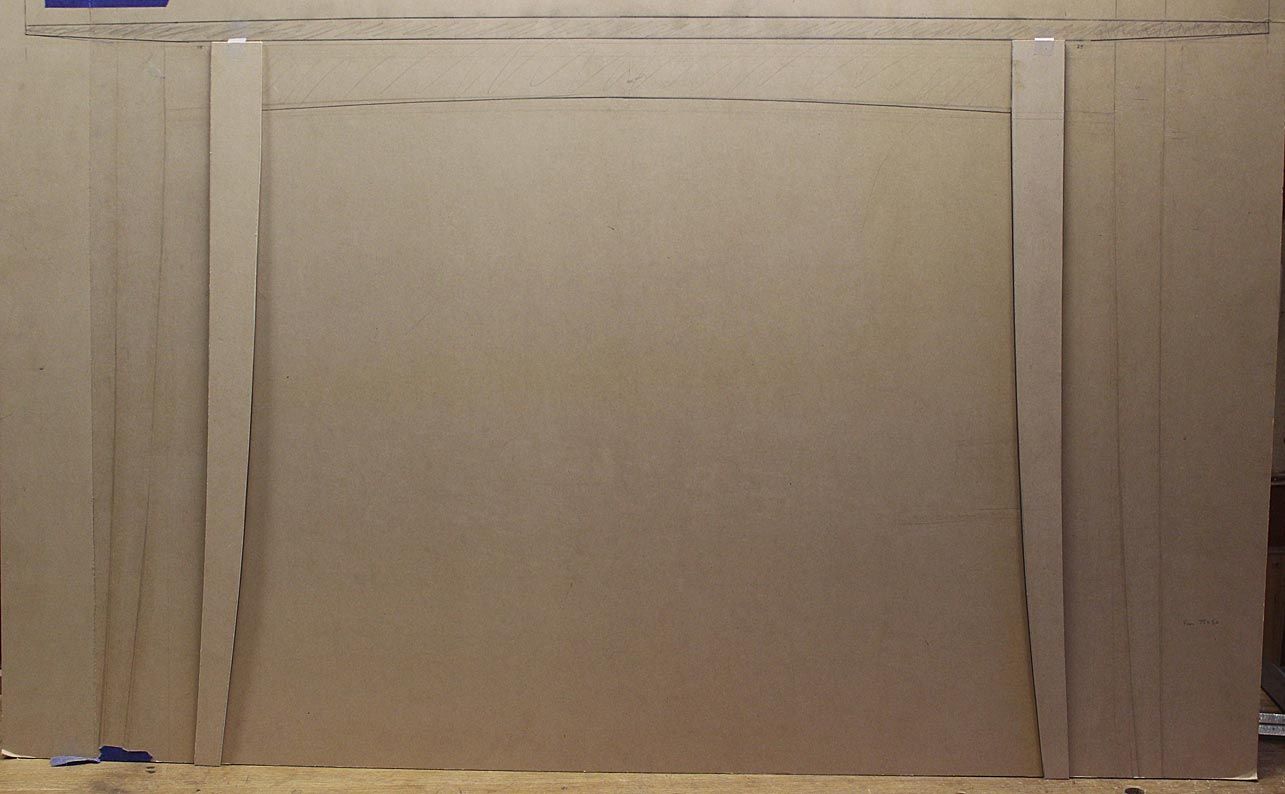
We left off last time with the bow aprons completed ...
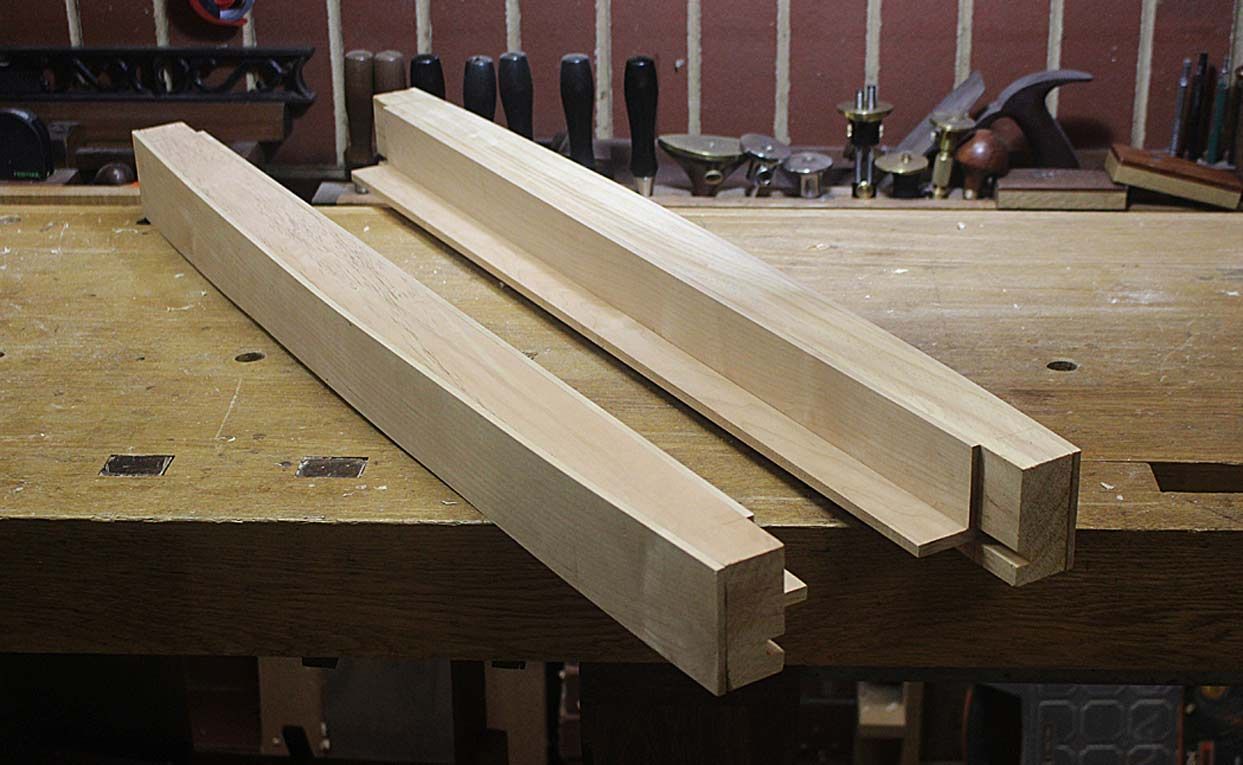
Before I began the legs, which I had planned for this weekend past, I had another look at the aprons and decided that they could be slimmed down, which would enable the legs to be slimmed as well. This involved removing a 10mm strip from the centre on the table saw, and glueing the two sections up again. We could now begin on the legs.
The blanks for the legs were 75 x 40mm (3" x 1 1/2") Hard Maple. Using a template, sections with the straightest grain could be marked out ...
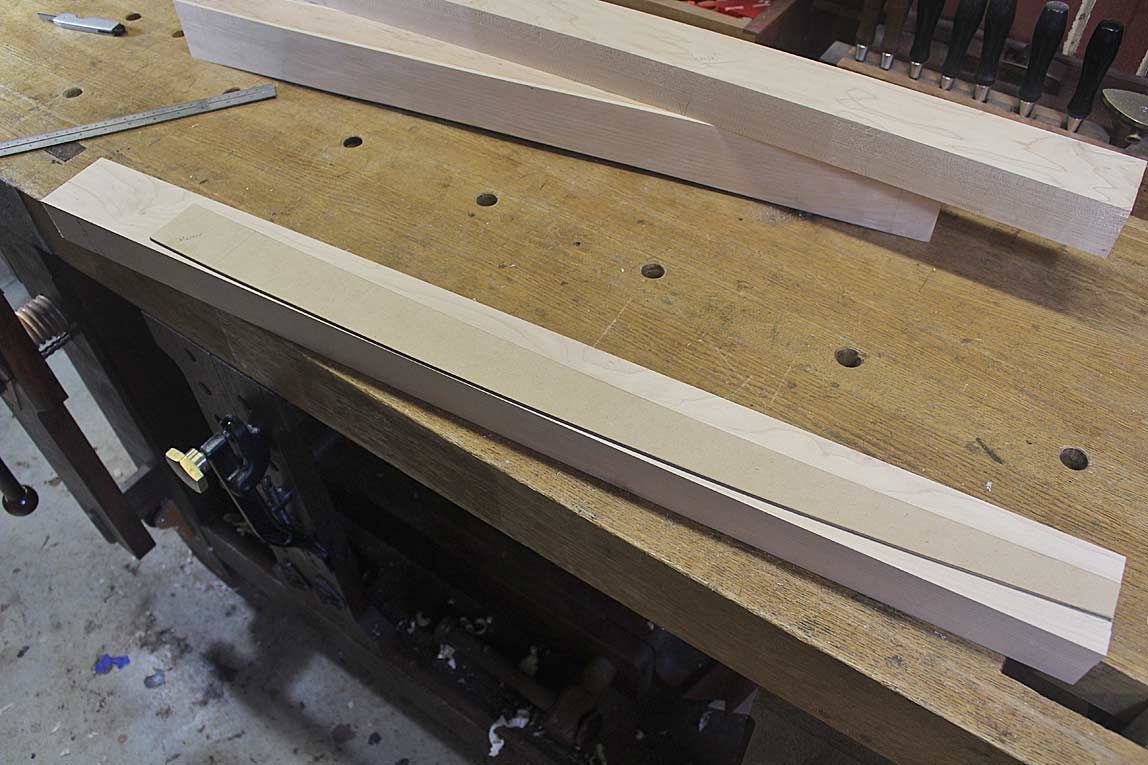
.. and then sawn out on the bandsaw ...
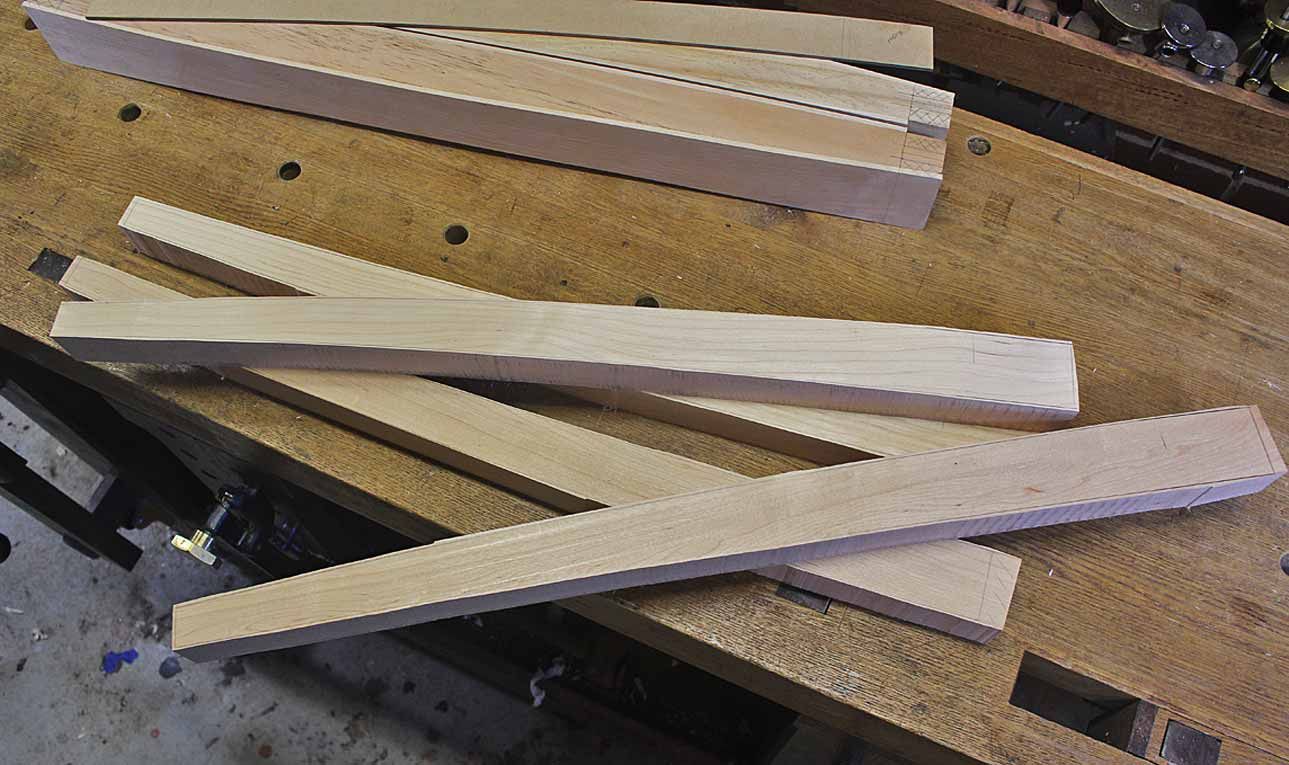
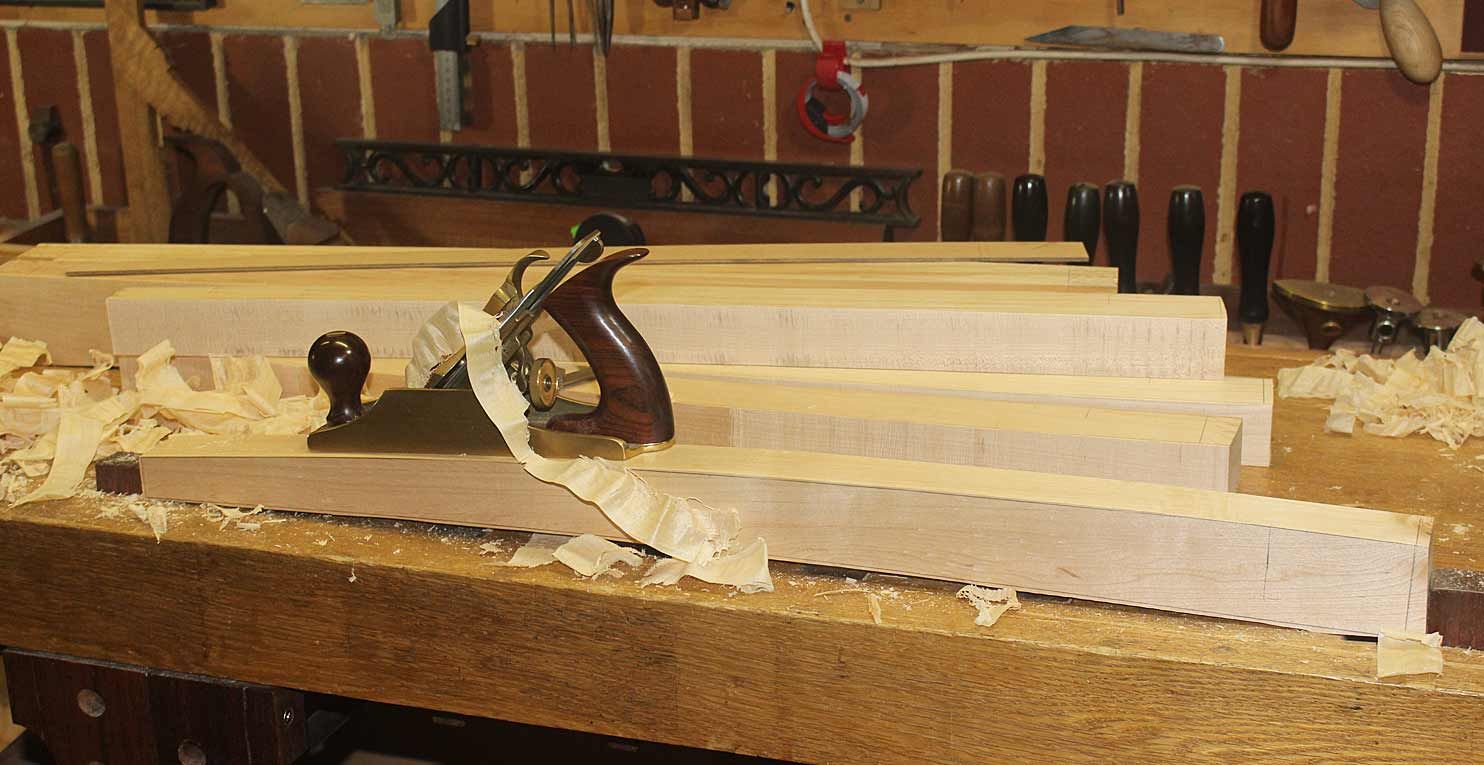
It was easier to plane the concave side and spokeshave the convex side ...
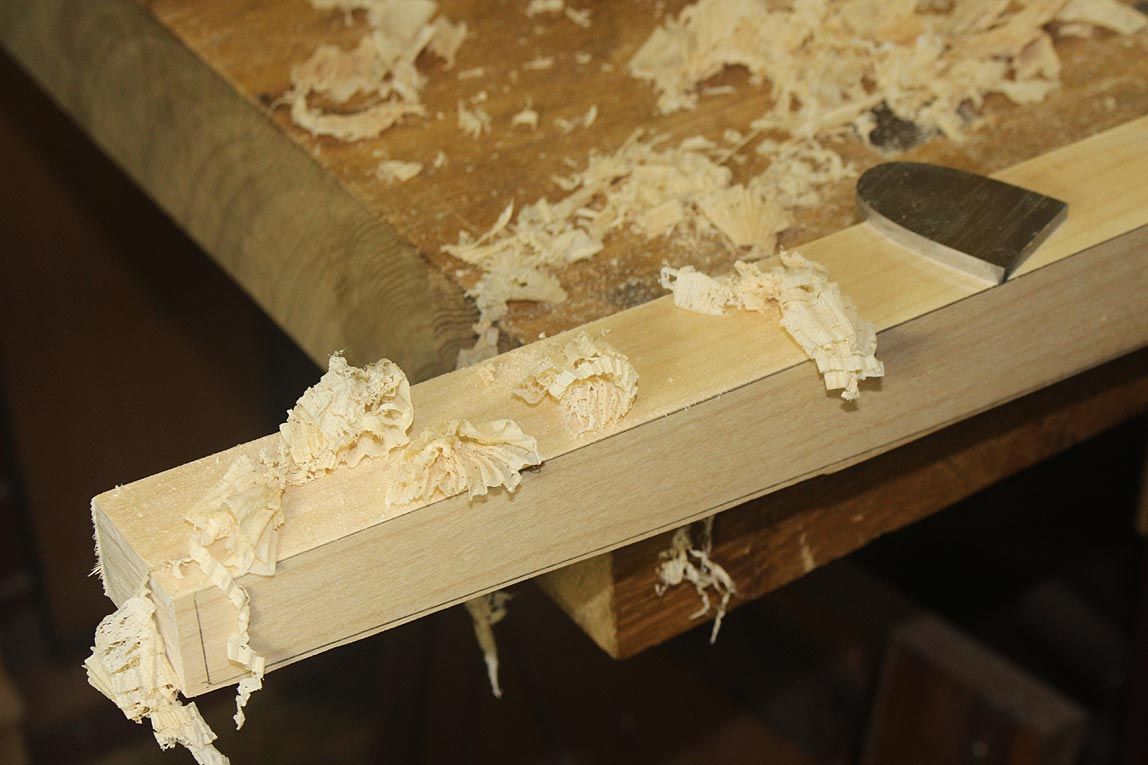
Any irregularities were smoothed with a scraper ...
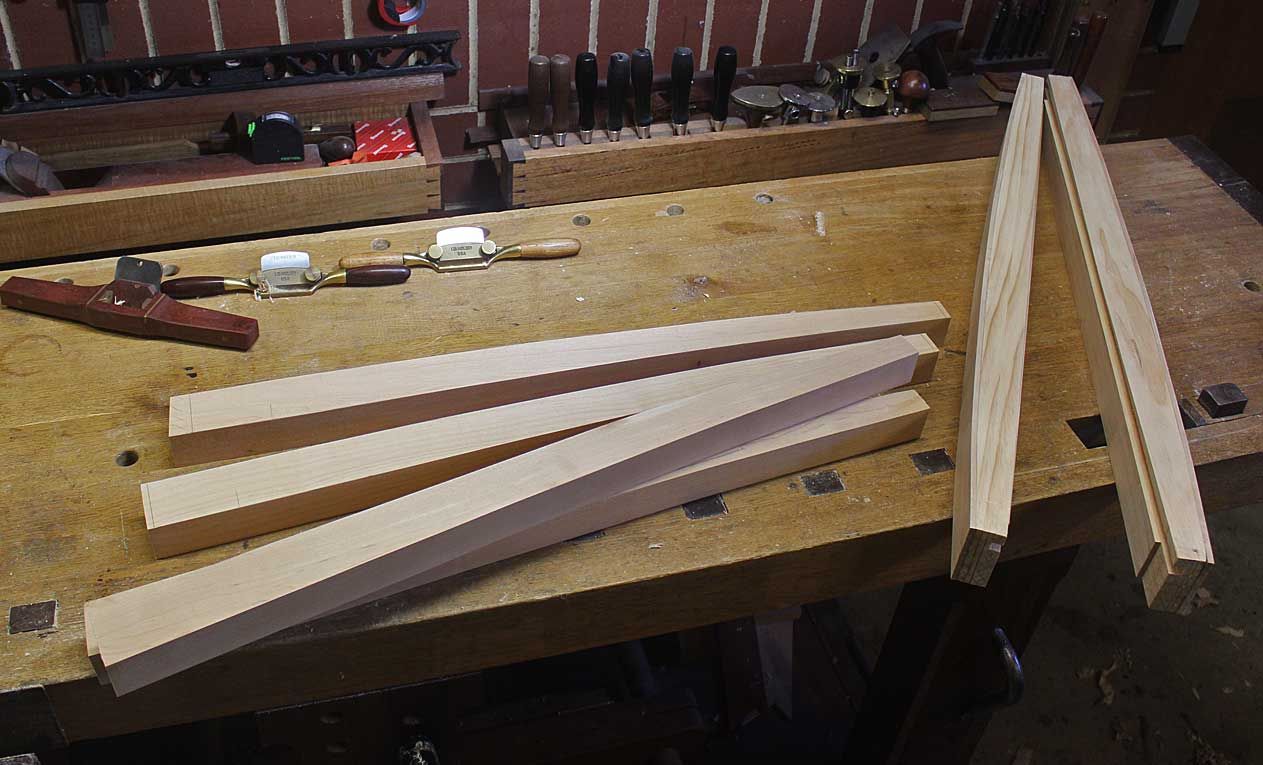
Below are the completed basic legs and slimmed down aprons (with drawer blades removed) ..
The legs would be joined to the apron with mortice and tenons. This had its challenges as the apron, being bowed, has only one flat side. In retrospect, it would have been easier to have extended the maple veneer on the inside all the way, and not stop it short where the tenons would be formed. As a result, it was not possible to mark the tenons with a gauge. Fortunately, the ends were square and became the reference side ...
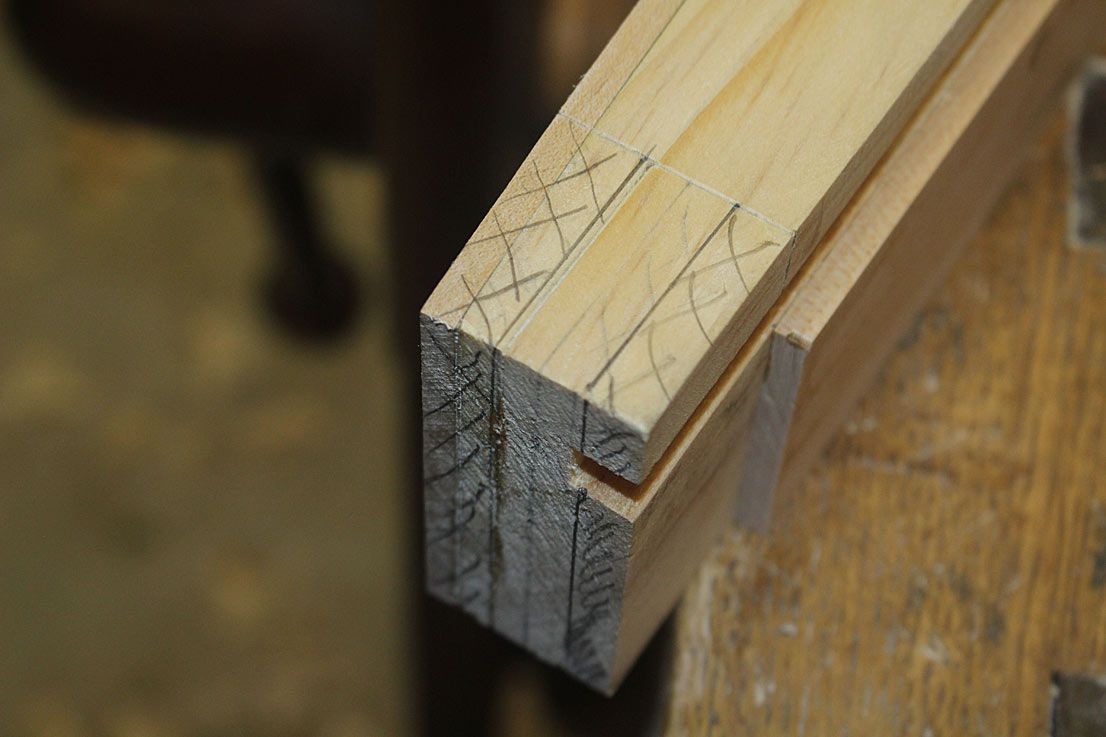
The mortice and tenon is 1/2" wide. The 1/3 Rule is used, and the mortice extends 2/3 in the leg.
The shoulders are knifed, undercut, and then sawn ...
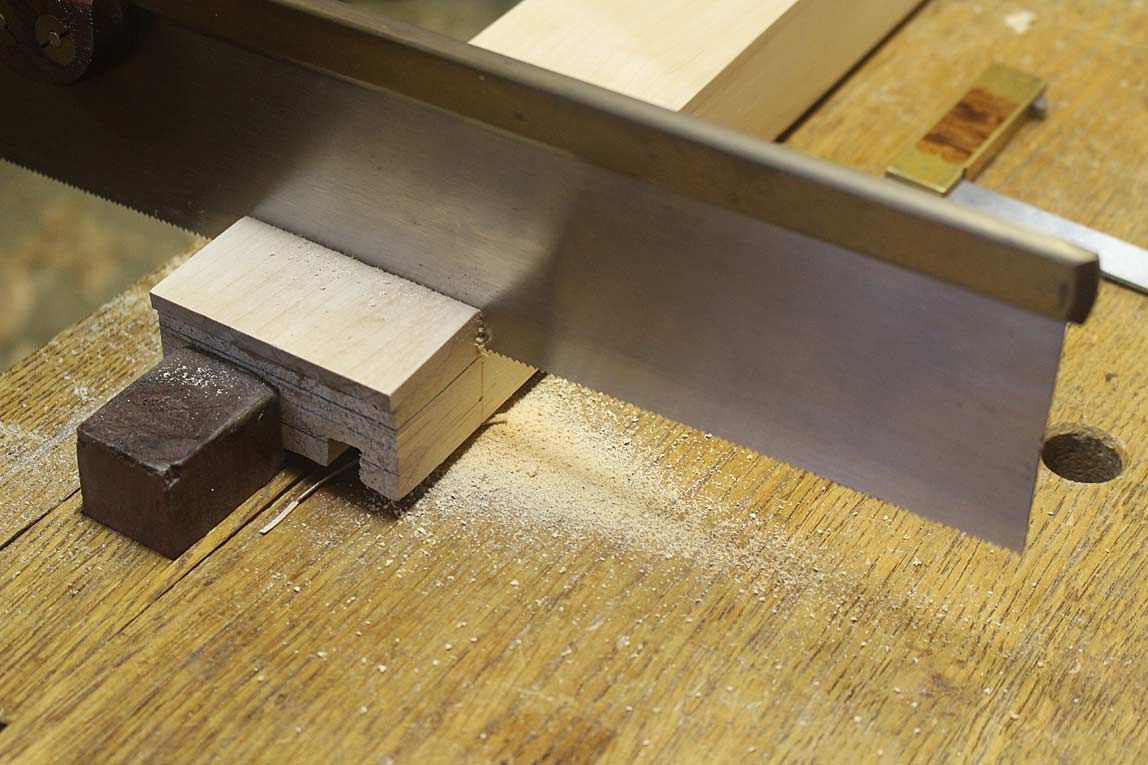
The cheeks are sawn close to the line, but not at close as I usually do. I am leaving a little extra waste for fine tuning ...
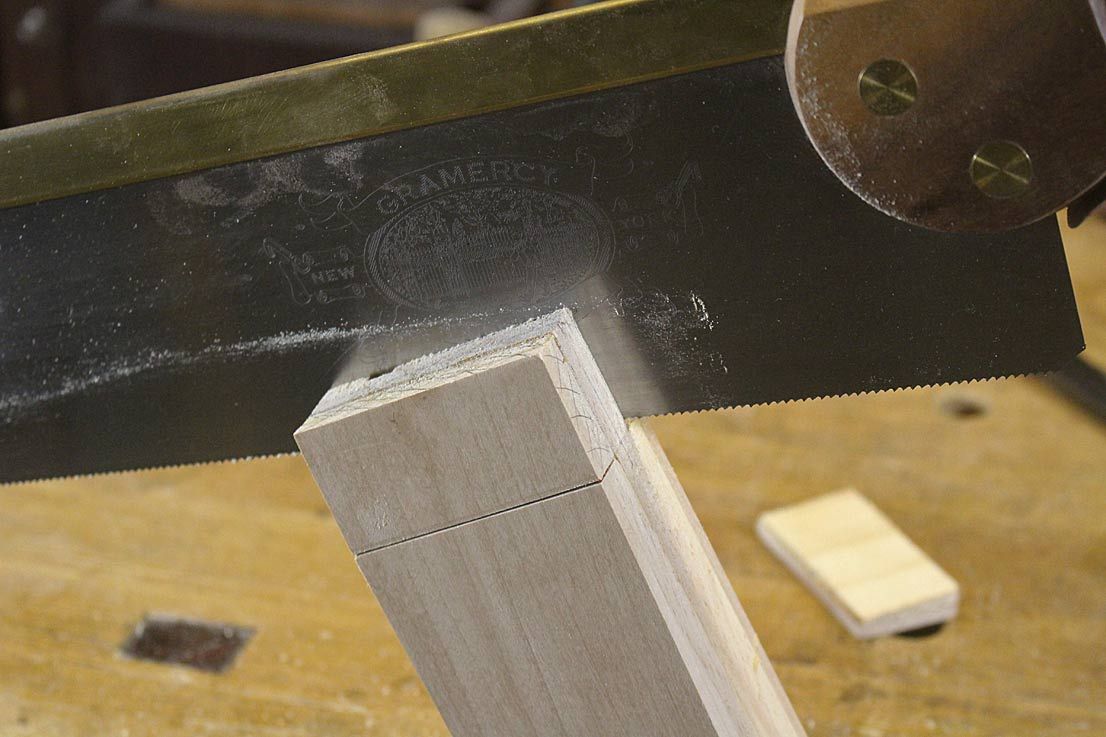
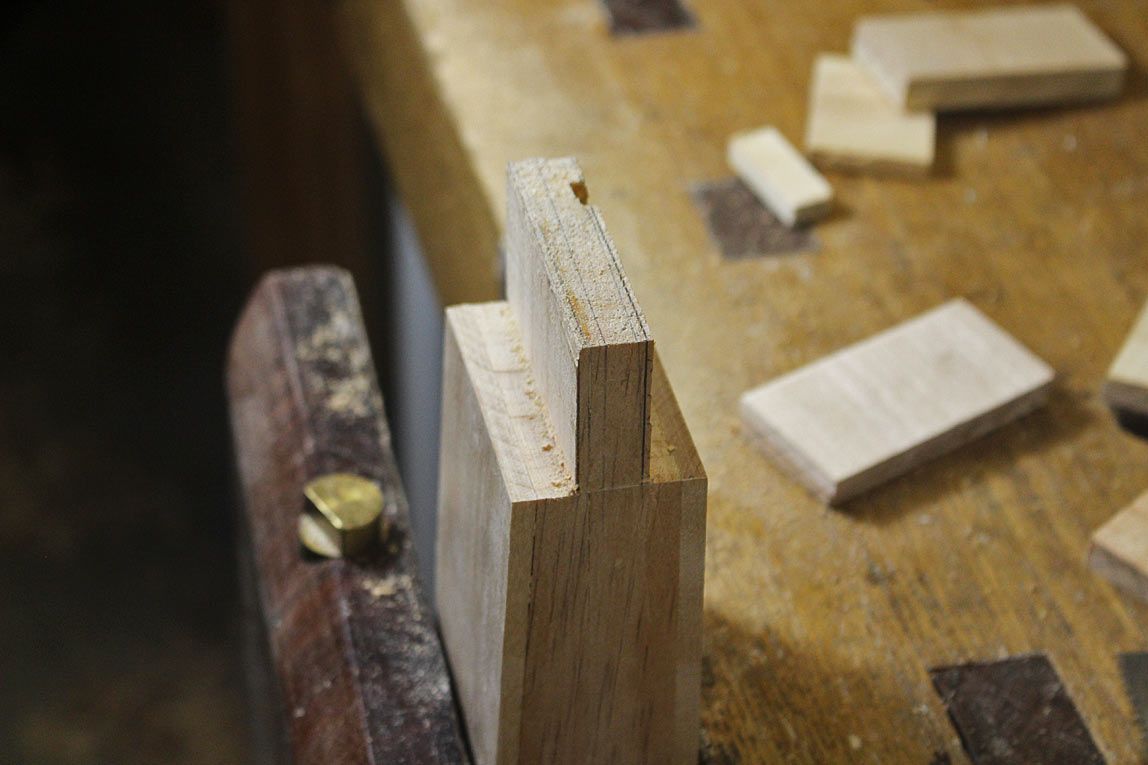
My strategy is to level the side of the cheeks parallel to the flat side of the apron using a router plane (David Charlesworth's technique from about 20 years ago) ..
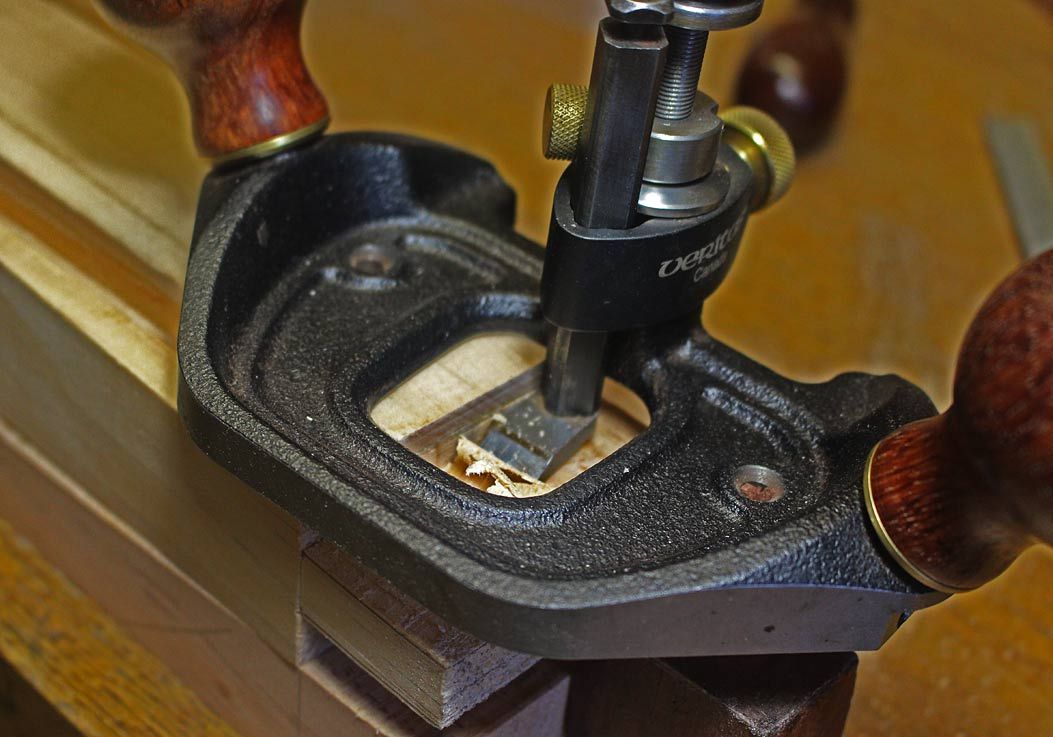
The other side has to be chiseled as the bowed apron does not permit use of the router plane.
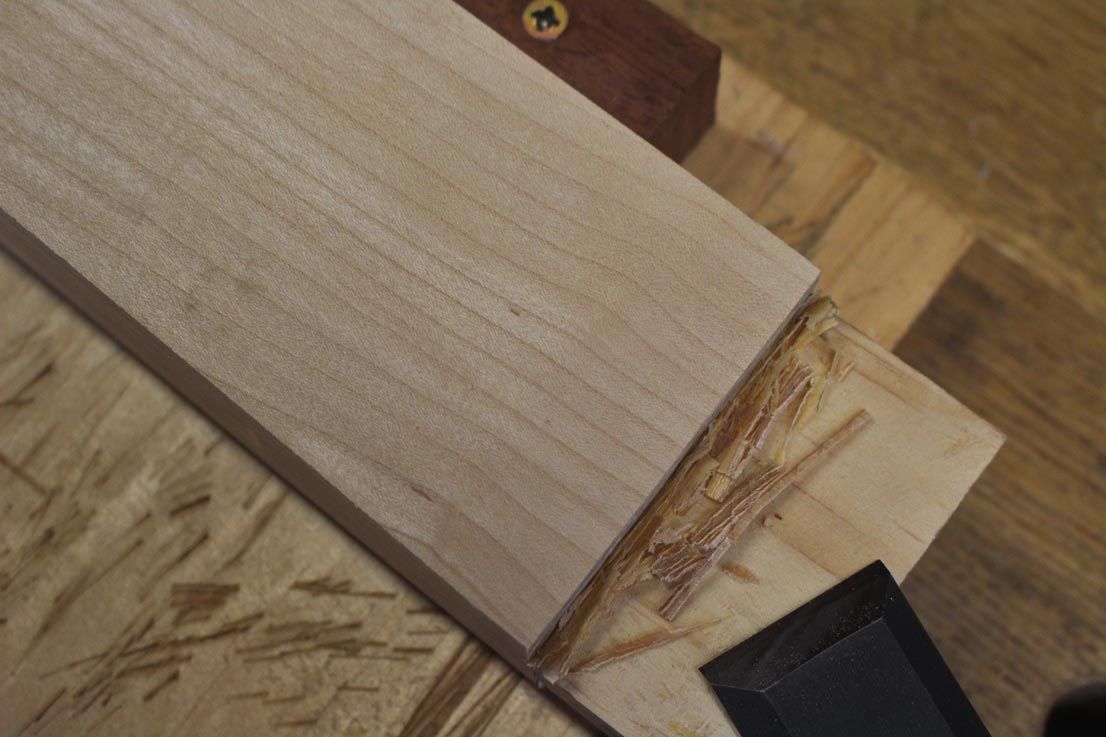
Accuracy of the tenon is checked with a template ...
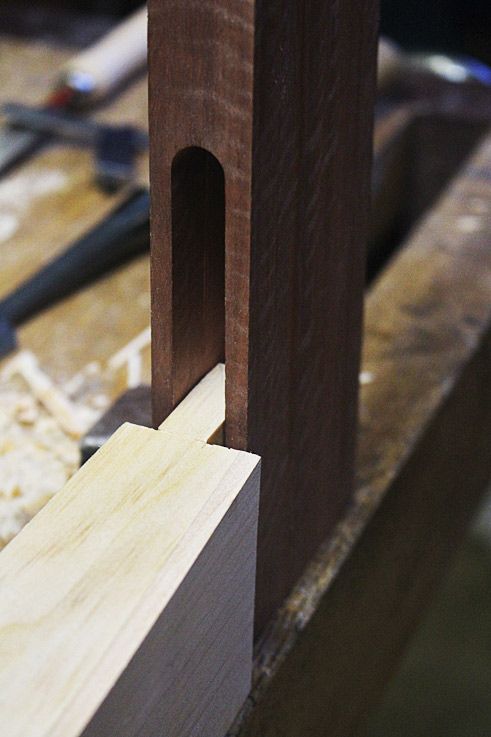
There is a another reason for the absolute precision here - the inside of the legs must align precisely with the inside face of the apron as a drawer will be fitted from the side.
In the photo below, the position for the mortice is transferred from the tenon. At the rear is a straight edge ensuring all lines up ...
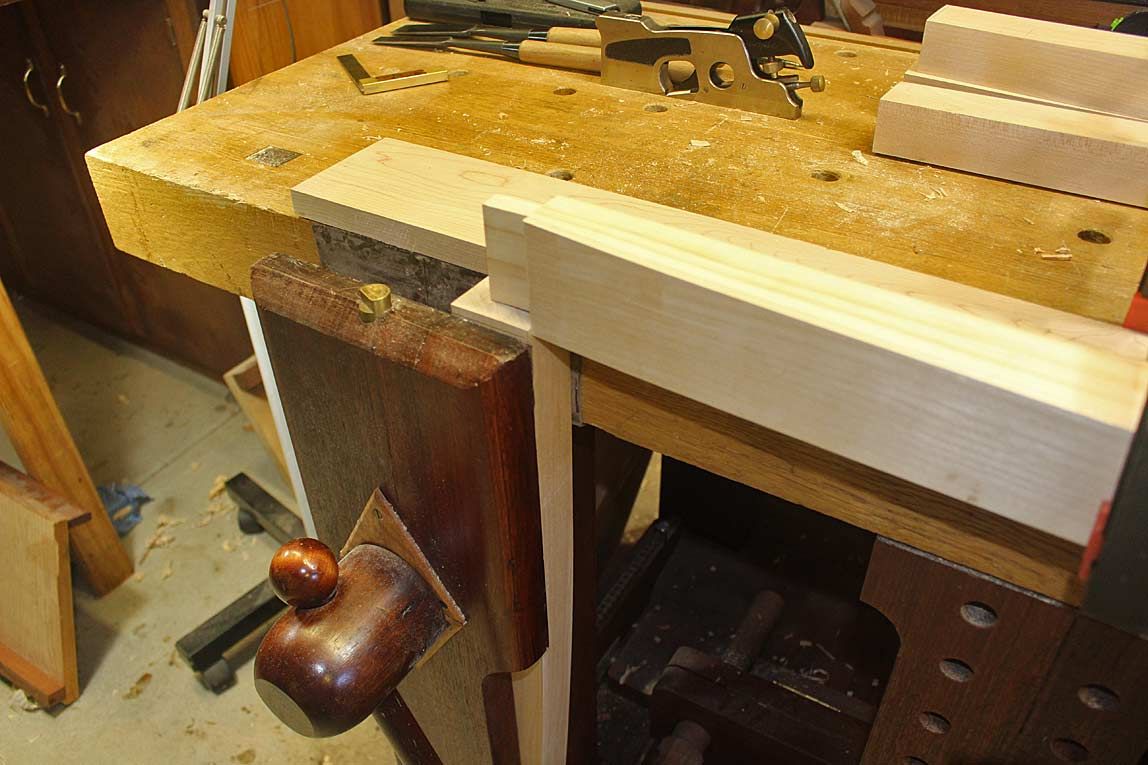
Once done, the mortices were made. After chopping a couple in the hard maple, I thought "this is for the birds", and used a router on the remainder. Half inch wide and 1 1/4" deep in hard maple is not fun!
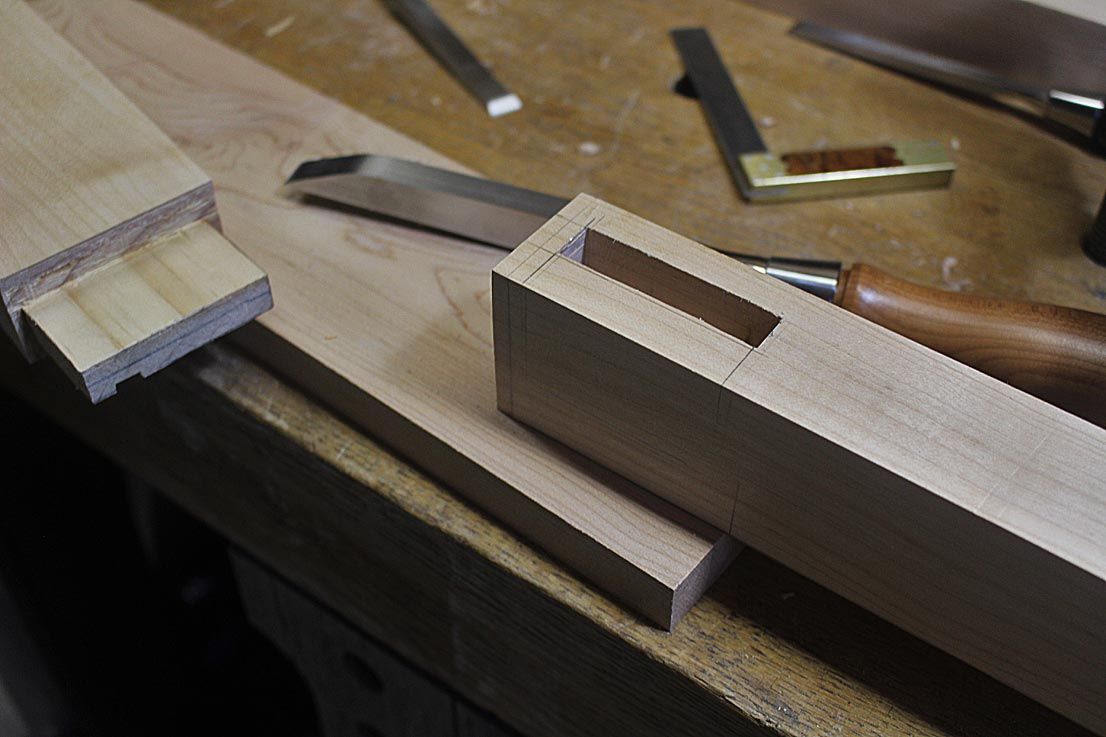
Before assembling anything, there is some shaping to be done on the legs.
The legs not only curve in elevation, but the front curves in parallel with the apron and the table top ..
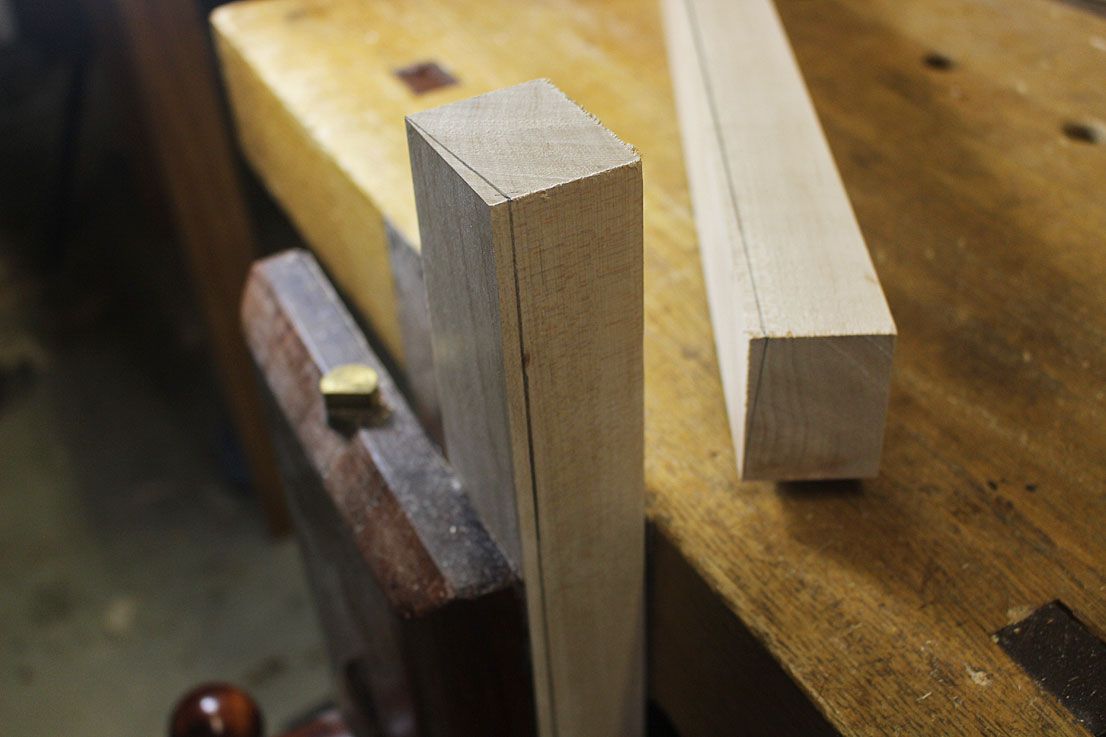
The insides of the legs will be tapered, and this will be completed after the outer curve is shaped.
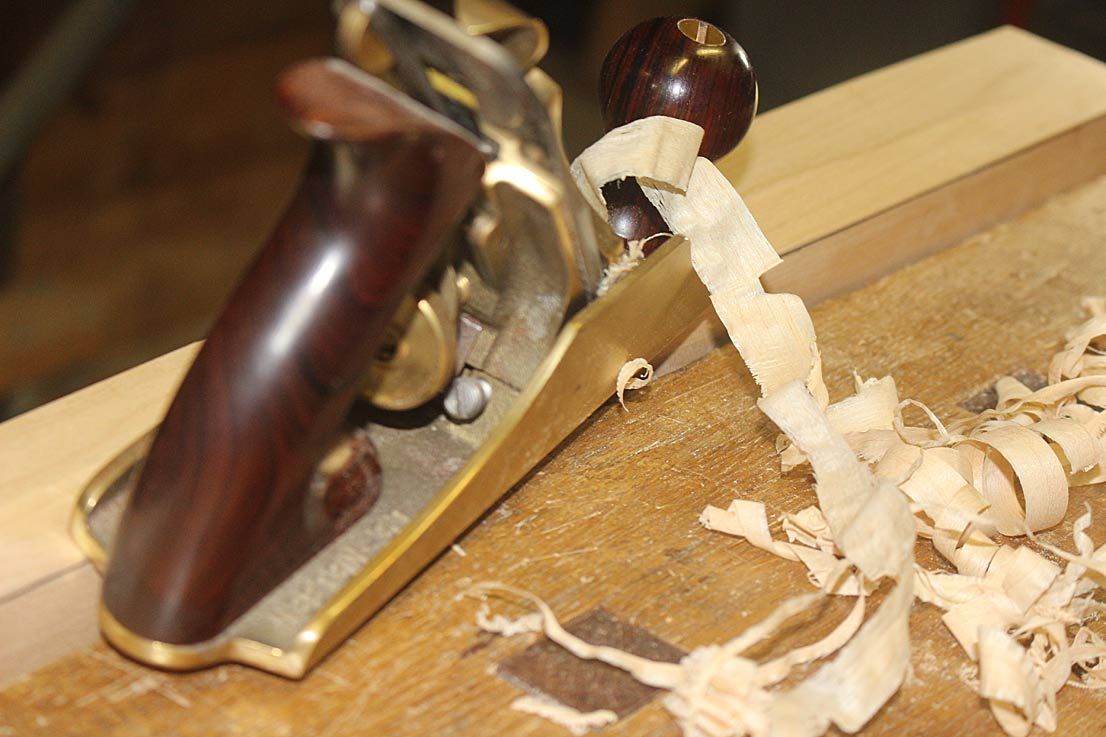
The curve is simply planed to the lines, and then sanded to removed any irregularities ...
Below you can see two sets of apron/legs. The right hand is shaped, while the left side remains to be done. The apron is set back by 2mm to create a shadow line ...
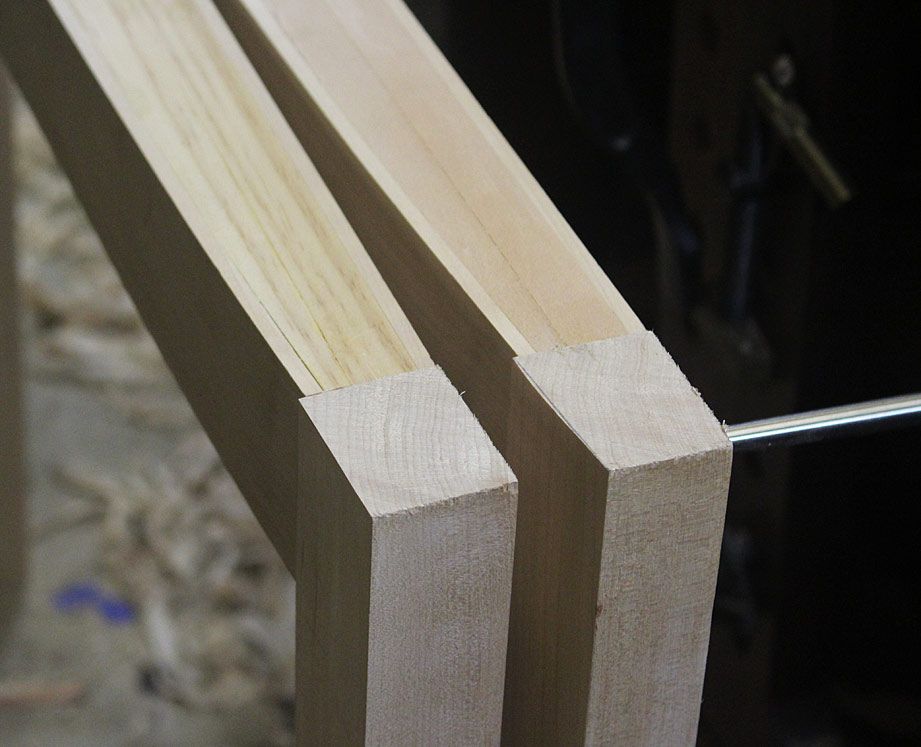
This is the final photo for this segment. The taper has yet to be done. The mortice and tenon will be drawbored for a tight finish. The inside faces have been cleaned up (too many photos already, so there are lots of small details I have chosen to omit).
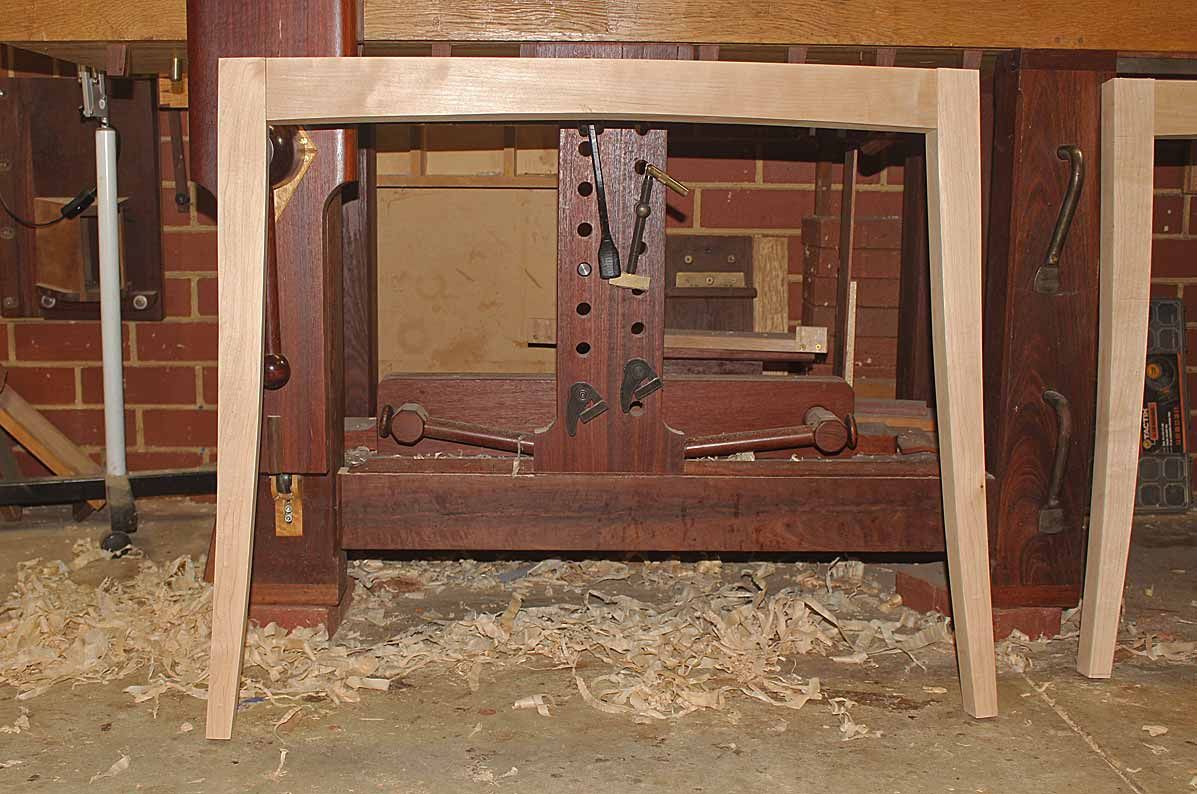
This will now give you a better idea of what I am trying to achieve.
Comments and discussion welcomed.
Regards from Perth
Derek


