So, the depth stop slipped while routing in a decorative groove in the newel post I am making resulting in a hole bored into the wood. I have hours into this project not to mention the wood involved. I'm hoping there is a way to fill this hole to hide it. I plan to color the wood (red oak) with a Minwax Colonial stain and finish with polyurethane. I have tried wood fillers in the past but found that they take the stain aggressively so that it is much darker than the surrounding wood. I had hear of workers using sawdust from the project mixed with wood glue to make a filler. Another approach might be to chisel out an area and glue in a new piece of wood that matches the grain as closely as possible. Anybody else find a way to fix this type of problem?
Anybody that works wood winds up with the need to "fill" some divot that occurs for some reason or another. I have gone the route- wood filler (poor), "lacquer stick" filler (better), sawdust and glue (good for knot holes), etc. Each can be effective in certain situations- cracks, holes, disasters.
A few years ago I began repairing with glued in pieces of wood. I have posted here several examples of successful repairs, most recently for the display cabinet. I now keep all scraps generated in a project until the end just so I have a variety of wood grain to match a vacancy as needed.
The advantage of a wood- "wood filler" is that it will age like what is around it. One can perfect match a repair with burn in sticks and a graining brush. Then over the years the wood nearby darkens or lightens and the repair stands out.
I glue in a piece with as good a grain match as possible. Then hand plane to level. I may then make phony grain lines across the interface if the interface between original and repair stands out.
A comment on power tools. They have the advantage of removing wood quickly. They have the disadvantage of removing wood quickly. I use power tools for rough work and hand tools for finish work to take advantage of the respective advantages.
How big is the damage? Could you drill a hole and then use a plug cutter to make a matching plug out of a scrap? Can you orient the repair on a less visible side of the newell post?
Not knowing the whole picture of your project-let me offer this additional suggestion.
Several years ago I was working on a cabinet-I was quite a ways along in the project- I had it elevated on milk crates or something-can't really remember-anyway I turned to pic up a tool and my fat rear bumped the cabinet- it fell against something sharp and developed a "ding" in the side panel veneer. After some choice words I decided the best fix was to add an inlay in the panel where the ding was. One inlay looked weird so I added a second in the opposite corner.
That element has followed several successive iterations...
This type of "fix" likely requires that you make some matching repair on some other non-damaged section for visual balance. You may or may not have that as an option....
I would use the plug but would not drill out the error. Cut the plug to fit the hole. I believe that an irregular plug would look more natural then a symetrical round plug.
Joe-That is an illustration of my point. "Sometimes" the fix involves doing something perhaps a bit drastic-but if it results in the problem disappearing and an otherwise acceptable functioning piece then you might have an "easier" fix.
For sure the 'irregular hole' theory holds up for veneer patches -- the tools meant to punch out the problem area and the patch to fill it are usually 'blobby' shapes. For the problem described I'd base the repair on the size of the hole and the availability of a plug cutter to match. If the hole matches an available cutter then it is a simple matter to cut plug with matching grain to fit. If the cutter isn't available it might be necessary to enlarge the hole. At some point it might be worthwhile to make an irregularly-shaped template and use an inlay cutter setup to reshape the hole and make a matching plug to fit. I'd have to see the whole thing...
A picture would be helpful. I've repaired knot holes that were larger than my plug cutting set by drilling a shallow cavity using a forstner bit then cutting a plug using a hole saw. The plug was oversized and I took it down carefully on a disc sander. Tilted the sander's table to make a slightly tapered plug.
The grooves I am routing in are in the center section of an Arts and Crafts newel post I am building. They are three parallel grooves cut 3/8 inch deep using a 1/2 inch cove bit. The hole is close to the middle of one of the grooves. The idea of drilling out a hole to a standard size and making a plug seems like the best advice. I'm thinking a round hole will be better than trying to mortise a rectangle or square and then creating a perfectly matching plug. I've never had a need for one of those plug cutters so here's an excuse to buy a new tool.
Indeed a perfectly round patch will show up more than something irregular. But a round patch is going to be most practical for this job. In this case one makes "grain lines that cross the interface between patch and original. Sometimes I make a small groove that crosses the boundary and fill it with some darker shellac bun in stick. Or just add some grain lines with a graining pen or graining brush and stain. Suggest practicing on a test piece.
Red oak isn't the easiest wood to repair invisibly because of the pores and rays everywhere, especially if it's flatsawn grain. I agree with those who say to repair it with what we used to call a "Dutchman," an inlay patch sized and shaped to fit the repair area. The simplest Dutchman to make is one that repairs a damaged corner or edge, but you can also cover open knots and other defects.
Usually the Dutchman is carefully selected to match the surrounding wood in color and grain. This might include, for example, inlaying a sound section of knot material over an open or degraded knot. The shape of the patch is determined by the most inconspicuous way you can make it. In any case, I recommend tapered or beveled patches, with at least the longitudinal seams running parallel to the grain lines. The beveled edges allow you to clamp it in tightly and compress the visible parts of the glueline completely.
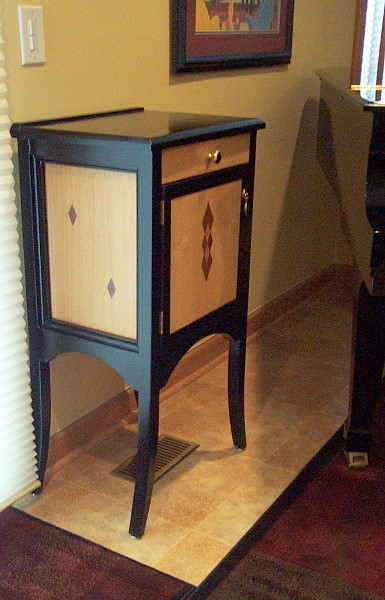
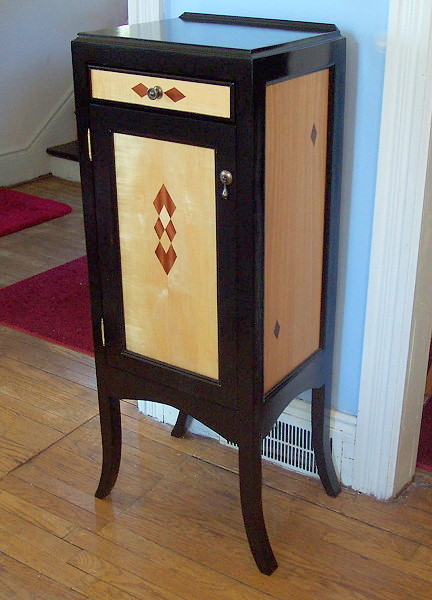
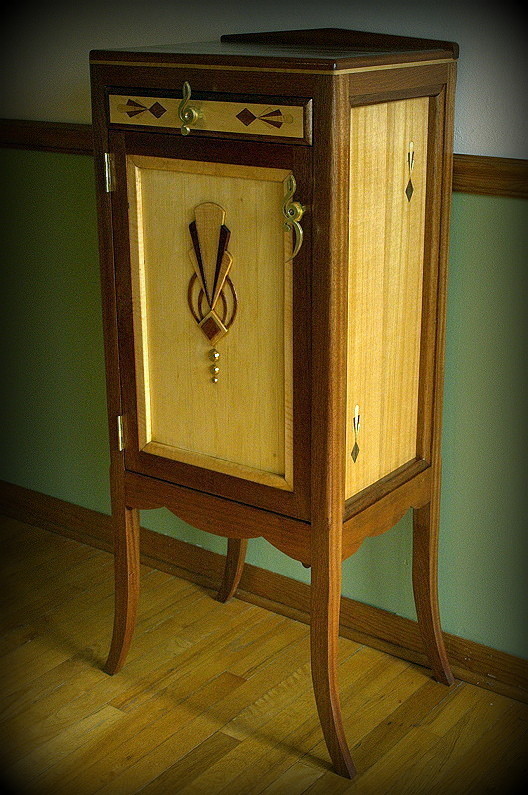
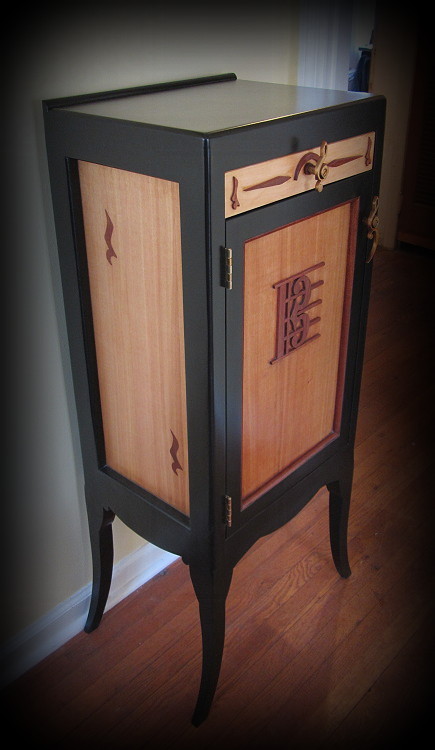
You can also make a "feature" out of the patch, as Alan has done with his music cabinets.
Mike Dresdner, when I used to edit his "Just Finishing" column, often wrote about grain painting, which is essentially what Bill Tindall was talking about. The idea is to forget about patching with solid wood, and instead patch with wood putty, and paint a convincing picture with powdered pigments and lacquer or shellac that blends seamlessly with the surrounding wood. Michael starts with the background color, then uses a tiny red sable brush to paint grain features and details over the background. This technique is well-known in the production furniture world and is a standard station on furniture assembly lines in factories.
So, the message is "all is not lost," although Jim Krenov once told me that he didn't believe in fixing mistakes. He likened it to a cat covering his droppings in a litter box. "Do it right or do it over" was the message. That isn't a very practical approach for most of us.
Here it is. Funny. It looked much worse when I did it. I ordered a plug set from Lee Valley. It can make either tapered or straight plugs. I'm thinking, since I will be gluing in the plug and the routing out all of it except the bottom, I need to get a tight fit top to bottom so the seam is as invisible as possible. Make sense?
Makes sense. If it will be stained look through your scrap and you can probably find a piece that will near exactly match the grain for an almost invisible fix.
That's the plan. I wanted to do this post in quartersawn red oak but could not find any at the time. Imagine trying to match that and make it look good.
I would fix it by continuing the oops, maybe a little deeper, the length of the groove, or at least part of the length of the groove, machine a stick the width and length of the deeper groove, round over the ends, glue it in, plane it flush with the surface of the board, and reroute the groove to the correct depth.
The picture does not show it but the hole extends past the sides of the groove by a scosh on both sides. Probably because when the depth stop failed, the bit's full width was engaged with the wood. Too bad. Your suggestion was a good one.
That's what I was afraid of, but wasn't sure from your pic. I figured it was worth mentioning anyhow, if nothing else, to present the technique to our readership in case they run into a similar problem down the line. Sometimes it's useful if you encounter a hidden loose knot or bug hole. These potential pitfalls are also a reason to choose a core box bit or ball end mill that is the same diameter as the desired flute width, if possible.
Here is a fluted pilaster detail from E. J. Warne's "Furniture Mouldings" Plate 50, titled "Oak Corner cupboard, Circa 1700."
This very useful reference book can be downloaded for free from: