Just finished the last in a Suite of Painted Pieces- Two pieces reside in the lower entry way of this Ann Arbor, Michigan Home and Two piece in a side alcove in the main floor.
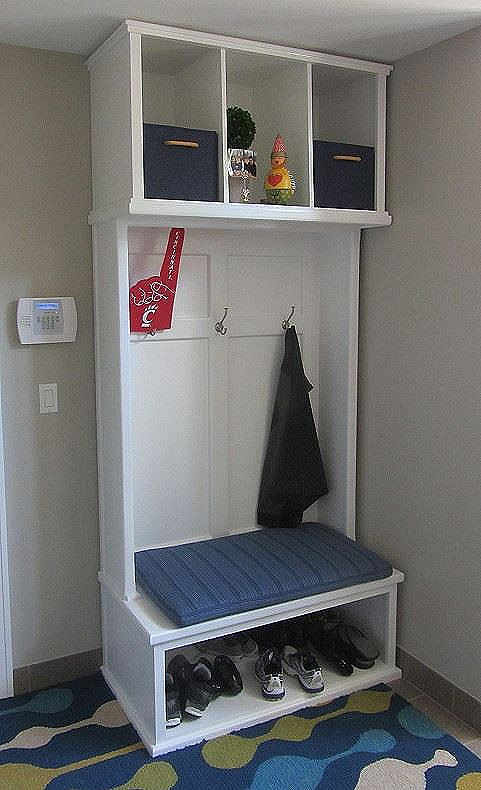
The first piece completed last spring was this Entryway Hall Tree.
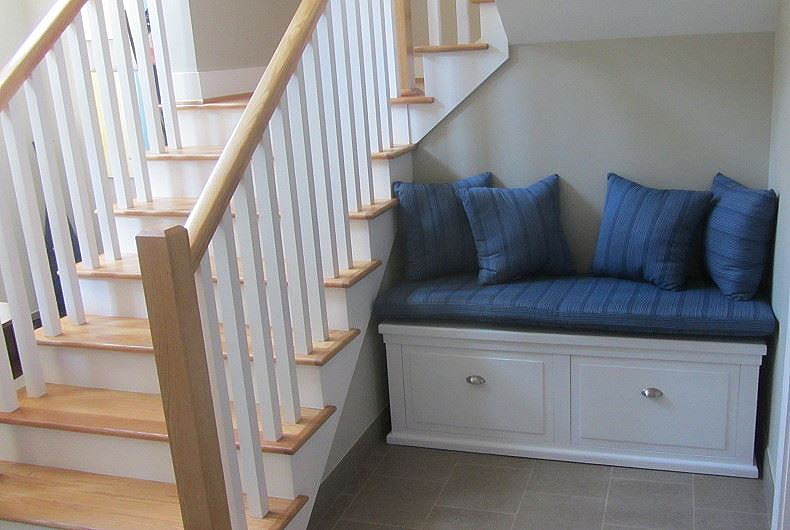
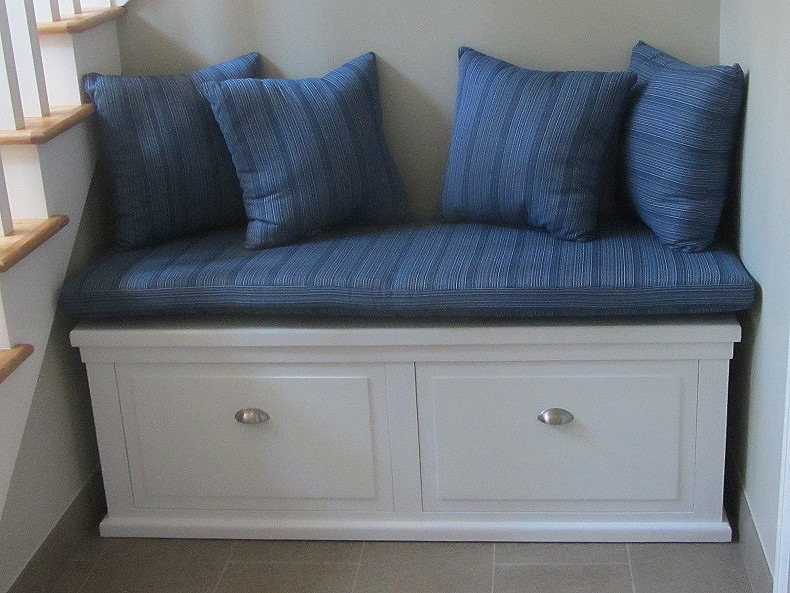
The second piece is a Bench that sits right across the entry from the Hall Tree
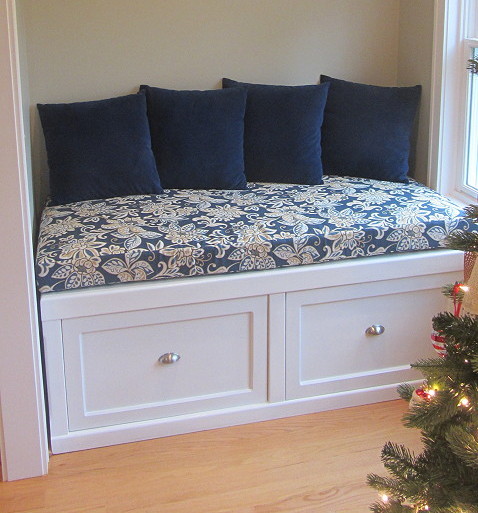
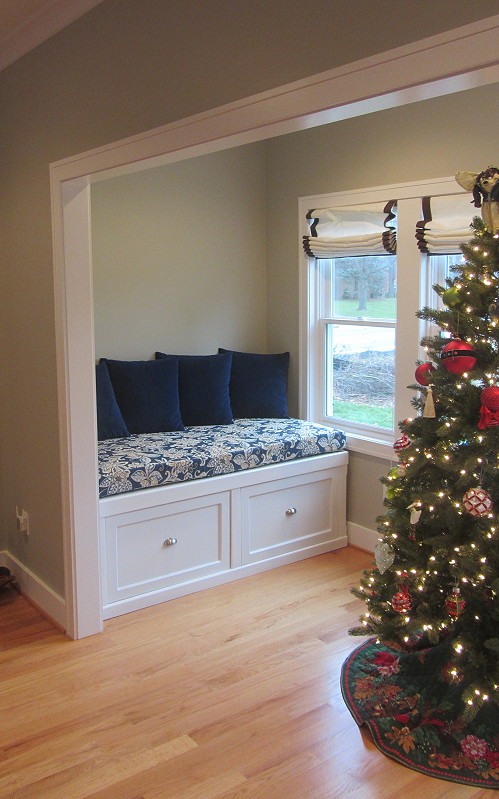
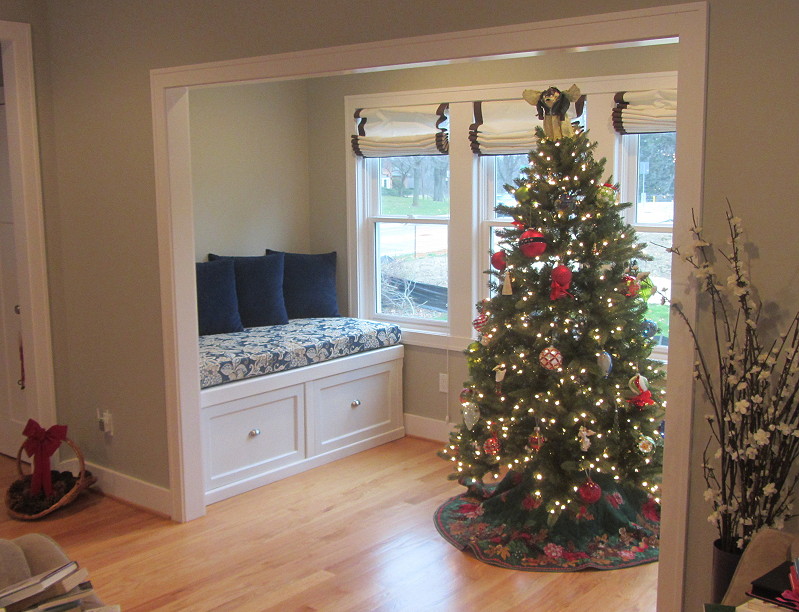
Similar to the Entry Bench is this Napping Couch-placed in an alcove off the Living Room
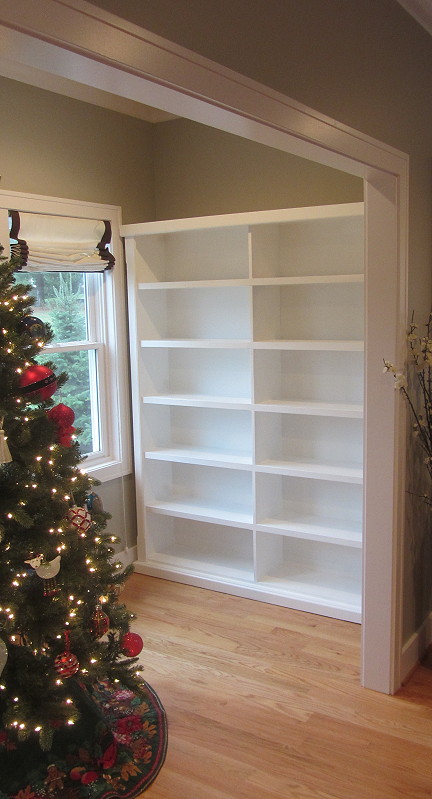
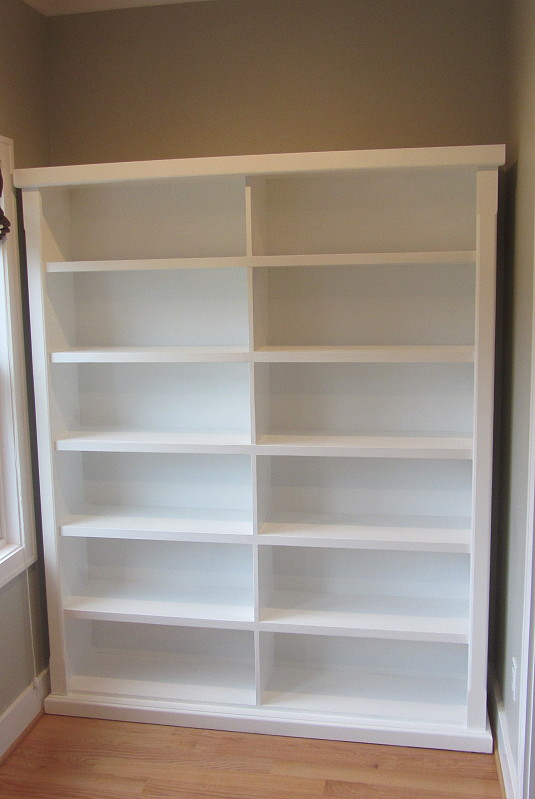
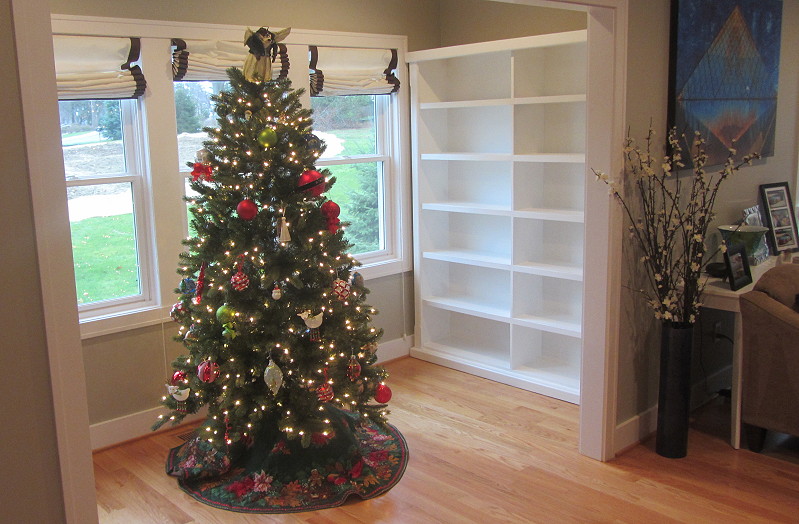
The fourth piece is a Bookcase that sits across from this couch.
It was fun working in paint mode for these but I'm ready for some wood grain
What'd you paint with? I refi'd a 6-drawer chest for my daughter's room last Summer. Used Enduro white poly semi with my big HVLP gun and it came out looking like a mica surface; dead even and low sheen. Memsahib was pleased.
Have that same problem in my basement so the driveway became my paint booth. Since it would not have been exceptionally cool to have a big white area on the blacktop from over spray, and since I was shooting waterbased product, I used hydro-shielding to take care of the driveway.
Did you build the hall tree in two or three pieces and then assemble it on site? Otherwise, I can't figure how you set it up since it fits very closely to the ceiling and can't be tilted into place.
Why didn't you build the other three pieces as built-ins? It seems like that would have saved you a lot of time and materials. Since they fit the spaces where they are installed so closely, it isn't very probable that there would be places they would fit if they were moved to another house. If the house were sold, I think the new owners would negotiate very strongly that they stay with the house.
They all look great and would be very functional as well.
Did you build the hall tree in two or three pieces and then assemble it on site? Otherwise, I can't figure how you set it up since it fits very closely to the ceiling and can't be tilted into place.
The Hall Tree is one solid piece-well I built it in the shop in three sections, Then glued/screwed them together and painted (Out side) then delivered-You can't tell from the photos but we could bring the piece inside then tip it up in an adjacent area that had a higher over head clearence -then slid it into place.
Why didn't you build the other three pieces as built-ins? It seems like that would have saved you a lot of time and materials. Since they fit the spaces where they are installed so closely, it isn't very probable that there would be places they would fit if they were moved to another house. If the house were sold, I think the new owners would negotiate very strongly that they stay with the house.
The clients (and me for that matter) wanted the pieces as stand alone designs. That way they coud take them with them if desired if they ever moved-alternatively they can be a sort of "leverage" for potential future buyers. As for me- I dislike working on site as I have a full time day job and can't very often work on site for more than a Saturday. My shop is in my basement which maks it easier to work in stages.
I'd like to make it clear that my questions were not meant to be a criticism of your designs. I only want to stimulate thought by our readership in the concept of built-ins. An out-of-print book by Jim Tolpin, "Built-In Furniture," addresses a lot of the ideas, and is available for a couple bucks on the used book market.
I'd like to make it clear that my questions were not meant to be a criticism of your designs. I only want to stimulate thought by our readership in the concept of built-ins.
Hi William-None taken what-so-ever! I wish I had take in progress pictures of these pieces-especially the Bookcase- and with your motives in mind I will share the construction techniques I chose for this situation.
While it look simple and straight forward my construction technique for the case was a bit out of the ordinary. As I didn't take many pictures I'll show drawings of the sections.
First I built the base-Plywood and 3/4 pine stock for edging on all sections. (Ignore the odd decimal measurements)
Then I built the 6 stacked boxes- The drawings don't show the middle support piece that I added as the length of 63" for the shelves was cause for sagging concern-even though I had in essence 2 layers of 3/4 ply and solid pine edging..
Imagine these boxes stacked- rather than in the horizontal line. I stacked three of the boxes on the base-gluing and screwing them together for the lower section. Then stacked three more gluing and screwing them together. All box sections are butt joints with glue and drywall screws-
I could then lift the upper section on top of the lower section.
Here is one in progress shot of the lower section glued together and the upper section in the foreground
After the two sections are stacked I made side panels that "wrap" around the sides of the stacks . These are screwed to the stacks from the inside on -site when the piece is assembled
Here the two sides are temporarily clamped to the stacked boxes-.
A final crowned top was made that simply sits on top of the unit when fully assembled. All pieces where painted by brush in my shop including the 1/4 in backs that were pre-cut and then screwed to the backside on-site.
Again-my chosen techniques here were for my own convenience of being able to work at night and weekends and I should mention-having the bookcase built in sections and assembled on site allowed me to load all sections in my 6 foot bed truck rather than having to rent a larger van. After everything was assembled on site I did have to execute some painting touch ups.
Ron- Sorry-I have no pictures of the drawers-in construction or finished- I should have taken some with the drawers pulled out...The drawers are simple birch plywood boxes with pine edging along the top. The fronts are plywood with solid wood edging. all the drawers run on full extension slides.