Sliding dovetails
Bruce, a MN Galoot
I'm building a cabinet for a friend, and it's made of solid cherry (imagine, cherry grown in MN!) Anyway, since it's of solid wood construction, the only joinery that comes to mind to join shelves, tops and bottoms is sliding dovetails.
I've done bunches of sliding dovetails in the past, but always the tapered version, always double-sided, meticulously cut using an electric router. I was lucky enough to have Bill Tindall and his lovely wife for lunch guests some time back, and Bill suggested cutting the dovetails by hand. The method he learned at the Headley shop was quicker and easier than doing it by machine, plus it didn't have to either taper or be double-sided. Sounded like a bit of a challenge.
Well, a bit of time passed, and I got around to it a couple weeks back. Following the instructions he posted here a few years back, I made an angled guide from a 2X4

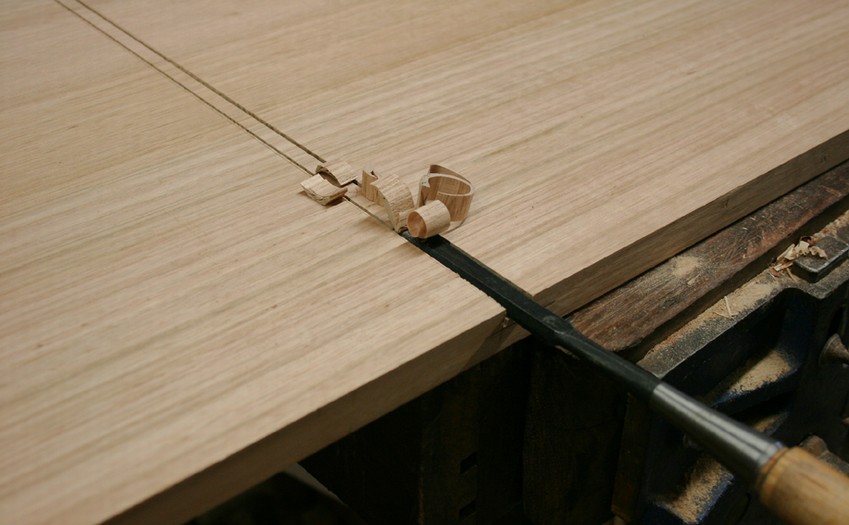
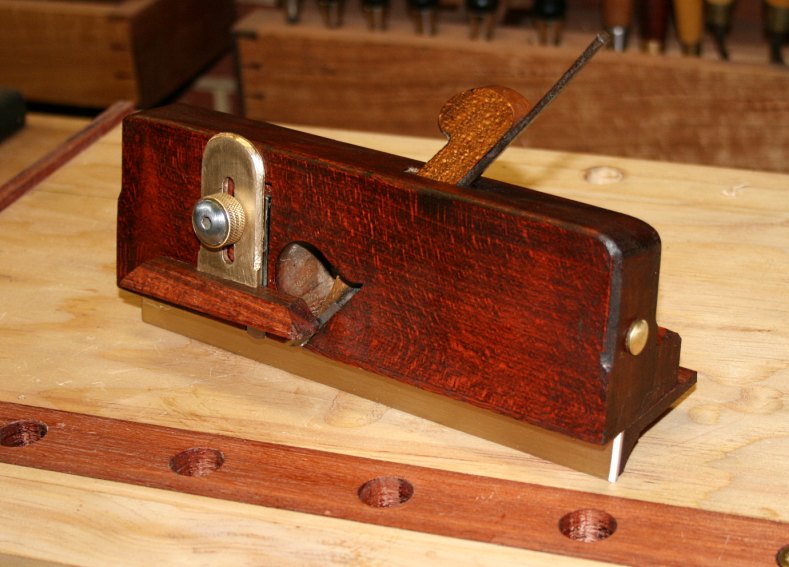
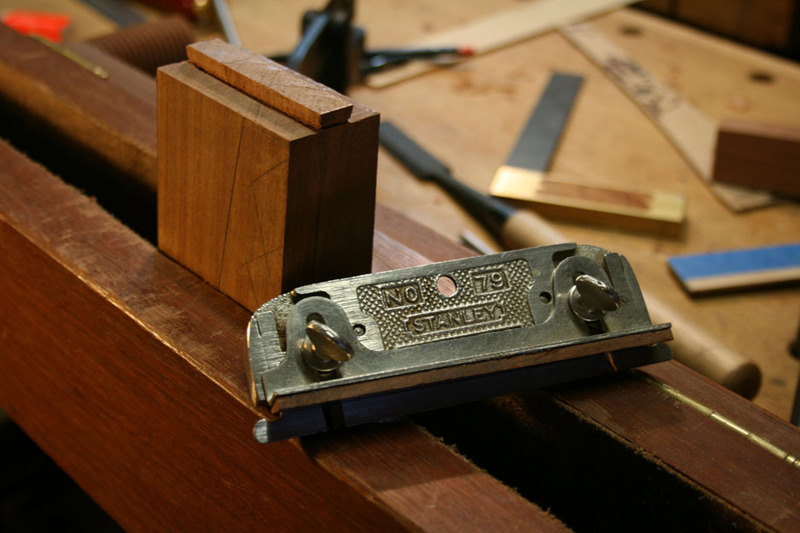
and made a perpendicular cut across a test piece with a backsaw. Then I used the angled side of my guide to cut the dovetailed part. Sorry, but I didn't take process pictures. The waste got chiseled out and then bottom evened up with a router plane.
Here's the result:
I didn't clamp the joint, so it's not as tight as it could have been.
The big revelation, other than how well it went together, is how easily it went together.
This is a 15" long, straight sliding dovetail, not tapered in the least. I was apprehensive because Titebond grabs so fast I thought I'd never get the two parts slid together. So, Bill says, use liquid hide glue (or in a later email, he said also white glue).
What the heck, says I. So I grabbed my bottle of Old Brown Glue and applied an appropriate amount.
The big revelation was that these two pieces, which fit quite snugly, slid together like they were greased. That would never have happened with yellow glue.
Try it, you'll like it.
My big thanks to Bill Tindall for his generous help with my project.