Home Articles Forums Gallery Marketplace Videos

WoodCentral Forums

Knowledge You Can Build On — Est. 1998

Portable Sawmill & Tree Service – Abingdon, VA

The Butler's Desk Build - Hikido

Posts

The Butler's Desk Build - Hikido

#1

The Butler's Desk Build - Hikido

Brian Holcombe

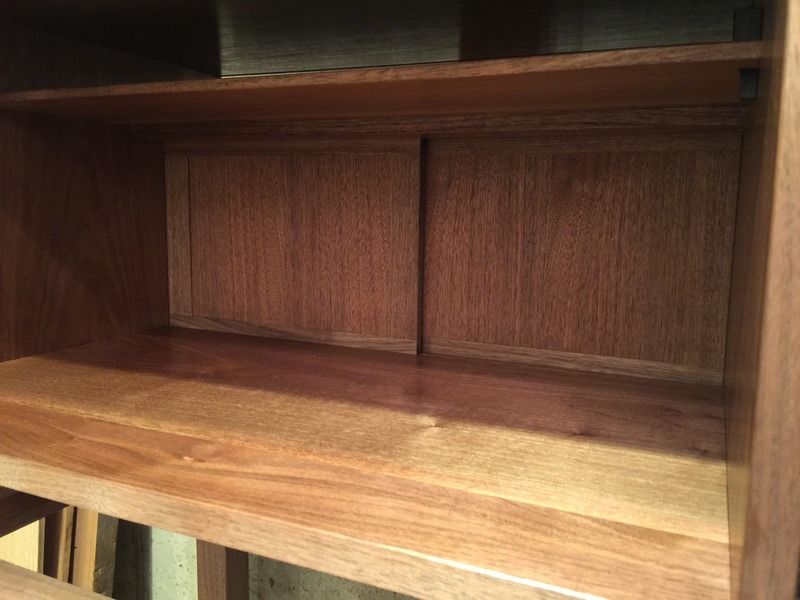
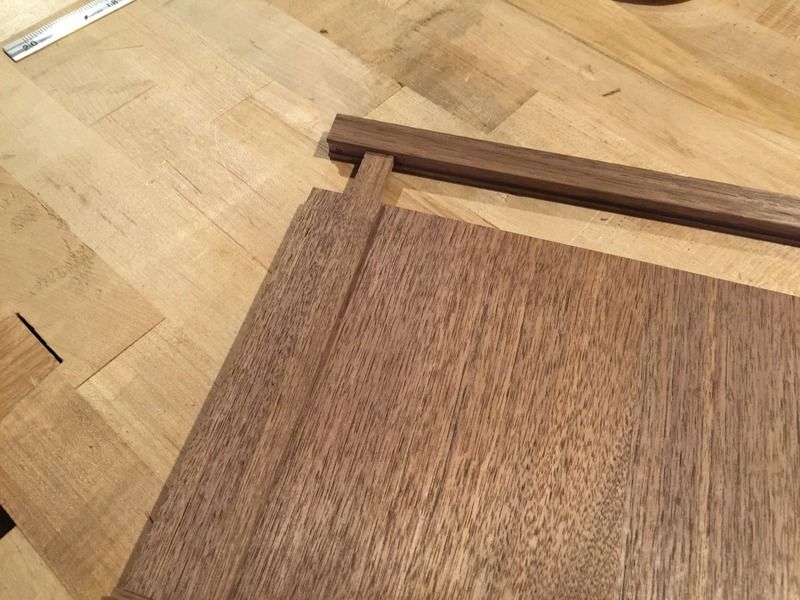
Good morning! I decided to move these up from Saturdays to Thursdays. My latest post on building the sliding doors which will hide but allow access to wiring that will run behind a shelf for storing electronics.

https://brianholcombewoodworker.com/2016/06/16/the-butlers-desk-hikido/

Click the above link to see all of the photos, explanation and video.


Re: The Butler's Desk Build - Hikido

#2

Concerning wiring space

Gary Smyth

Brian, How much depth did you plan for the hiding the wiring? I ask because when drawing up a updated computer desk I planned for the wiring only (say X number of cables). In reality when assembling the components, the wire/cable required (all with different sizes and lengths) for the AC strip, USB ports, speaker wire, modem internet/cable, two printers, two monitors, various transformers, fax, power switch panel, coiled integral wire/cable, and LED lights, a 24 x 24 area with six inches of depth between the access panel and rear desk back was not enough. Even with some wire management hardware it's a birds nest back there. What have you planned in the wiring area?

Re: The Butler's Desk Build - Hikido

#3

Many many fewer wires

Brian Holcombe

Gary,

Thanks for the comment! Unlike what would be needed in a commercial space, this is intended to run a few charging cables to phone, iPad, laptop, etc. The main bar will be located under the cabinet (mounted to the bottom) in the form of a commercial type surge protector.

With that said my pass through is about 1" x 3" and the empty space about 2" x 20"

The doors will also allow for easy snaking and for temporary wires like those used for a laptop.