Home Articles Forums Gallery Marketplace Videos

WoodCentral Forums

Knowledge You Can Build On — Est. 1998

Veritas - Innovation in Tools

Give it a Rest

Posts

Give it a Rest

#1

Alan Young

Give it a Rest 

Alan Young

I am working on a pair of new Sheet Music Cabinets. Their framing and basic construction are the same but the decorative elements are specific to the two different clients.

The C-Clef cabinet on the left features musical elements in it's details. The Art Deco cabinet on the right features AD elements taken from a guitar owned by the client.


Here is an out line of doing the inlay for the C Clef Cabinet. I start by cutting out the pieces on the band saw. Then placing the "rests" in position.


I lightly trace each outline.


Using a combination of different carving tools, I cut the profile of the rest-staying as close to but inside the lines as I can.


After the profiles are cut I again use a combination of different chisels and carving tools to remove the Anigre veneer and the top layer of the plywood veneer.


After the veneers are removed I recut the profiles a tad deeper. This forms a small crevice where the glue (liquid hide glue) can seep deeper into the base.


Then I tap the pieces into the openings.


After the glue sets I trim the sections flat with saw and sanded smooth.The element is thick enough that the "waste" is still usable for at least one more inlay-maybe two.


The rests at "rest" in the panels.


The panels are then set in the sides where moldings will be added around the perimeters.


Re: Give it a Rest

#2

Thanks Alan - great to see your process


Re: Give it a Rest

#3

Re: Question on "Step Zero"

William Duffield

Before you cut out your inlay patterns on the bandsaw, do you:

a) draw them with pencil and drafting tools (e.g., compass, straightedge, French curves, etc.);

b) mark them on the material with the carving tools in your repertoire;

c) design them on the computer with a drafting application and transfer them to the stock;

d) some other method, perhaps one of the marquetry methods (French, English, Italian), using a saw to cut out both the inlay and the background?

Re: Give it a Rest

#4

Alan Young

Re: Question on "Step Zero"

Alan Young

Before you cut out your inlay patterns on the bandsaw, do you:

a) draw them with pencil and drafting tools (e.g., compass, straightedge, French curves, etc.);

b) mark them on the material with the carving tools in your repertoire;

c) design them on the computer with a drafting application and transfer them to the stock;

d) some other method, perhaps one of the marquetry methods (French, English, Italian), using a saw to cut out both the inlay and the background?

William---

My usual inclination is to draw it on the computer-sketchup is the program I use. Which I did. But I did not have the image printed out-let alone with me and I didn't feel like trudging up to the computer-finding the image and then finding a printer that worked... So I stood in my shop with my smart phone. I said to phone "Quarter Rest" up pops several images of a quarter rest.


I grabbed my pencil and free handed the image onto a scrap of wood--refined it as necessary then cut it out on the band saw, sanded off the edges then used it as a template on a piece of 3/4 inch Sapele. I cut out two "rests" then ripped them in half on the band saw yielding 4 rests...and used each one reducing them in thickness by aprox 1/8" after they were set into the panel and then cut off. So each one can be used for at least one more-probably two if I want...

I did trace all the patterns with a pencil-probably would have been better to have a sharp marking knife-but I don't have one. So I tried not to impress too much pencil lead into the panel. Really sharp tools to cut the profile are certainly best-otherwise one ends up "bending" the profile into the panel rather than making a sharp separation....

BTW With a "quarter rest" image/profile-it's pretty important to reference the original ie "correct" placement of the element.

--- after nearly gluing it all in place I had to redo this
---you can tell why

Re: Give it a Rest

#5

Re: Question on "Step Zero"

don stephan

Sounds like you added anigre veneer to plywood. Another approach suggested by William and taught by Paul Schurch is to make a sandwich of chip cardboard, anigre, the inlay veneer, chipboard and the pattern, make a starter hole with a needle or fine awl point, then scroll saw around the pattern. Hold the inlay in place in the anigre with veneer tape and then glue the assembly to the plywood core. Of course, this assumes you have a scroll saw and some 2/0 blades. . .

Re: Give it a Rest

#6

Re: Question on "Step Zero"

William Duffield

Ouch!

All too often, my wife needs to remind me, "Your other left!"

I hope we all understand that none of this was meant as criticism, but as a starting point for discussion of effective methods.

I've watched them work their magic, and I've discussed techniques with Paul Schurch, Silas Kopf and W. Patrick Edwards. In my library, I have copies of seminal works on marquetry by Roubo and Pierre Ramond. Still, I am, at best, a dilettante of the art form.

Re: Give it a Rest

#7

Alan Young

Schurch, Kopf and Edwards The Trinity of Inlay

Alan Young

Of course, this assumes you have a scroll saw and some 2/0 blades. . .

.........I hope we all understand that none of this was meant as criticism, but as a starting point for discussion of effective methods.


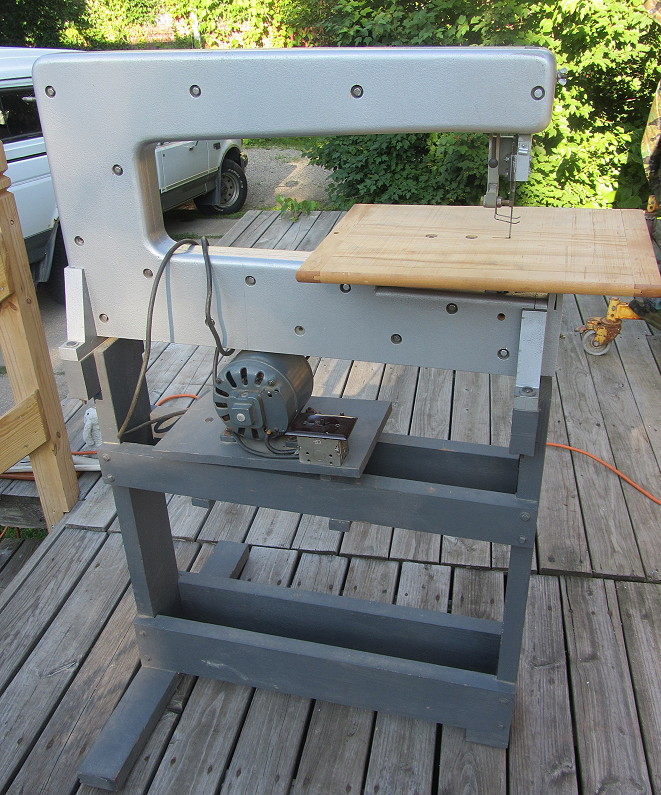
Yes! Discussion is the whole idea...Those three are the ones to emulate and in fact I was planning to try that technique when I picked up this shop built scroll saw a while back...


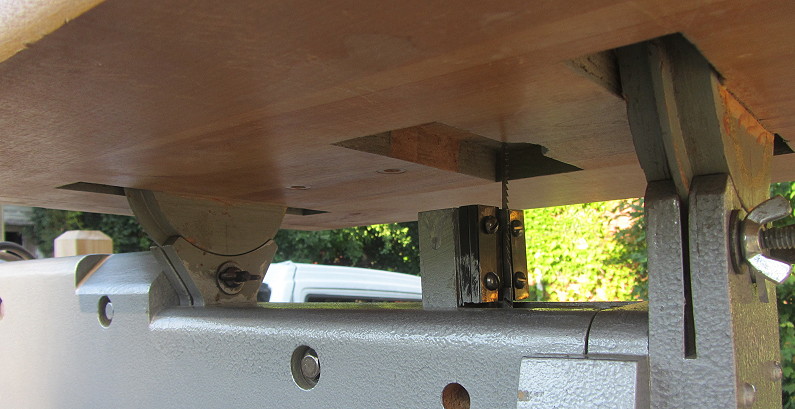
It needs some TLC to work well. The undercarriage design doesn't hold the angle with pressure applied on the top-I need to replace it with a firmer design to keep the table in the chosen angle.


and I just haven't committed time to fixing the Scroll Saw or the learning curve for the technique. I will be posting pics of the Art Deco Inlays I did for the other cabinet.


A Similar technique as I used here but I'd like to know the Stacked Scroll saw method--

Re: Give it a Rest

#8

Re:  Schurch, Kopf and Edwards The Trinity of Inla

William Duffield

They all three practice different techniques. Silas Kopf and Patrick Edwards were both trained at the École Boulle, so I guess their methods are basically French. Instead of a scroll saw, Patrick uses a chevalet de marqueterie.

The machine is described here, as are the different methods he uses.

http://www.wpatrickedwards.com/EtudeMarq.htm

I should note that the chevalet is designed to cut precisely perpendicular to the stack, so it is not appropriate to the double bevel method. Instead of cutting out both pieces at the same time on a bevel, so they fit together with a zero width kerf, the piece-by-piece method requires that both pieces be cut precisely to the middle of the line.

There is also the boullework process, which makes two copies of the same pattern, but one positive and one negative. The materials are often brass or pewter and veneer, but tortise shell or ivory were often used instead of the wood. In addition to Patrick Edwards, Don Williams is expert at this technique. I think there is one space still open in the class he is teaching this weekend in Virginia.

http://donsbarn.com/events/event/boullework-marquetry-workshop/

http://donsbarn.com/preparations-for-the-upcoming-boulle-marquetry-workshop/

If you are interested in inlay on a smaller scale, for example as decoration for Federal Period furniture, there are other teachers of these techniques, which are usually done with a jeweler's saw or fretsaw, but can also be done on a scrollsaw. Taking a course from Steve Latta would be the best way to learn these techniques, but his DVDs, produced by Lie-Nielsen Toolworks, are also very useful, and there are other competent teachers as well.

Re: Give it a Rest

#9

Re: Give it a Rest

William Duffield

For those who may be interested in how one might learn marquetry, in particular from Patrick Edwards' School of French Marquetry, Joe McGlynn has a great description, with pictures and circles and arrows, on his blog. The latest three entries describe his experience with the beginning class.

http://mcglynnonmaking.com/2014/09/29/marquetry-class-day-one-and-minus-one/

http://mcglynnonmaking.com/2014/09/30/marquetry-day-two/

http://mcglynnonmaking.com/2014/10/01/marquetry-class-day-three/

Some of his experience has been frustrating, as expected for a beginner with a new skill, but with practice he should get a lot better. Patrick makes it look easy.