Home Articles Forums Gallery Marketplace Videos

WoodCentral Forums

Knowledge You Can Build On — Est. 1998

100+ Wood Species + Full-Shop Services: Lumber, Veneer, Tools & CNC. Everything in One Place.

Building a Pedestal Table

Posts

Building a Pedestal Table

#1

Alan Young

Building a Pedestal Table

Alan Young

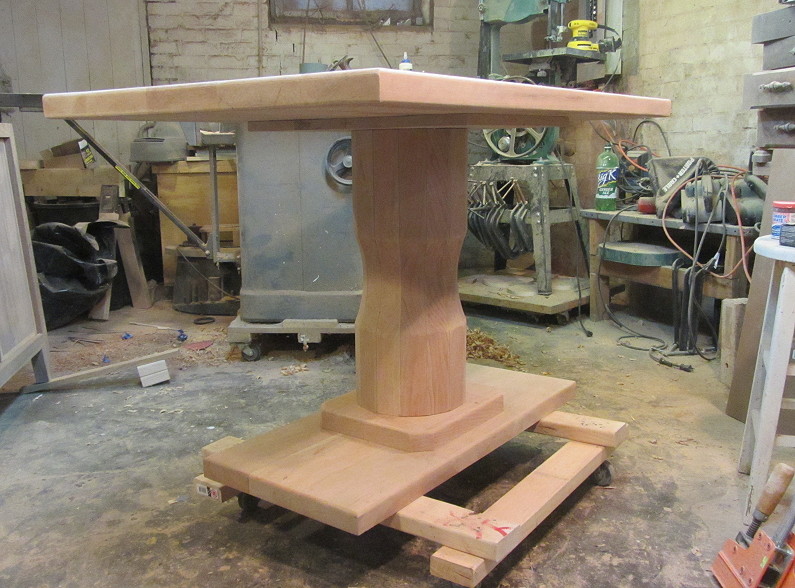
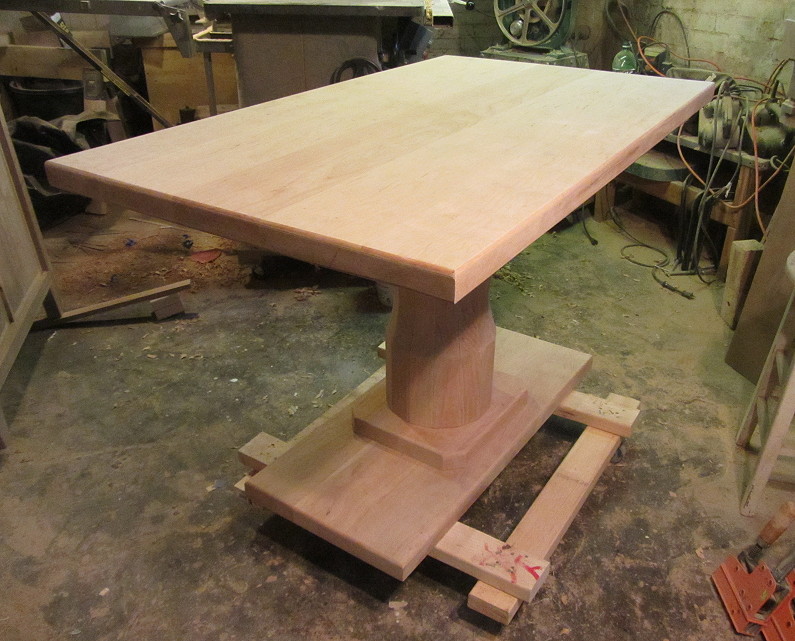
I've been working on several projects in the last few weeks and haven't been taking the time to photograph the fabrication processes. But I did take a bit of time to turn my sketchup renderings into a bit of a construction story. Here is the Pedestal Table I've been working on-Construction is complete-just need another round or two sanding and then the finish. The table is made from Cherry.


The pedestal is made from 14 staves each joined to its neighbor with a spline.
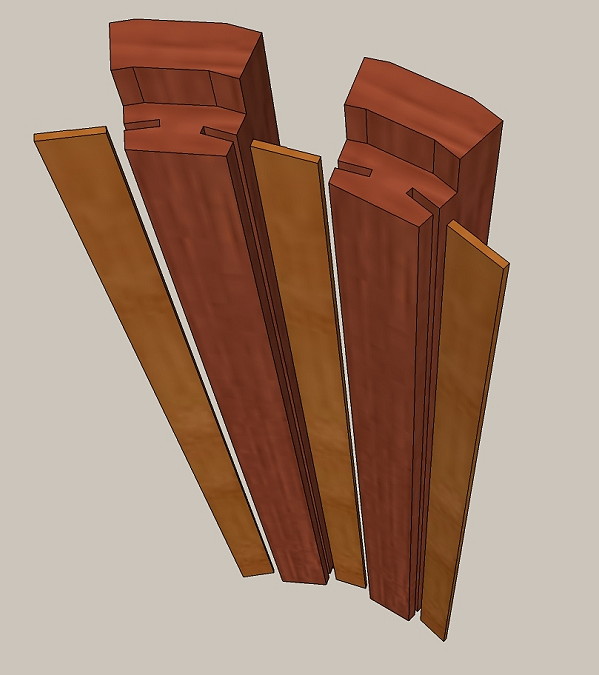

The 14 staves required a beveled cut of 12.85 degrees. I ripped and cut each of these on the table saw. Then cut out the profile on the band saw. No lathe work was done at all. I glued the pieces together using Titebond Liquid Hide glue-I really like this glue and it is probably my most often used glue. The open time here was the main factor.

After the pedestal was glued and sanded I routed a recess in the top and bottom:
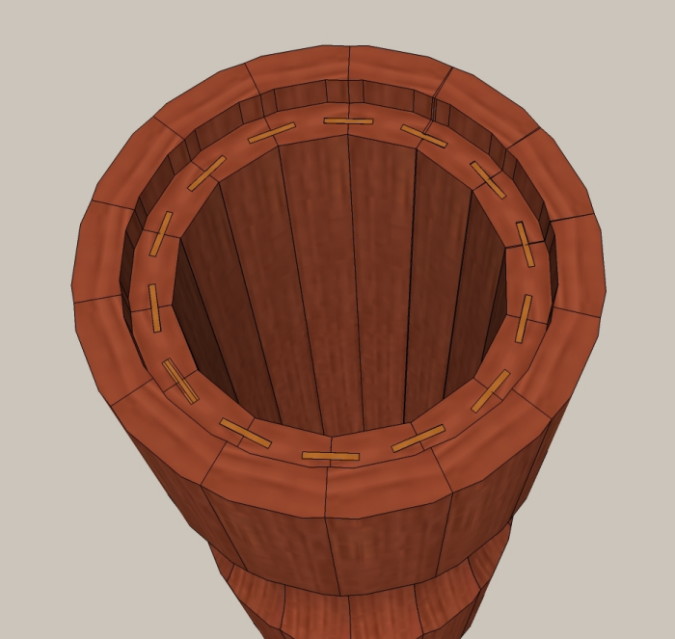

Then I cut a 3/4" piece of plywood and glued/screwed it into each end and Drilled a hole through the center of each plywood piece to receive a 1/2-13 threaded rod.
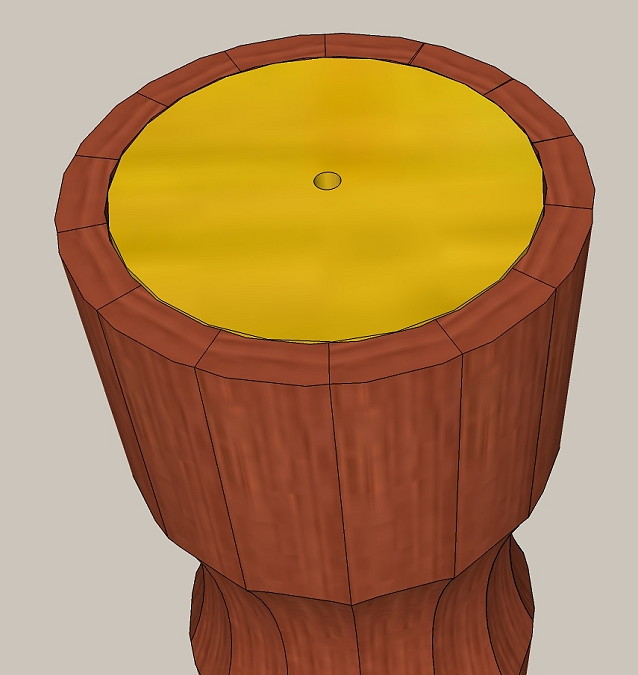
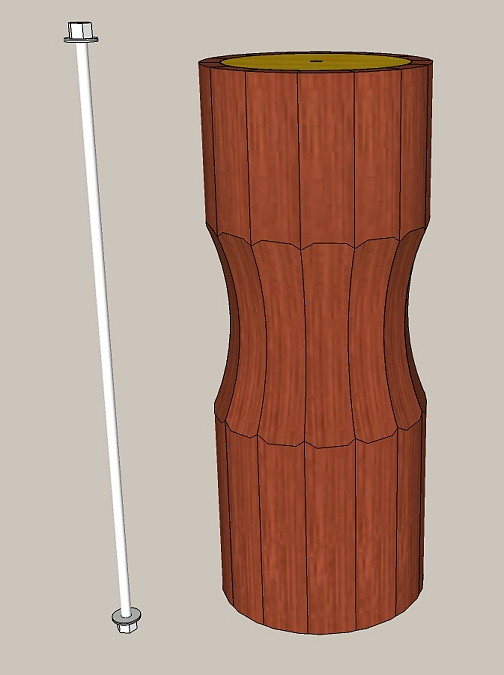

The pedestal has a 3/4 inch cherry "plate" that is then screwed into the top of the pedestal with a matching 1/2 inch hole
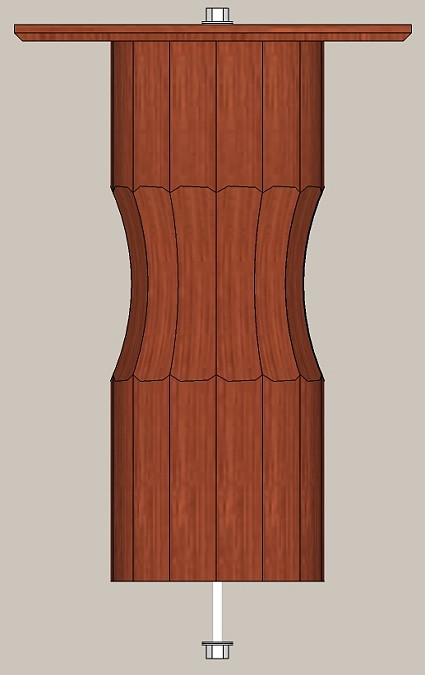

and the base is comprised of two 1.75" thick pieces-
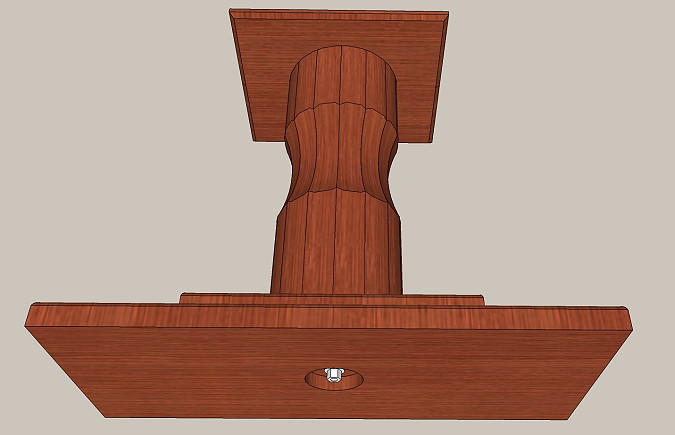

The bottom piece has a routed out recess so I can tighten a nut on the threaded rod. There is a similar recess in the underside of the table top-allowing the upper nut to hide "inside" the top.
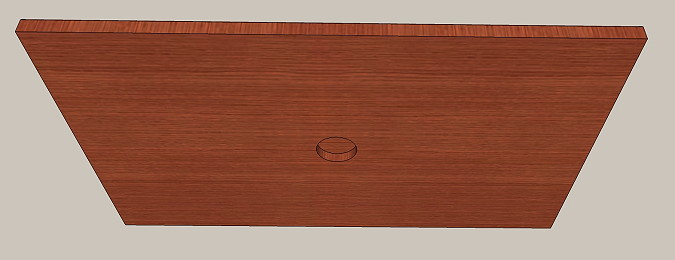

The top is then attached to the 3/4 mating plate with screws from underneath-It is not glued. Here now are fabrication pictures than I have managed to take of the piece:

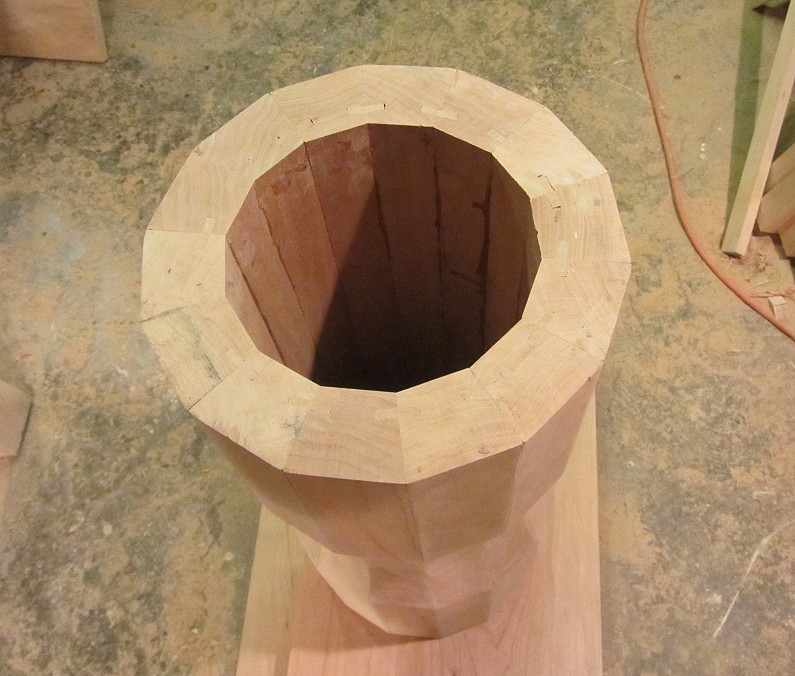
The pedestal before routing the recesses.

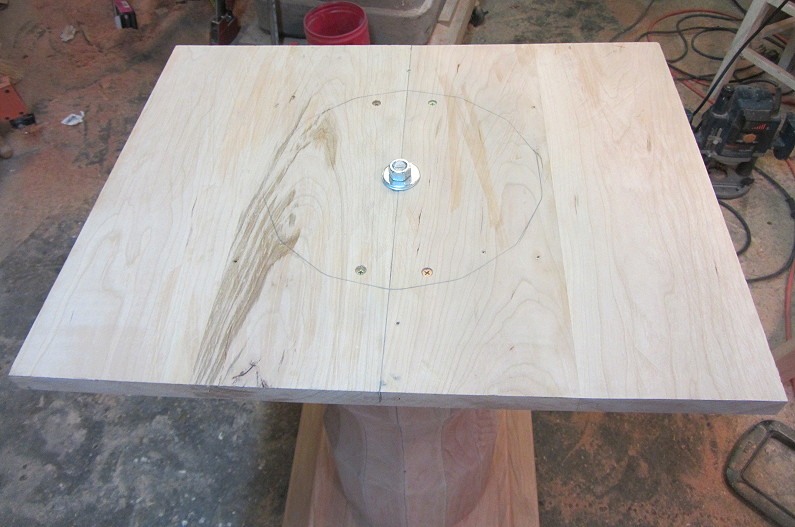
The upper mating plate-bolted and screwed to the pedestal top.

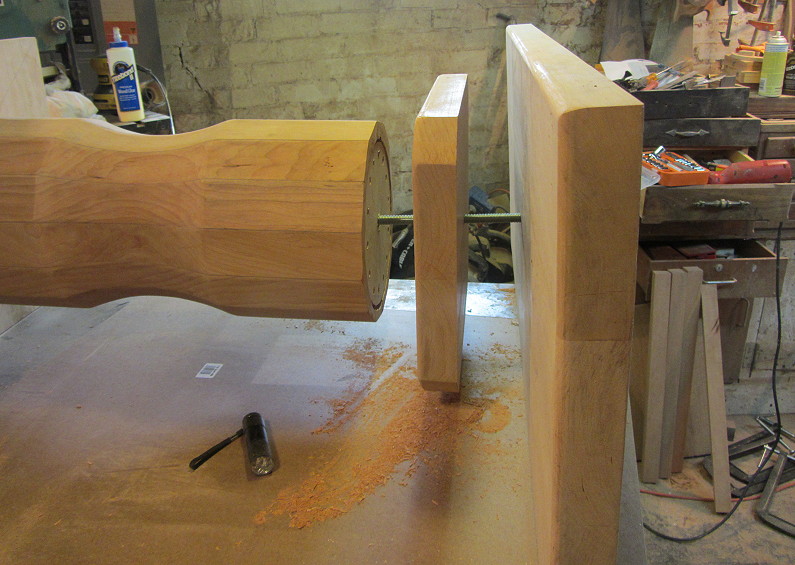
A side view of the lower assembly:

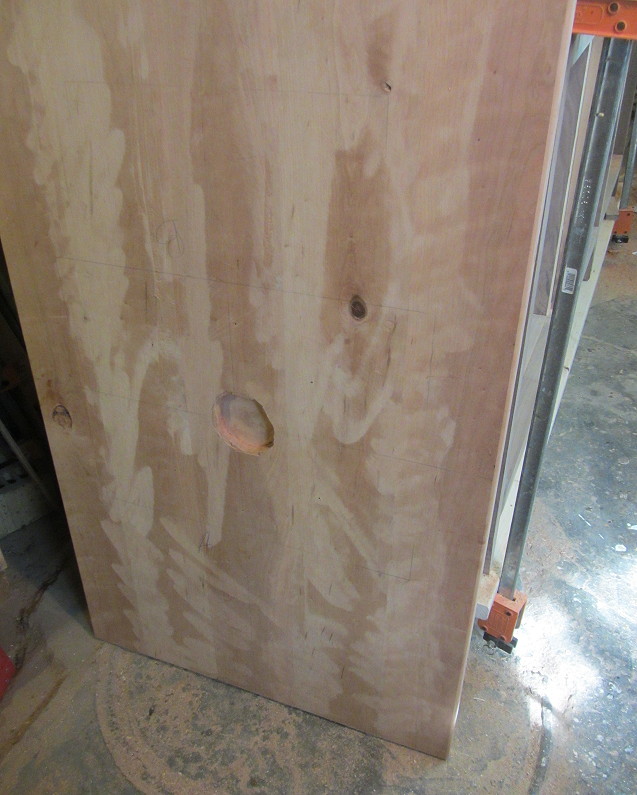
The center of the very bottom with a routed recess to allow space for the nut and washers
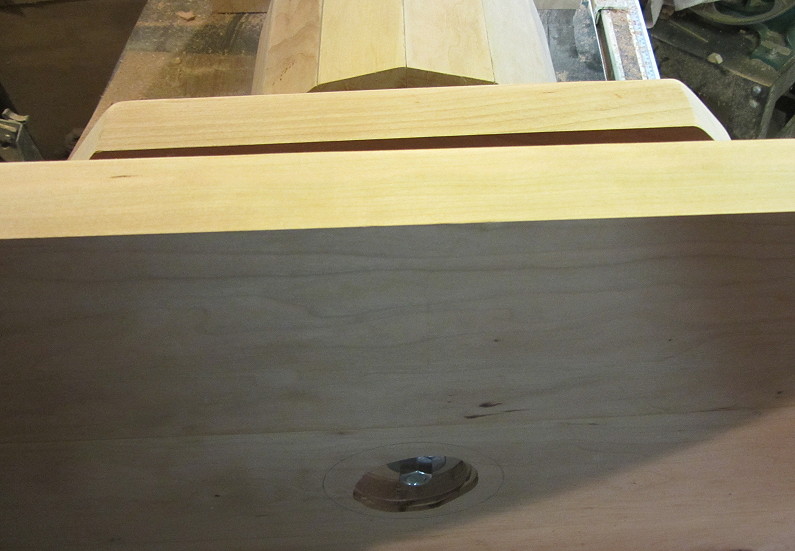

The underside of the top has a similar routed recess so it can straddle the nut at the top of the assembly.

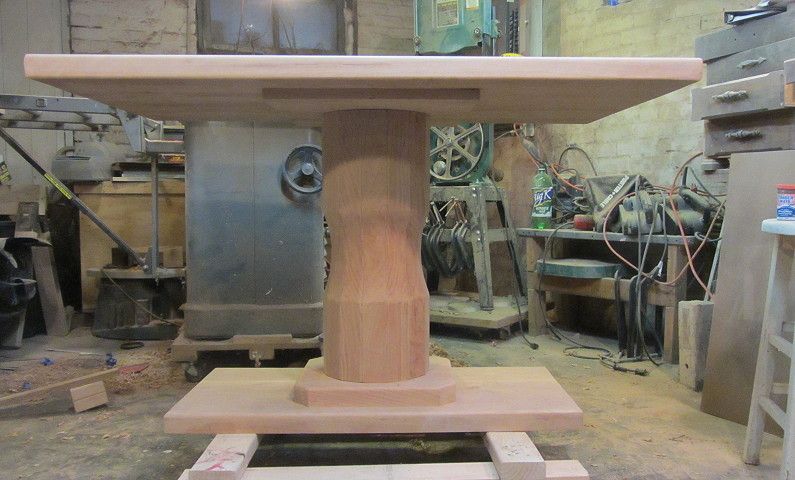
Here is the table all assembled: Thanks for looking-Alan


Re: Building a Pedestal Table

#2

Re: Building a Pedestal Table

mdclor

Alan, excellent craftsmanship as always. Is the cherry base heavy enough to prevent the table from tipping? Please post more pix when the finishing is complete.

Re: Building a Pedestal Table

#3

I'm curious too.....

Dick Coers

How does it feel from side to side? Looks a little unsteady in the pictures.

Re: Building a Pedestal Table

#4

Alan Young

Stability???

Alan Young

The camera shots tend to distort the proportions a bit. I suppose I could sit on this thing and make it tip if I try- But leaning on it with full elbow force is the main test and it passes----

-Alan

Re: Building a Pedestal Table

#5

Alan Young

I meant to say

Alan Young

Ok that response looked a bit snarky-The question was a good one and I do think the camera distorts the proportions-I will be giving this one more stability test-If need be I can still widen the base a tad-

Re: Building a Pedestal Table

#6

Re: Pedestal Table

Mark Mandell - Gone Round In New Jersey

Alan,

Looking at your sketchup and then the actual piece it appears that you've inverted the barrel section in that you have the cove closer to the base. I submit that it would be better with the cove higher as it would add visual weight to the base, lighten the upper portion, and give a better impression of stability.

Nice job as usual. ;)

Re: Building a Pedestal Table

#7

Alan Young

You don't miss much do you!

Alan Young

Yes I did- and I agree-except I think the most common view of this table will be from a higher angle than the photos I took-and as such the cove feature will likely be lost. The good news is I did not glue the upper mounting plate to the pedestal so it is a reversible decision. I shall ponder this...

-Alan

Re: Building a Pedestal Table

#8

As Long As You're Pondering

Mark Mandell - Gone Round In New Jersey

Think about adding two more screws to your top plate out near the edge of your pedestal (equilateral triangle with the other screw attachments) put in place with counterbored slots for expansion allowance. I think you're putting a lot of faith in your glue joints. Were it me, I would have located solid wood, rather than a glue joint, through the center of the pedestal.

Re: Building a Pedestal Table

#9

Re: As Long As You're Pondering

gary peterson

nice work, love cherry , perhaps, gentle suggestion, bevel the plates to soften the presentation.