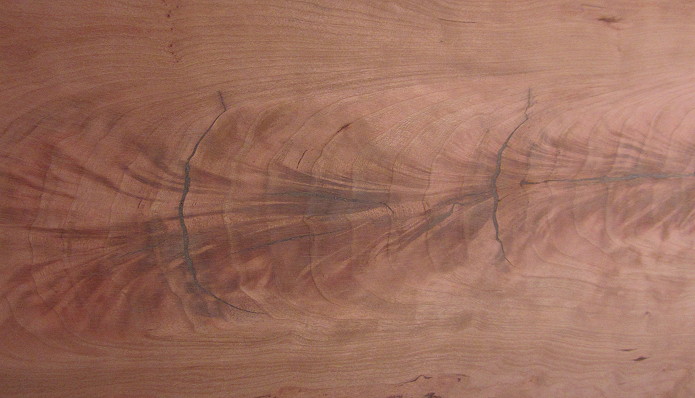
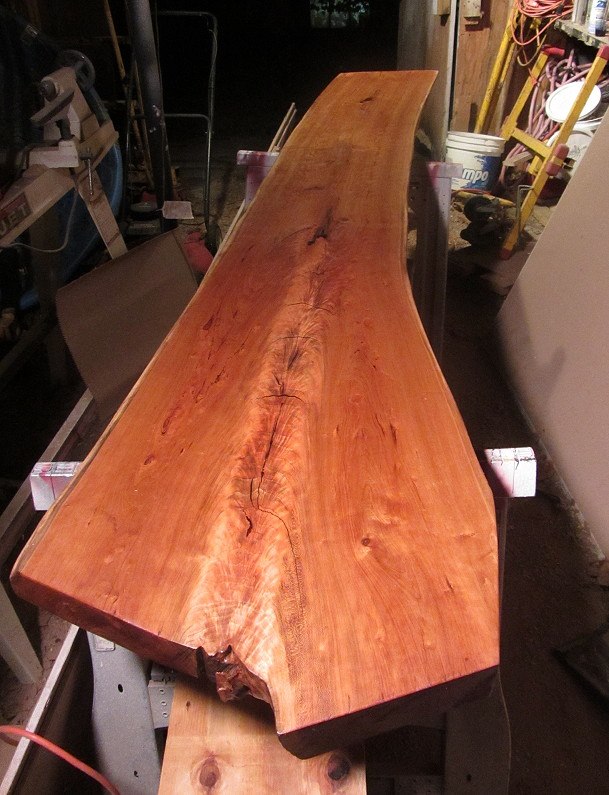
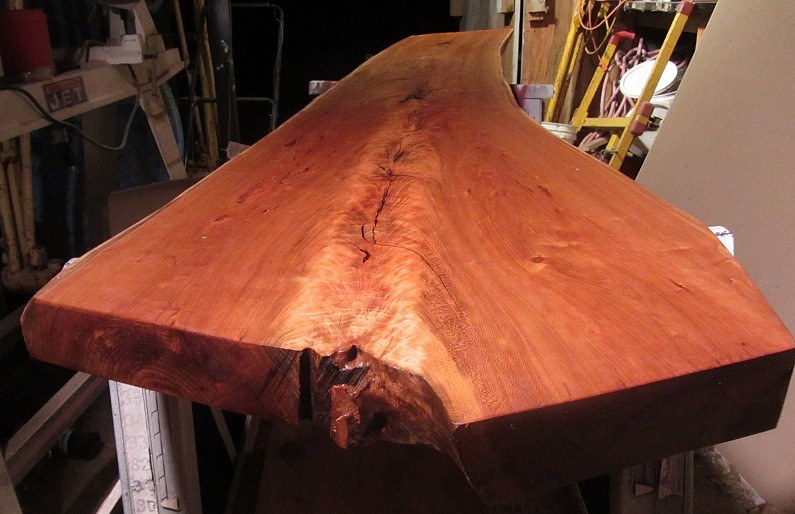
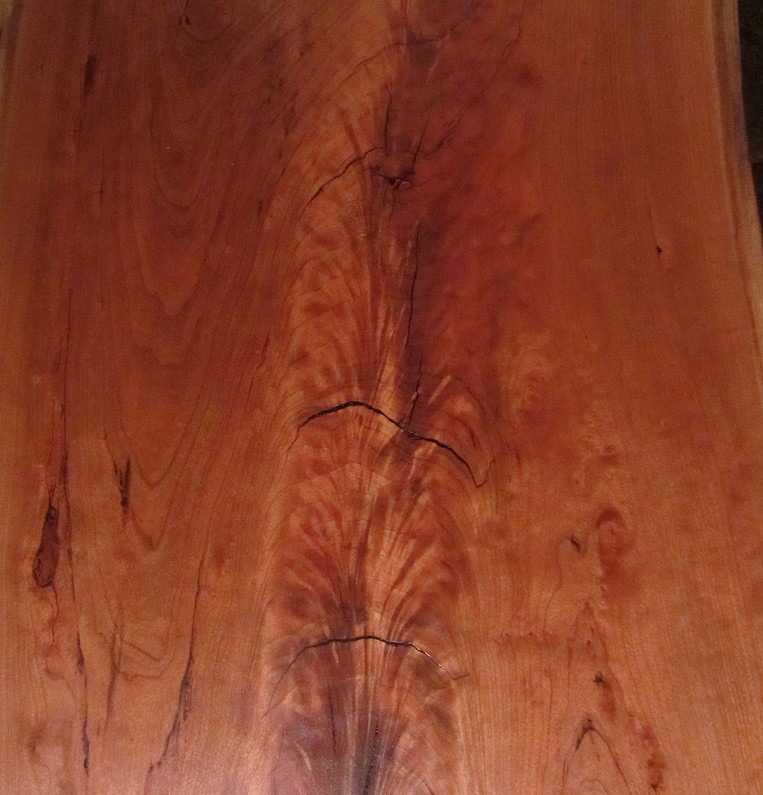
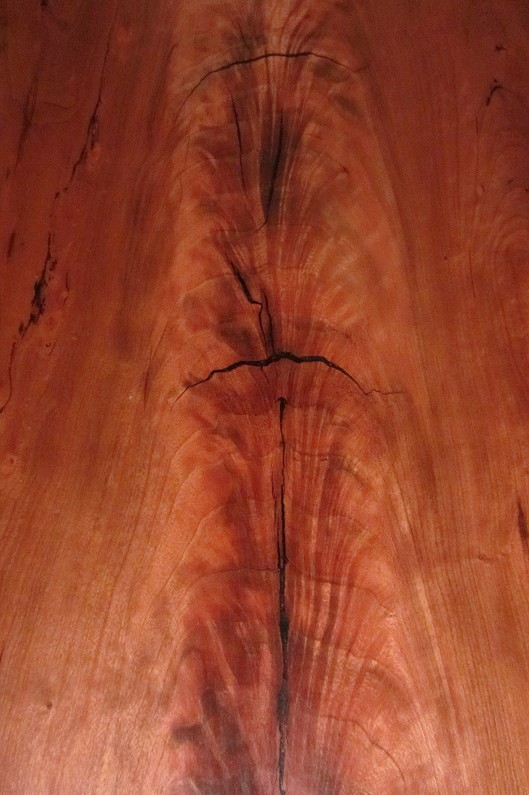
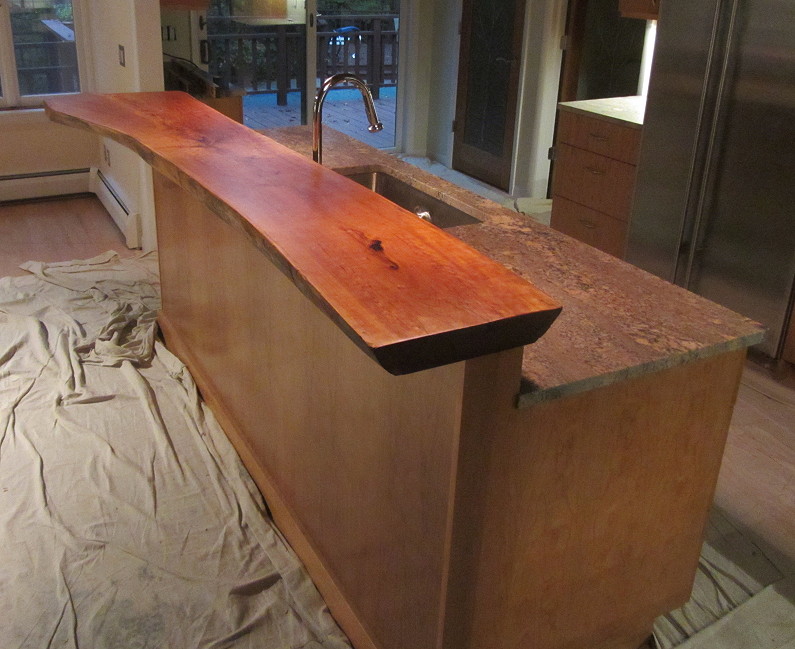
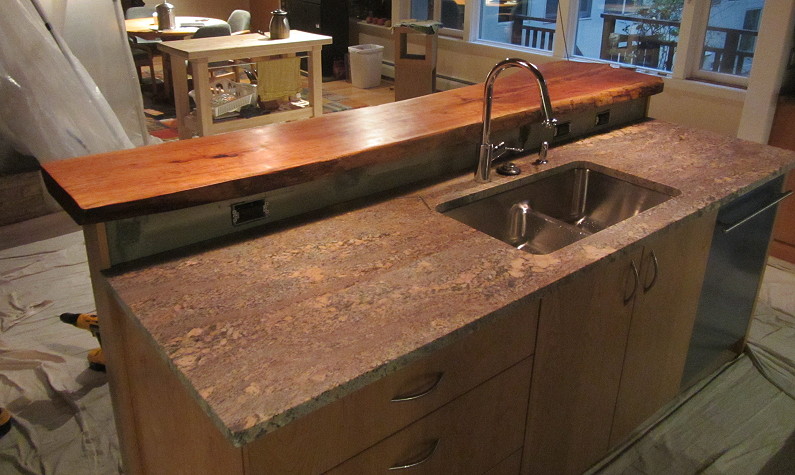
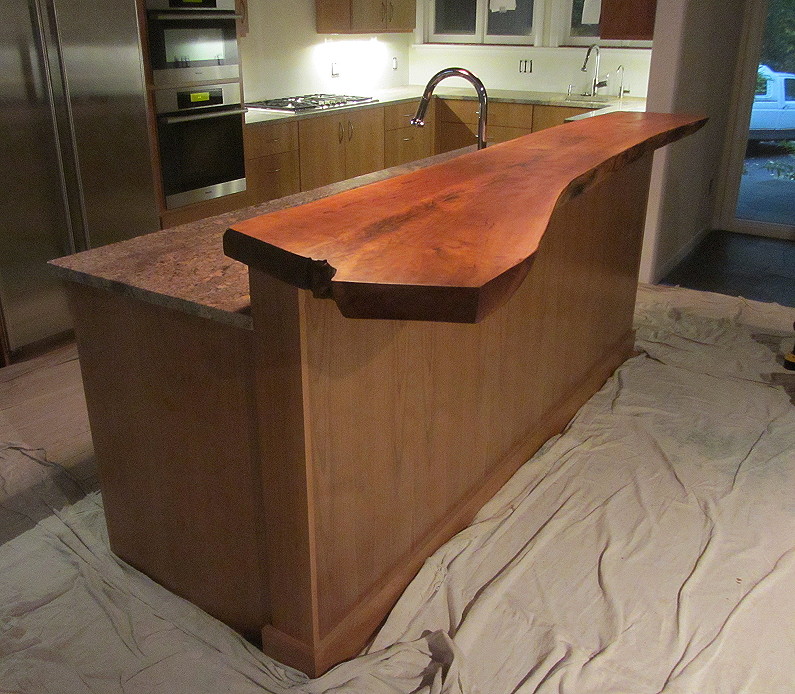
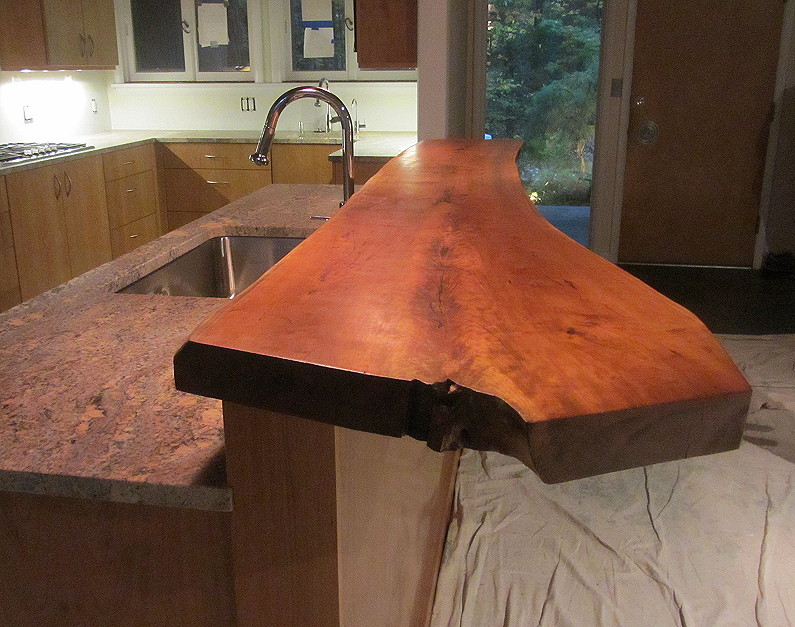
I was contracted to supply the finish for a Cherry Slab used as a Counter on a Kitchen Island Build.
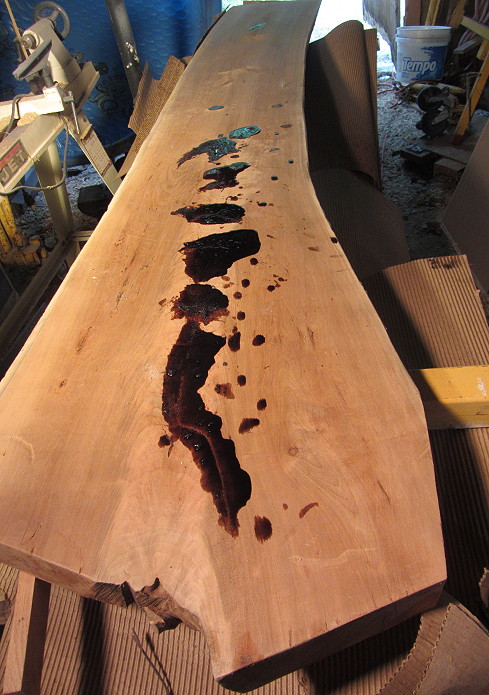
I started by filling cracks with Black epoxy.
The epoxy is sanded away across the top leaving the cracks filled.
The began applying several coats of Waterlox
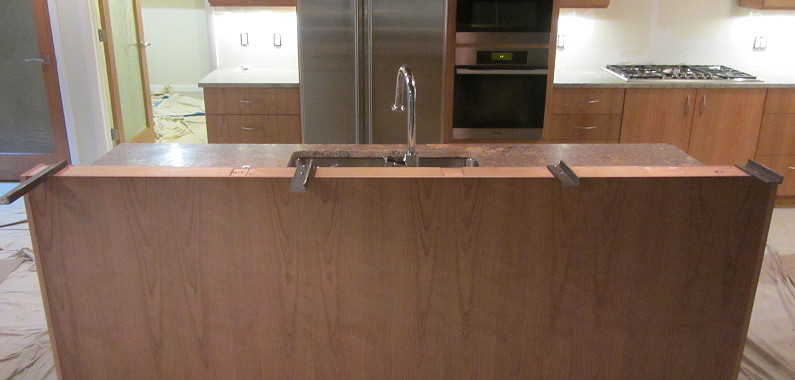
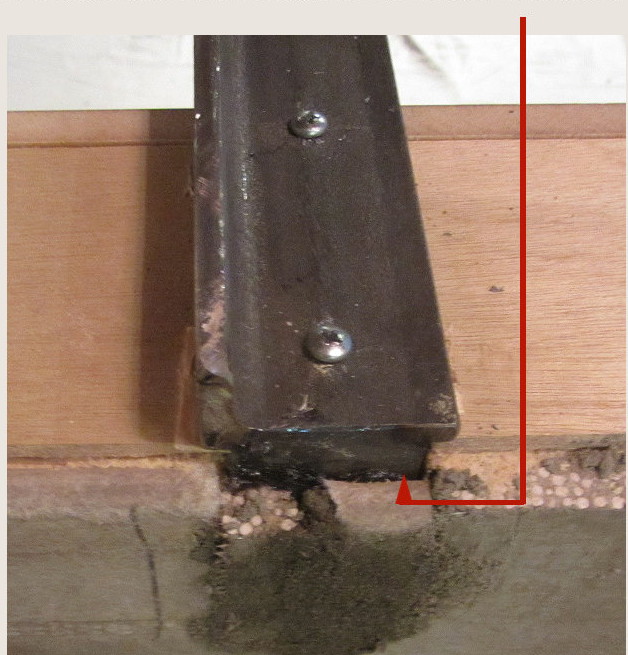
Last night I brought the slab to the site to mark it for installation.The slab will get mounted to four angle irons that are screwed to the Island Wall.
Each of the four angle irons has a piece welded at 90 degrees.That piece is embedded behind the plasterboard and screwed to the side of the island wall
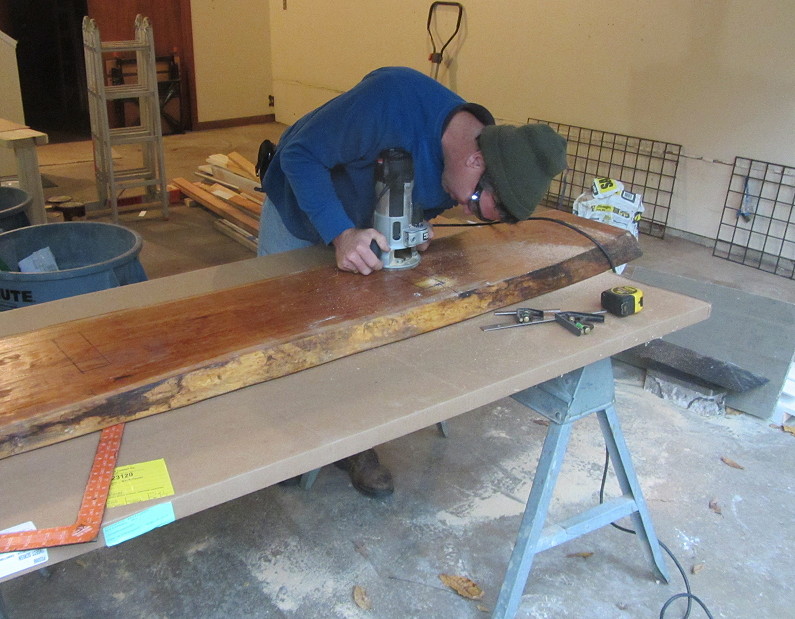
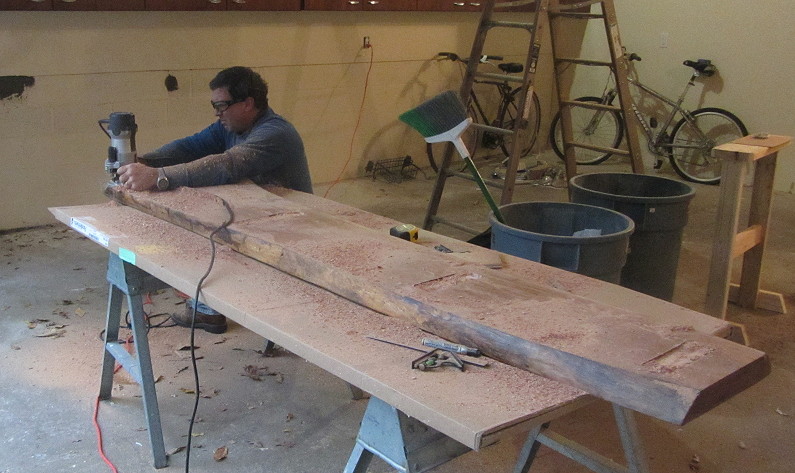
I was going to mark the slab where the grooves needed to be routed then take it back to my shop for that process, But Curt was there with a router and bits so he made all the plunge cuts.
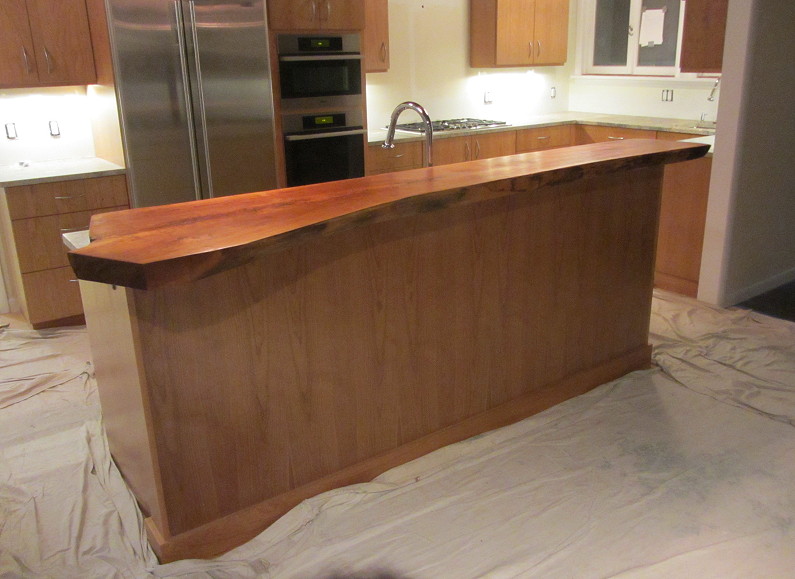
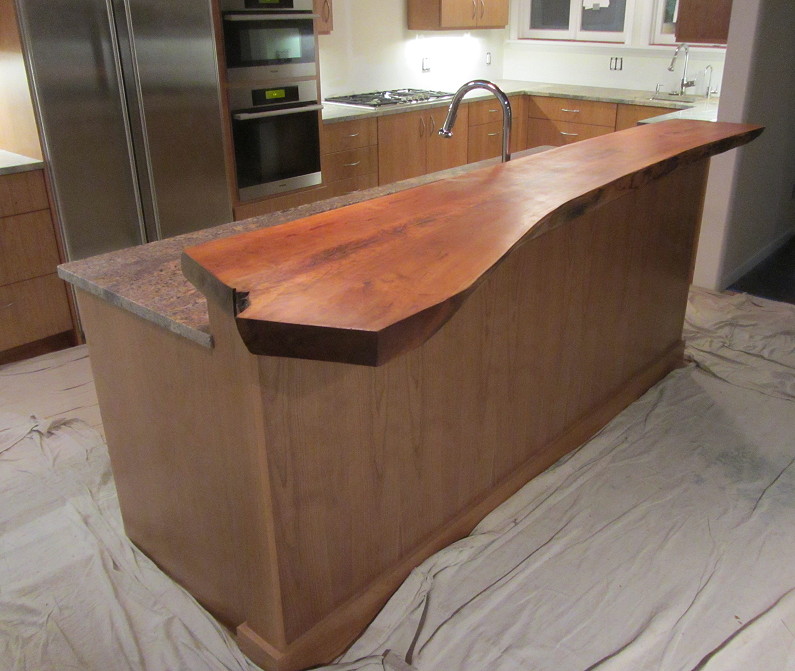
Here is the Mounted Slab-Screwed to the brackets which are totally covered by the slab. Thanks for looking-Alan
I should elaborate here on the finish. After filling w/epoxy and sanding. I applied Charles Neil's Blotch Control
This raises the grain so I sanded again then followed the practice of our late friend "The Col" of placing the Cherry out in the Sun. I did this for a few hours over the course of 4 or 5 days. Then I began applying the Waterlox- Maybe 6 coats? altogether. I don't remember the exact number but at least 5.
Six coats of Waterlox should hold up pretty well there, Alan. Be aware, though, that Waterlox doesn't stand up well to abrasion. At some point, you might have to add some polyurethane to this lovely slab. (DAMHIKT) Meanwhile, it is gorgeous. Nice work.
Alan, one of the reasons I like Waterlox is that should it need additional coats in the future they will adhere easier than if poly was used. You should be able to give it a light scuff coat and apply your poly without problem. The tung oil base makes Waterlox a little softer and flexible than the harder curing poly.
I'm in the final stages of refinishing the top to a baby grand piano for a customer. After stripping the old darkened and alligatored lacquer finish I found some lovely curly walnut veneer. I decided to use a dark Lockwood brown mahogany dye as a trace coat, which gets sanded from the surface but adds color to the curly figure. Next, in working toward a color match, I applied a coat of New England Maple dye followed by a coat of Minwax Special Walnut. Then I applied 8 wiped on coats of Waterlox medium sheen. Dang, this thing sure is pretty!!
Yes, you can apply polyurethane or other varnish over Waterlox without penalty. The need for sanding, though, is more dependent on the quality of the surface you're going over, even if it's Waterlox over Waterlox.
For instance, there are different ways to apply a Waterlox finish, involving some combination of wiping and/or brushing techniques. If you know you intend to build a thick coating, say 6 - 15 coats, to produce a resilient medium-high gloss film, you can save yourself a lot of hand work by brushing a couple coats on at the outset to get a build going. This method requires greater attention to airborne dust issues, and you will probably want to kiss it with 320 dri-lube after each coat to get the surface really smooth.
If you intend to wipe each coat on, you will get faster and better results, with less waste, if you wipe on just enough each time to leave what I call a "slick" of finish, that is, not too wet and not too dry. (Never wipe off excess Waterlox. It is not Danish oil, it is varnish, and thicker films will actually dry.)
The reason I mentioned the possibility of a polyurethane varnish topcoat is that I once did a dining-room commission (with four dining tables, a couple built-in sideboards, some ceiling-height cabinets and some accesssories) and used Waterlox for everything (except the insides of drawers, which I always avoid). I found out the hard way that the customer's table settings were rough stoneware, and the scratchy bottoms of the plates and bowls soon scratched the Waterlox surfaces, to the point that I needed to go back and do some remedial refinishing. I would go so far as to recommend that you start with a couple coats of Waterlox to take advantage of its sealing and amber-coloring properties and then follow up with two to four coats of slightly thinned polyurethane, sanding with 220 between coats. That way, you're best prepared for whatever the customer throws at if. That's how I finished my kitchen countertops, and they're holding up really well. Sooner or later, any finish is going to wear, though.
I've had great success with a combination oil/water based poly finish. I don't sand between finishes, actually I don't even wait for the oil to dry before applying the poly.. You need to test comparability with the exact brands but I first discovered this combo with Jasco ring oil finish and Generals HP poly. I would venture a guess that waterlox might work under the poly too. The generals HP poly can look a bit plasticso I knock down the shine and buff with steel wool followed by paste wax. The result is something that looks like lacquer but is way better wearing. It takes nearly a month to develop full hardness but once it does out of perfect for tables out counter tops.
Would you have a source or link for this company products? A search for ring oil shows up a product to remove white furniture rings or epoxy remover, but no finishing oil.
I heard from floor finishers that waterbased polyurethanes, especially the catalyzed ones, are harder and more scratch resistant than oil-based poly, but that the best of them are only available to the trade. Still, it's good to know that adhesion isn't an issue.