Home Articles Forums Gallery Marketplace Videos

WoodCentral Forums

Knowledge You Can Build On — Est. 1998

200+ woodworking book reviews

Music Stand Design PT III *LINK*

Posts

Music Stand Design PT III *LINK*

#1

Alan Young

Music Stand Design PT III *LINK*

Alan Young

Hello friends,

I made some progress on my music stand design. If you missed the first two installments of this project- you can see them at the link at the end of this post. Today we'll show the glue up process of the legs and final shaping of the tripod base.

Gluing the legs to the center triangle block requires a paced process. I used liquid hide glue for a longer open time and it's "creep" avoidance. I glued the legs one at a time and let the clamped assembly set overnight -longer than the specified requirement but it increases my comfort zone.
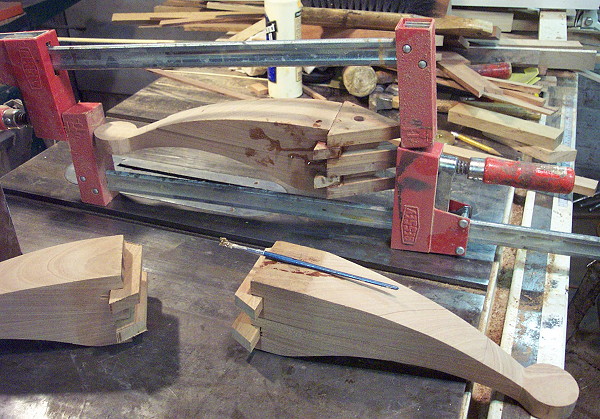

I made a block that wraps the opposing triangular profile but gives my clamp a square flat surface to contact.
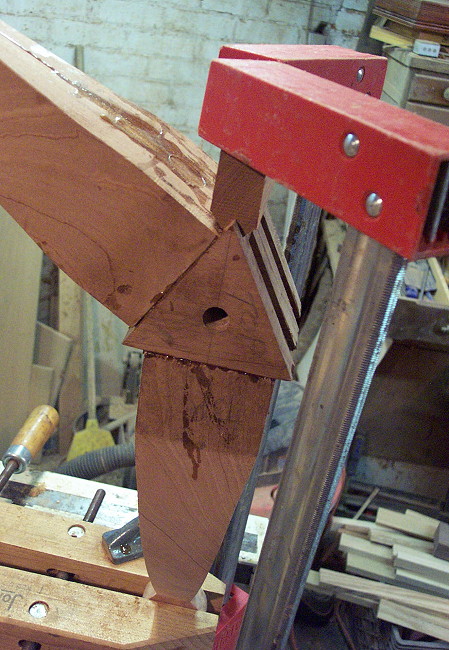
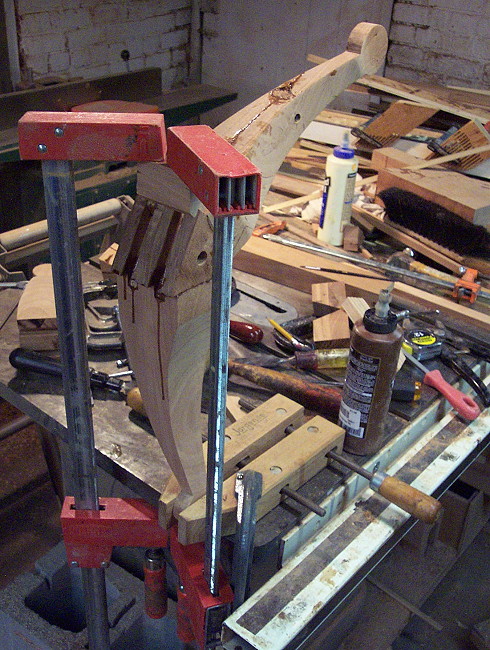
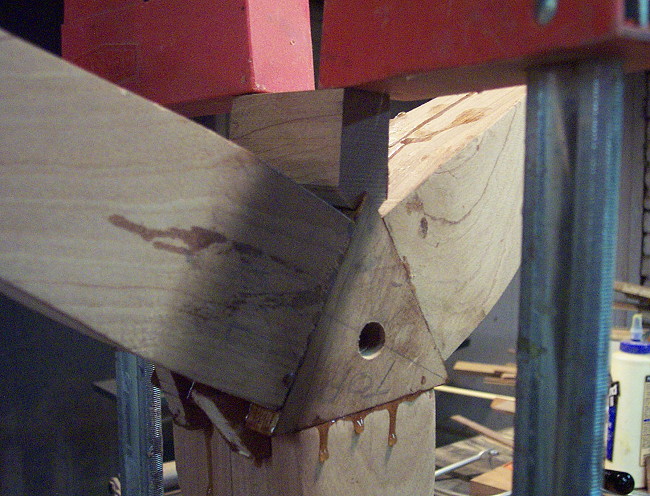
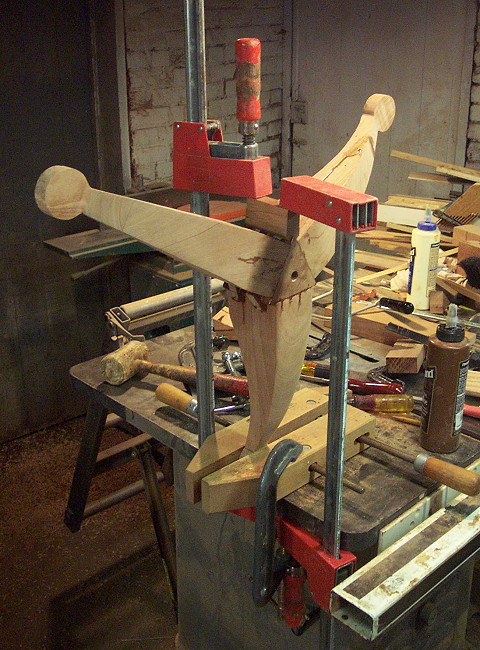
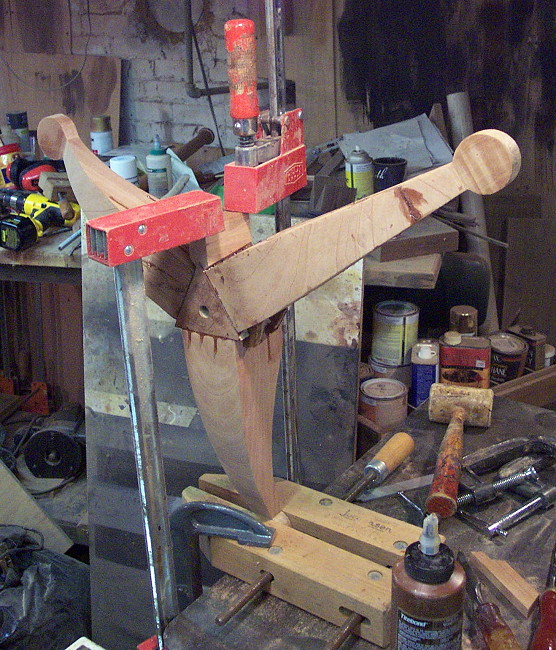

In spite of my best attempts there is some unevenness in the glued up surfaces- I want the top to be flat and parallel to the feet so the post won't be the leaning tower of Pisa's little brother.
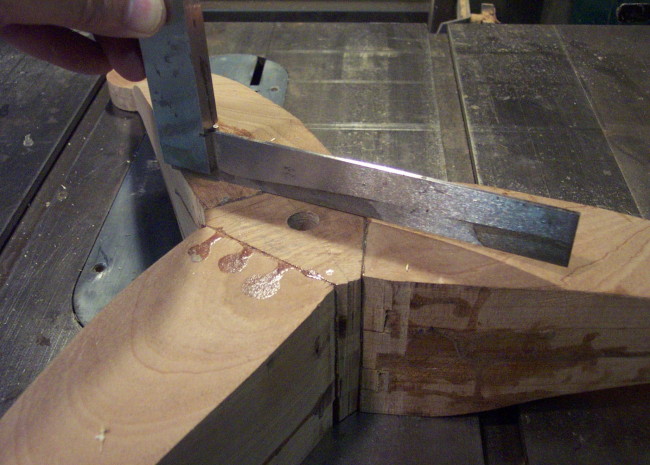

My solution is a quick and dirty surface planing jig for my router.


The jig straddles the tripod assembly
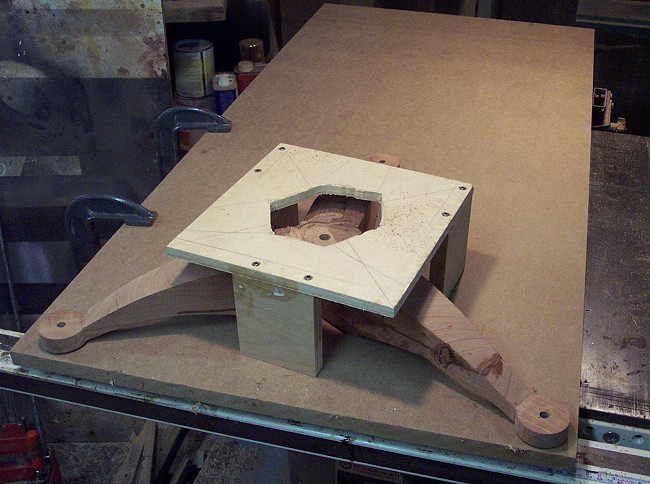

I set the depth on my router to take off just a tad more than the lowest surface. I don't want to loose too much of the profile.


The operation left a nice flat surface. I'll blend the lines with some hand work but first....
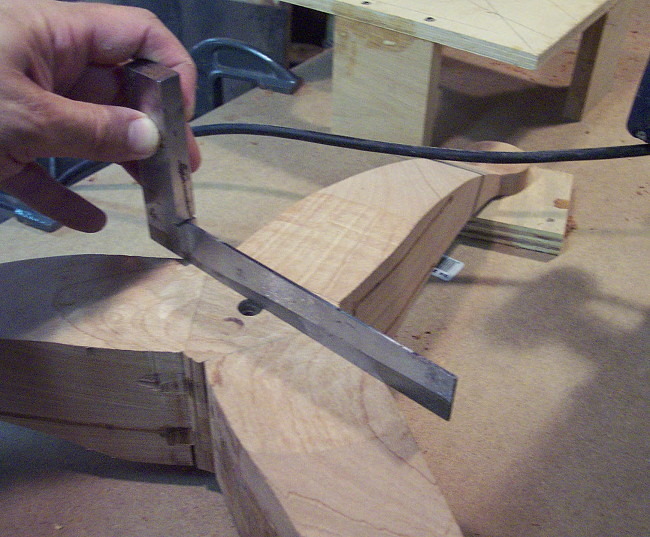

.....I flip the tripod base over and secure it with three blocks that elevate the base off the working surface.
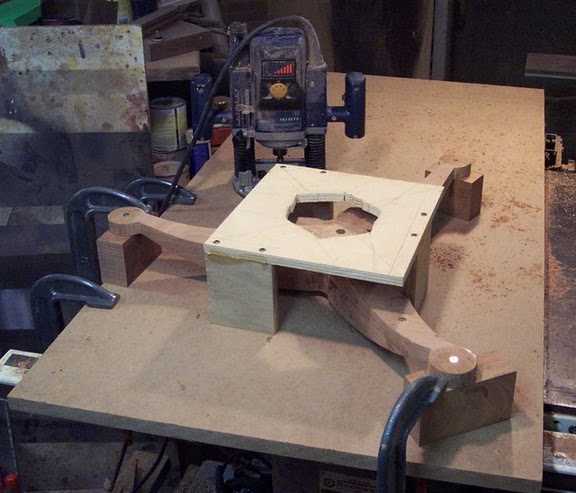
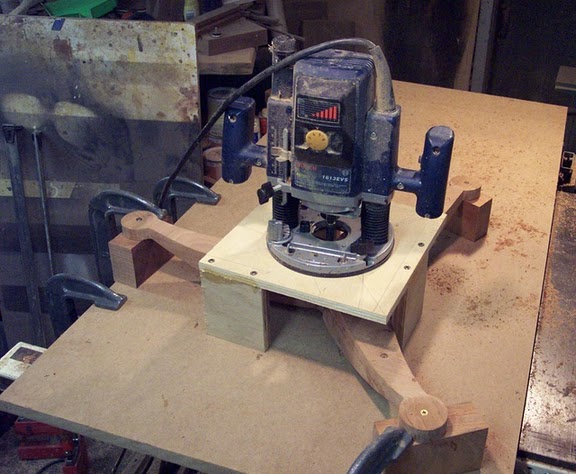

Again I take off just a tad more than the lowest section.


Now the bottom surface is flat and parallel to the top surface and both are parallel to ground.
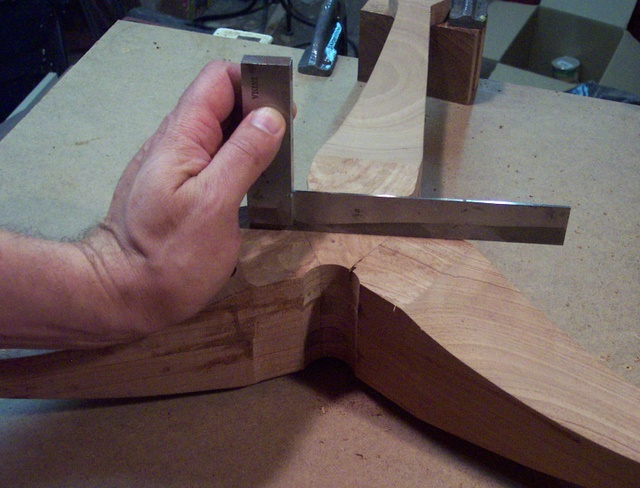

A bit of final hand filing and sanding to reshape the overall profile.
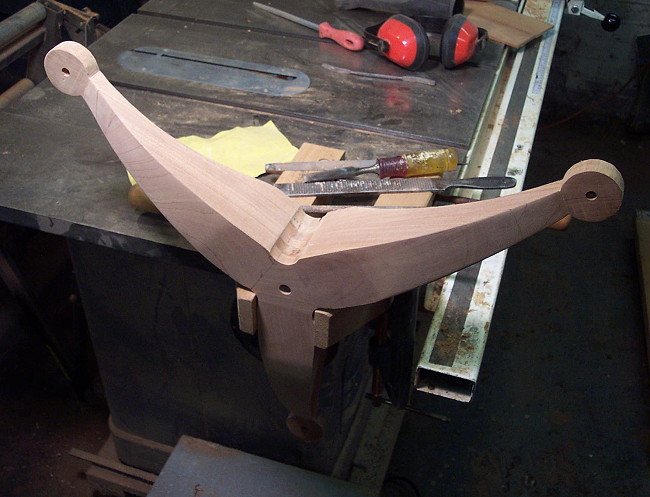


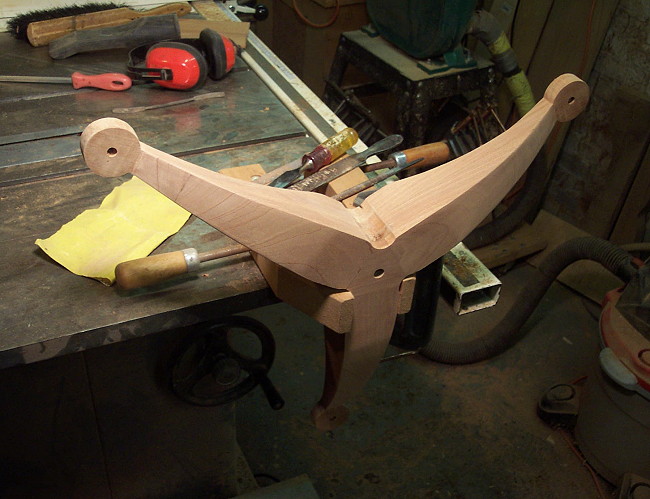
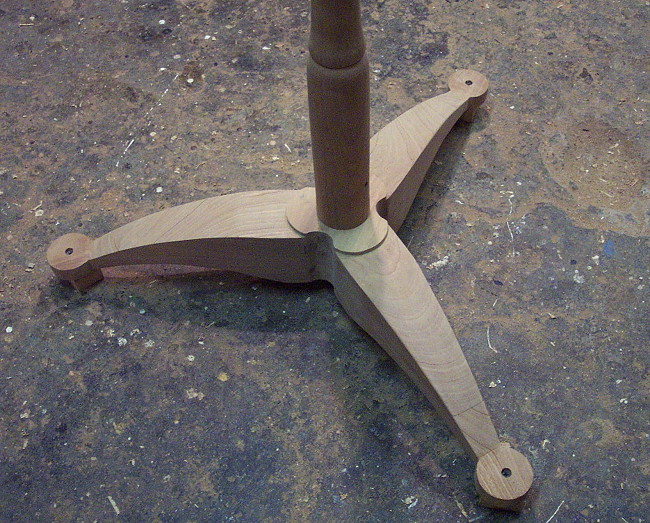
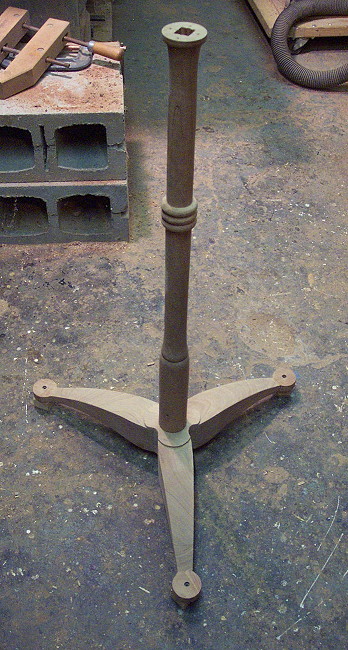
I am adding a small detail before I call the base finished. If I mount the post to the base as it is, the joint lines between the triangle block and each leg will show. I also want one final layer of material to tie all four pieces together so I planed a piece of Sapele to @3/16" and gave it a clover type profile.
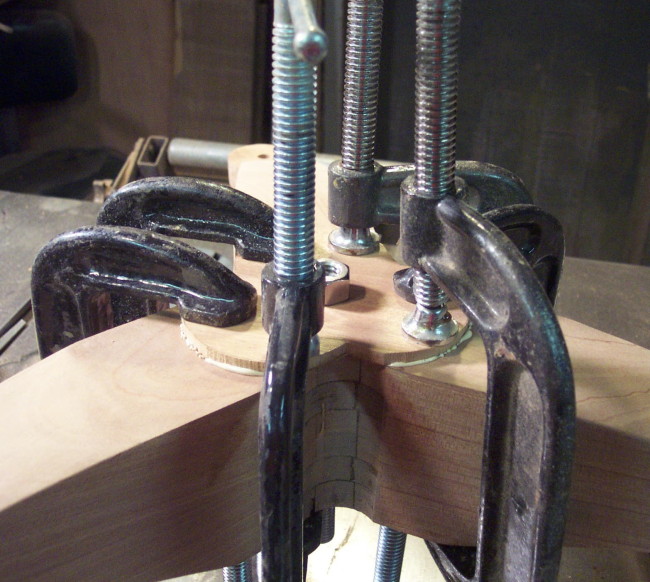
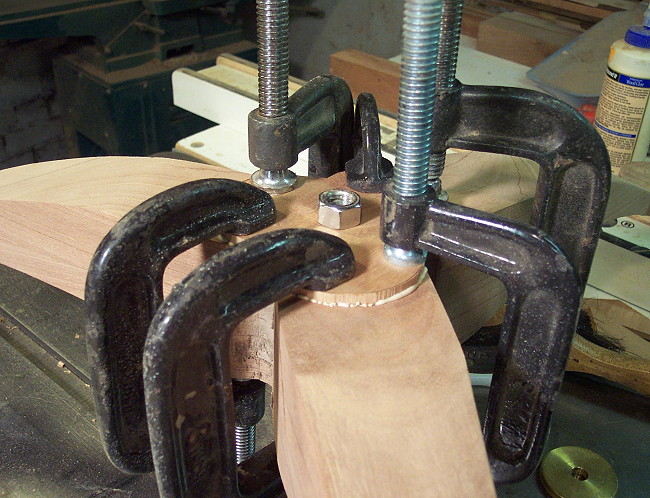

The result is a subtle transitional detail from the legs to the post and it adds a bit of mystery to the joinery.

In the next steps I'll move on to the rack. If you missed the first two installments of this project- you can see them at the following link..

-Alan


Building a music stand

Re: Music Stand Design PT III *LINK*

#2

Re: Music Stand Design PT III

Barry Irby

Beautiful work. Did you drill the concave places with a forstner bit?

That base looks very strong. I'm still thinking it through. Did you install the splines in the legs and then cut them back? They appear "too long" in the earlier photos.

I'm sure it will support the music for a HEAVY Metal Band, but I can't imagine them appreciating such an elegant stand.

Re: Music Stand Design PT III *LINK*

#3

Love It

George Colonel's Workshop-Havertown PA

Good Afternoon Allan,

Very good narrative, BTW. Its really coming together nicely. I appreciated the demonstration of the router jig, and how you used it to level and square and parallel. The small Sapele plate is a stroke of niftyness. I could read your stuff all day and never quit learning.

George

Re: Music Stand Design PT III *LINK*

#4

Great stuff!

Tony - Memphis

Like a mini-series...can't wait for part III! Nice work. Thanks for taking us through the process.

Tony

Re: Music Stand Design PT III *LINK*

#5

I see problems

Thomas Skaggs, Foothills of Mount Level

Alan,

I see a couple of things I'd like to boldly comment on. First, that stand does not appear to have any finish on it. It might help to smear a little shellac or something on it for Pete's sake. Secondly, the top....are you supposed to just shove sheet music into that little square hole? How do you turn the pages? I'd really think about embellishing that stand if I were you.

One the plus side, everything else about it I really love.

T.

Re: Music Stand Design PT III *LINK*

#6

Allan, You're Going To Have To Take A Stand

George@Colonel's Workshop-Havertown PA

Re: Music Stand Design PT III *LINK*

#7

Nice work, Alan...and

Grant in Iowa

It is good to know that someone elses shop is (at times) as cluttered as mine. :b

Nice looking project so far.

Regards,

Grant in Iowa

Re: Music Stand Design PT III *LINK*

#8

Alan Young

Re: Music Stand Design PT III

Alan Young

Barry- I did use a forstner bit to achieve the rounded out sections of the base. I was working too fast to take pictures of that. I just placed the base upside down in the drill press and eyeballed the cut.....the loose tenons were cut long-if you notice the first leg glue-up---


The tenons are quite proud of the block-and half of the ends of them are glued into half of the ends of the adjacent-dados on the triangular block..I didn't think that through well enough before gluing that joint. after this one set I cut out the sections. For the second and third legs-I cut the tenons to fit flush...

-Alan

Re: Music Stand Design PT III *LINK*

#9

Alan Young

Do you think I'm in treble?

Alan Young

Tom- I was thinking digital-The notes are all 0's and 1's and will easily fit in that square hole....

Re: Music Stand Design PT III *LINK*

#10

Tommy Just Got Cleft

George@Colonel's Workshop-Havertown PA

Re: Music Stand Design PT III *LINK*

#11

Alan Young

Just so you know---

Alan Young

I did clean the place up after this latest session...

see? :^)


Re: Music Stand Design PT III *LINK*

#12

Now, Now.  No Sour Notes, Please

Mark Mandell - Gone Round In Jersey

We don't want Alan to get off-key.

Re: Music Stand Design PT III *LINK*

#13

Re: Music Stand Design PT III

Barry Irby

Alan, that joint reminds me of something my son said. I asked him how he wanted me to do something on a bed I was making for him and he said, "It doesn't matter what I say, you are going to do it the hardest way you can think of anyway."

It looks like a good strong joint, but surely there was an easier way.

Also, if I were doing this I would have tried to make the "join" in the lamination come out right at the crease above the toe so it would not show. (My laminating skills would have rendered a very visible joint.)

Re: Music Stand Design PT III *LINK*

#14

Alan Young

What aria sayin' Mark? I half to note that

Alan Young

some think I'm a sharp whit, besides I measured twice and cut to the Chorda.

-Alan

Re: Music Stand Design PT III *LINK*

#15

Re: Just so you know---

Thomas Skaggs, Foothills of Mount Level

Gosh, that music stand looks lost in all that open space. ;-)

Re: Music Stand Design PT III *LINK*

#16

Re: sayin'

Mark Mandell - Gone Round In Jersey

This forum's for woodworking. If you're gonna be doing your accordion, that forum's several slots over.