Home Articles Forums Gallery Marketplace Videos

WoodCentral Forums

Knowledge You Can Build On — Est. 1998

Want Better Milling & Firewood Knowledge?

Music Stand Design PT II *LINK*

Posts

Music Stand Design PT II *LINK*

#1

Alan Young

Music Stand Design PT II *LINK*

Alan Young

Hi friends ,

A week or so ago I posted a thread on the beginnings of a new music stand design. (See the link Below for Segment I)

In this segment we'll make the legs

Here is the design:
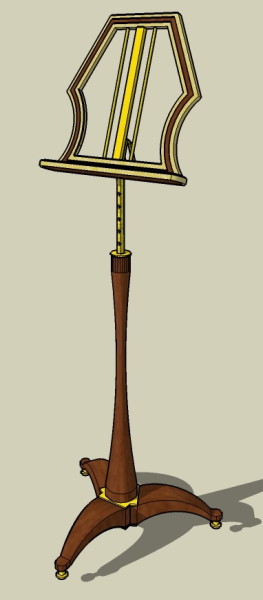

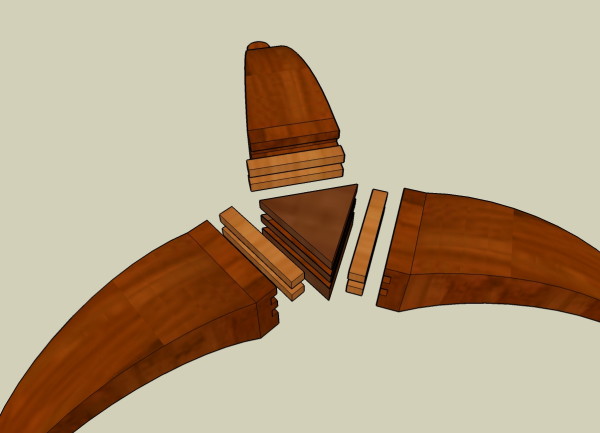
The trip pod leg design calls for double loose tenon joinery to a triangular center block.

My drawing shows the general shape I want for the legs.
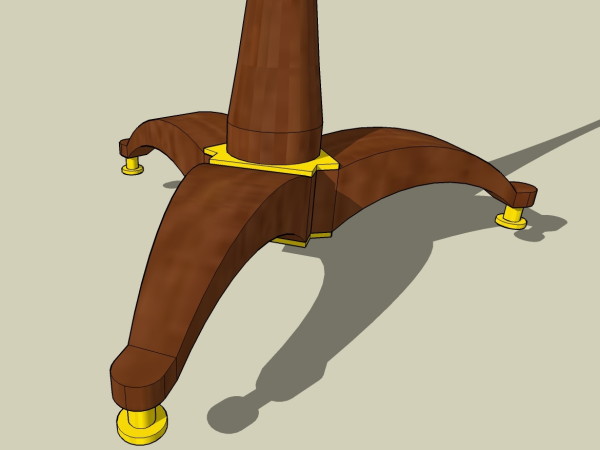

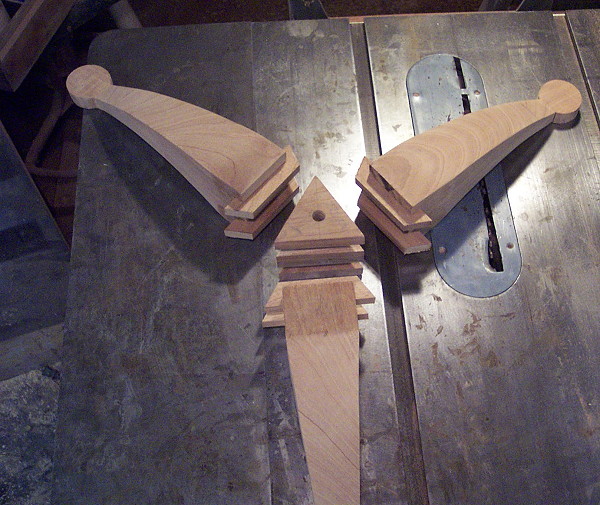
Before I go any further I must warn you there are some graphic photos in this write up. . I know many of you have shops that can serve as operating rooms- I am not one of you.I ask you to please not turn me into the SFTPOCTTS (Society for the Prevention of Cruelty to Table Saws)..I will clean the cast iron surface-one of these days....all right lets move on....

I could print out a scaled drawing of the profile, trace it to the stock and then cut it out but in this case I'm going to "free-hand" the profile. I like to save odd shaped pieces from other projects-these can yield interesting curves that can be used for drawing lines. In this case I'll use several cutoff pieces and miscellaneous parts to draw my profile
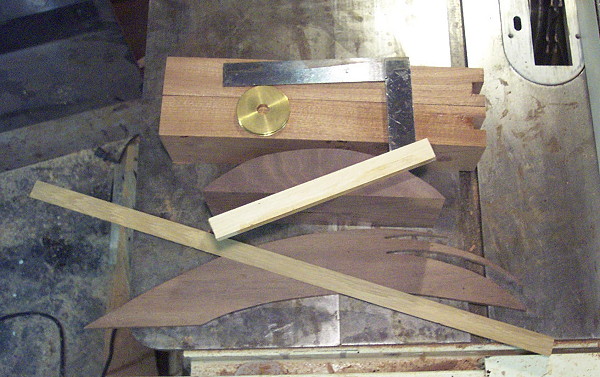

I know the general shape I want- First I'll mark the line where the curves end near the joint.
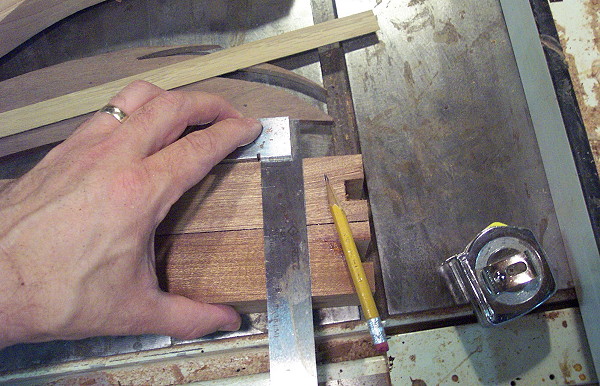

Next I use this strip of plywood to mark the "height" of the foot's pad.
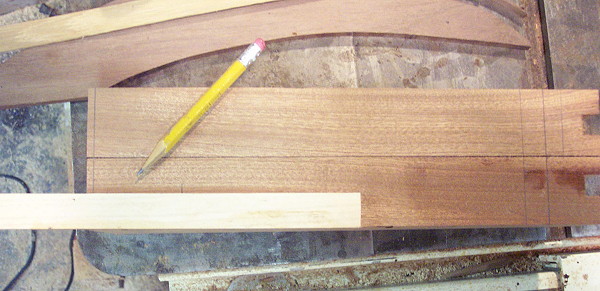

Then a line to mark the "length" of the pad.
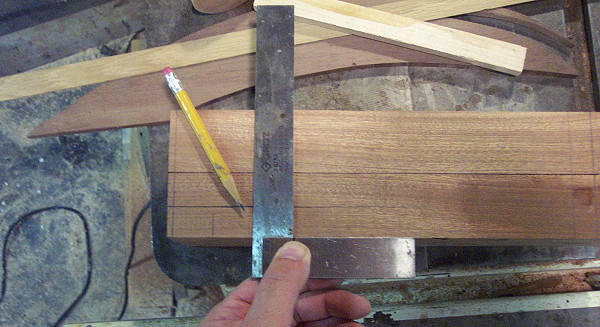

Now I use the cutoff sections to mark the shape of the top curve
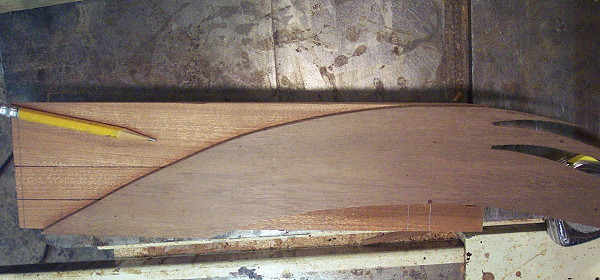

This walnut cutoff is used to mark the curve for the underside.
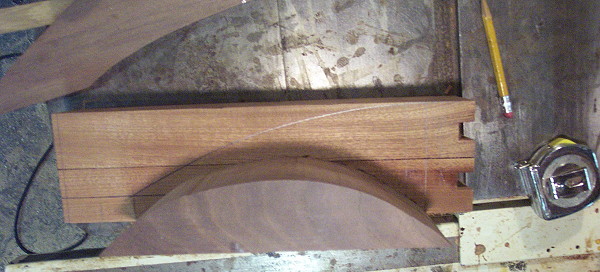

That radius was too tight- so I drew in a larger radius curve below the line.
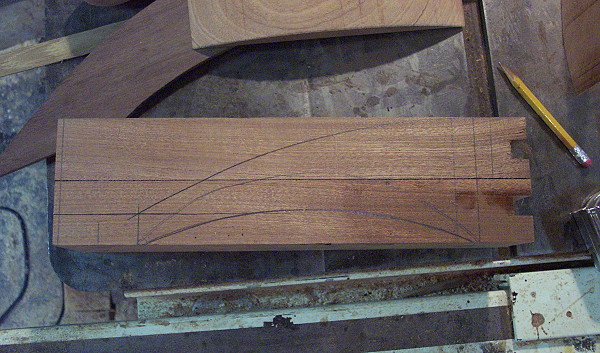

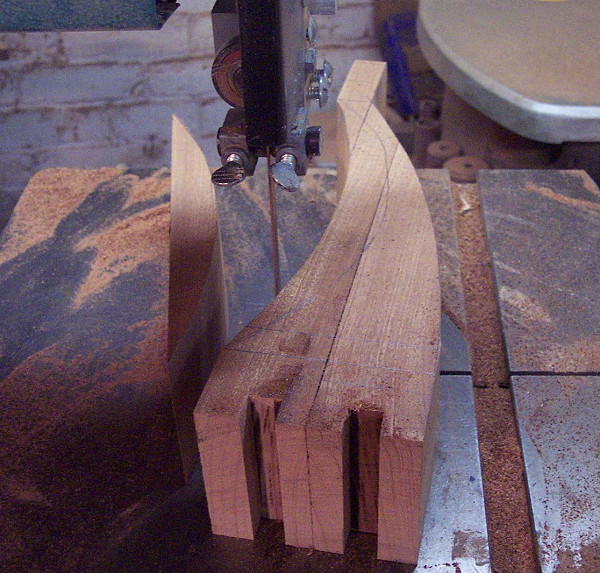
The side profile is now ready to cut on the bandsaw.
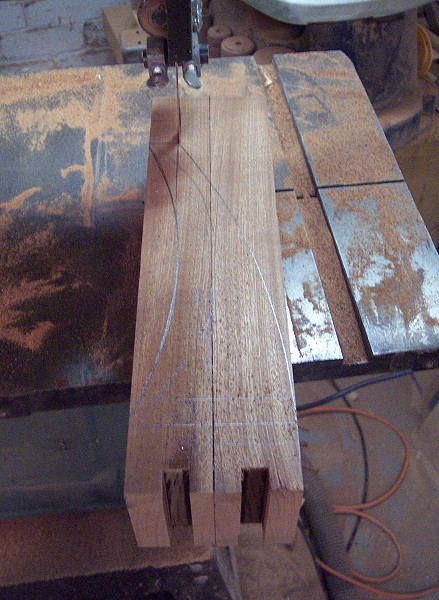
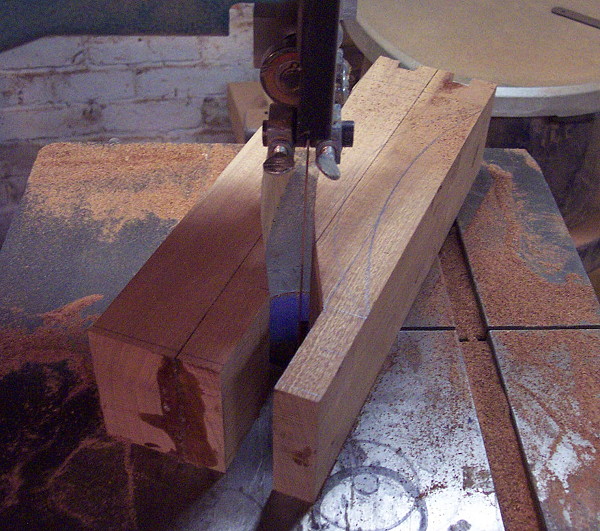


Now to draw the profile for the top. I will make the footpad round using this brass pully.
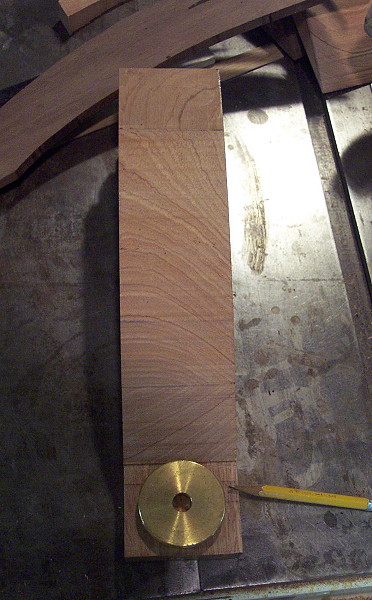

The width of my square is pleasing enough for the lines from the round pad to the end of the curve.
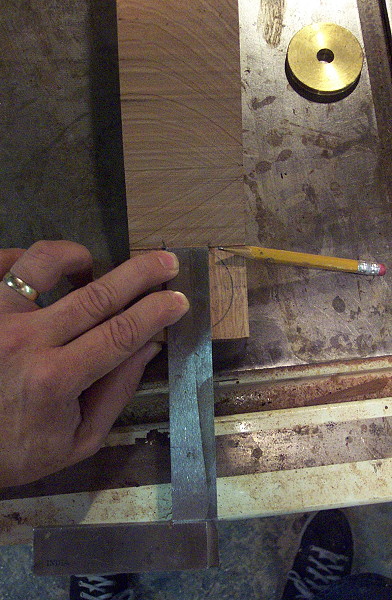

Using a thin strip ripped from some previous stock, I connect the round pad to the lines where the curves start.
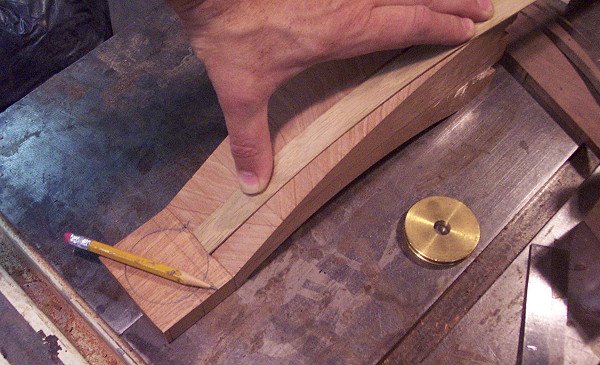
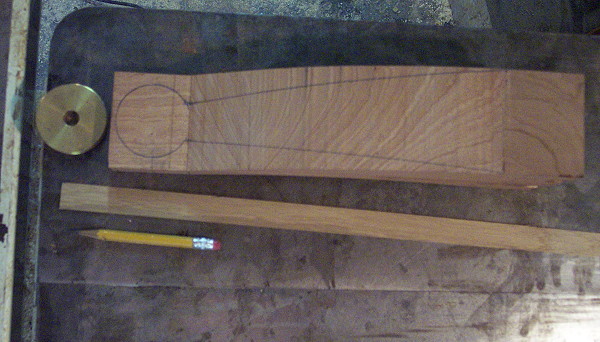


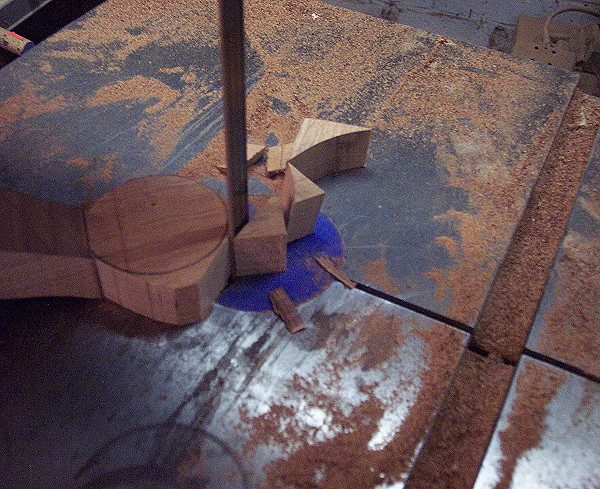
Now it's back to bandsaw to cut the top profile.
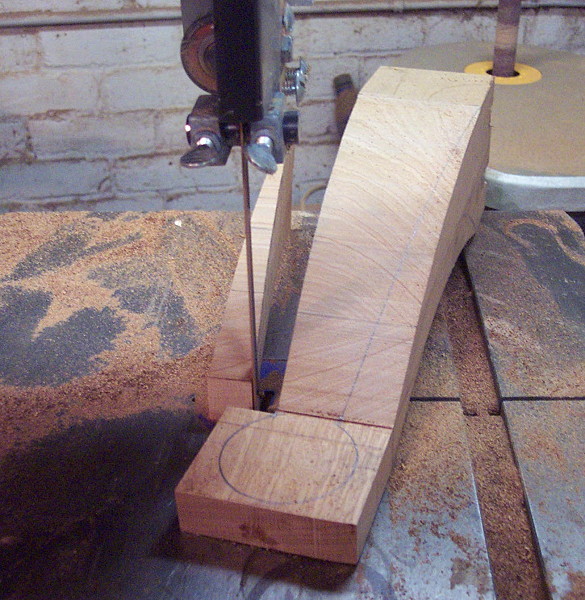
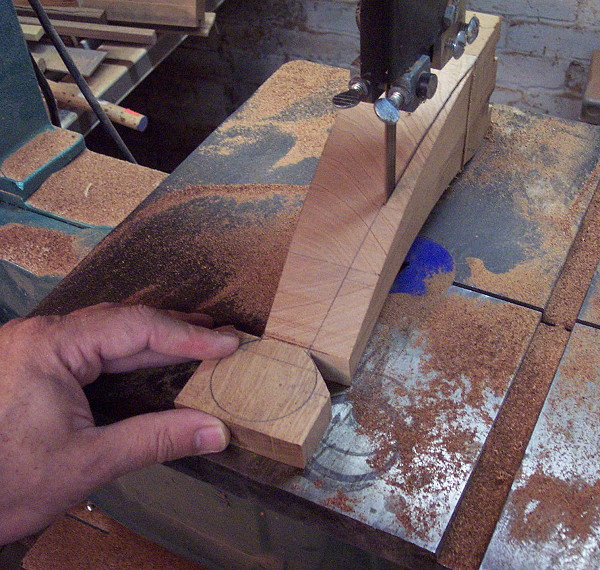


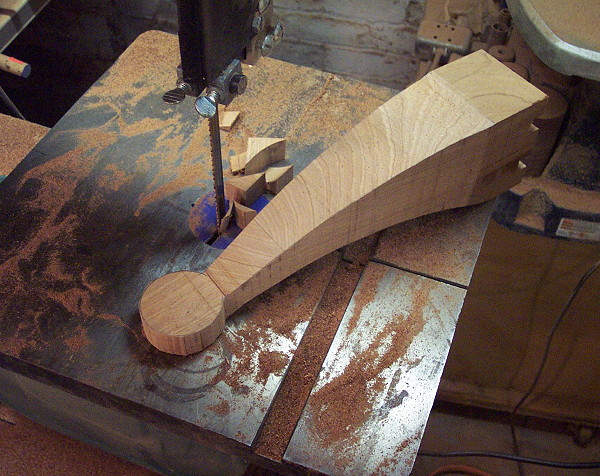
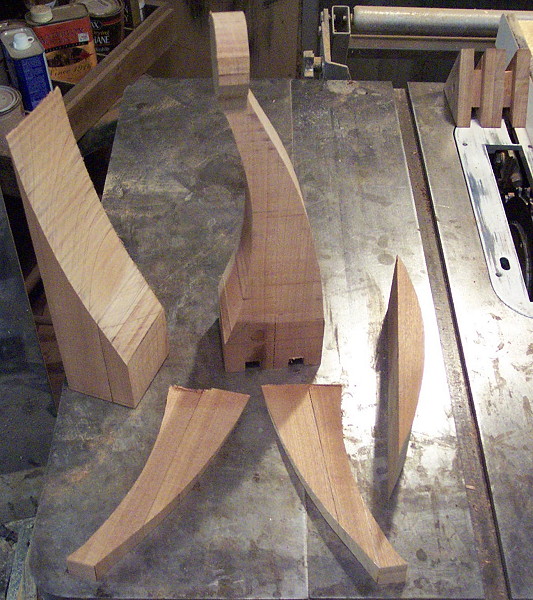
I'll save these pieces for my curved cutoff bin. Looks like I might have a foot for another project down the road.

A bit of shaping and sanding then....
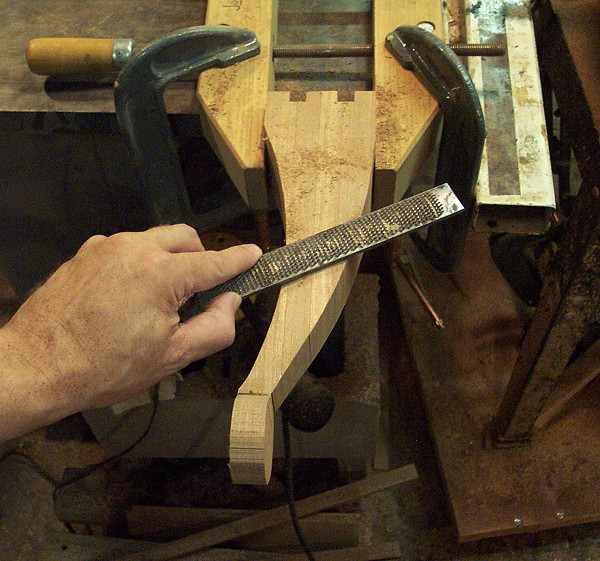


The feet are ready to be glued.

-Alan


Segment I

Re: Music Stand Design PT II *LINK*

#2

May I ask......

Barry Irby

Why you developed this joint rather than using a vertical sliding dovetail? Is this one stronger? Easier?

This is really nice work. Thanks for showing us. My table saw wants to know if it can come over and hang out with your Table Saw?

Re: Music Stand Design PT II *LINK*

#3

Outstanding work, Alan

doug f, san clemente, ca

Once more I'm reminded of how much I envy creative minds. It's just not fair!! :D

Keep up the great work; looking forward to the updates.

Doug

Re: Music Stand Design PT II *LINK*

#4

Alan Young

Manhasset derivitive

Alan Young

Barry-I've been indoctrinated into the ubiquitous design by Manhasset


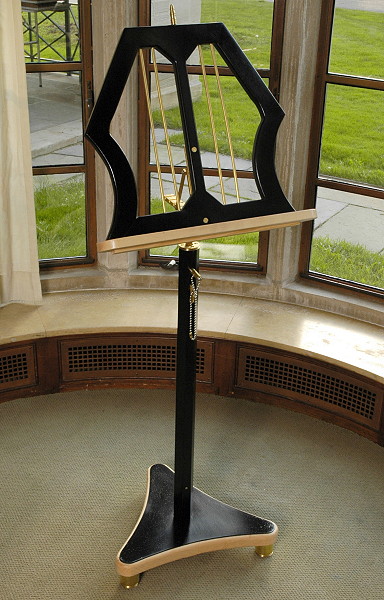
This stand was commissioned from several friends from a group I sang with long ago as a gift to another mutual friend from the same group.-a sad story that I'll explain when the piece is finished but the basic commission was for a music stand. I suggested a number of designs including previous stands I had already made or I could make a reproduction of one of these two designs I found :


In the end they wanted me to make another version of my black lacquered stand.


I wanted to change the base design and I wanted to make something elegant without too much frill that would accommodate a variety of environments. The clean base of the Manhasset stand seemed quite appealing so I tried to allude to that look in my design. The double tenon joint seemed the best way to accommodate the look-It may still be a bit clunky

Is it stronger or easier to build than the classic sliding DT?


It is arguably not stronger but I hope to make it such-maybe more so- If I add a metal(brass) plate on the underside of the final glued up tripod base this will clamp the entire base to the threaded rod that I inserted into the post.

-Alan

Re: Music Stand Design PT II *LINK*

#5

Re: Music Stand Design PT II

George Colonel's Workshop-Havertown PA

Its another GREAT job, Allan,

I'm following your posts with avid interest.

George

Re: Music Stand Design PT II *LINK*

#6

Great Photos, too

George Colonel's Workshop-Havertown PA

Especially of the table saw top.

George

Re: Music Stand Design PT II *LINK*

#7

Alan Young

I was thinking of spreading hide glue

Alan Young

all over the band saw table and developing the "crackle" finish.

Re: Music Stand Design PT II *LINK*

#8

(Message Deleted by Poster)

Chuck Lenz

Re: Music Stand Design PT II *LINK*

#9

Like Allan's Band Saw Table, Chuck

George Colonel's Workshop-Havertown PA

Both your vehicles will take a crackle finish perfectly! 8)

George