
Carved Coffee Table II-Part 4 Inlays
Alan Young
Here is another set of pictures from my Coffee Table project. I mentioned earlier that this top has been sitting around my shop for almost three years now. In that time it sustained some small nicks and gouges as I moved it around from corner to corner of the shop. These damaged areas are "design opportunities." I'll place inlayed designs in sections that are damaged. The center of the table will get a double fleure de lis figure. I'll also utilize the descending or stretched diamond from the knees of the leg.Here's the layout of the fleure de lis.
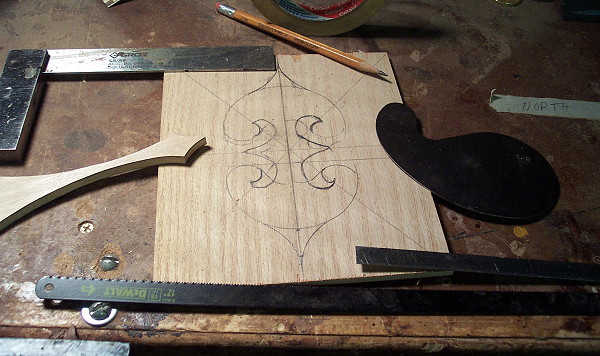
I cut out the profile on 1/4" plywood.
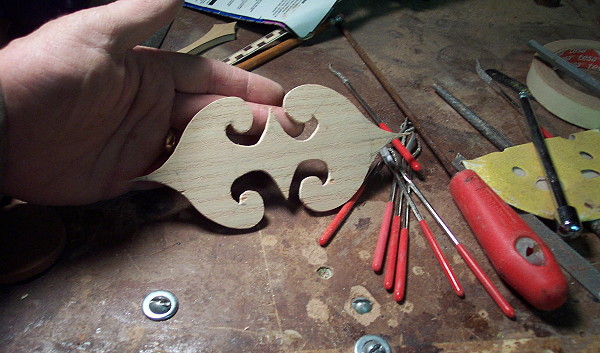
This profile gets transferred to the various veneers that will be inlayed to the top.
The center gets a walnut inlay. I traced the profile with a sharp pencil then used various carving gouges to "cut" the waste from the top.
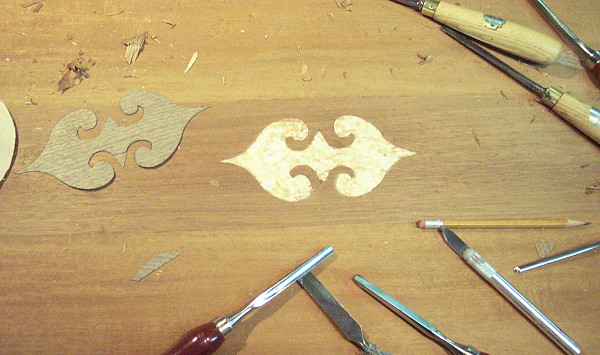
One of the damaged areas was this apron end. The veneer had chipped and lifted. If it had just lifted I could have reglued it. But the chipout meant a different solution.
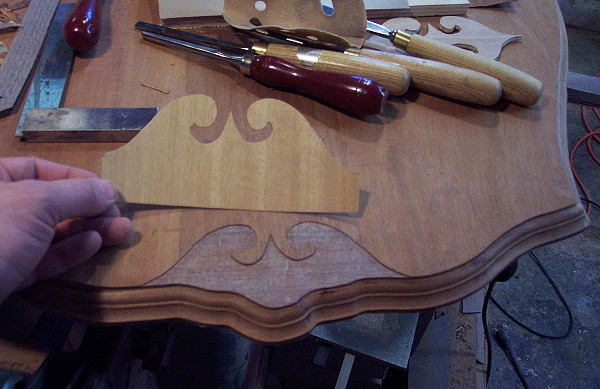
I used half the fleure de lis profile with an anigre veneer.
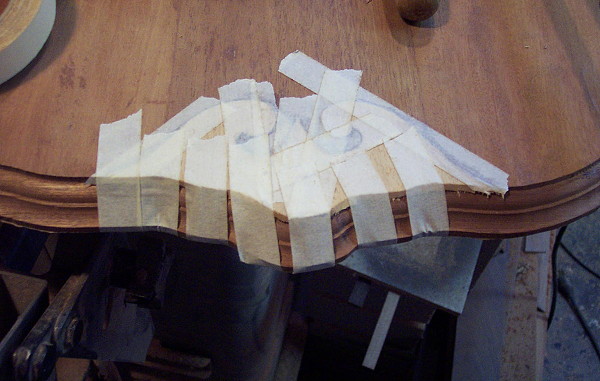
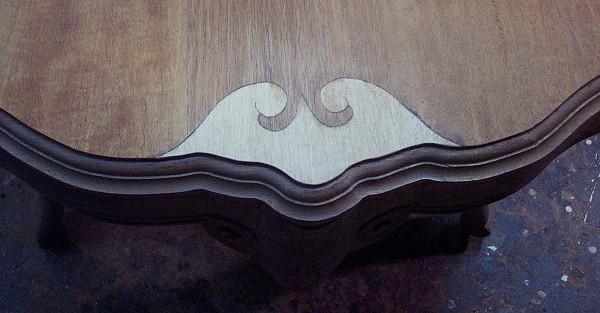
Even though the opposite end was fully intact I had to cut it out also to balance the design. The center sections were also OK so I didn't replace them either.
I did place curved diamonds at the edges of the center and stretched diamond figures finished the inlays.
Here are some pictures of the top after a washcoat of thinner to reveal the general look.
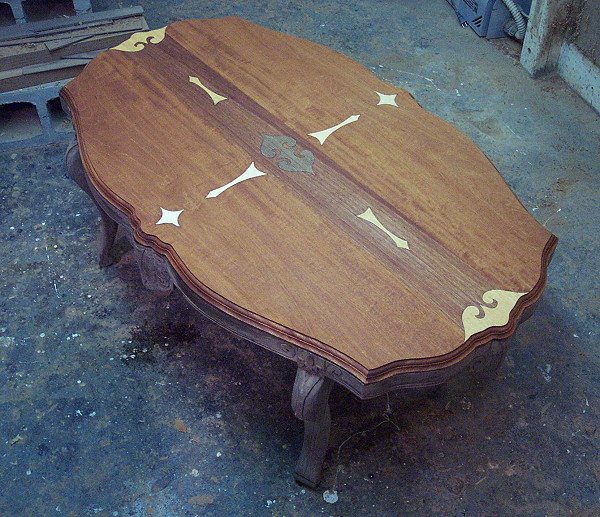
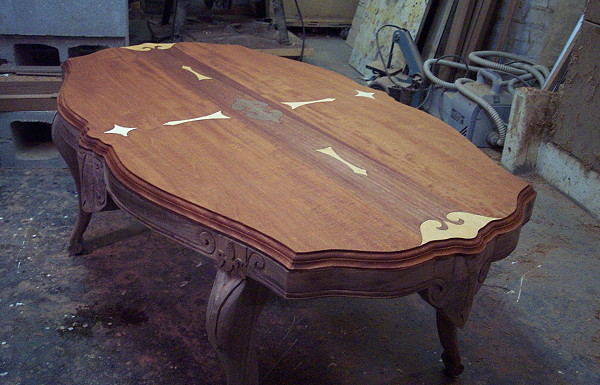
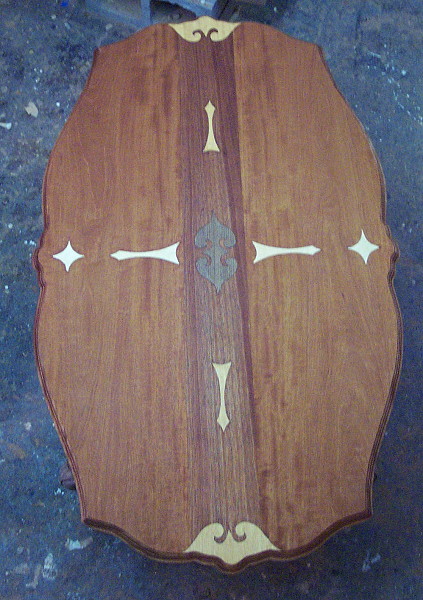
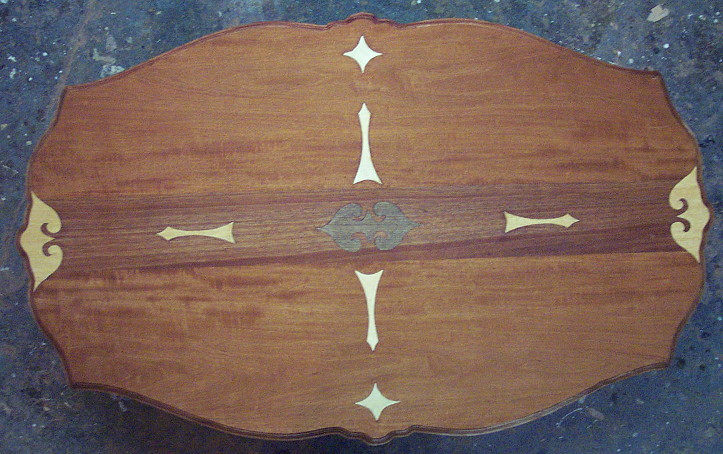
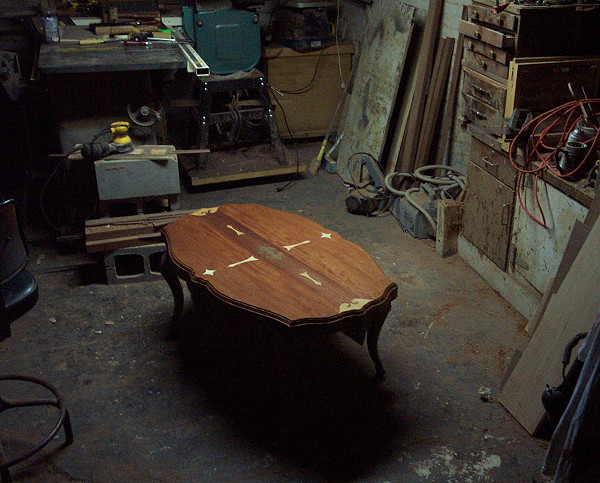
A fair amount of final sanding to the base and then I'll begin the finish process.
Alan


