Home Articles Forums Gallery Marketplace Videos

WoodCentral Forums

Knowledge You Can Build On — Est. 1998

Nearly 100 Exotic Wood Species, Direct-Imported Since 1972. Shop Slabs & Turning Stock.

Shaker Style Tables-Chapter 3 LONG w/PICS

Posts

Shaker Style Tables-Chapter 3 LONG w/PICS

#1

Shaker Style Tables-Chapter 3 LONG w/PICS

Andy Lincoln,in Dearborn MI

>Hi All,

As I continue my project of building 8 shaker style tables I have been photographing and documenting my processes.

Having already cut the legs to length and cutting the tapers on the table saw . See my post Chapter2 regarding those details.

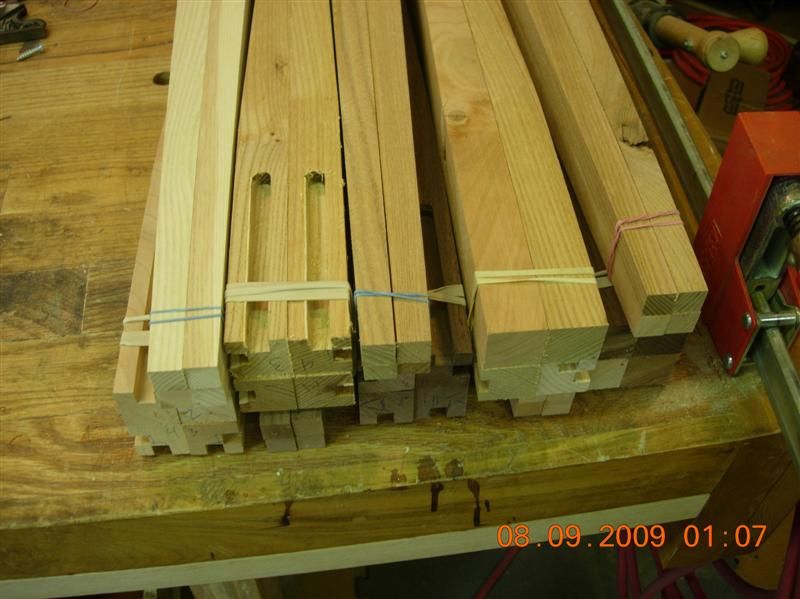
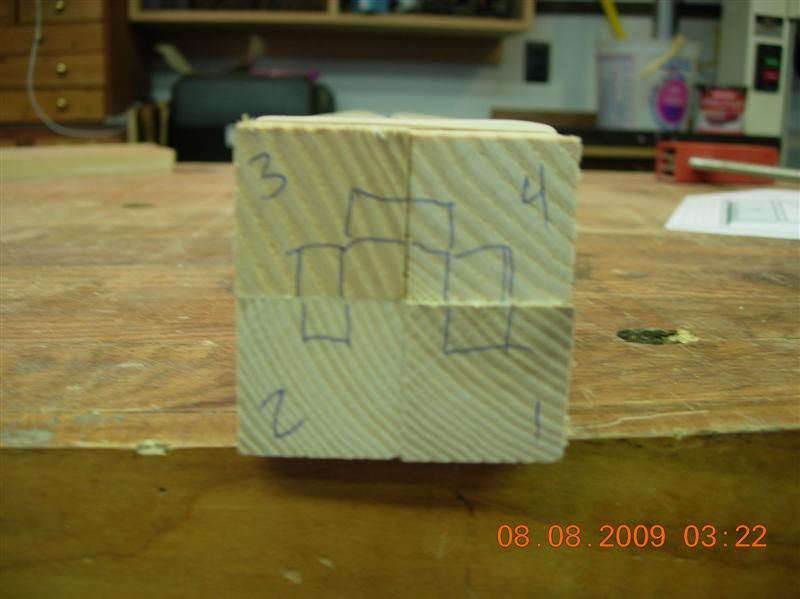
I began by matching the stock grain wise to get the most consistent look possible. Then I carefully mark the pieces to keep them in

correct orientation for mortising. I cannot stress how important this is when doing multiples because of some of the legs getting mortises on adjacent

faces or just one mortise. Over multiple pieces it could get real hairy keeping track.
From Shaker Style End Tables

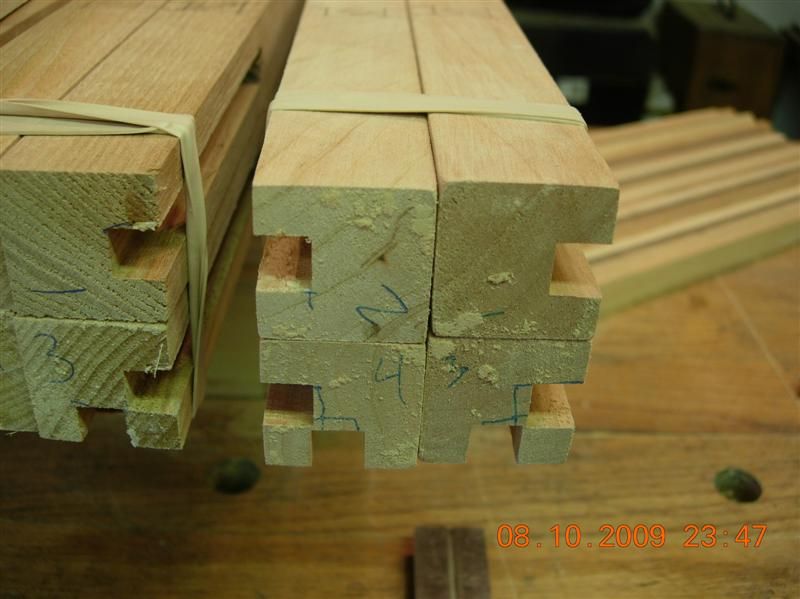
I set up my router table to cut all the mortises in the legs to accept the aprons. It is critical here to make a couple test cuts and gettThe bit centered in the leg stock as some of the mating mortises are made off two different surfaces and you would like the error here to be as minimal as possible. I also applied a stop block to the fence to limit the length of the mortise.
From Shaker Style End Tables

From Shaker Style End Tables

After completing the mortises for the aprons the mortises were laid out for the lower front rail. Once again the marked out leg orientation becomes very important.

The upper front rail will connect the two front legs with a dovetail joint.
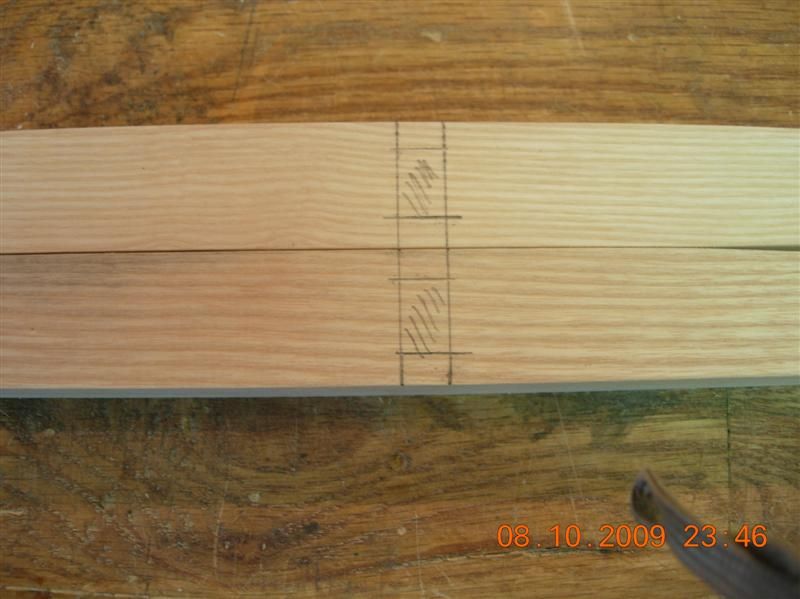
From Shaker Style End Tables

The hollow chisel mortiser makes quick work of these 16 mortises.
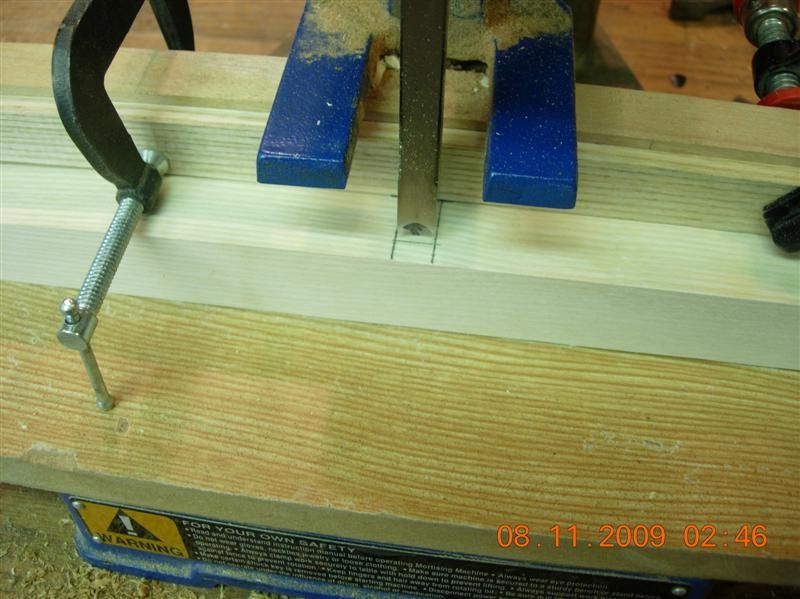
From Shaker Style End Tables

I then took the opportunity to sand, plane, scrape all the leg components before assembling to make finish sanding as easy as possible, provided I stay neat with the glue.
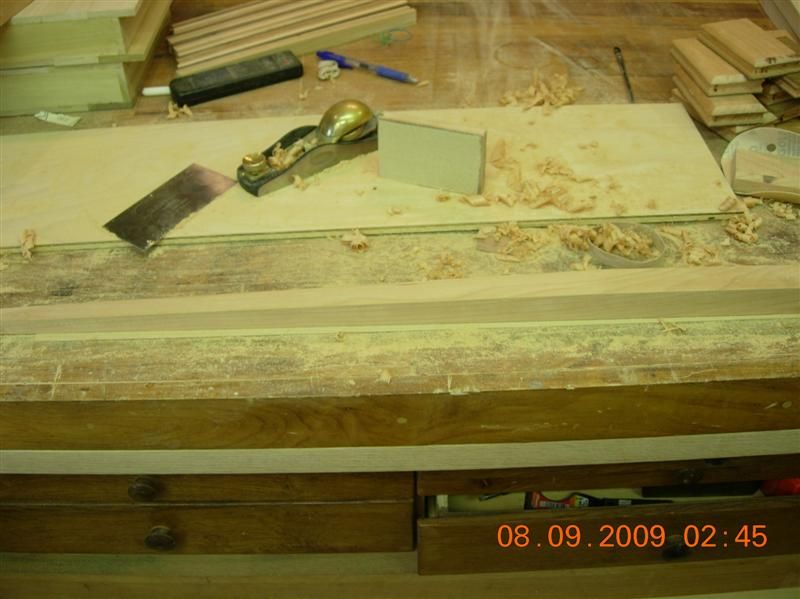
From Shaker Style End Tables

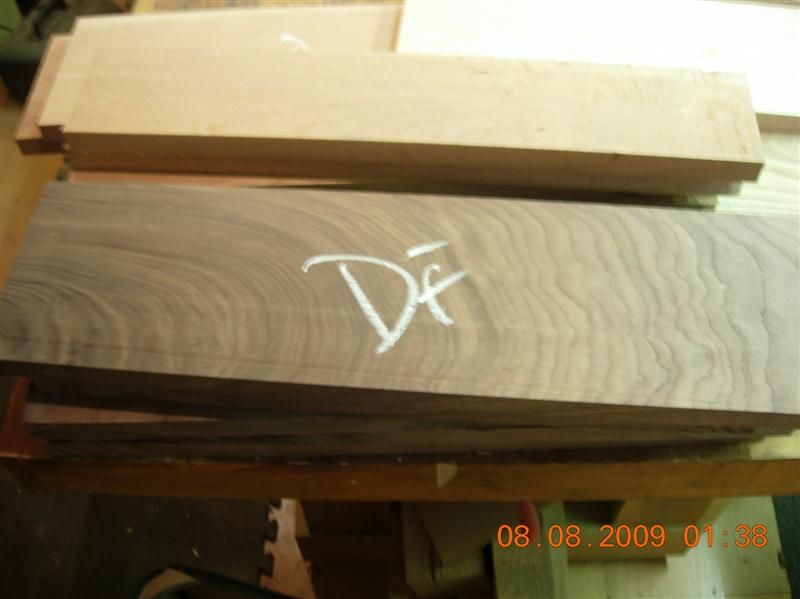
I then sorted the apron and drawer front stock reserving the best pieces in my judgement for the drawer fronts.
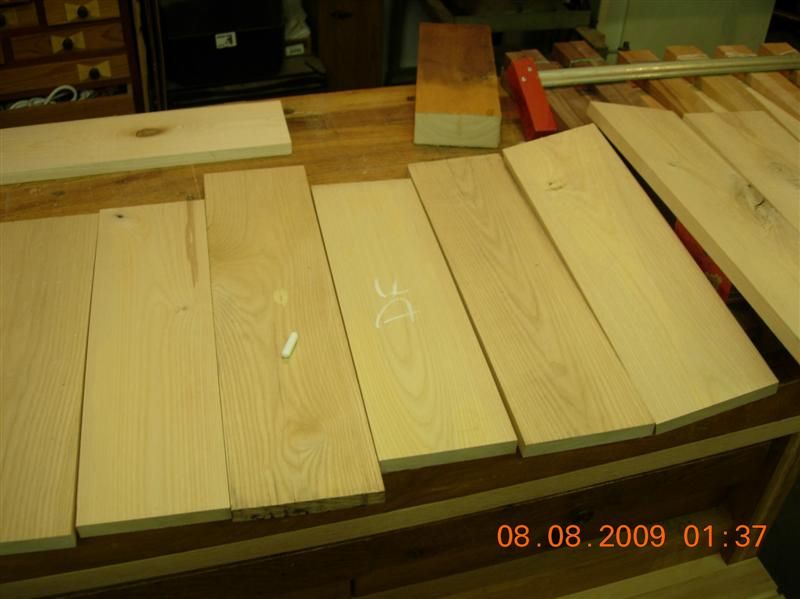
From Shaker Style End Tables


From Shaker Style End Tables

After that all the apron stock was cut to length and then tenons were cut on the table saw with a stacked dado cutter. I left them just a skosch wide and will fit them with a shoulder plane

as they meet up with their respective legs.
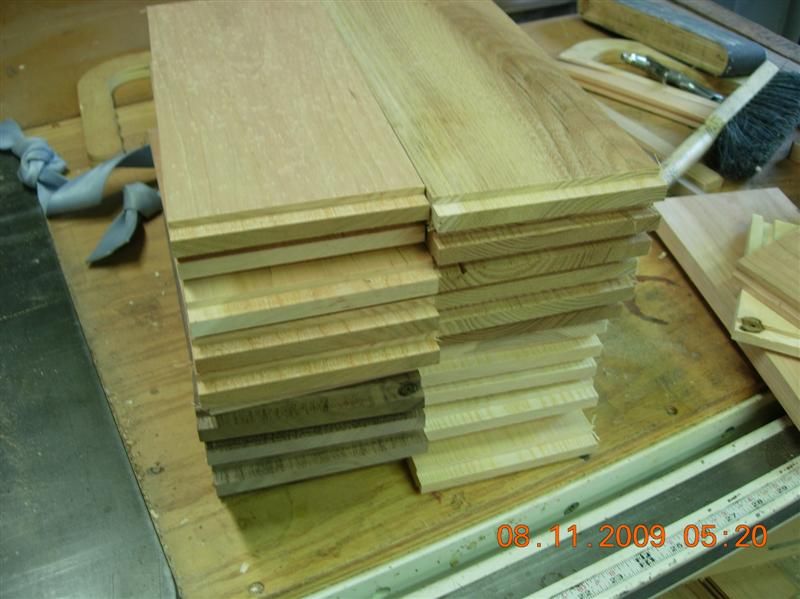
From Shaker Style End Tables

Chapter 4:Assembly time!!

Thanks for looking,

Andy

Re: Shaker Style Tables-Chapter 3 LONG w/PICS

#2

Nice, Andy. Keep up the good work.

doug f, san clemente, ca

>

Re: Shaker Style Tables-Chapter 3 LONG w/PICS

#3

Re: Shaker Style Tables-Chapter 3 LONG w/PICS

Martin from Texas

>Andy,

I have been following along, as I am a student of the Shaker style.

Did I miss the part where you tapered the legs? Maybe that was in part two?

I usually taper my legs after cutting the mortises, just wondering why you do it the other way around.

I am enjoying watching you make these. I have made a couple, but never a big batch, although I sure need to!

Re: Shaker Style Tables-Chapter 3 LONG w/PICS

#4

Never mind...

Martin from Texas

>I found it, you even said it in your introduction to Part 3.

Still wondering why you taper before mortise, I was taught the other way around, but your way seems to work as well. Just wondering if your way has an advantage I don't know about.

Keep up the saga, I am enjoying it.

Re: Shaker Style Tables-Chapter 3 LONG w/PICS

#5

Re: Never mind...

Andy Lincoln,in Dearborn,MI

>Martin,

I don't have a specific reason as to why I tapered the legs before I mortised them.It just seemed logical to me to do it that way and I could then select the stock that looked the best for each leg.Now I have to go back to Woodworking Magazine and re-read the article that the plan came from to see how it was done there.I milled several extra legs in case some of the stock didn't come out too nice but I am satisfied with my selections so far.I did reject a couple that had some knots/defects that I found during the milling process.

I wonder if some sort of survey is needed to taper first or last...hmmm.

And I wonder if anyone would want a pair of tables with mismatched legs and aprons...I could say it was "art"

Andy

Re: Shaker Style Tables-Chapter 3 LONG w/PICS

#6

Re: Never mind...

Chris Friesen

>In this case the portion being mortised is still square, so it doesn't really matter if the rest of the leg is tapered or square.

If he were planning on mortising the legs for a shelf (on the tapered area) then it might make sense to do it before tapering if a router is being used. Since the legs are only tapered on the inside faces a hollow chisel mortiser would work just fine even after the taper is cut, though you might have to improvise a hold-down.