Shaker Style Tables-Chapter 2
Andy Lincoln,in Dearborn MI
>Hi All,
I am working on building a group of shaker style end tables. Today�s process was to mill all the leg stock to final dimensions.
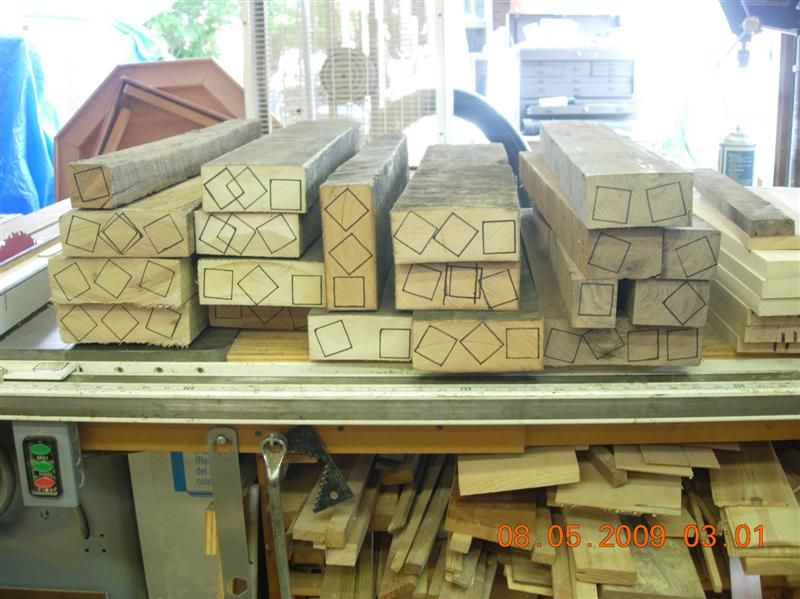
I started by rough cutting the legs free of the larger stock. This involved setting and resetting the angles on the table saw several times.
 |
| From Shaker Style End Tables |
This step is tedious and time consuming especially when you are cutting approximately 40 legs, but when your stock comes out with nice straight grain
On all four sides it is worth the effort. Note: what starts out as straight grain doesn�t always end up that way, but wood is a natural item.
 |
| From Shaker Style End Tables |
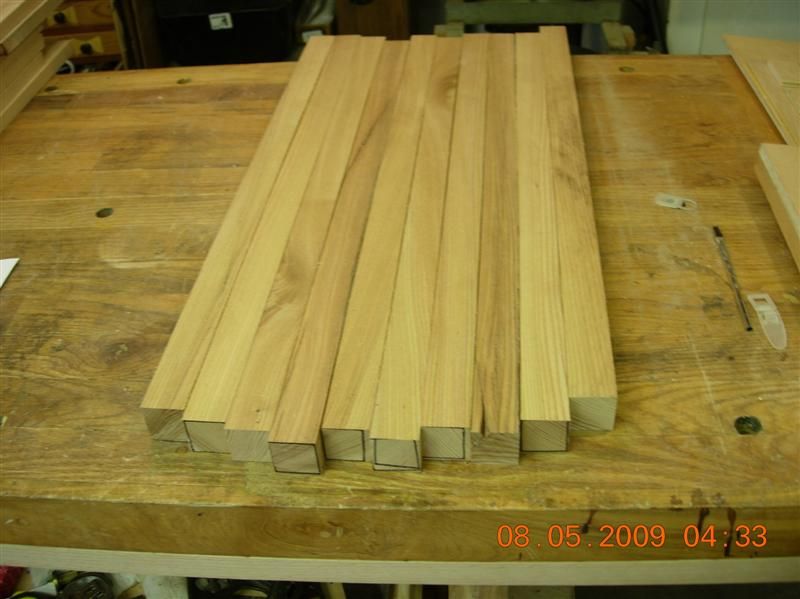
I cleaned up two edges on the jointer making them perpendicular to one another and then ripped them on the table saw to 1 3/8� square.
 |
| From Shaker Style End Tables |
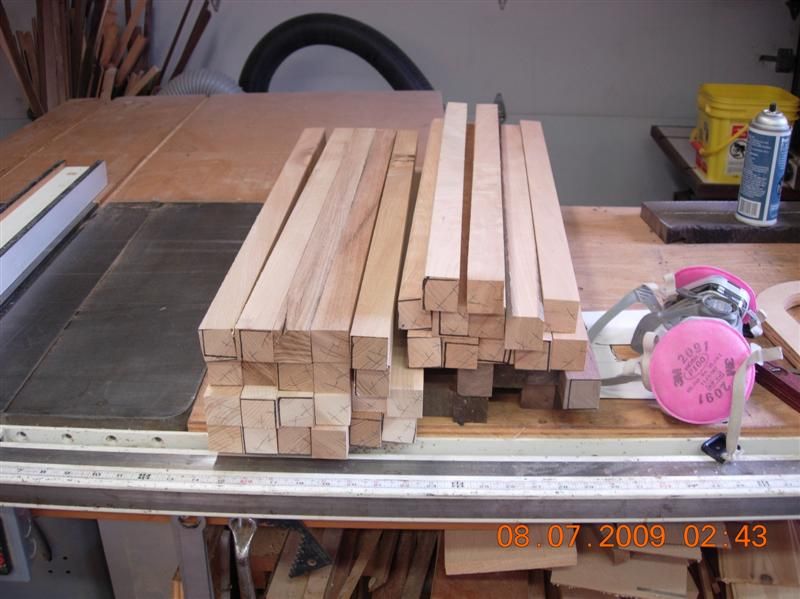
I then sized them to their final dimension of 1 1/8� with the planer. I paid careful attention to keep the trailing edge on all the boards in the same orientation
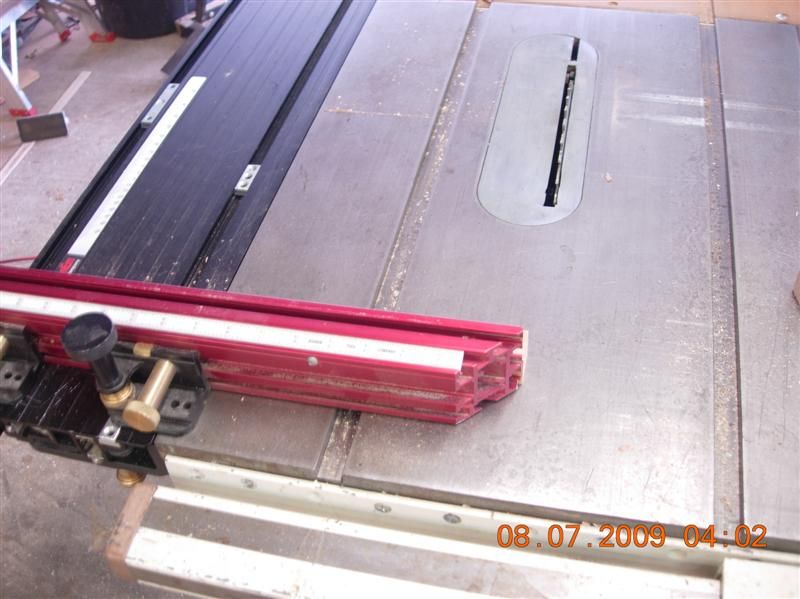
to allow any snipe from the planer to be removed when the legs get cut to their final length. This in easily accomplished with the Jessem slider accessory on my table saw.
 |
| From Shaker Style End Tables |
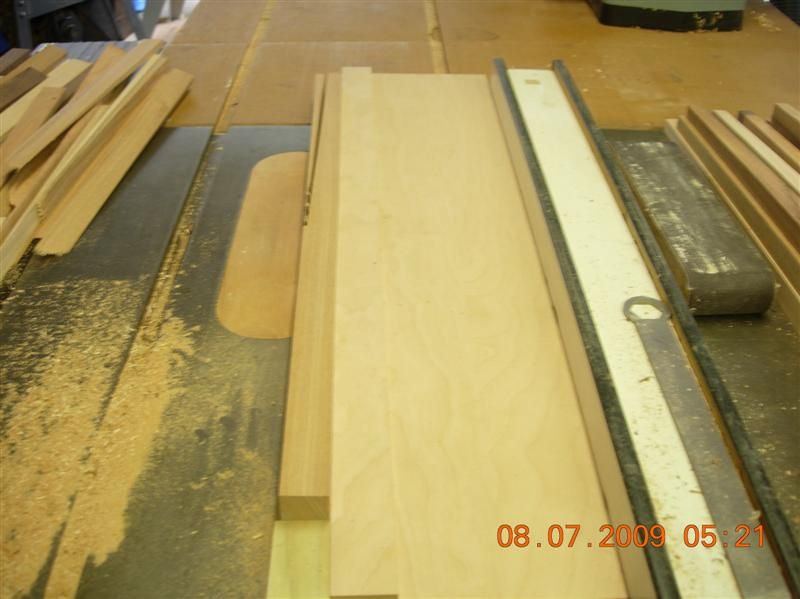
After all the legs were cut to length it was time to cut the taper on two adjoining faces of the legs. I made a sled from plywood that will allow me to cut the taper on the table saw.
This is your last chance to check your stock for defects and potentially cut them free when you cut the tapers.
 |
| From Shaker Style End Tables |
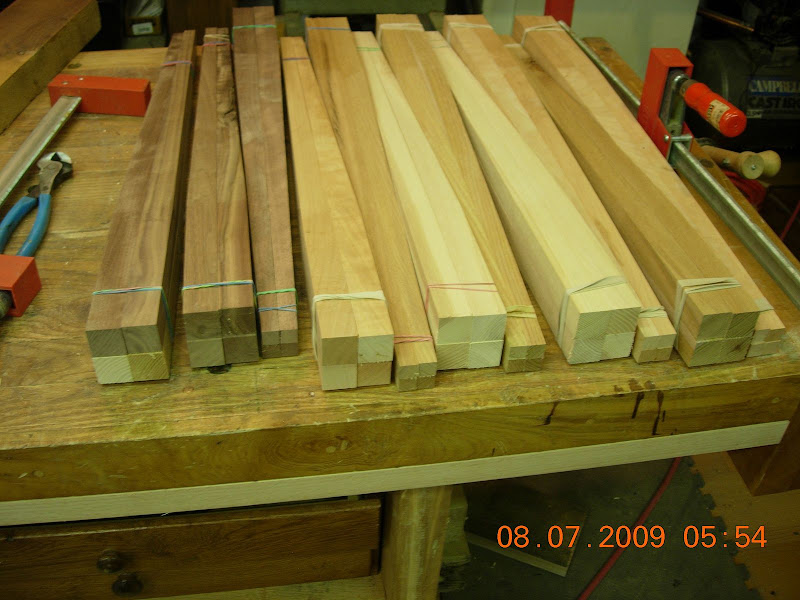
Before quitting for the night I grouped the legs into groups of 4 and then I put a rubber band around the legs to hopefully minimize any warping.
This stock has been well seasoned and dried for many years so I expect the movement to be minimal, so the bands are precautionary.
 |
| From Shaker Style End Tables |
Next steps will be to add the mortises to the legs, do the final milling on the apron stock, then I will mill the tops and drawer stock.
Thanks for Looking,
Andy


